I decided to build another one of the models that I've had lying around for the last while. I thought the AT-AT would have been a hard one to make, but since it didn't go too bad I had some confidence with this one.
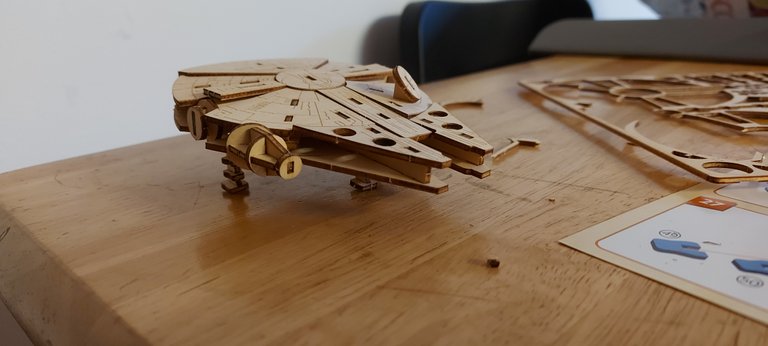
Here's One of the pictures of the completed model, and throughout the rest of this post I'll document the building process.
The Accompanying Book
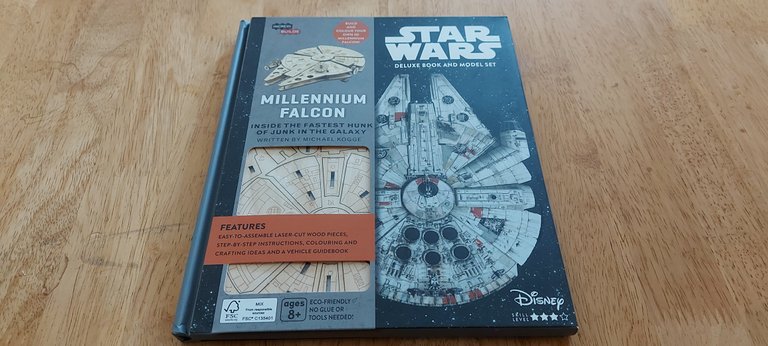
Here's what the cover of the book looks like, and as you can see, the model is there behind a plastic sheet, to show you what it looks like disassembled.
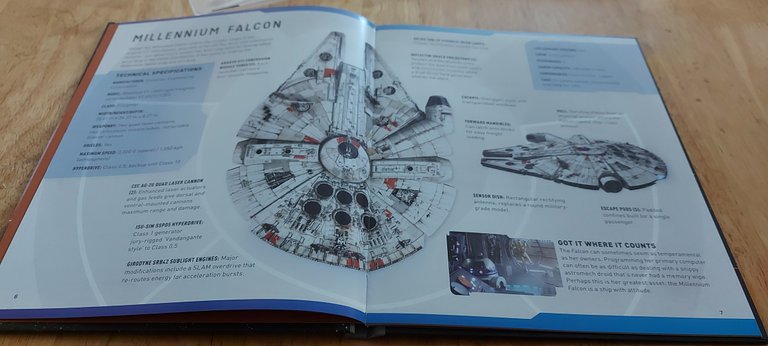
The same as the AT-AT model, and the X-Wing, you get detailed rundowns of each part of the ship.
I find this sort of stuff amazing, and I think it's so cool to have these types of details included in designs. Every time I read or watch material about the vehicles in Star Wars, the idea is solidified more and more in my mind that the creative people behind these films are geniuses.
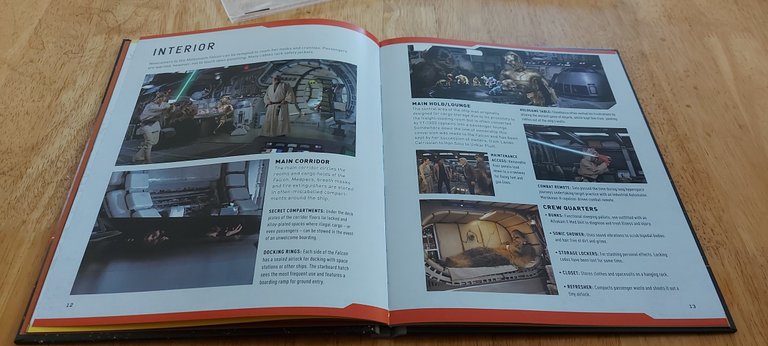
There are sections too, which include details and screenshots from the films, showcasing all of the different interior locations, in this case, the main corridor, and crew quarters.
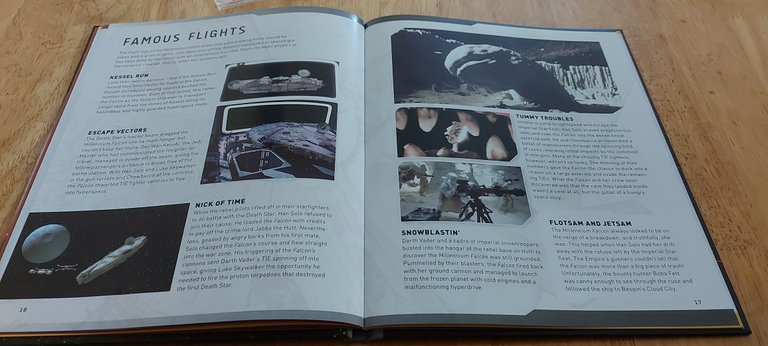
Here's a section showcasing some of the famous flights the ship has been on through the saga.
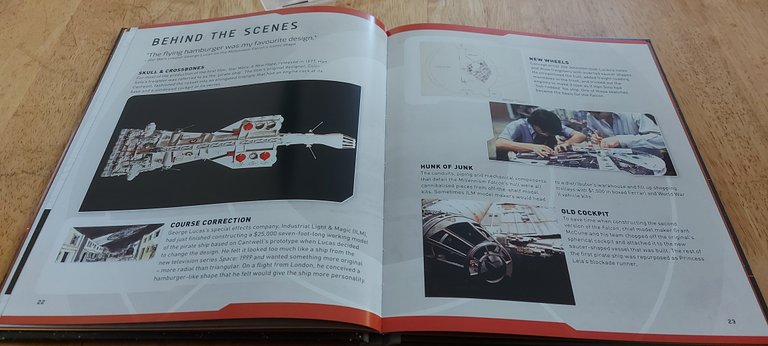
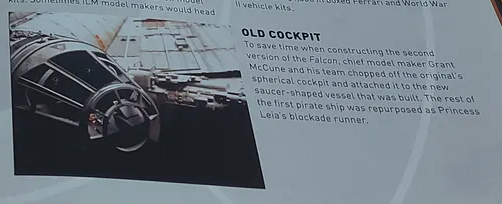
This is interesting. Here is the original design of the ship, which then became the blockade runner. The reason to change it was that there was a show in England at the time called Space 1999, which had a ship very similar to the original Falcon design.
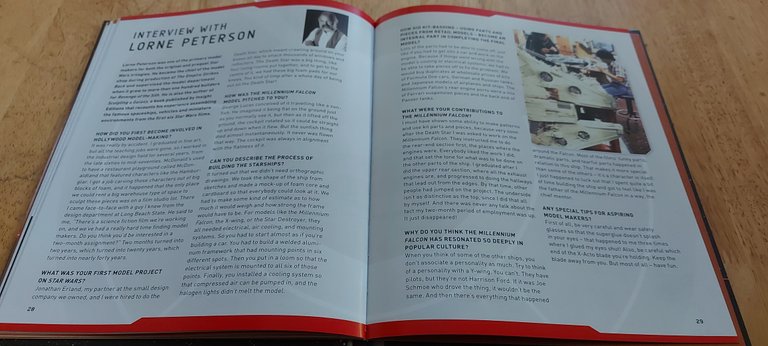
There is also an interview with Lorne Peterson, where he discusses much of the process of making this ship. I've watched so many documentaries about the making of Star Wars based around the model makers. I find it fascinating to hear them speak about the entire process.
Building The Model
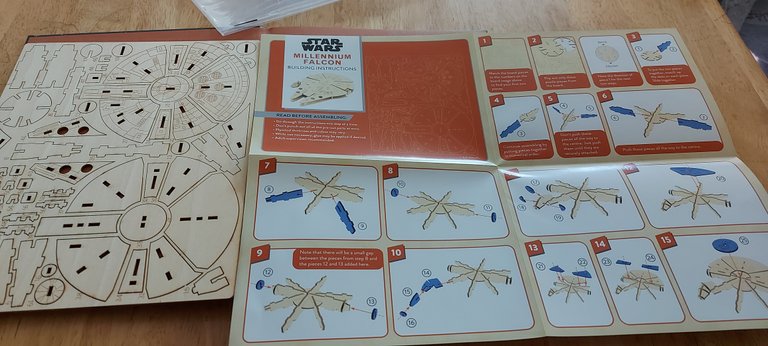
When you open the slip included with the book, this is what you're presented with.
I enjoy model making - especially making my own things with polymer clay. This is different from making the typical Airfix models because of how delicate all of these wooden pieces are.
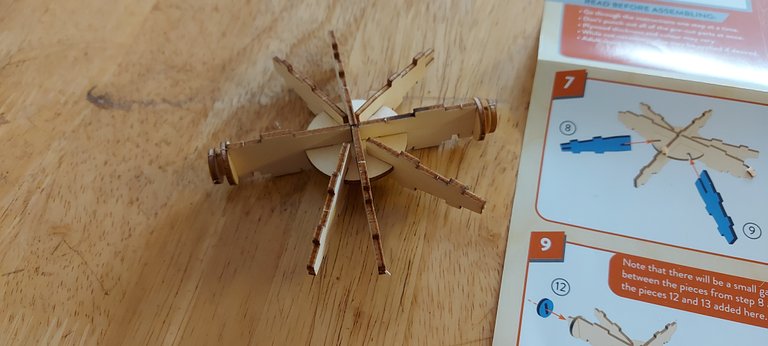
This was kind of confusing to me, and actually led to some issues. The instructions aren't very clear when putting together this base, as you'll see shortly.
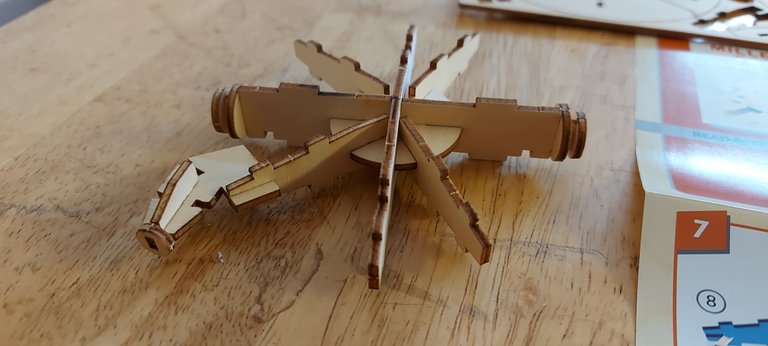
Here it is with the cockpit attached, and you might notice the issue as I did when looking at it.
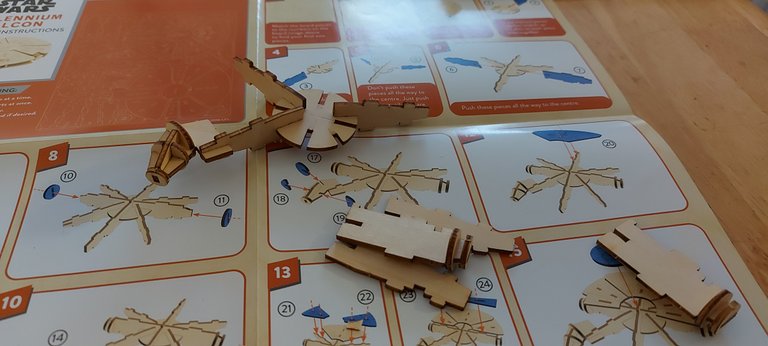
I had to disassemble it - which I really didn't want to do because they're kind of forced into place and I was afraid of the pieces connecting back together loose. Luckily they didn't, but it was still a pain.
The instructions just weren't clear enough when first assembling it, and because of that, it led to this small, but annoying issue.
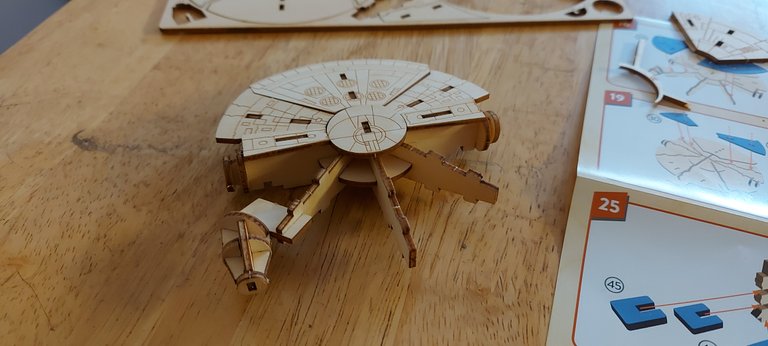
Here we go, back on track! The first part of the shell was a bit tricky to get on, but I managed it in the end.
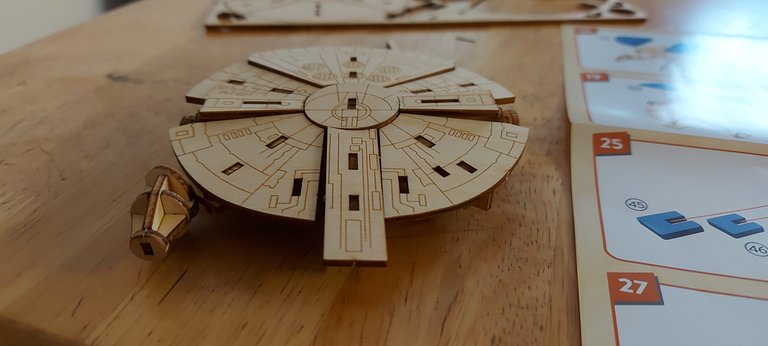
I thought this was okay, but I didn't like how some of the pieces lined up. It felt wrong and made me wonder if I'd made some other mistake in following the instructions.
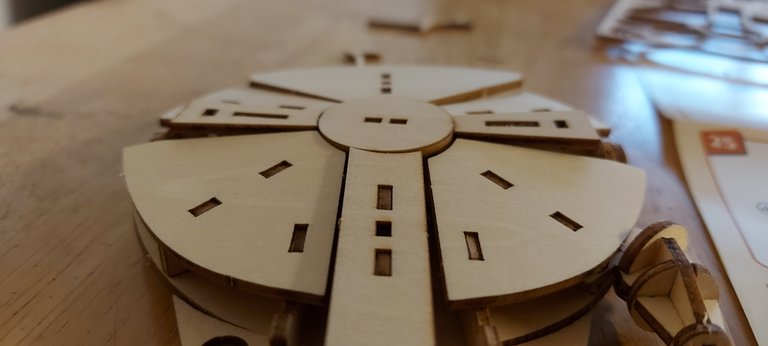
Here's the underside of the ship, and you can kind of see what I mean. The pieces aren't meant to be flush, but there are large gaps on one side, but not on the other, which is strange.
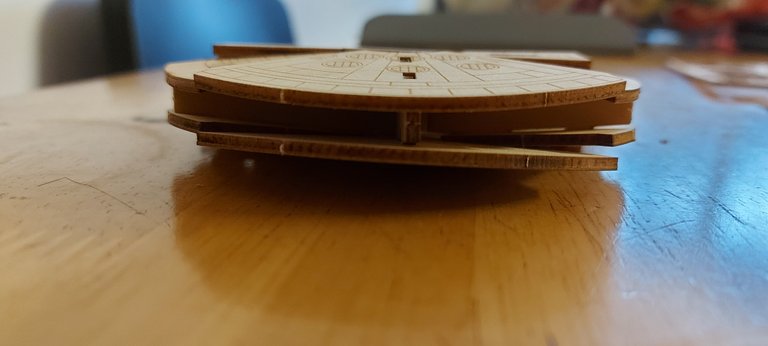
Here's the worst-looking part on the rear of the ship.
I went over it again and again, swapped pieces around and triple-checked the instructions and there was no deviation from what I was meant to do. So I guess it's supposed to look like that, but I'm not too pleased about it.
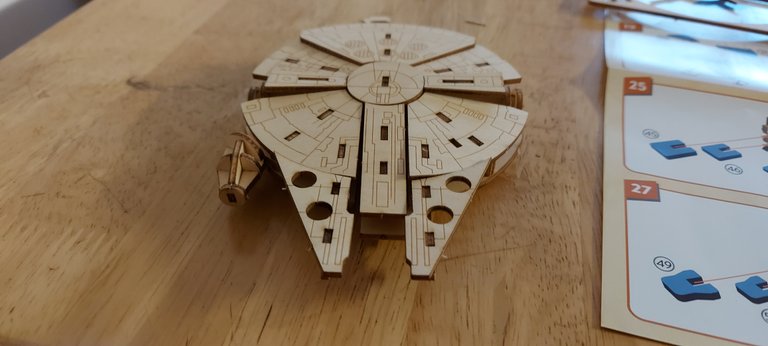
It was too late to go back, so I pressed on, hoping that the rest of the ship looked okay, and with the front of the ship in place, it lifted the entire piece.
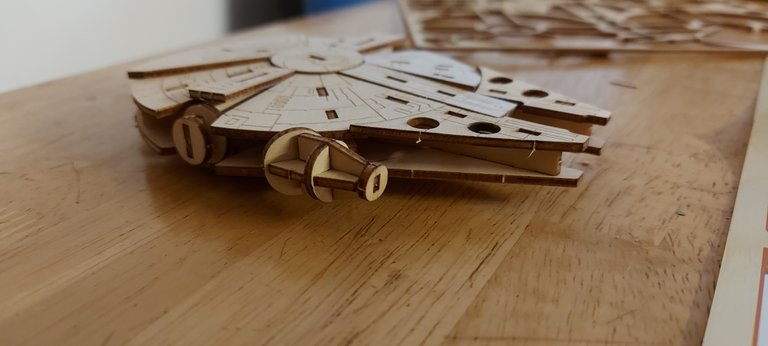
Here it is without the stands in place. I think these models - if you're thinking of picking one of them up - could do with light sanding to get rid of the chips and imperfections.
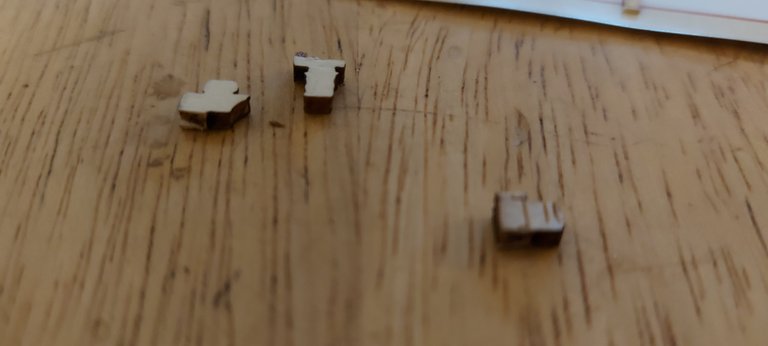
And.... I broke one of the legs, which is a pain.
These pieces in particular were so delicate. I didn't even apply that much force and it snapped. I was going to glue it, but it snapped a second time which messed it up.
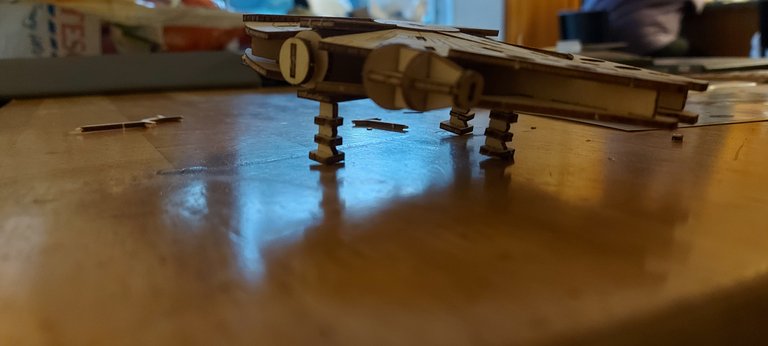
I was extra careful with the other three legs and managed to not break them.
The Millennium Falcon is supposed to have three legs anyway, so I don't mind, but as you can see, due to not having all four legs, they all raise at a weird angle.
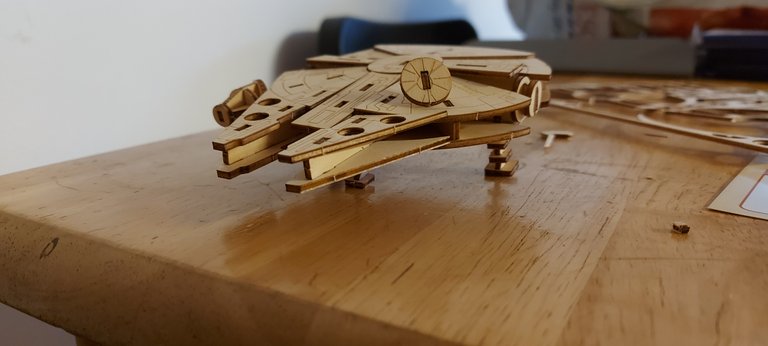
Here it is with the radar dish attached. The resting angle isn't too noticeable from this side, so it's all good as far as I'm concerned.
This one was a lot tougher than the others, and while I'm happy enough with how it turned out I wouldn't recommend starting with this one if you're going to buy one of these books for yourself.


