Happy and blessed day to all my creative lovers I wish you a beautiful start of the week.
Feliz y bendecido día tengan todos mis amantes creativos les deseo un hermoso inicio de semana.
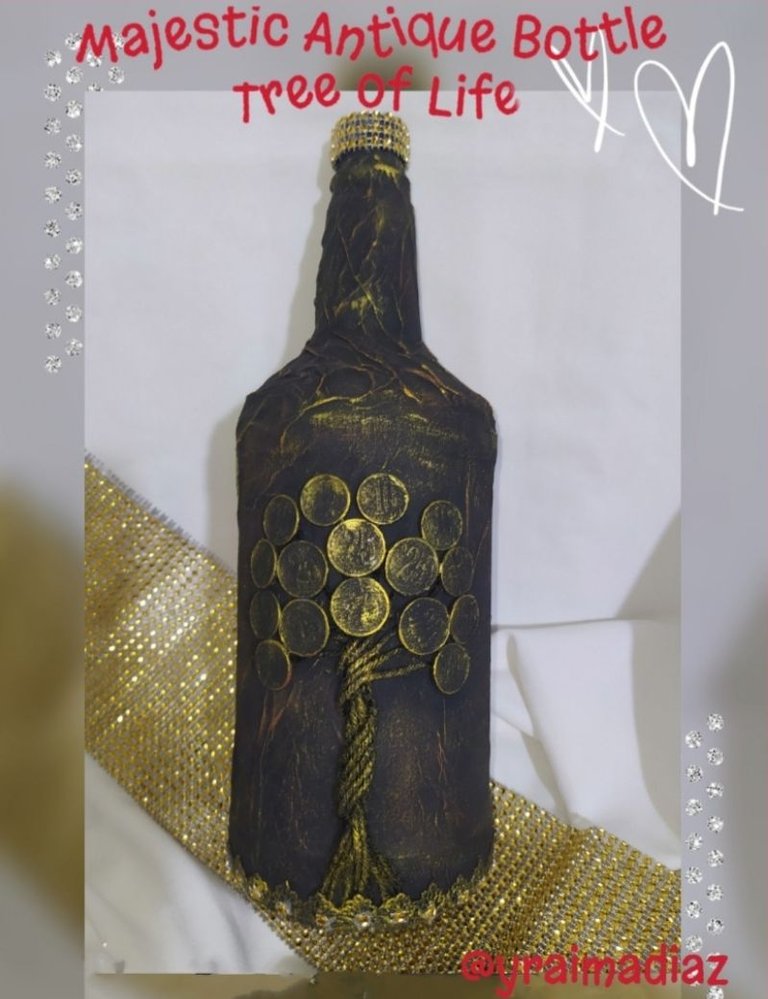
Today I have brought you a Majestic Antique Bottle with a Tree of Life which symbolizes the union of our being with nature.
I made it by recycling materials such as a plastic bottle, a paper bag, coins that are no longer in circulation, among others.
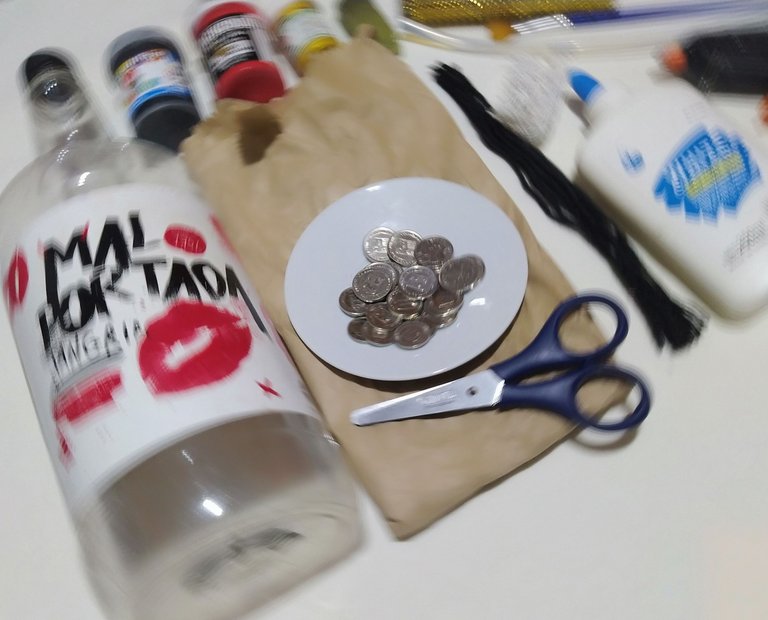
Here I share with you the materials I used and the step by step instructions.
Hoy les he traído una Majestuosa Botella Antigua con un Árbol de la vida la cual simboliza la unión de nuestro ser con la naturaleza.
El cuál realice reciclando materiales como una botella plástica, bolsa de papel, monedas que ya han salido de circulación entre otros.
Aquí les comparto los materiales que utilice y el paso a paso.
Materiales.
- Botella plástica.
- Bolsa de papel.
- Monedas de dos tamaños.
- Pistola de silicón.
- Barra de silicón.
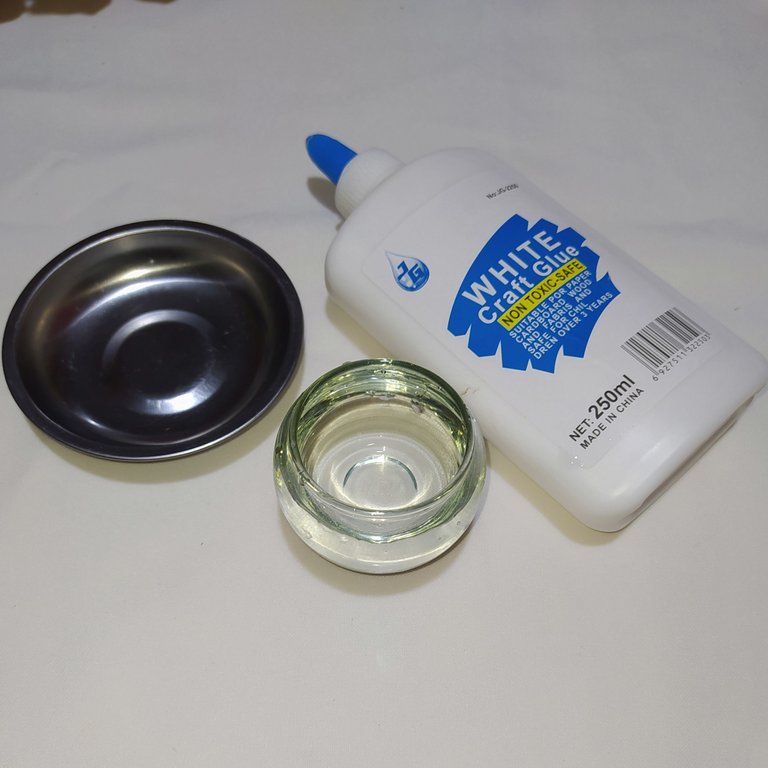
- Pega blanca.
- Pintura acrílica negra.
" Pintura acrílica dorada. - Pintura acrílica roja.
- Encaje.
- Strap dorado.
- Pincel.
- Liga de goma.
- Estambre negro.( 10 hilos de 25 cm c/u)
- Tijeras.
Materials.
- Plastic bottle.
- Paper bag.
- Coins of two sizes.
- Silicone gun.
- Silicone stick.
- White glue.
- Black acrylic paint.
"Gold acrylic paint. - Red acrylic paint.
- Lace.
- Gold Strap.
- Brush.
- Rubber band.
- Black yarn (10 threads of 25 cm each).
- Scissors.
Let's move on to the step by step.
Pasemos al paso a paso.
 |  |
|---|
Step one
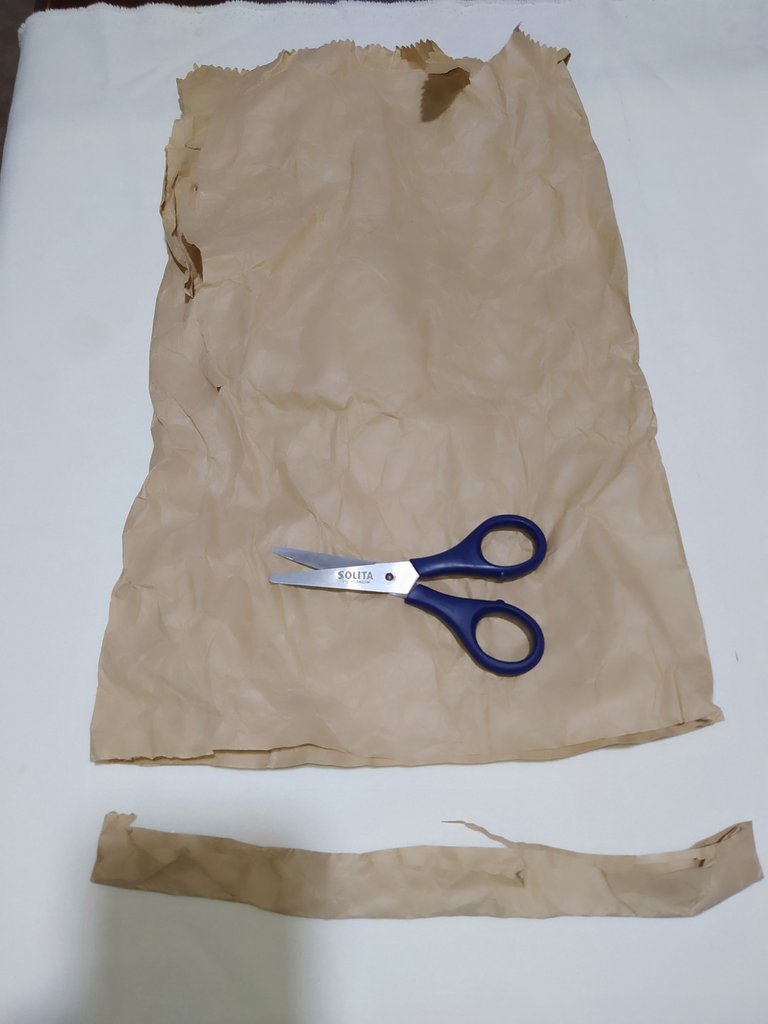
- The first thing I do is cut the bottom of the paper bag with the scissors.
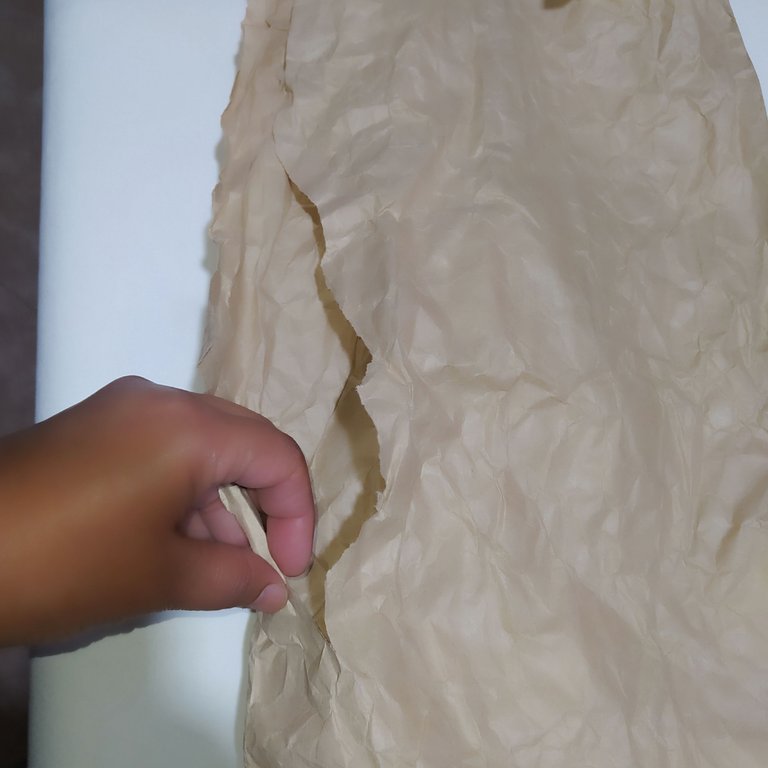
- Then we tear the bag on one side.
Paso uno
- Lo primero que hago es cortar la parte de abajo de la bolsa de papel con la tijera.
- Luego rasgamos la bolsa por un lado.
 |  |
|---|
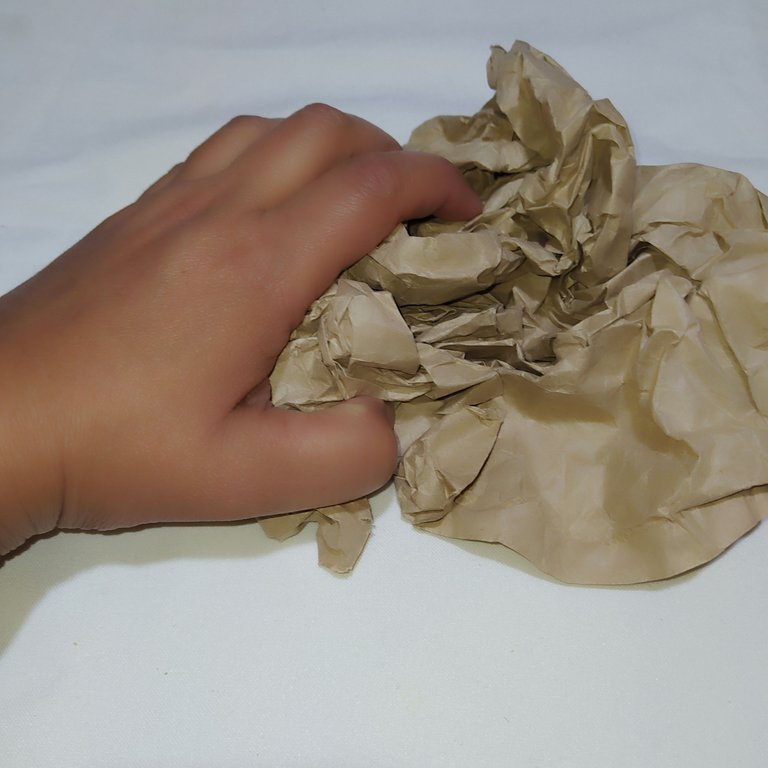
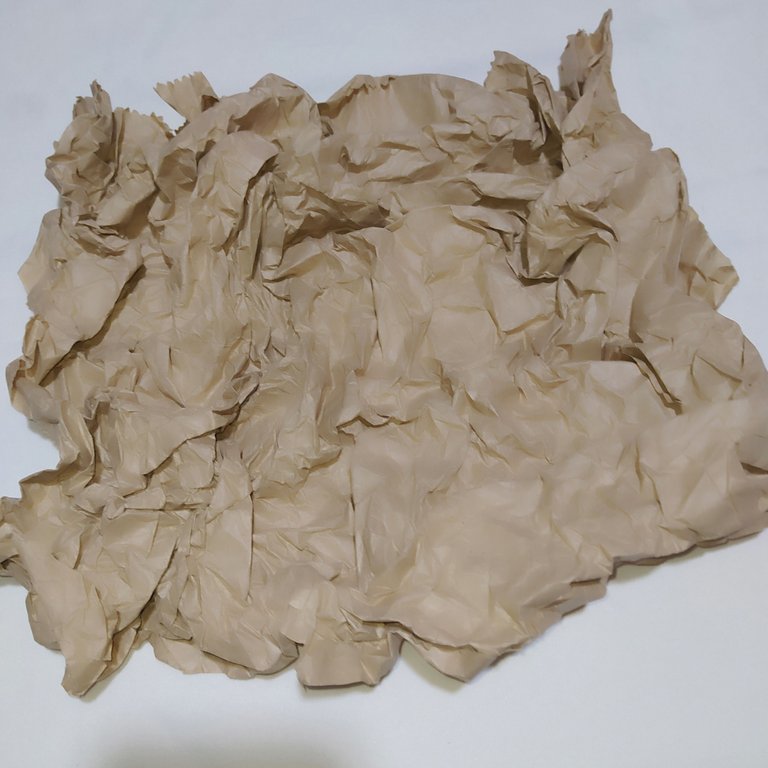
- Squeeze it until it wrinkles to give it texture.
- La vamos apretando hasta arrugar para darle textura.
 |  |  |
|---|
Step two
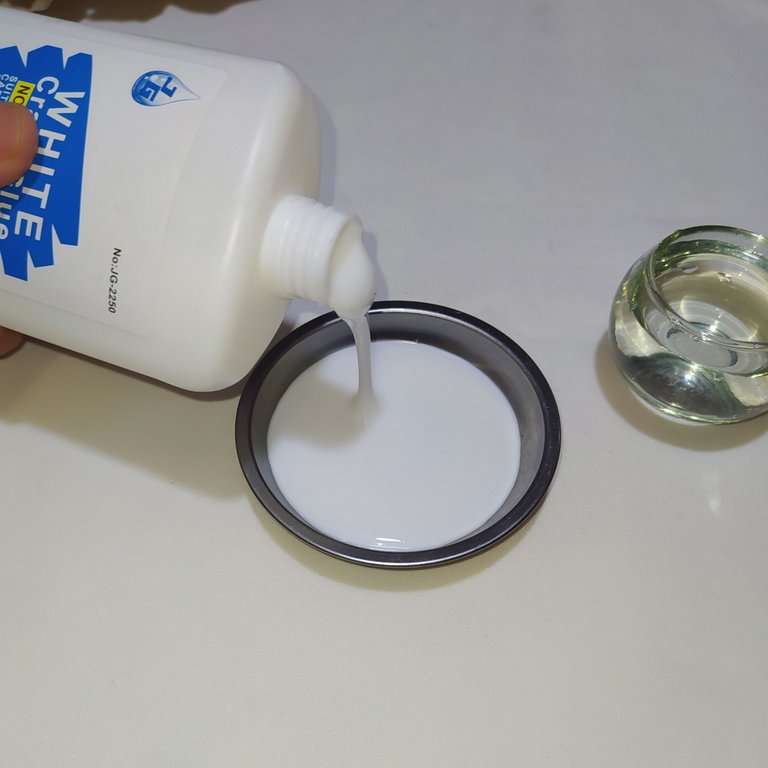
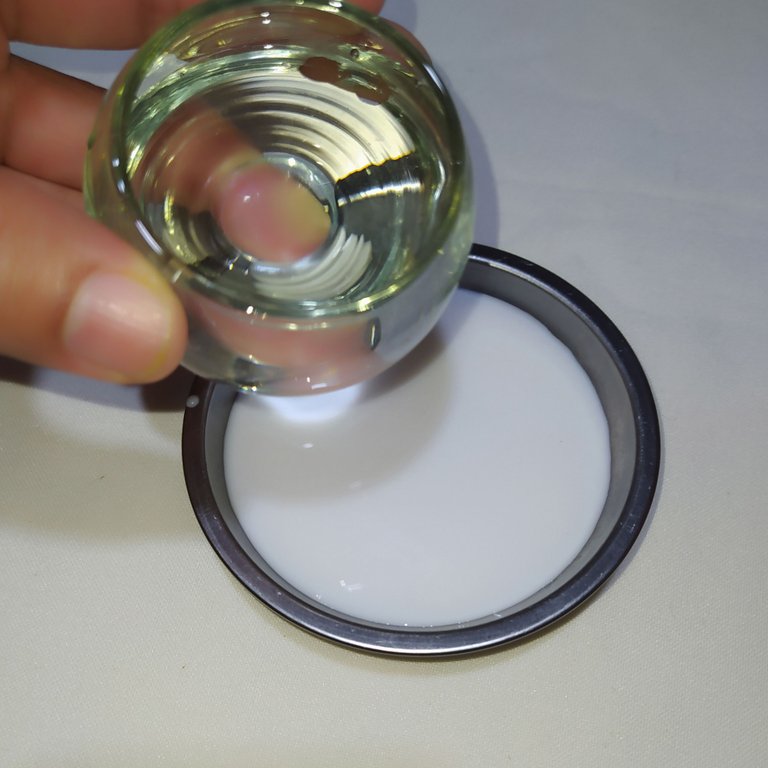
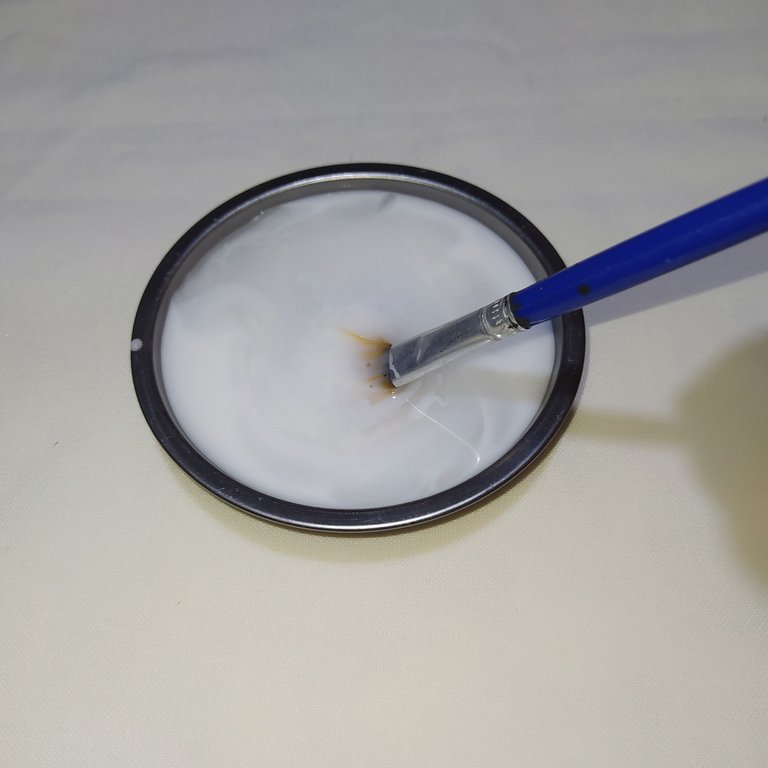
- Then in a container we pour approximately two spoonfuls of glue and two spoonfuls of water.
- We mix with the brush until integrating.
Paso dos
- Luego en un envase vertemos aproximadamente dos cucharadas de pega y dos cucharadas de agua.
- Mezclamos con el pincel hasta integrar.
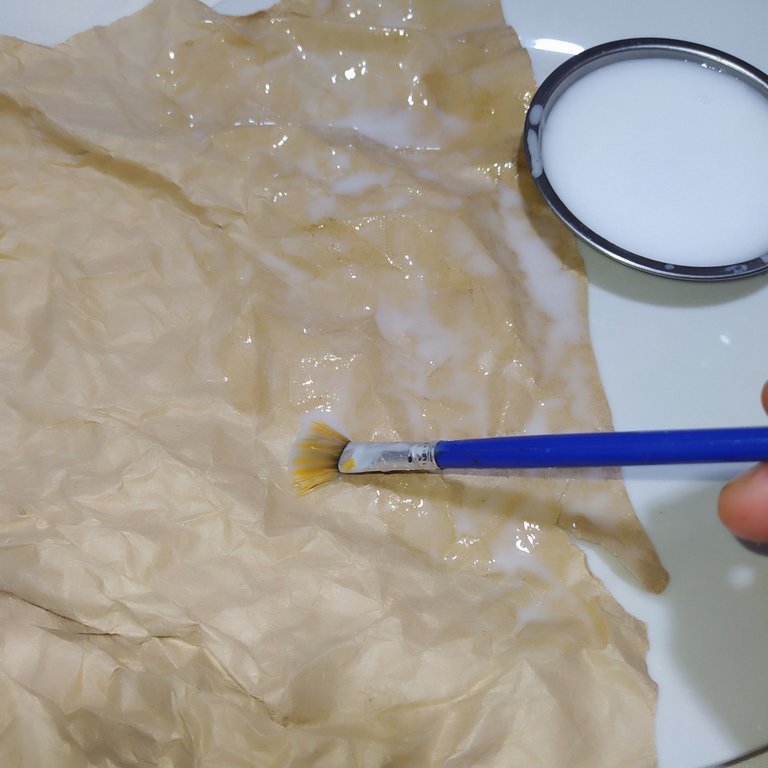
Step three
- We apply the glue to the paper bag.
Paso tres
- Le aplicamos el pegamento a la bolsa de papel.
 |  |
|---|
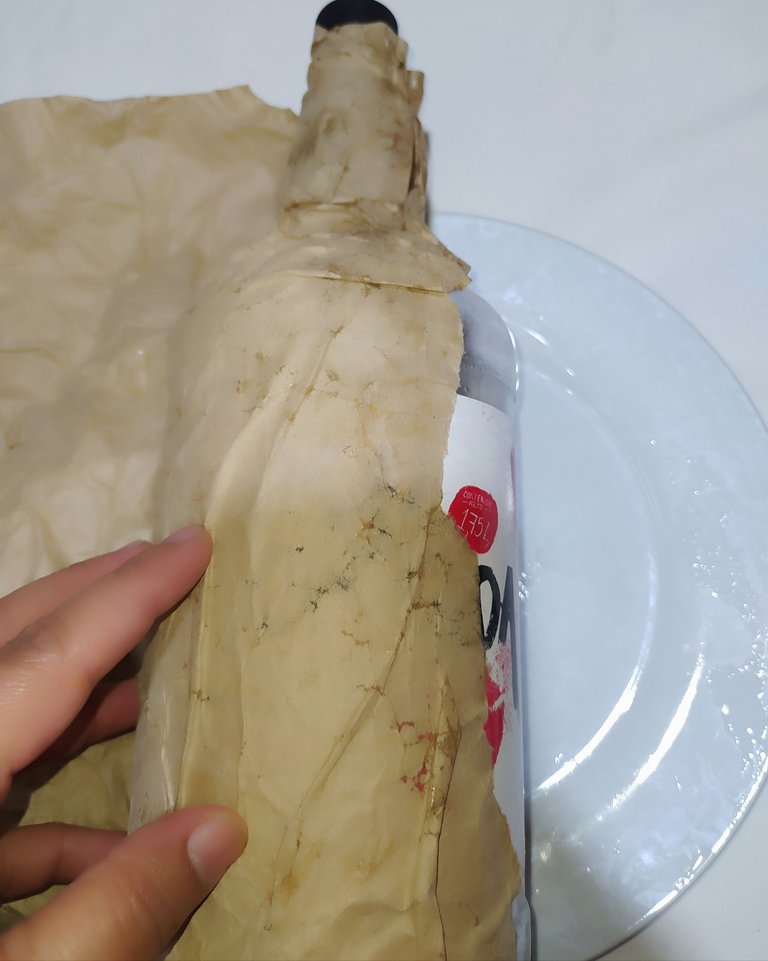
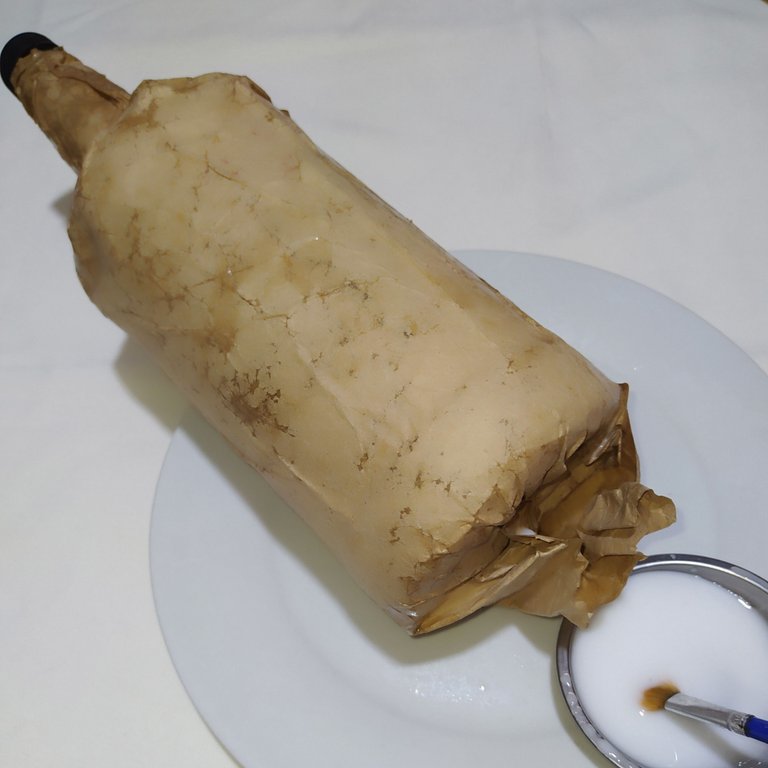
Step four
- We glue it to the plastic bottle, until it is completely covered.
Paso cuatro.
- La pegamos a la botella plástica, hasta cubrirla por completo.
 |  |
|---|
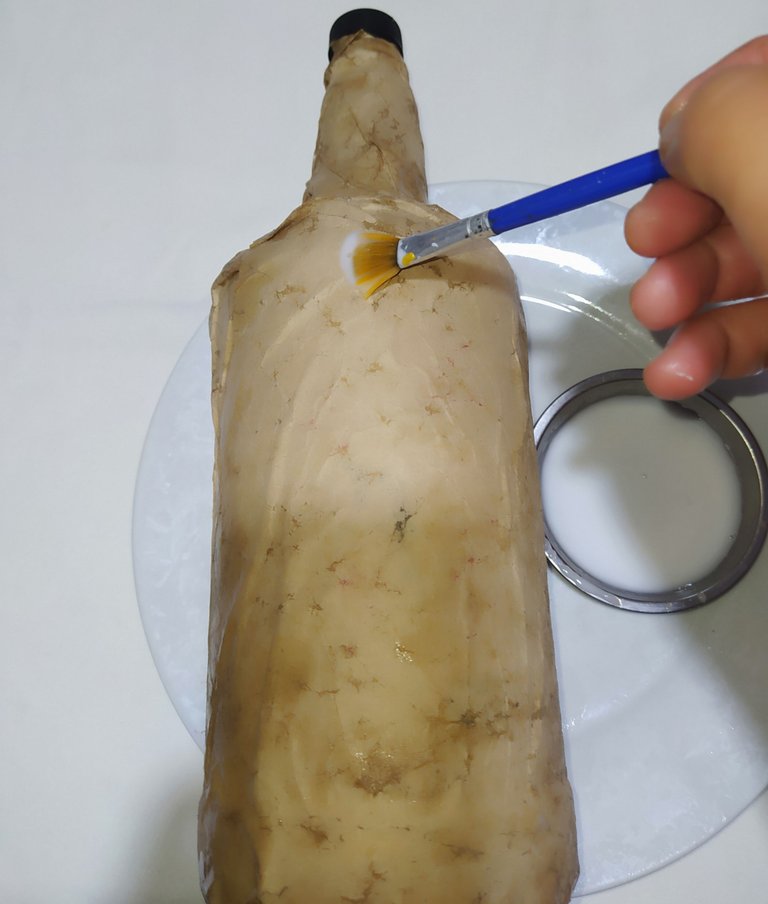
Step five
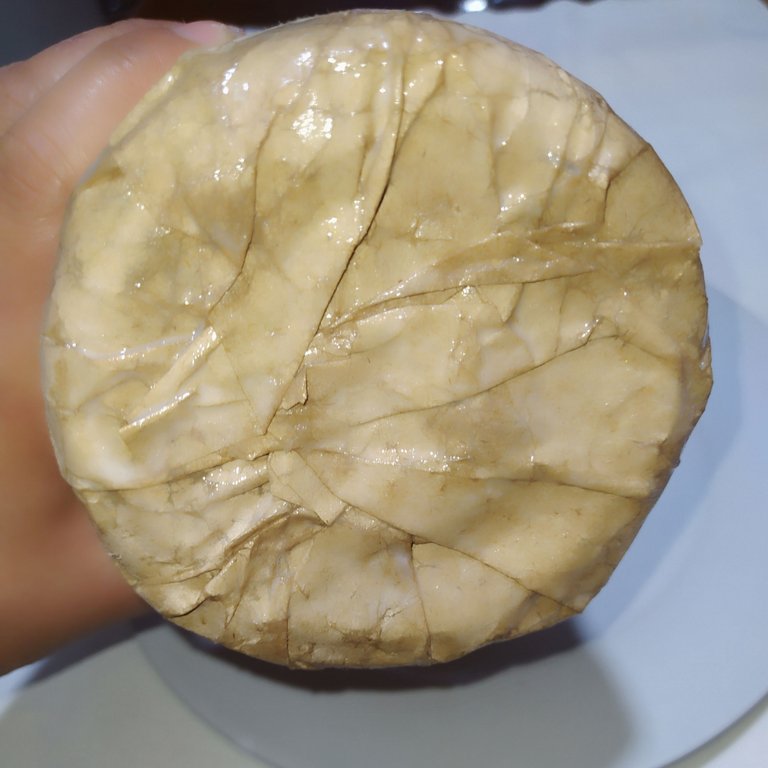
- Apply a coat of glue with a brush all over the bottle including the bottom, making sure to cover it completely.
- Let dry.
Paso cinco
- Damos una capa de pega con un pincel por toda la botella incluyendo la parte de abajo, asegurando de cubrir por completo.
- Dejamos secar.
 |  |
|---|
Step six
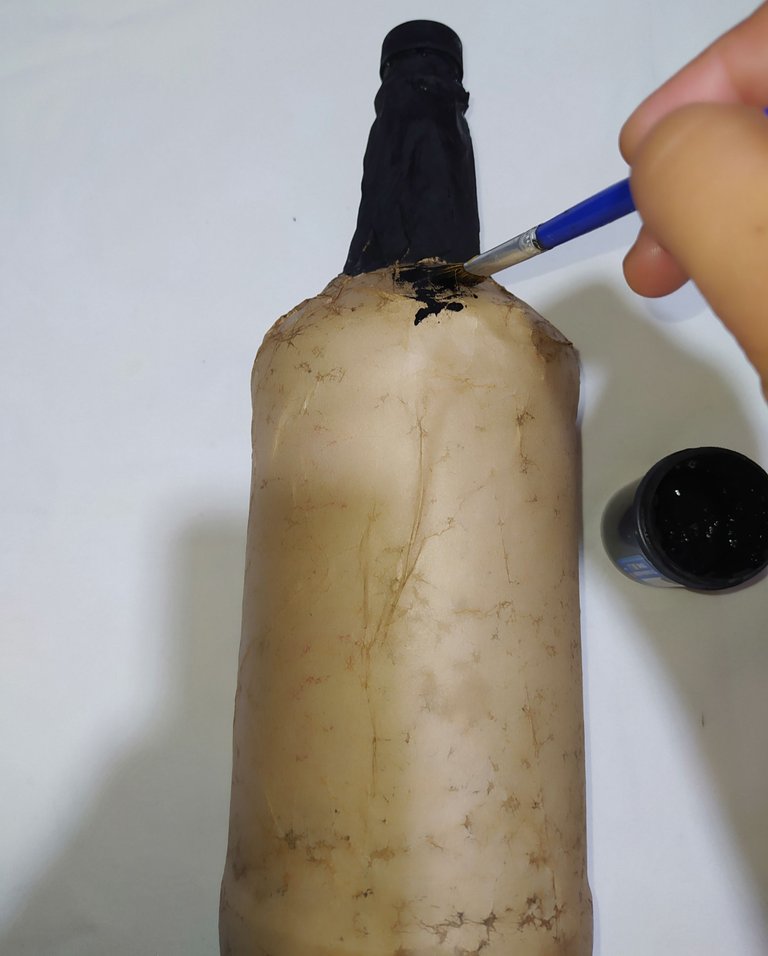
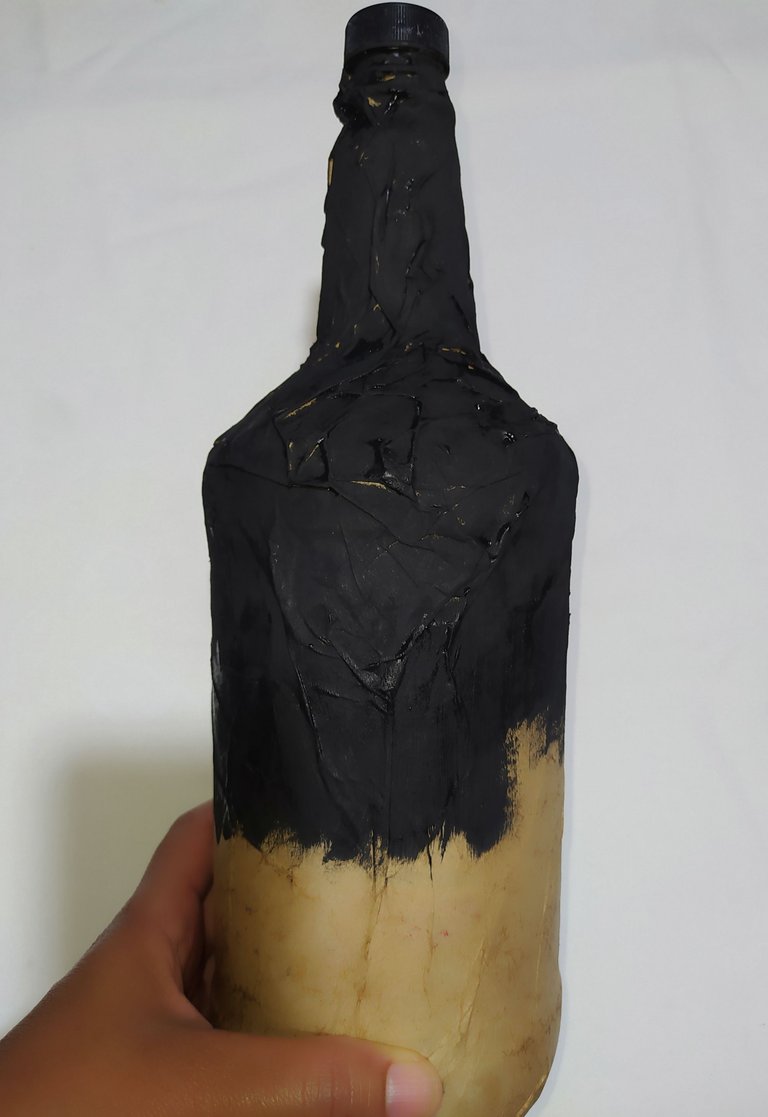
- Once dry we apply the black paint with the help of the brush.
- Covering its totality.
- Letting it dry between coats.
Paso seis.
- Una vez seca le aplicamos la pintura negra con la ayuda del pincel.
- Cubriendo su totalidad.
- Dejando secar entre capa y capas.
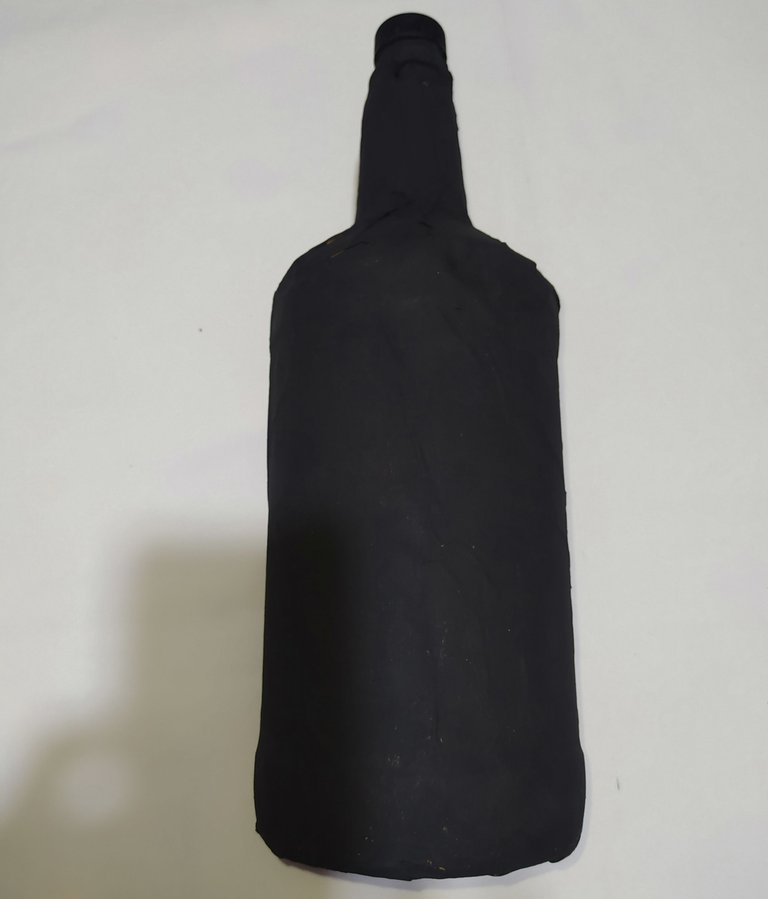
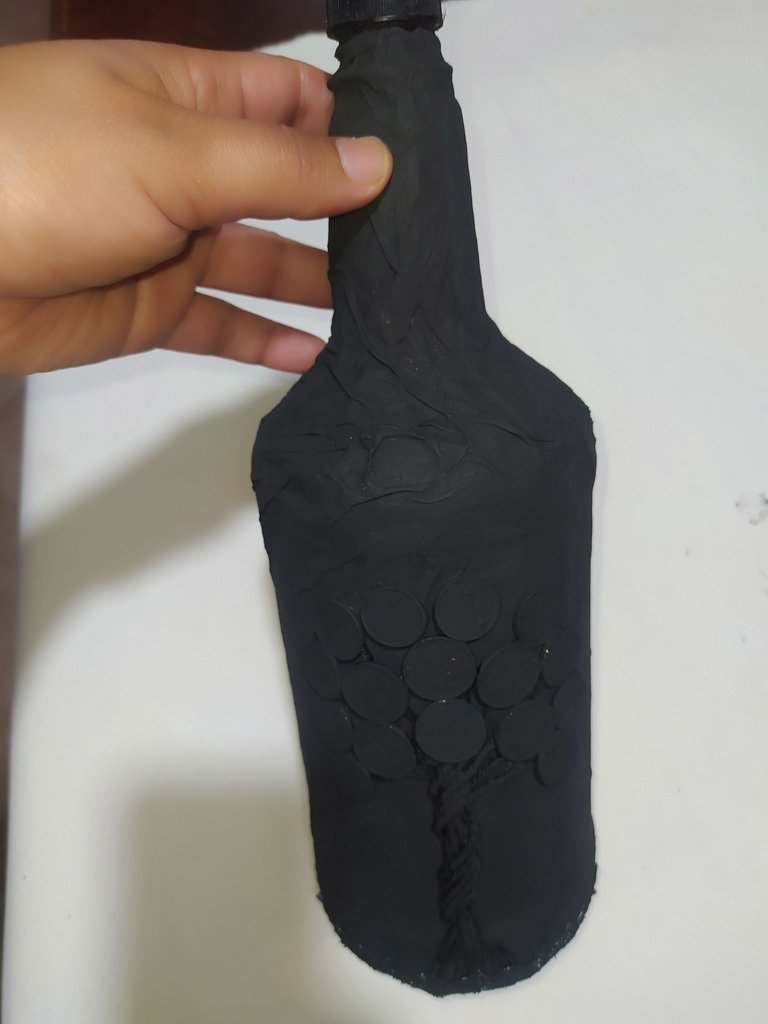
- This is how it should look.
- Así nos debe quedar.
Materials to make the tree trunk.
Materiales para realizar el tronco del árbol.
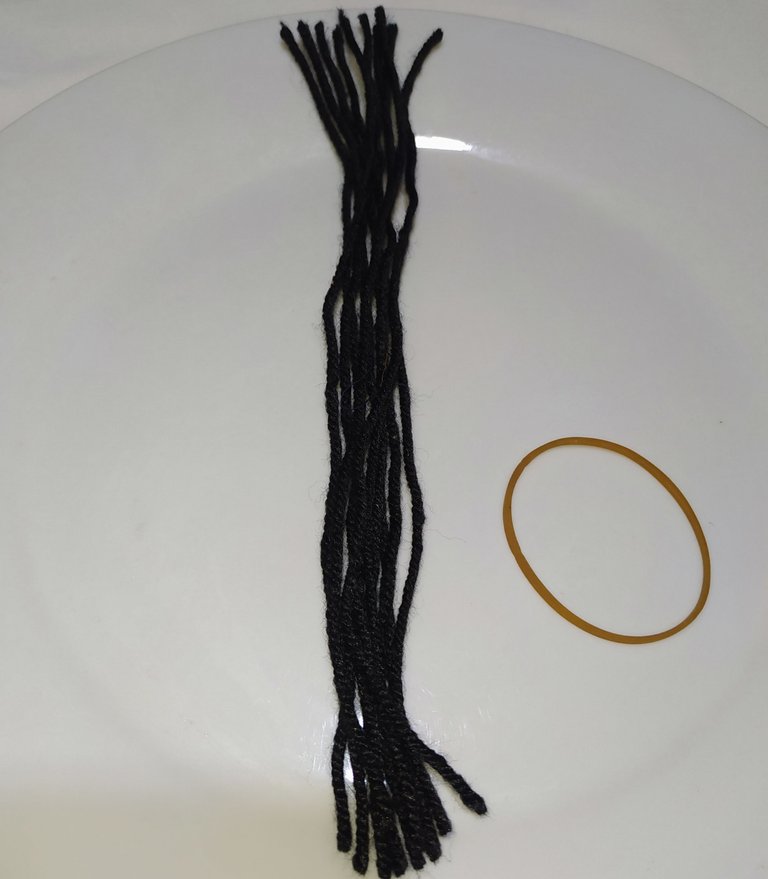
Steps to make the tree trunk.
- 10 strands of worsted yarn of 25 cm each.
- Garter .
- 10 Hilos de estambre de 25 cm c/u.
- Liga .
Steps to make the tree trunk.
Pasos para realizar el tronco del árbol.
 |  |
|---|
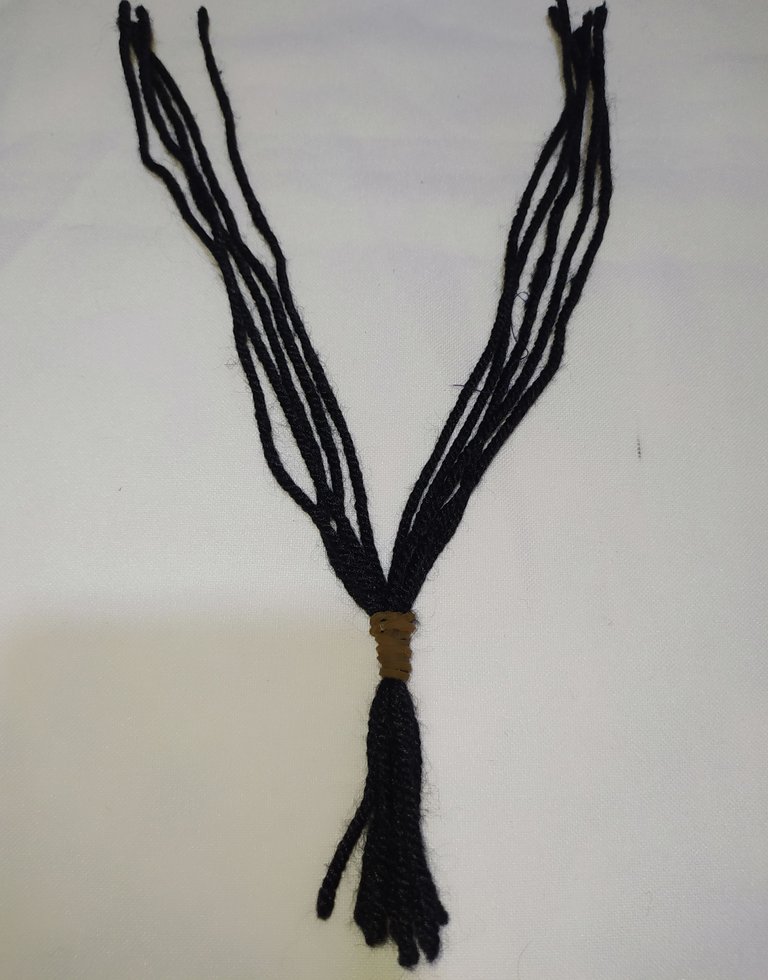
- We take the yarn and at one of the ends we tie it with the ribbon leaving a space of about 5 cm.
- Then we divide in two the quantity of threads.
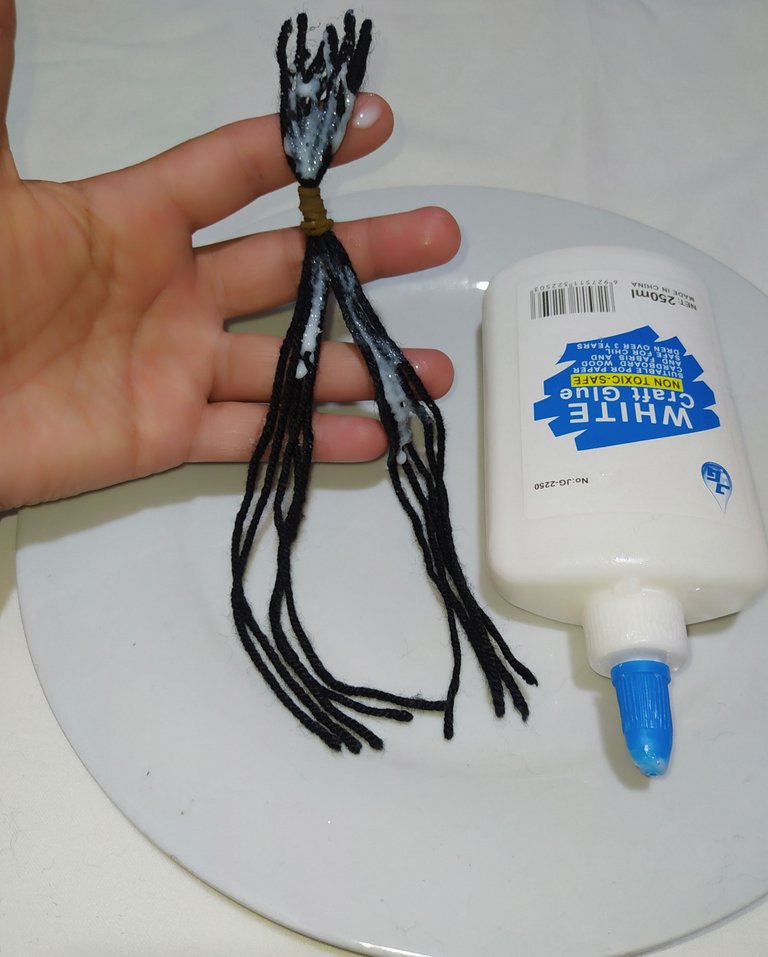
- We apply white glue
- Tomamos el estambre y en uno de los extremos lo amarramos con la liga dejando un espacio como de 5 cm.
- Luego dividimos en dos la cantidad de hilos.
- Le aplicamos pega blanca
 |  |
|---|
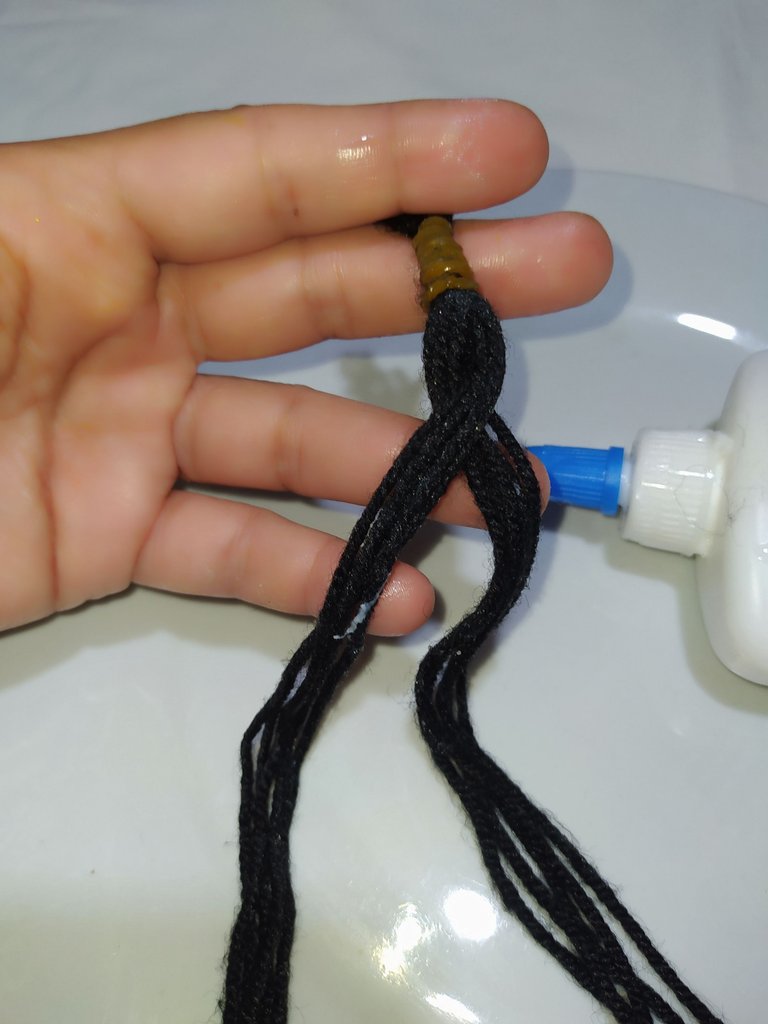
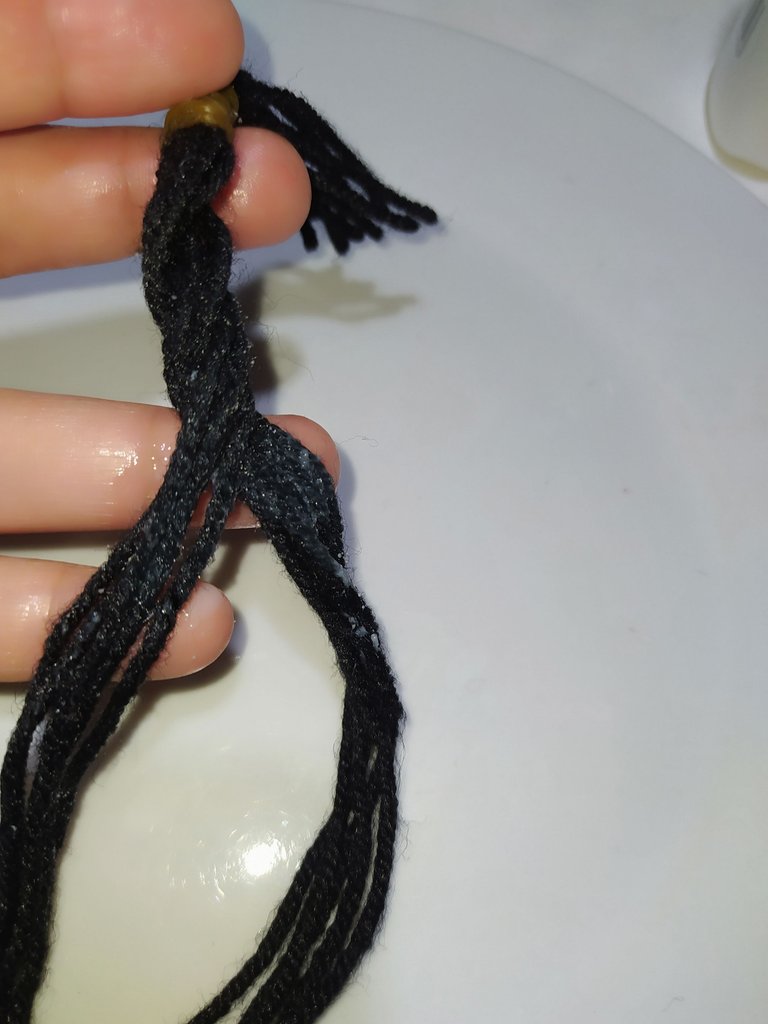
- We take the right side and pass it over the left side.
- We turn it several times.
- Tomamos el lado derecho y lo pasamos por encima del lado izquierdo.
- Le damos varias vueltas.
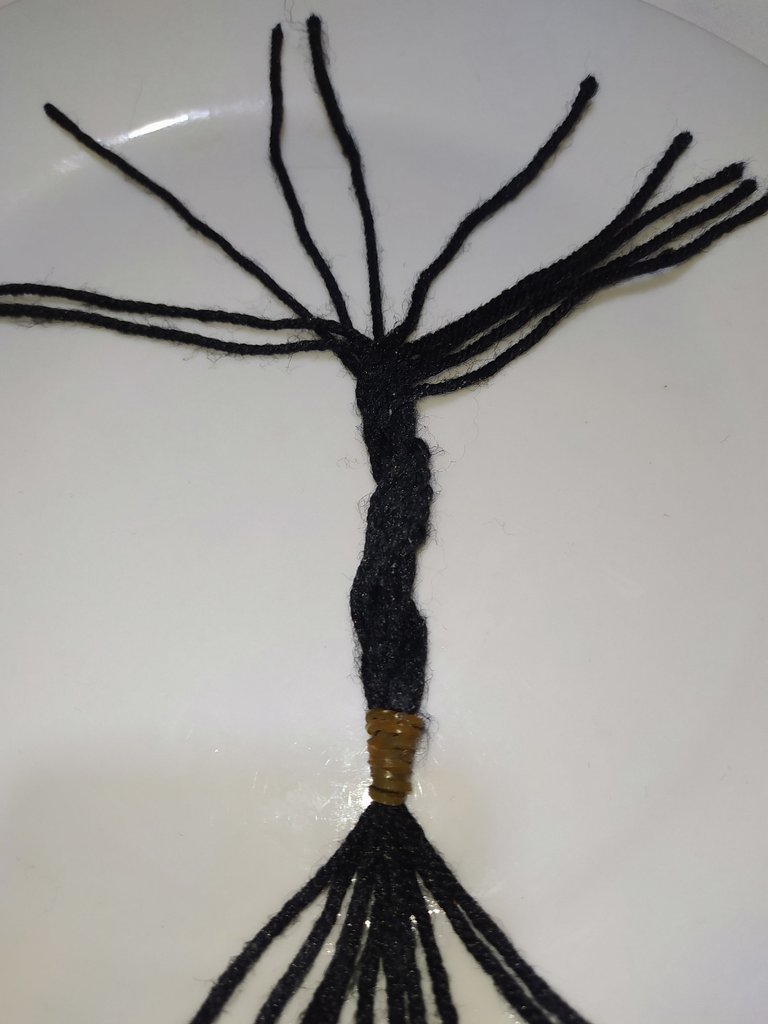
- Then I place it on a plate and separate the top threads which will be the branches of the tree and the bottom threads which will form the root, as shown in the photo.
- I let it dry.
- Luego lo coloco en un plato y separó los hilos de arriba que seran las ramas del arbol y los hilos de abajo los cuales formarán la raíz, como muestro en la foto.
- Dejo secar.
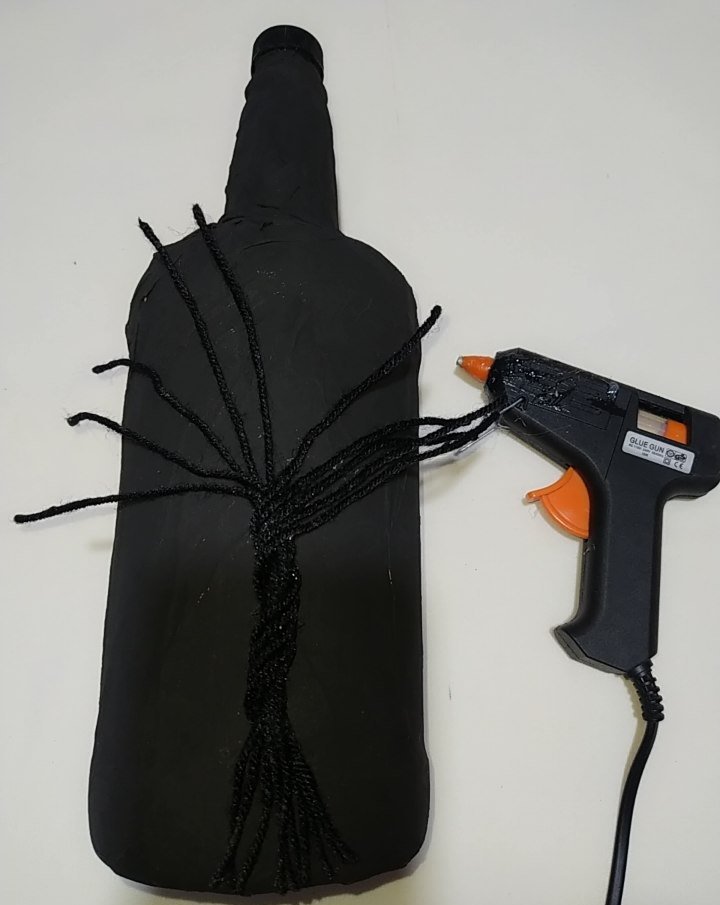
- Once dry I put silicone on the tree trunk and glue in the center of the bottle.
- Una vez seco le coloco silicón a el tronco del árbol y pego en el centro de la botella.
 |  |
|---|
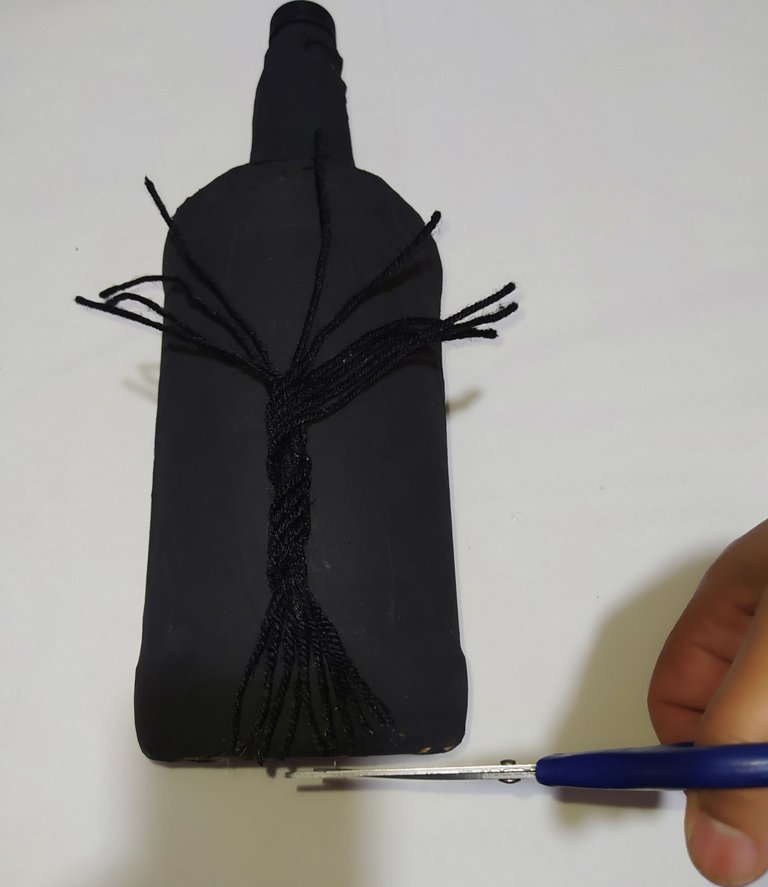
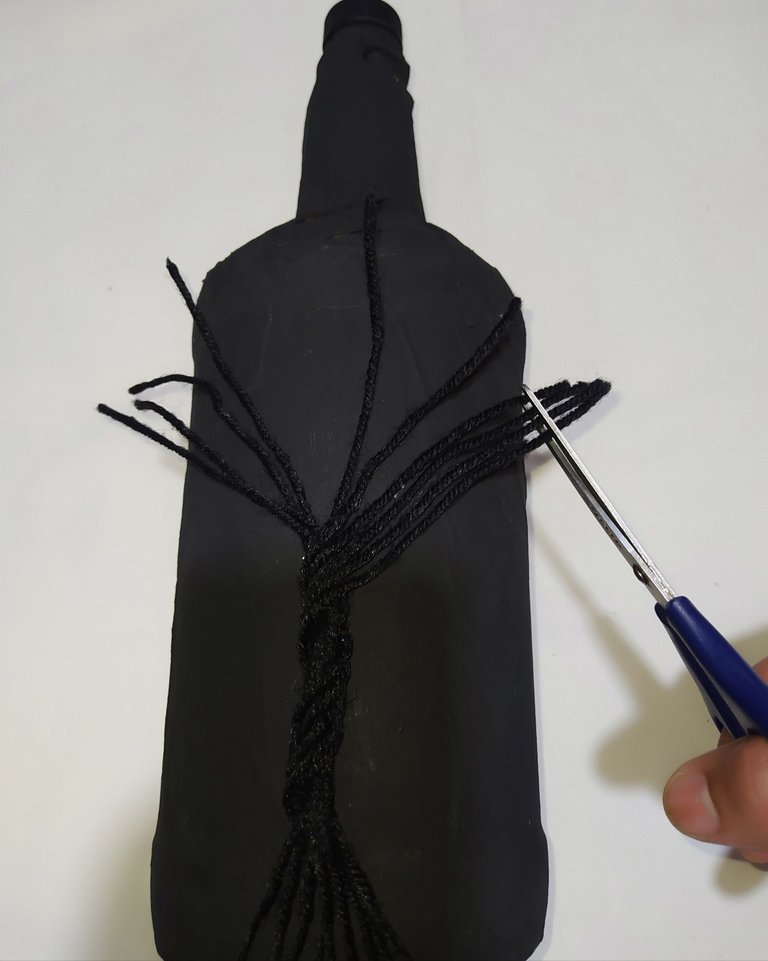
- Trimmed the threads that protrude at the bottom.
- Then at the top I cut each of the threads to shape the tree.
- Recortó los hilos que sobresalen en la parte de abajo.
- Luego en la parte de arriba voy recortando cada uno de los hilos para darle forma al árbol.
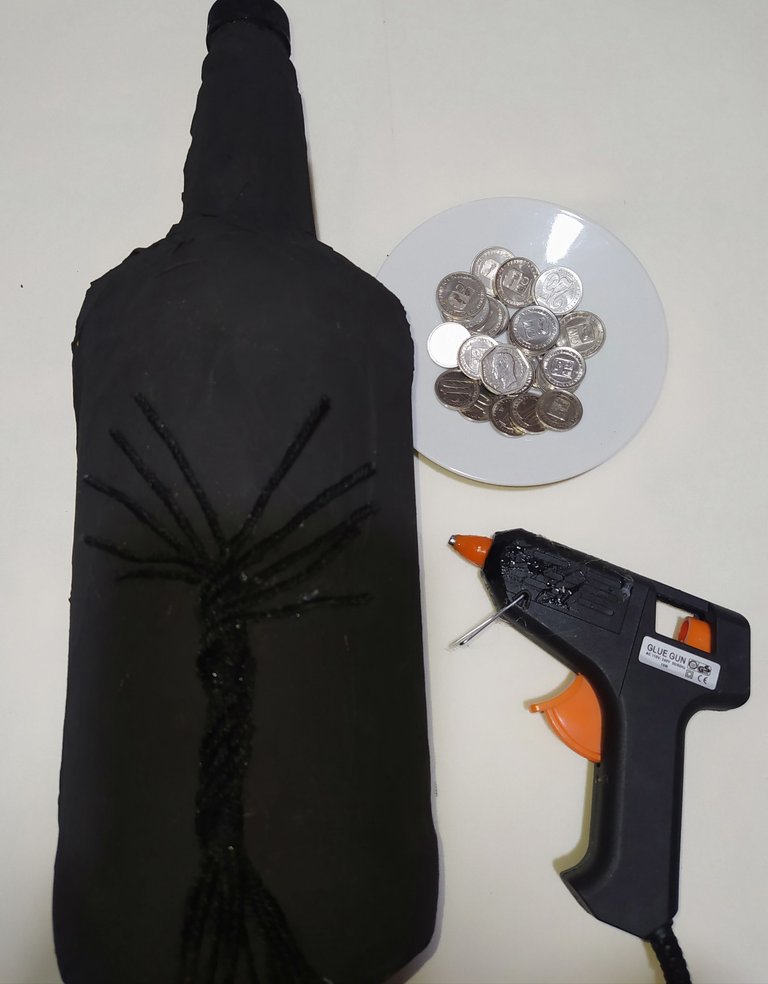
- Then I glue each of the ends of the threads with hot silicone.
- Luego pego cada uno de las puntas de los hilos con silicón caliente.
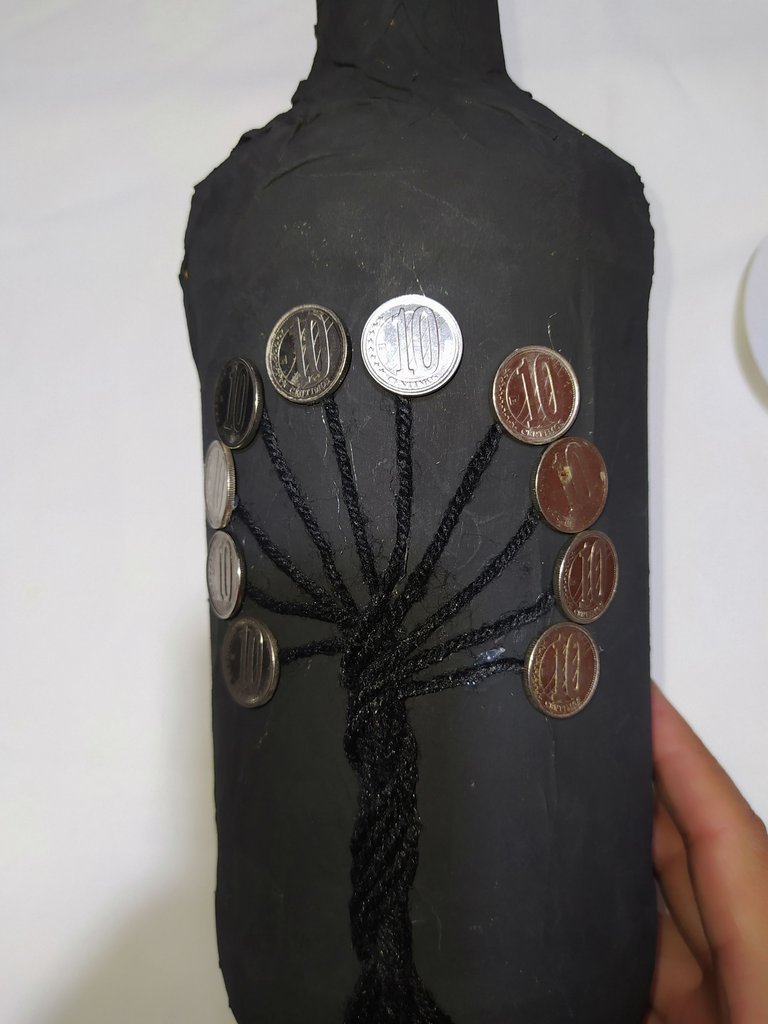
We now move on to gluing the coins.
Ahora pasamos a pegar las monedas.
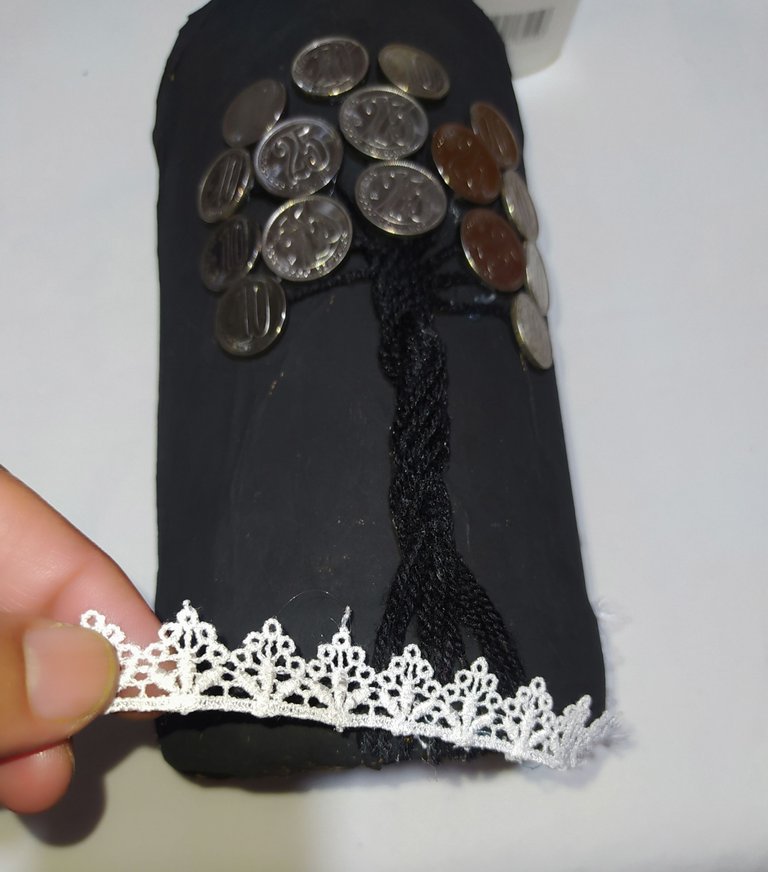
- On each branch I place a small coin, which I glue with silicone.
- En cada rama coloco una moneda de las pequeñas, la cual pego con silicón.
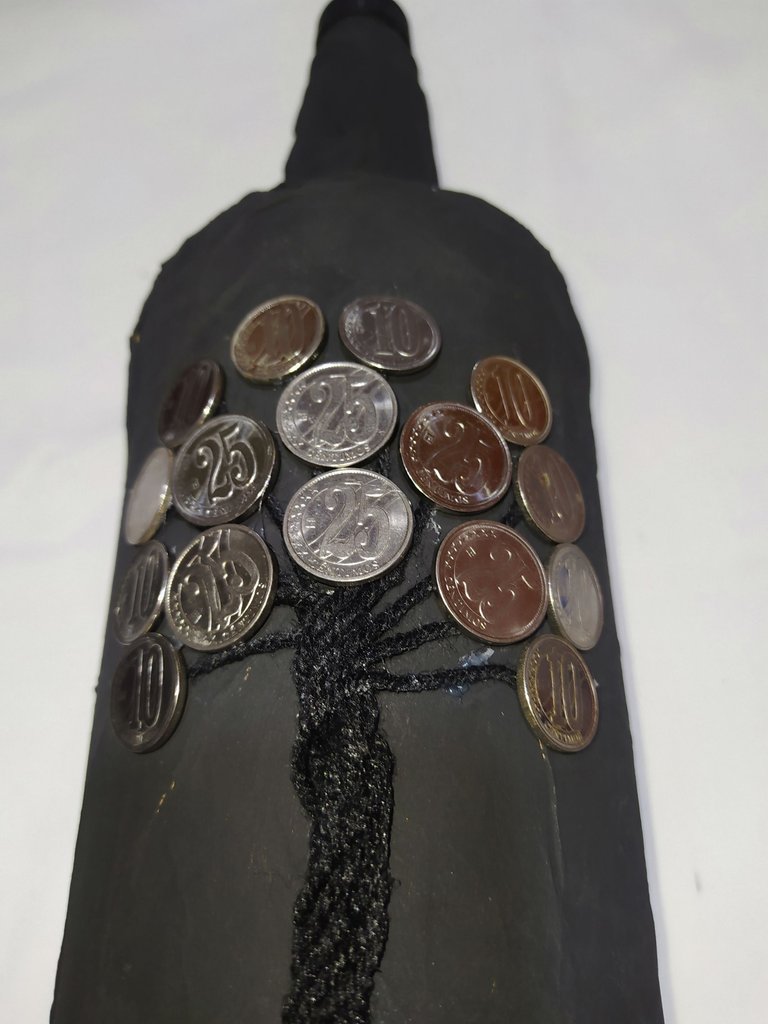
- Then I glue the rest of the medium coins in the center.
- Luego pego en el centro el resto de las monedas medianas
 |  |
|---|
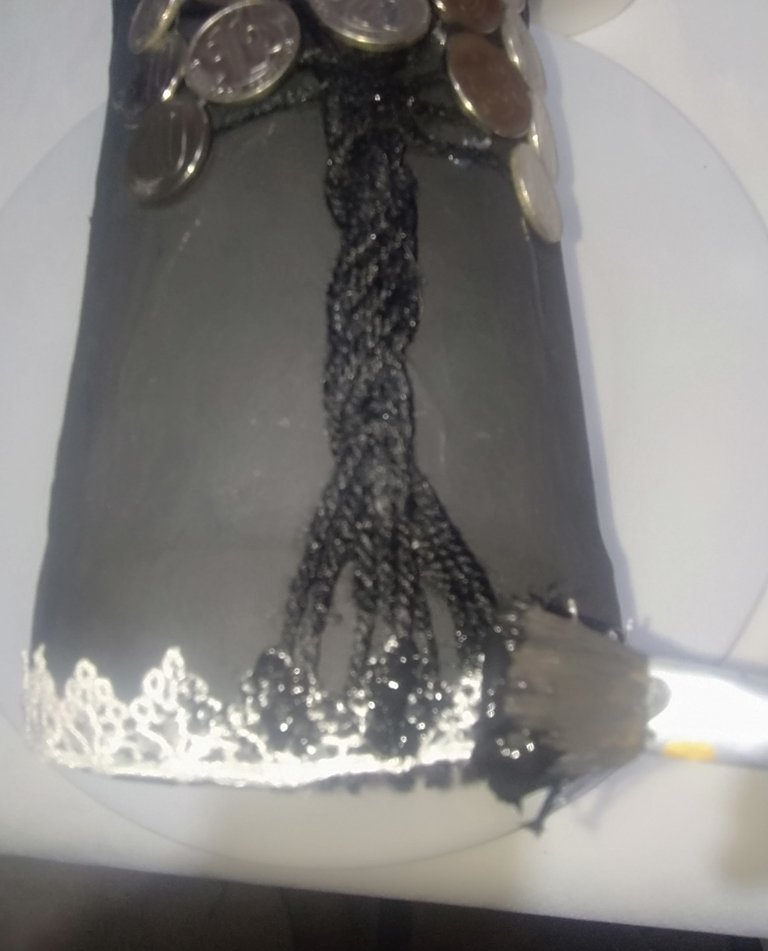
- On the bottom I glue the lace.
- Then I paint it with the black acrylic paint.
- En la parte de abajo pego el encaje.
- Luego lo pinto con la pintura acrílica negra.
 |  |
|---|
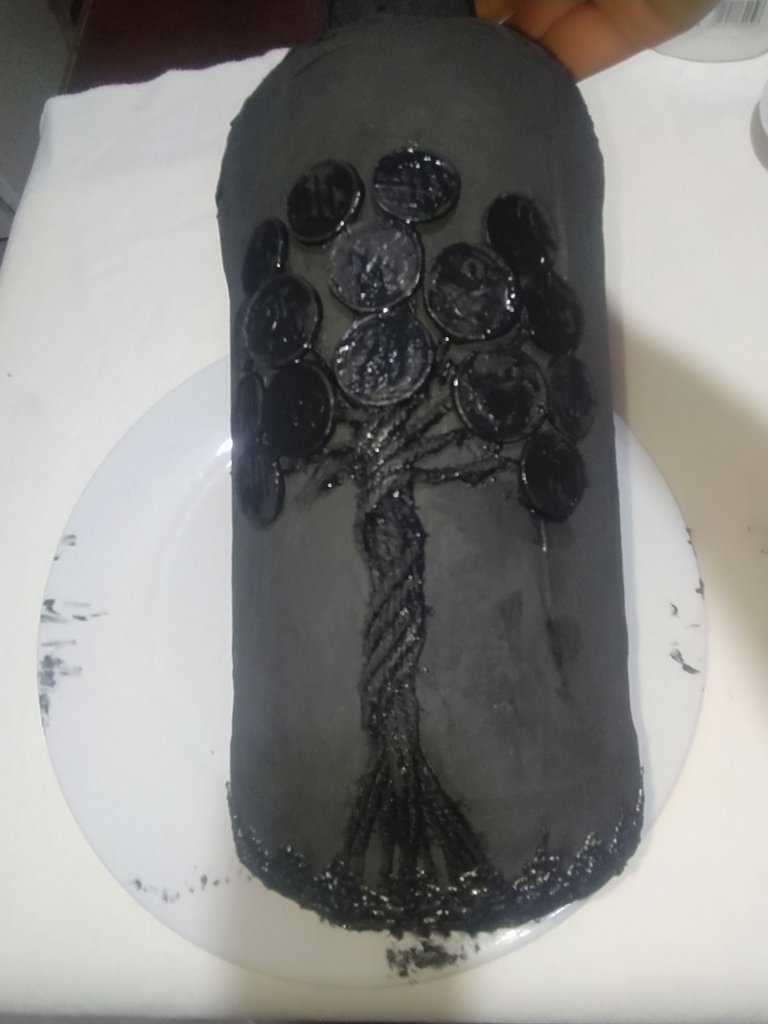
- Applied several coats of black paint to the coins and the bottom of the tree.
- Let it dry.
- Le aplicó varias capas de pintura negra a las monedas y a la parte de abajo del árbol.
- Dejo secar.
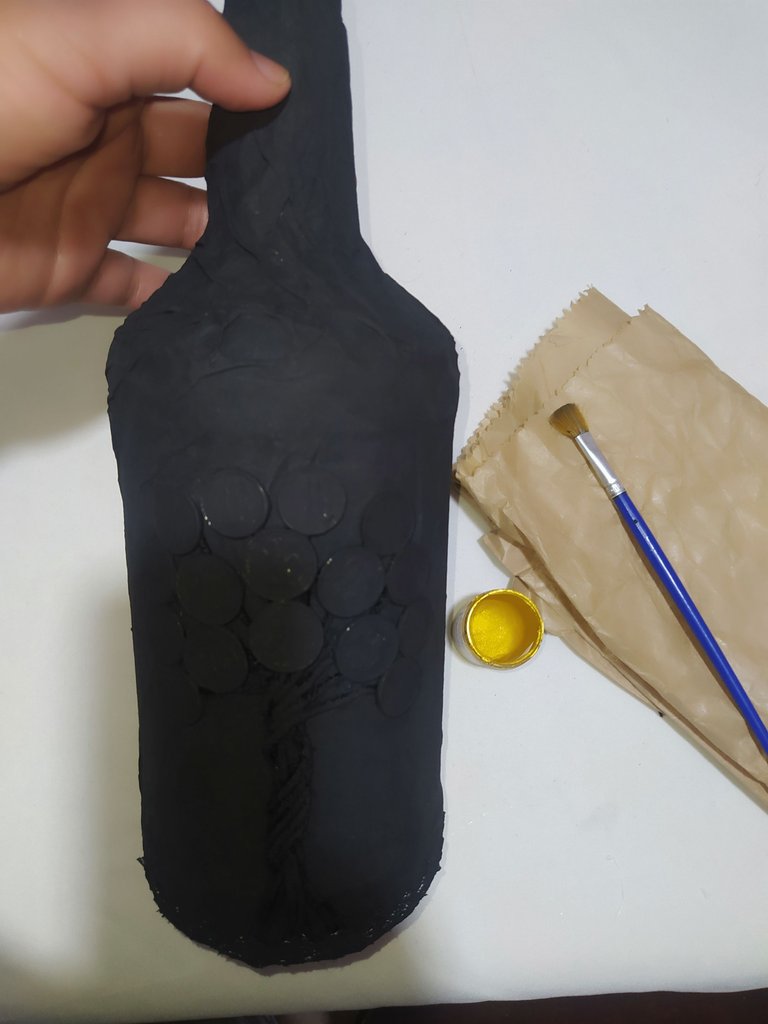
Aging technique using dry brush.
Técnica del envejecido utilizando pincel seco.
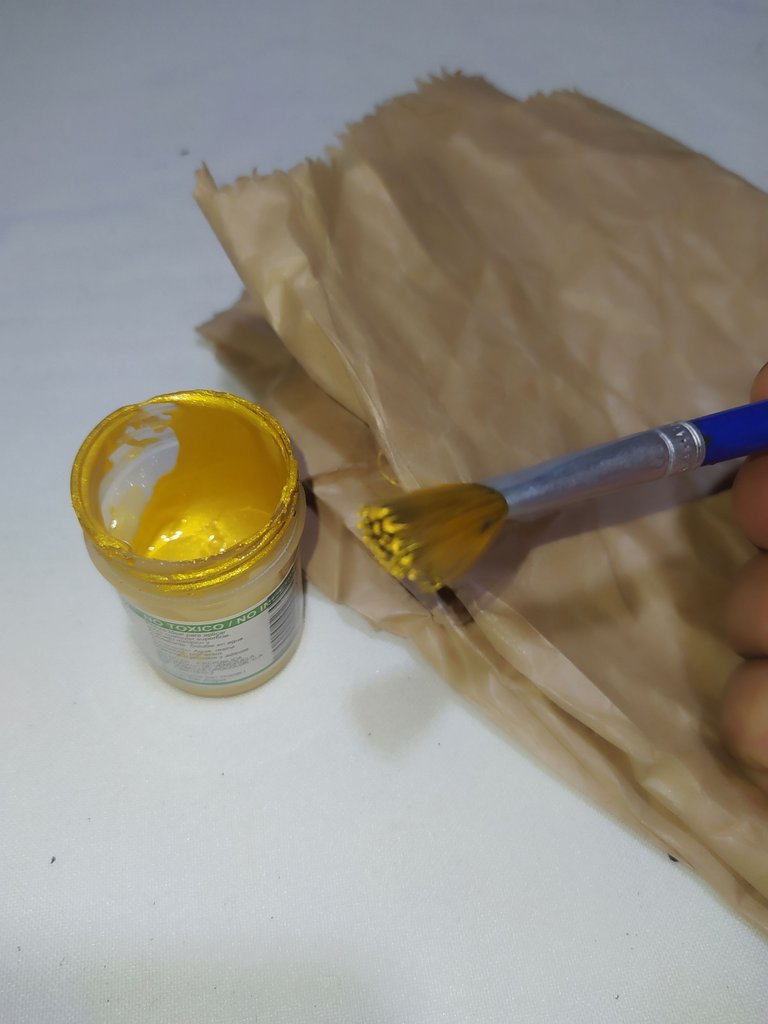 | 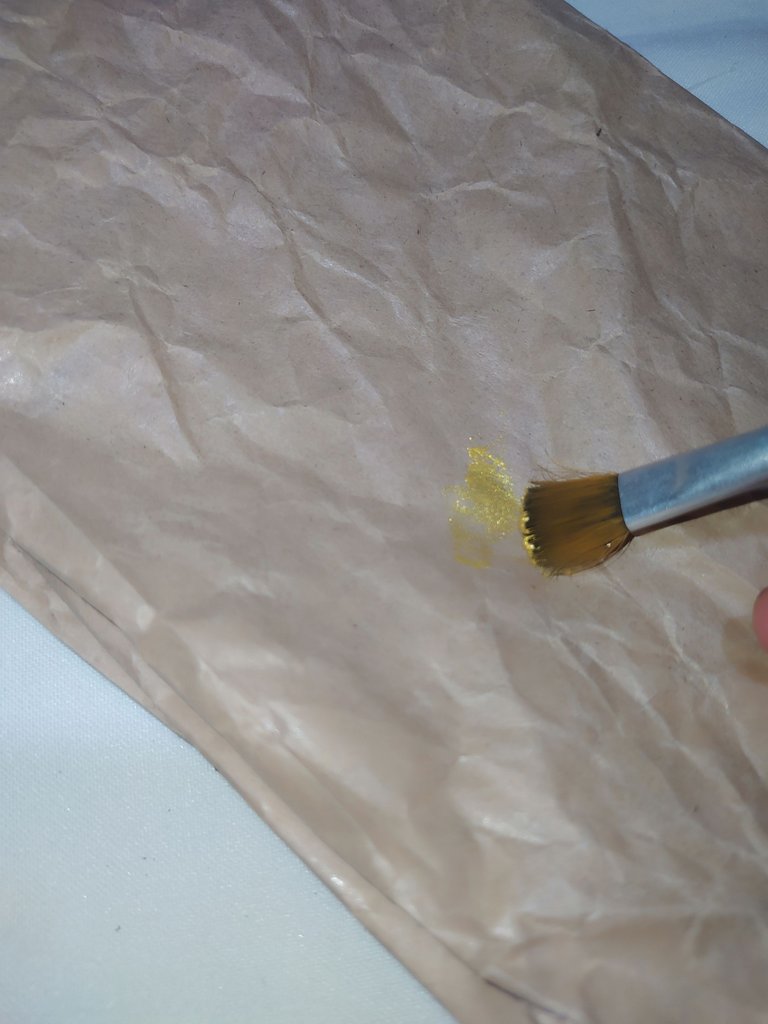 |
|---|
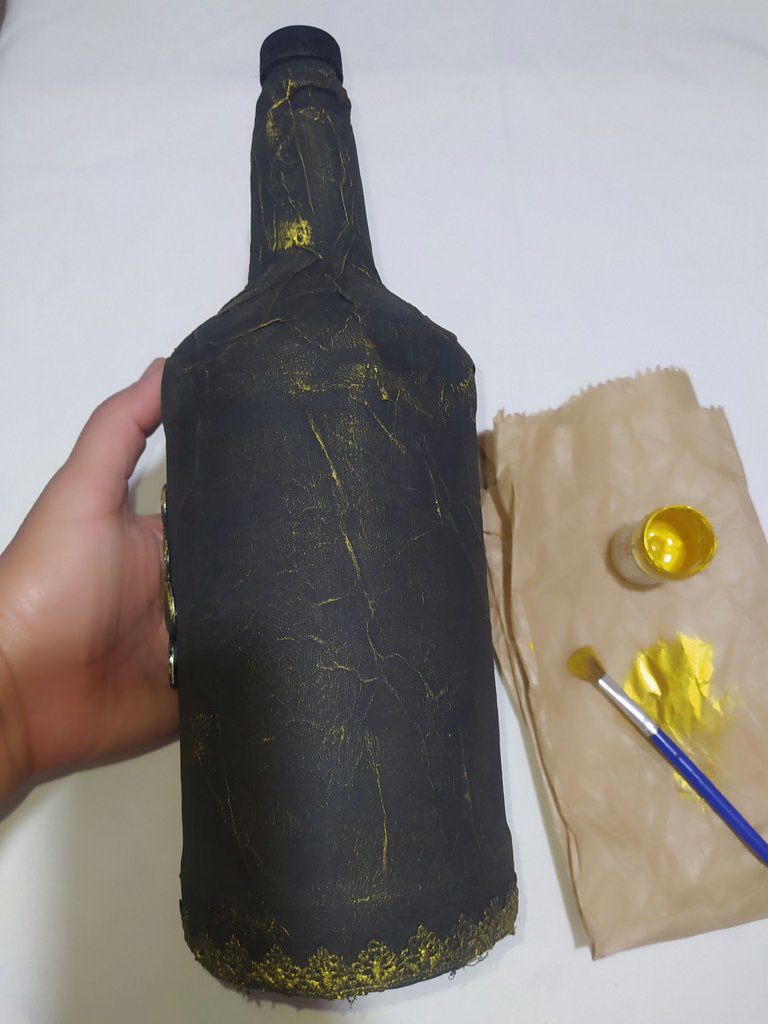
- We dip the brush a little in the gold paint, then we unload it on the paper.
- Mojamos un poco el pincel en la pintura dorada, luego descargamos en el papel.
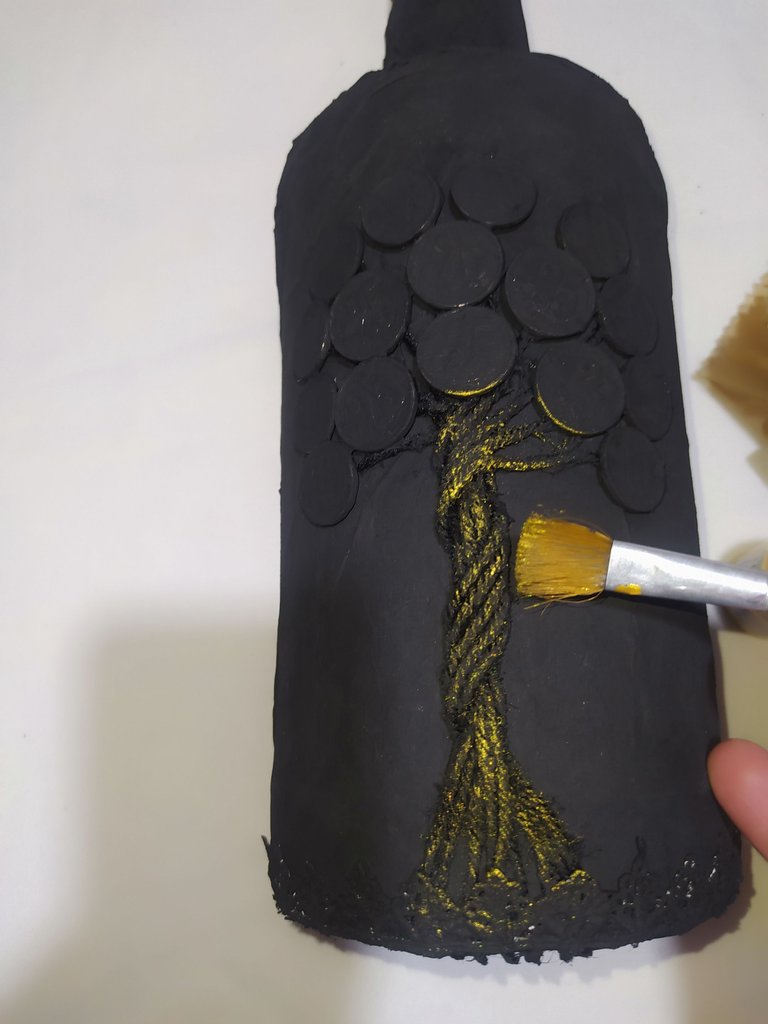
- We give soft brush strokes to the bottom of the tree.
- Damos pinceladas suaves a la parte de abajo del árbol.
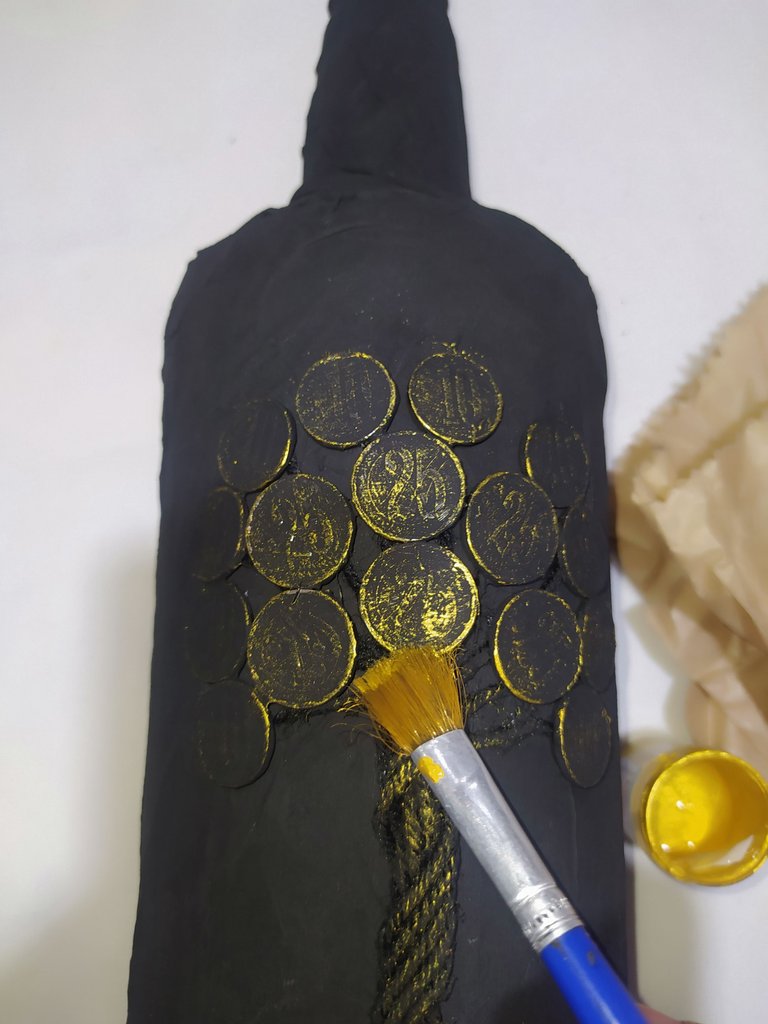
- Luego repetimos la misma técnica en la parte de arriba del árbol (monedas)
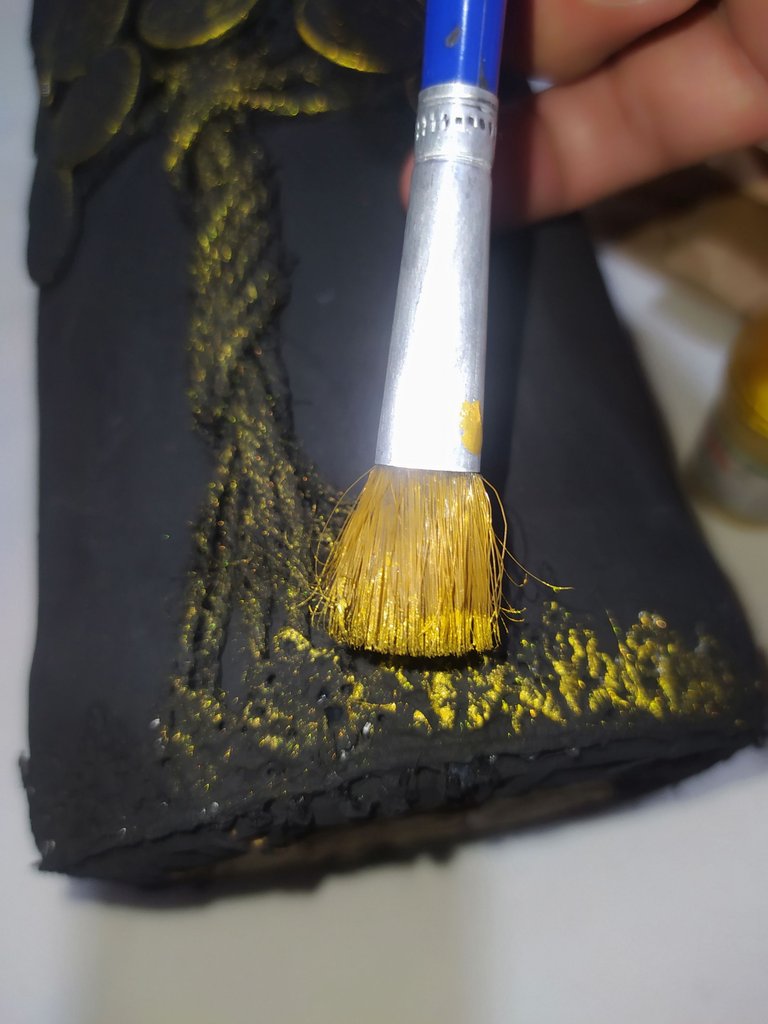
- We also apply it to the bottom of the lace.
- También lo aplicamos en la parte de abajo del encaje.
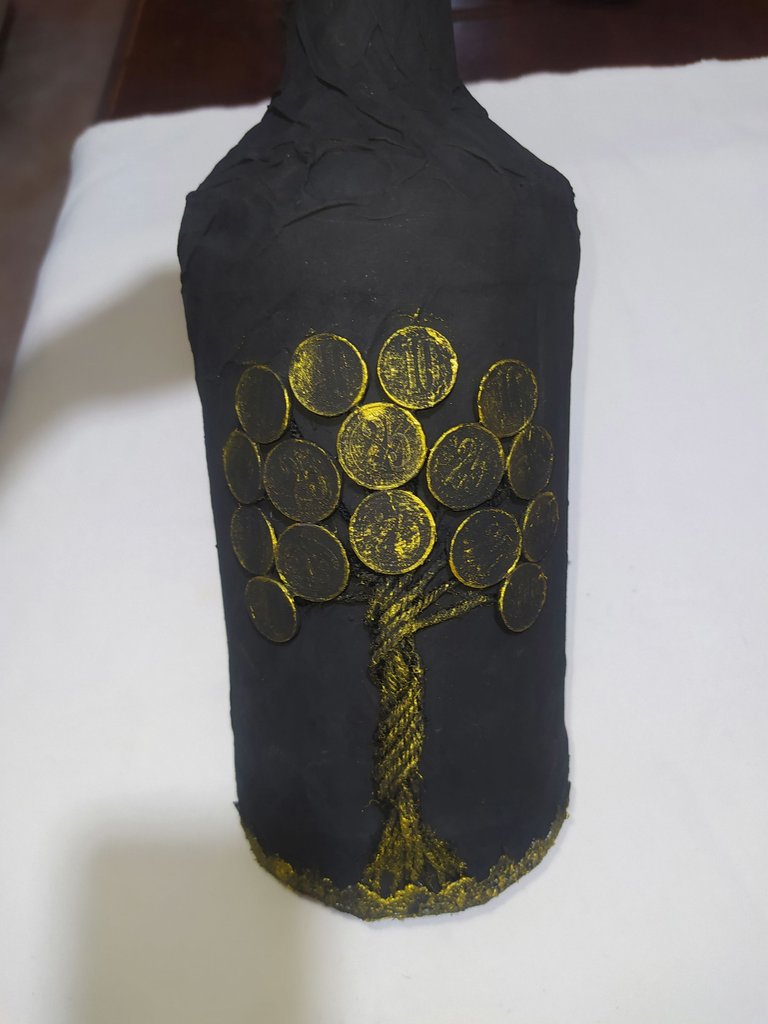
- In this beautiful way we are left with our aged tree of life.
- De esta forma tan hermosa nos queda nuestro árbol de la vida envejecido
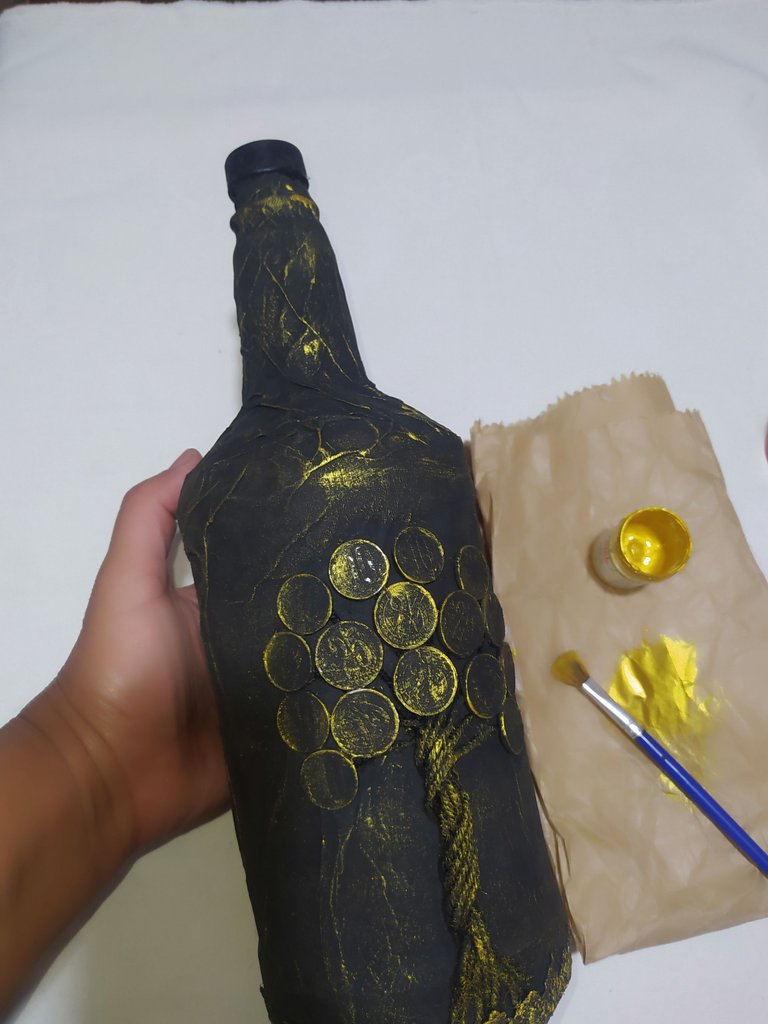
- To give it a better finish we apply the same technique to the front and back of the bottle.
- Para darle un mejor acabado aplicamos la misma técnica a la botella por la parte de adelante y de atrás.
 |  |
|---|
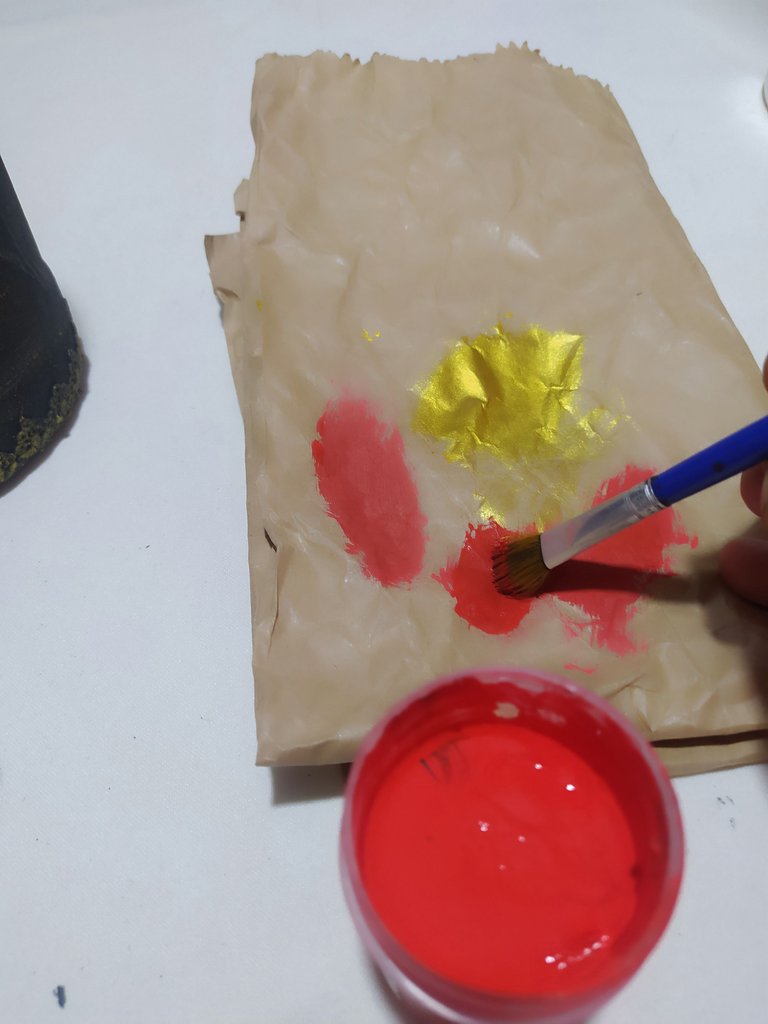
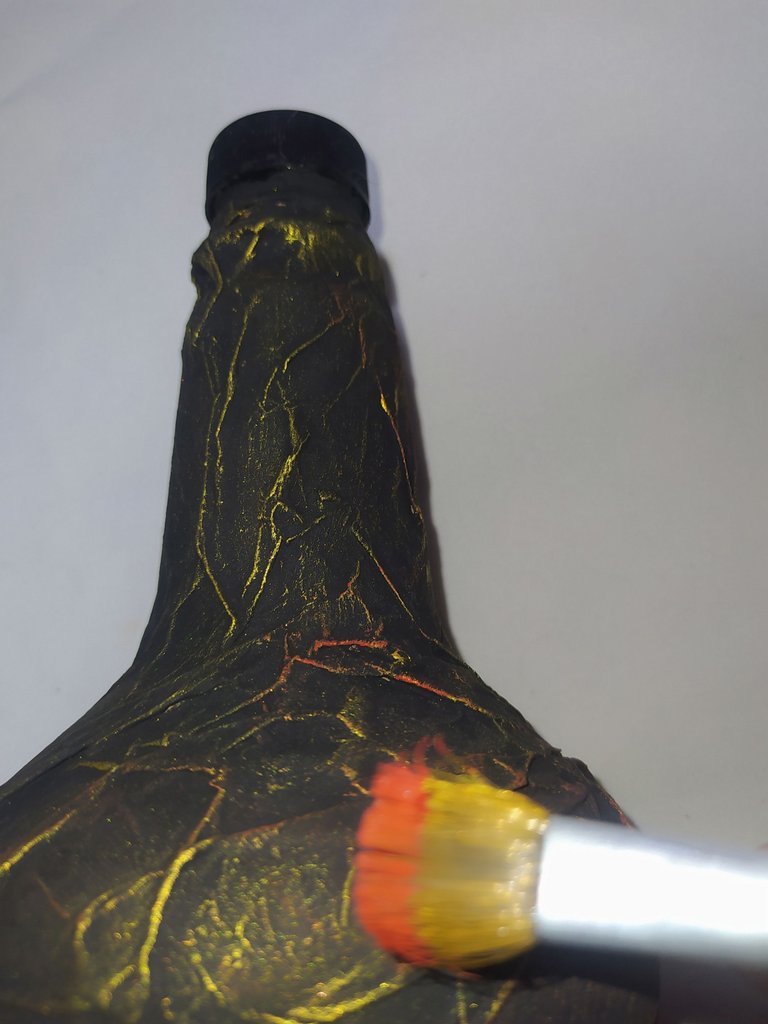
- To highlight the bottle more, we applied the dry brush technique using the color red.
- Para resaltar más la botella le aplicamos la técnica del pincel seco utilizando el color rojo.
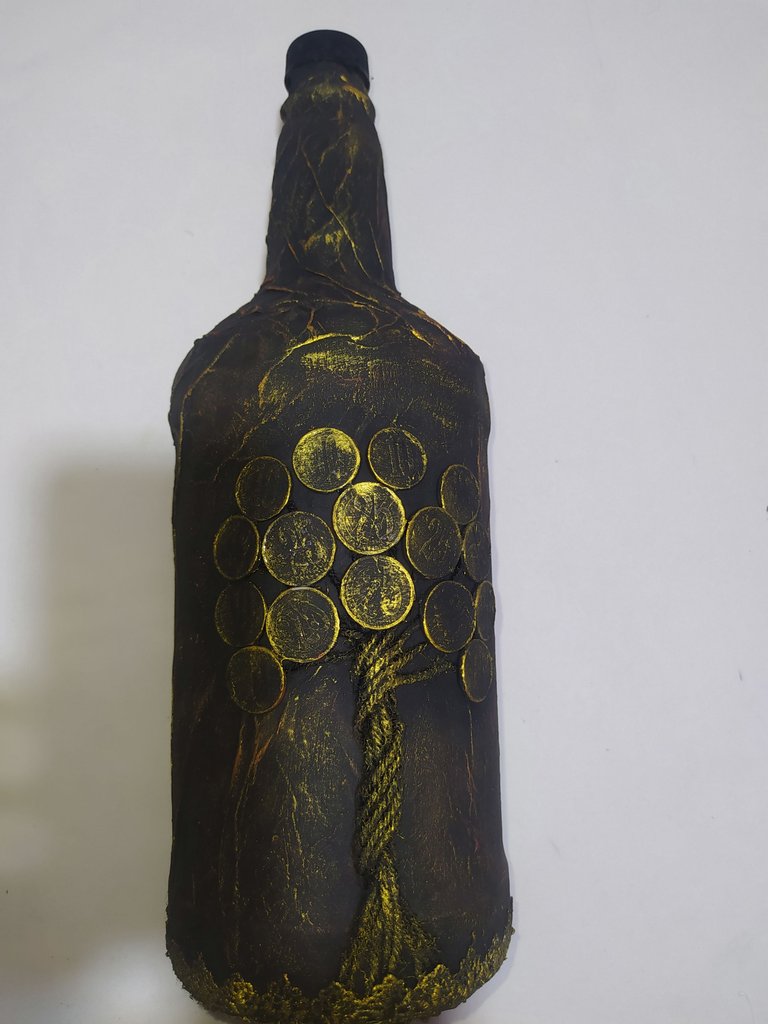
- Finished using the paints.
- Acabado terminado utilizando las pinturas.
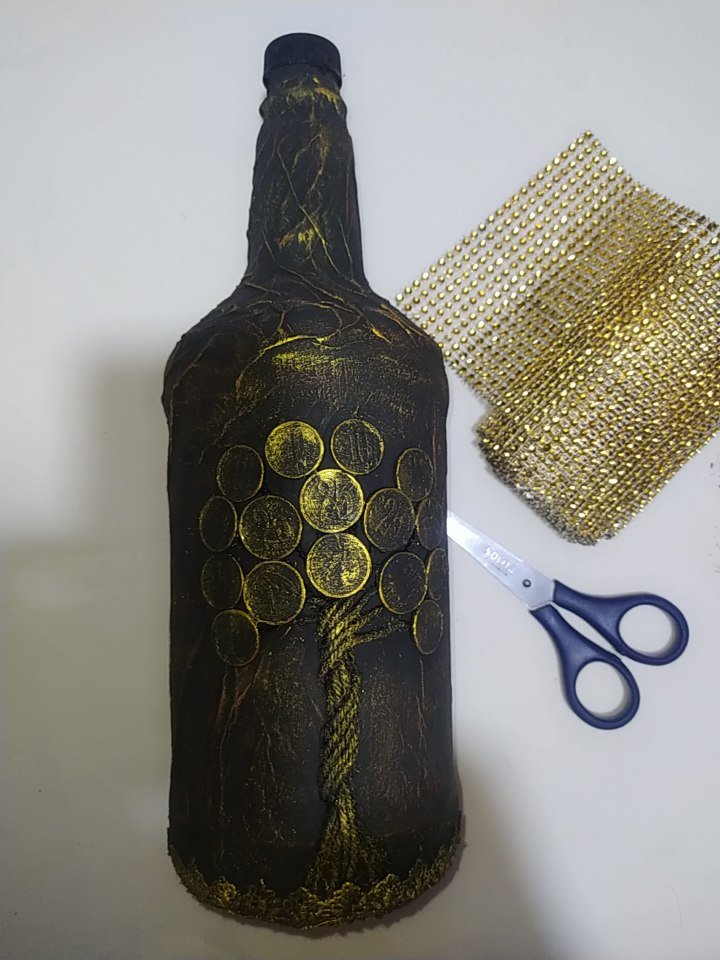
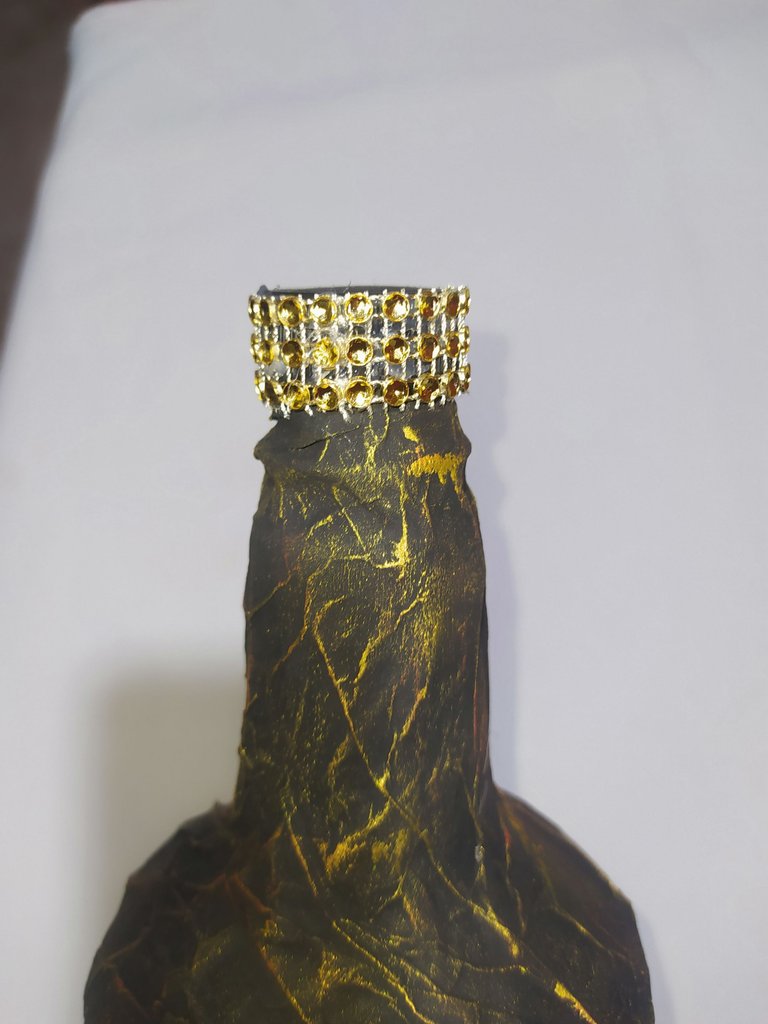
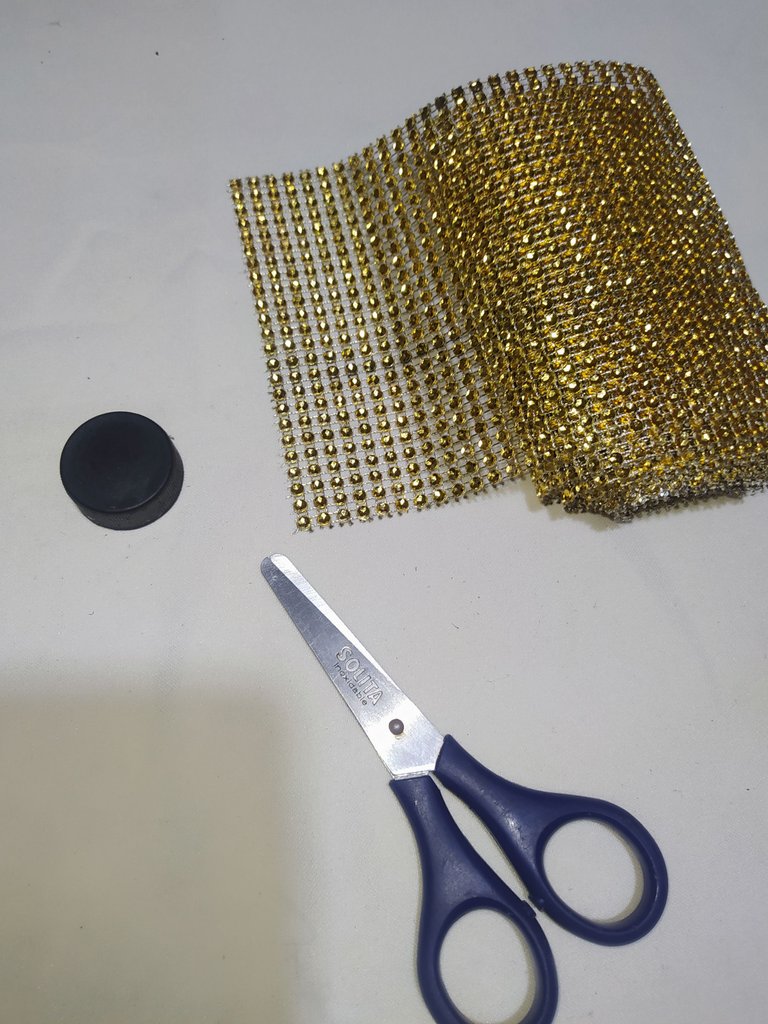
- Let's move on to lining the lid.
- Pasemos a forrar la tapa.
 |  |
|---|
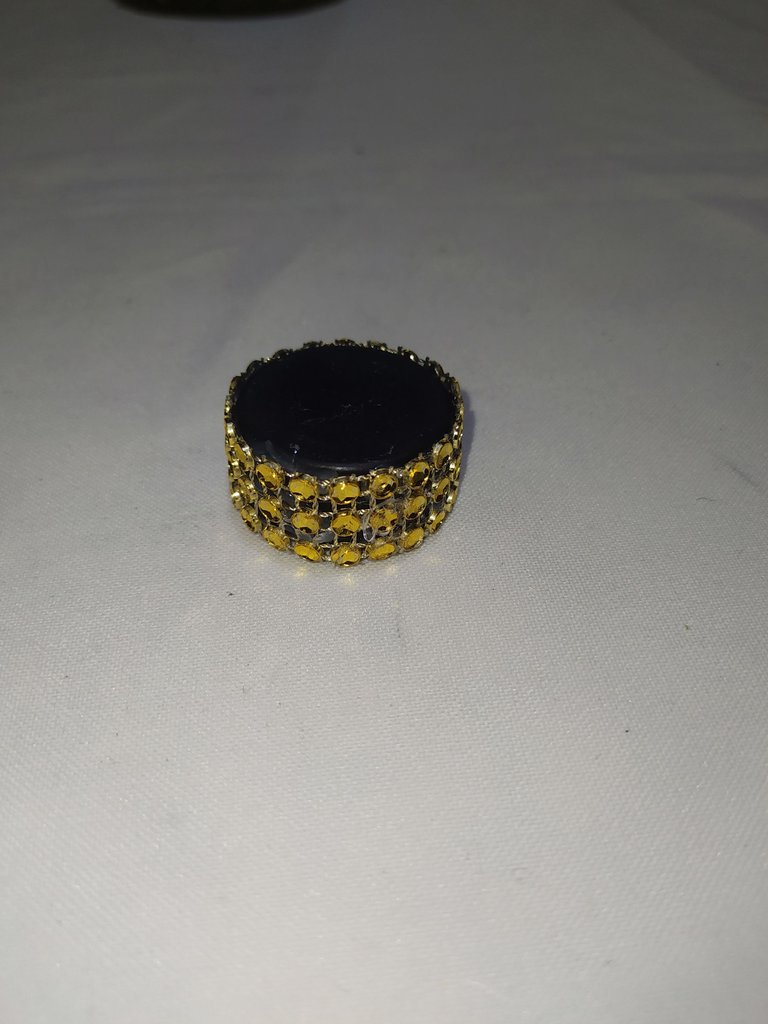
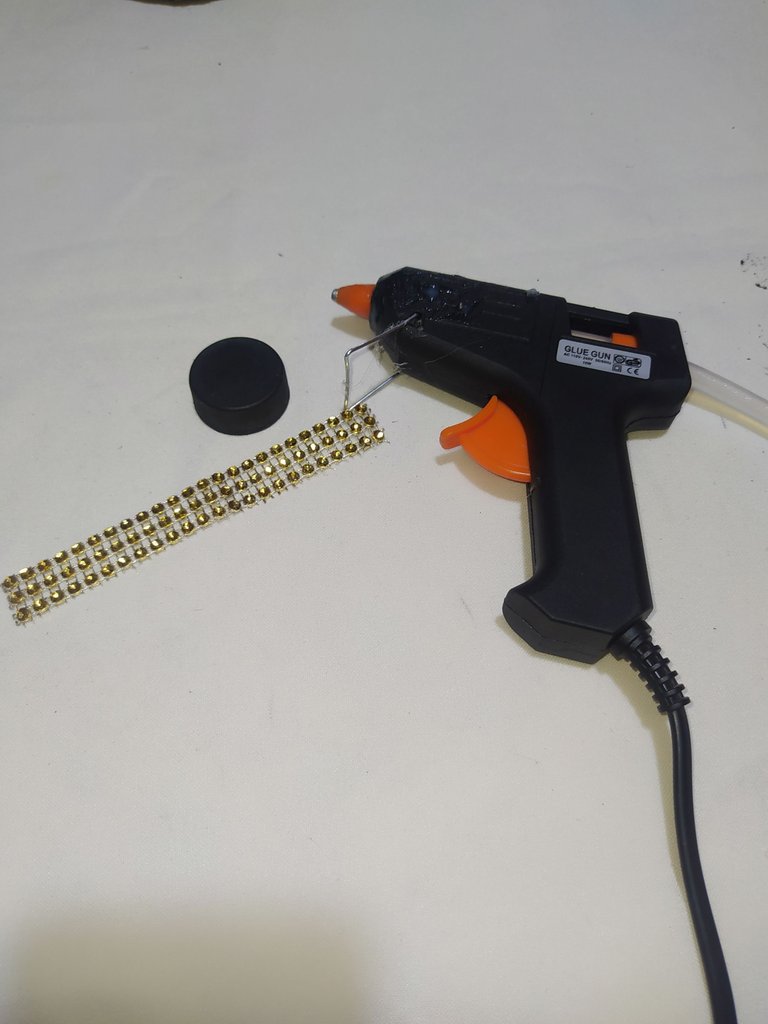
- We cut a strip of strap.
- Apply hot silicone to the lid and glue.
- Recortamos un tira de strap.
- Le aplicamos silicón caliente a la tapa y pegamos.
- This is what the top of the bottle looks like
- Asi nos queda la parte de arriba de la botella
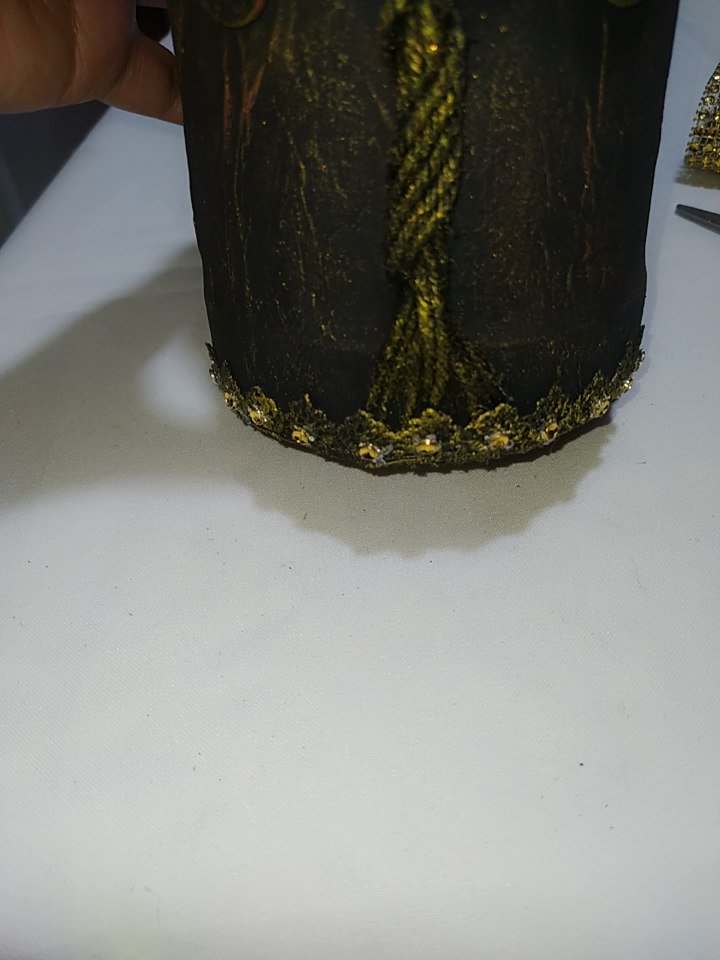
I also put some straps on the bottom of the bottle to give it a better finish.
- También le coloque unos strap a la parte de abajo de la botella para darle un mejor acabado.
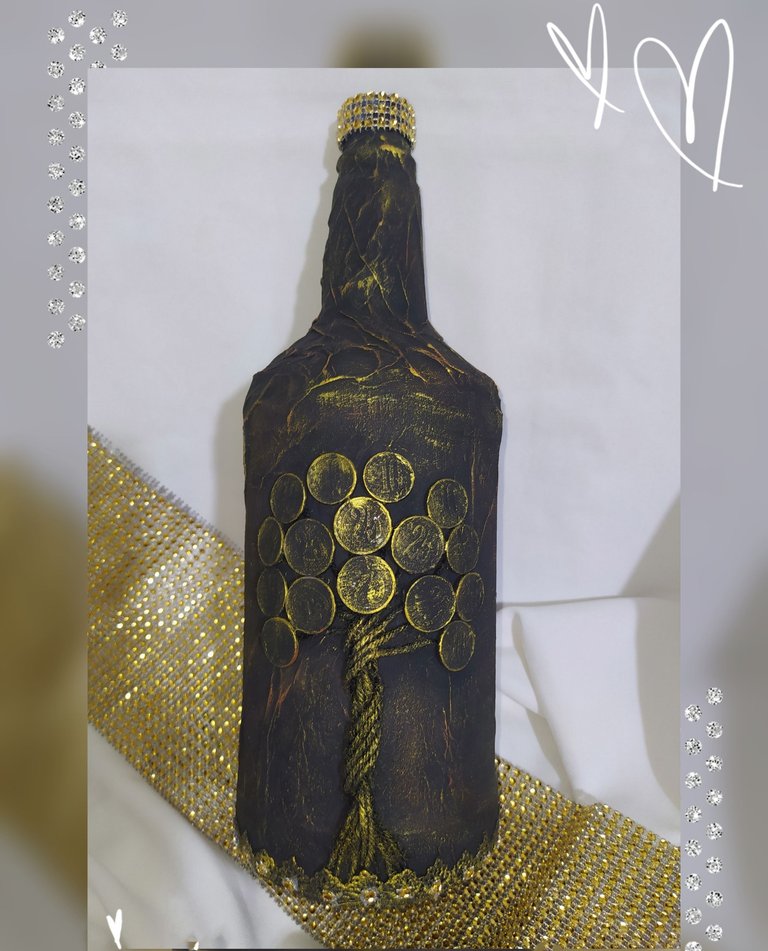
The final result of this work is really beautiful at first glance we can see an old bottle with a beautiful tree of life which reminds us that we are connected in one way or another to nature and that by reusing these materials that are not biodegradable such as plastic bottles, coins, among others, we can give a little love to our planet.
El resultado final de este trabajo es realmente hermoso a simple vista podemos apreciar una botella antigua con un hermoso árbol de la vida el cual nos recuerda que estamos conectados de una u otra forma a la naturaleza y que reutilizando estos materiales que no son biodegradables como lo es botella de plástico, las monedas entre otras, le podemos brindar un poco de amor a nuestro planeta.
Thanks for joining me once again, I look forward to reading you in the comments.
Gracias por acompañarme una vez más, espero leerte en los comentarios.
Banner realizado en Meitu
Traductor Deepl.
Photos of my property taken with Xiaomi redmi note 8 phone.
Banner made in Meitu
Translator Deepl.
8 phone.
Banner made in Meitu
Translator Deepl.
