
Saludos y bendiciones amigos de @hivefood, tenía tiempo que no pasaba por aquí con alguna preparación culinaria, en este caso dulce, muy dulce y achocolatada. Es la primera vez que preparo uno de estos sobres, por eso quise venir a compartir mi experiencia, que desde ya le digo que fue muy satisfactoria, así que acompáñenme a ver cómo fue que lo preparé.
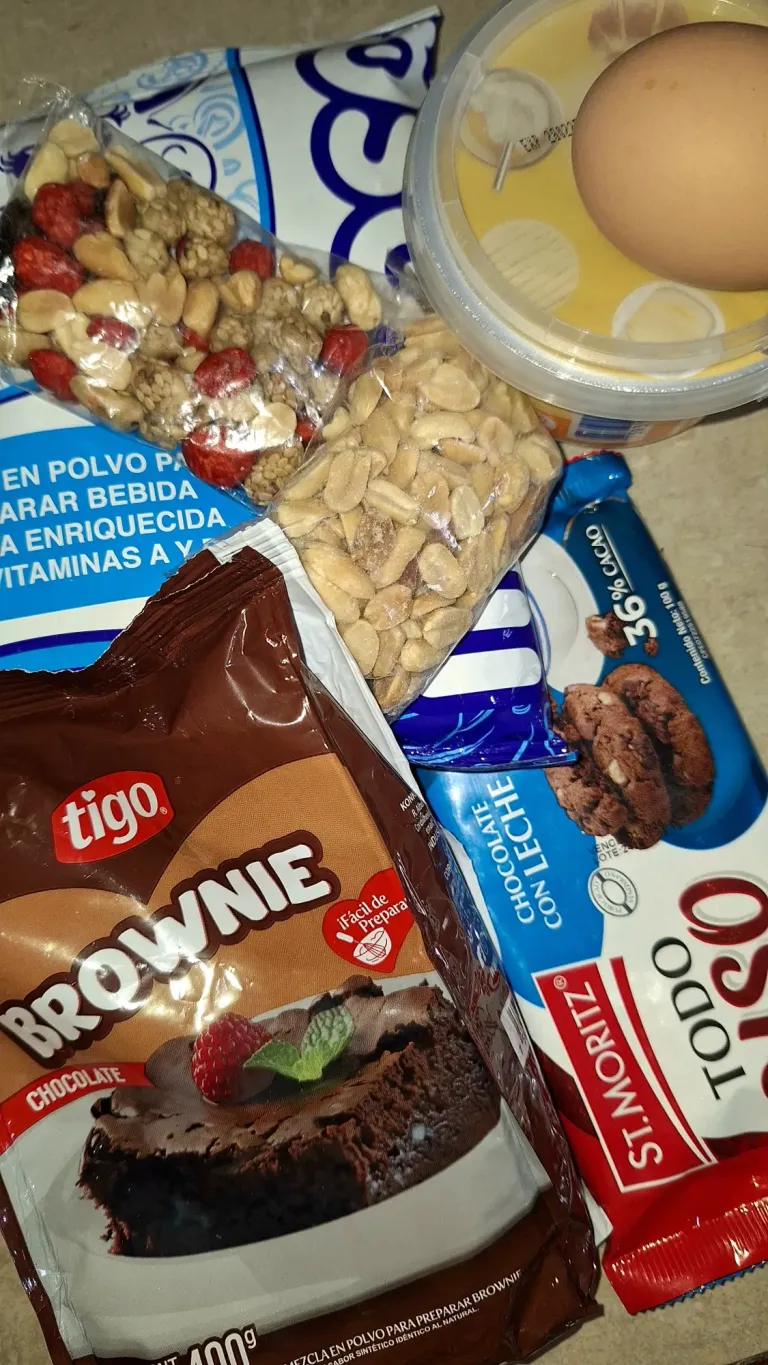
Además de que me encantó cómo fue la preparación, fue bastante fácil, estos fueron los ingredientes que utilicé, el brownie que vienen en sobre de 400 gramos, un huevo, una taza de leche líquida, tres cucharadas de mantequilla y por recomendación del mismo sobre le coloqué una barra de chocolates de 100 g.
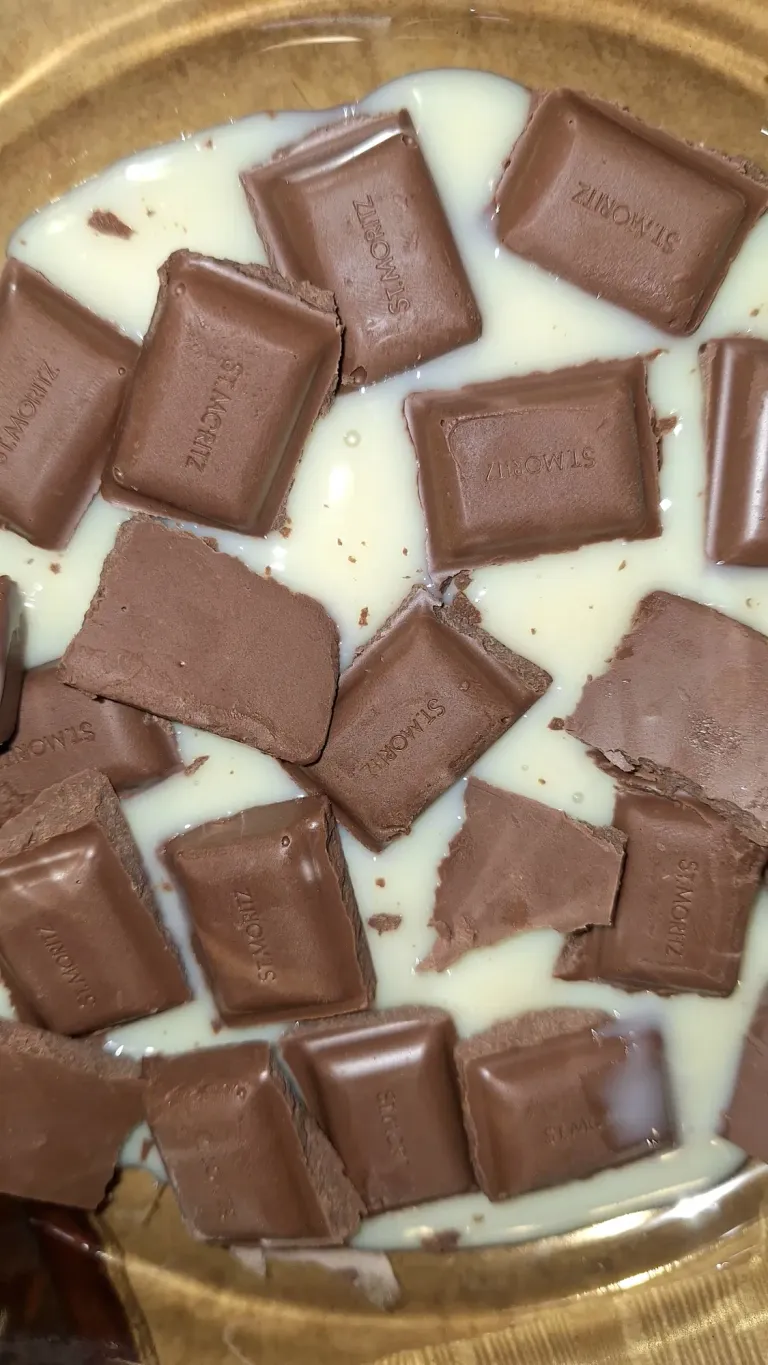
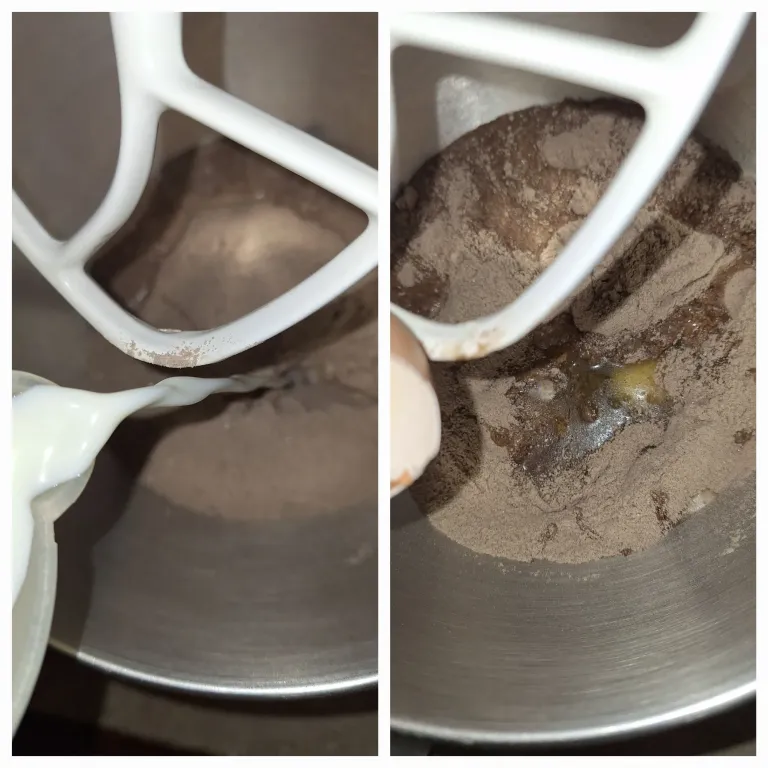
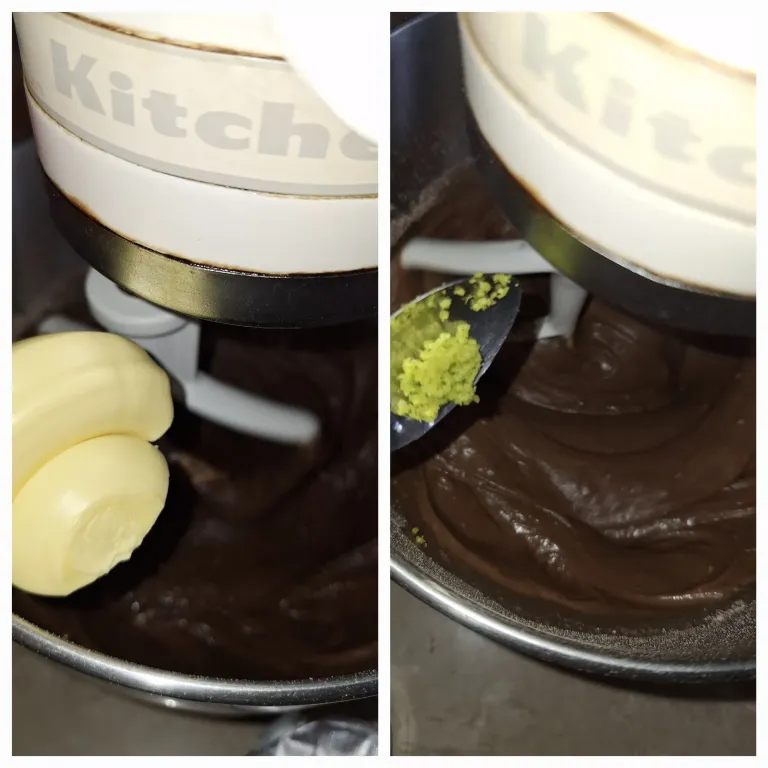
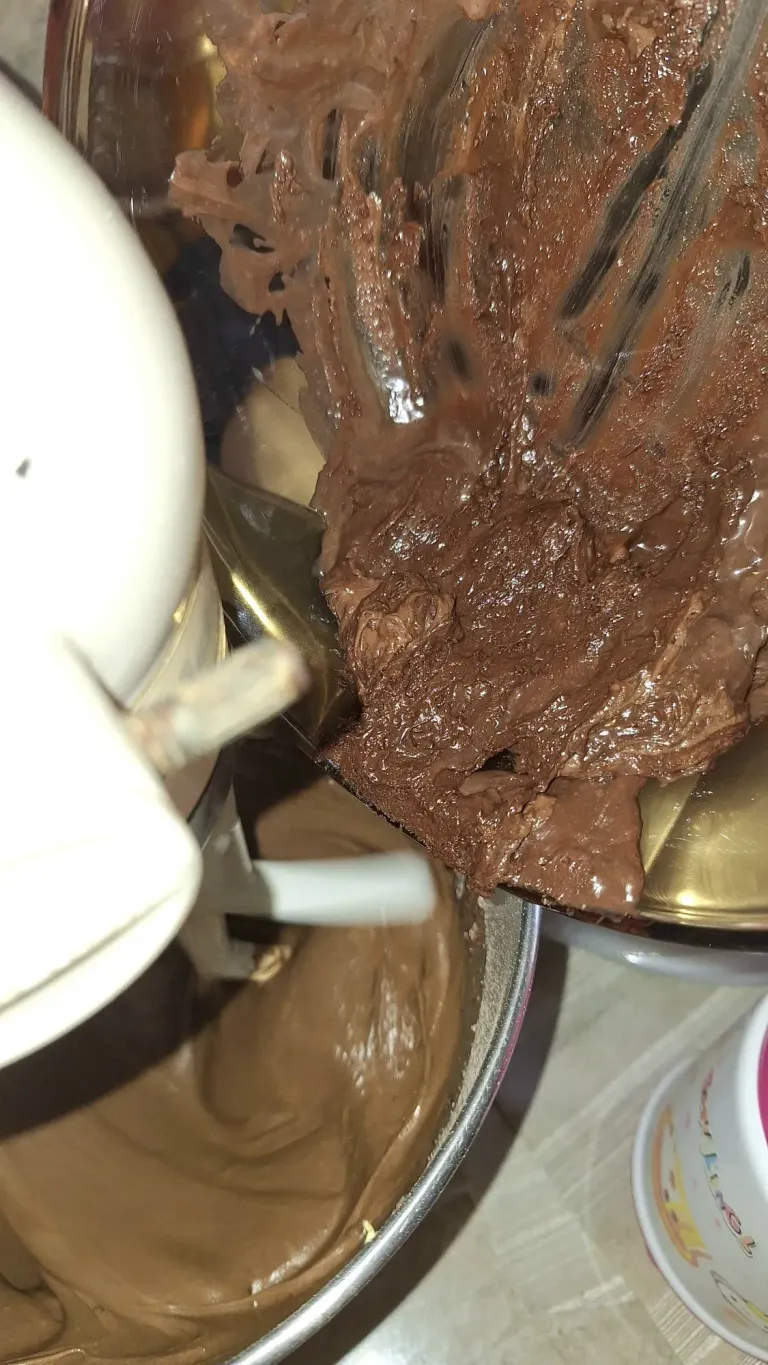
Una vez que tenía todos los materiales ya organizados, lo primero que hice fue disolver el chocolate, coloqué una taza a fuego lento con un poco de leche condensada y el chocolate en trozos, lo reservé. Luego en la batidora empecé a echar cada uno de los ingredientes, comenzando por el contenido del sobre, es decir la mezcla para brownie preparada, después la leche, el huevo, la mantequilla y también le agregué una cucharadita de ralladura de naranja, al final le incorporé el chocolate derretido que ya no estaba tan derretido pero igual, je, je, je.
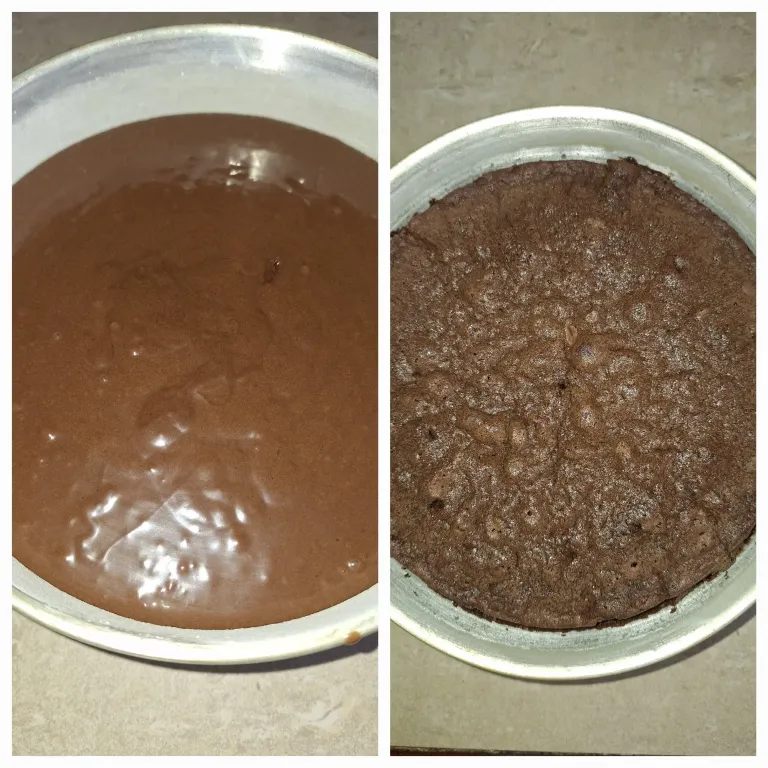
Todo esto lo batí por 7 minutos, ahora era momento de colocar en la tortera, que ya estaba con mantequilla y harina de trigo para que no se pegue. La metí al horno a 200 °C, previamente precalentado por 10 minutos. En las indicaciones de cocción decía que más o menos en unos 20 minutos estaba listo, pero en mi horno tardo unos 75 minutos, es decir, un poco más de una hora. Así que todo va a depender de la potencia de su horno.
Cuando estuvo listo, se veía levantado, al enfriar se puso así, que es la consistencia normal de los brownies, además se despegó muy fácil del molde. Quede muy feliz con el resultado.
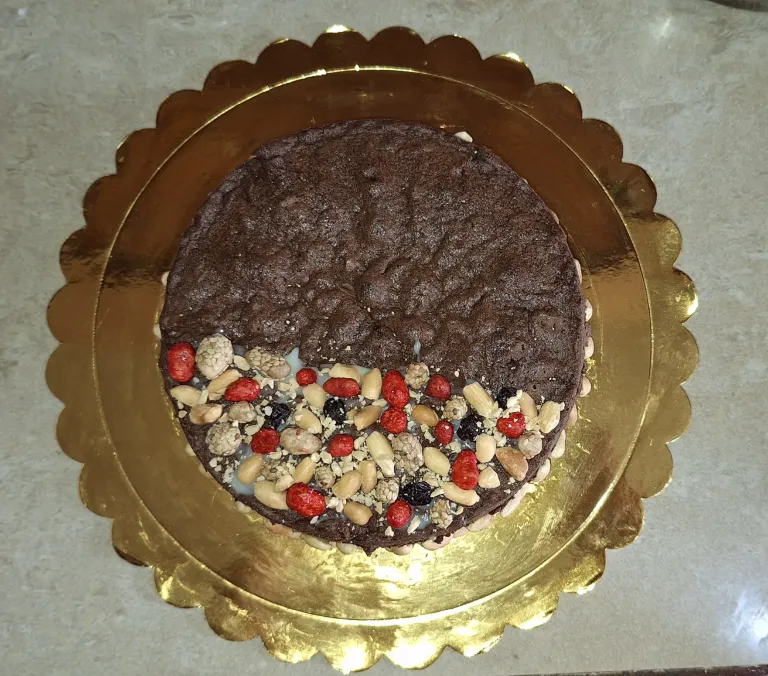
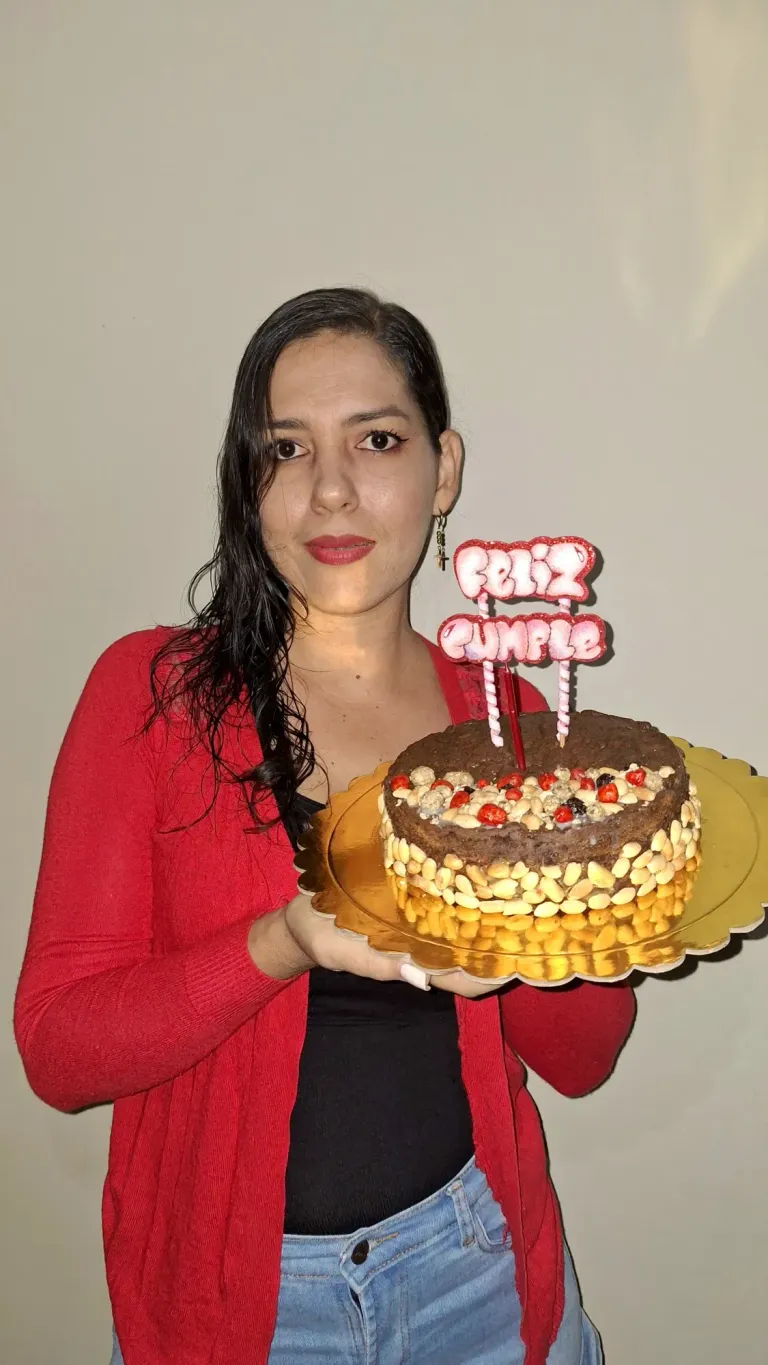
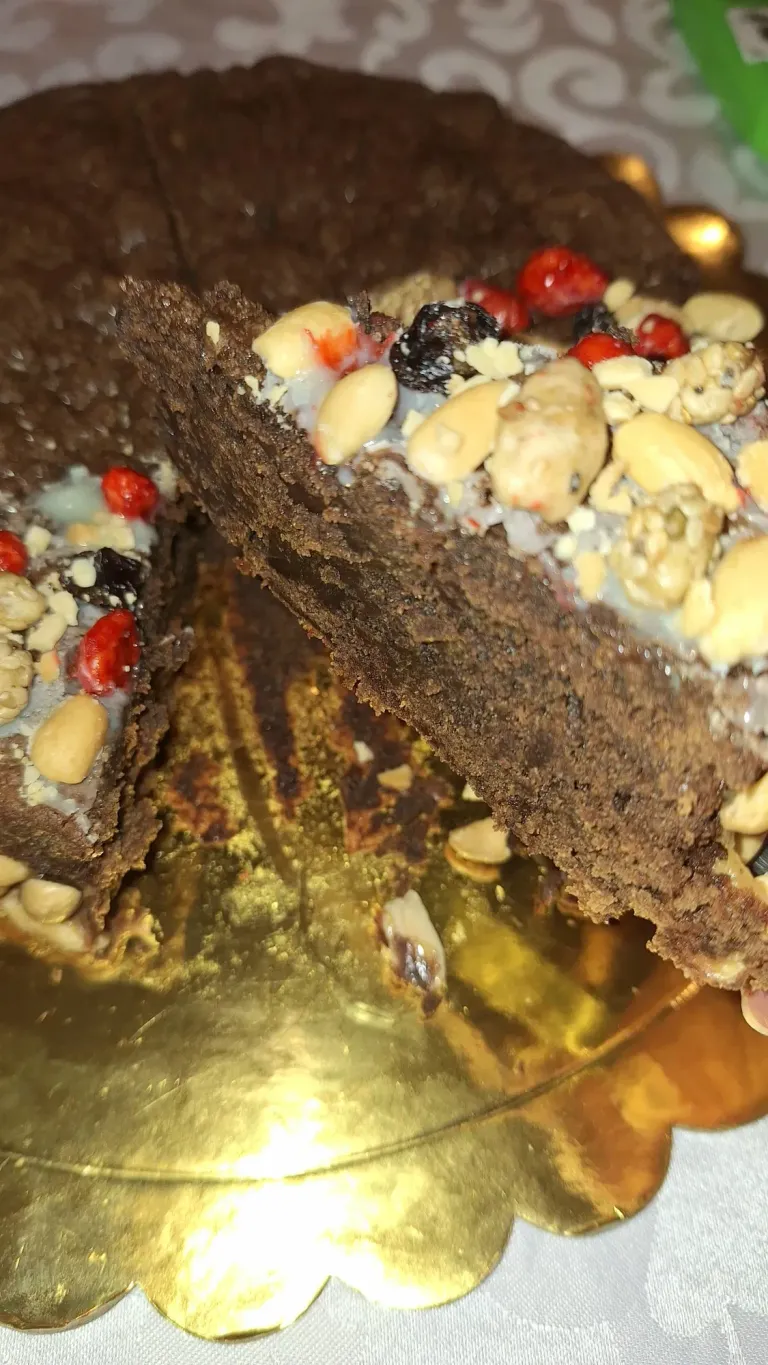
La hice para el cumpleaños de mi esposo y la decoré con frutos secos, me parece, quedó muy linda además de deliciosa, estaba cremosa por dentro y sabía full chocolate.
Luego les cuento cómo lo celebramos, pero por acá les dejo la foto de como se veía por dentro, muy buena y rica, así que se los recomiendo 100 %, ya estaré probando de los otros sobres que venden a ver como resultan, ojalá igual de bueno que este de Brownie.
Me parece una buena idea, para hacer y merendar o cuando tengan una celebración y no saben hacer un pastel o no tienen mucho presupuesto, esta es una opción fácil de hacer y más económico.
Bueno, amigos, esto ha sido todo por hoy, gracias por la visita.

Preparing an Envelope Brownie
Greetings and blessings friends of @hivefood, it's been a while since I've been here with some culinary preparation, in this case sweet, very sweet and chocolatey. It's the first time I prepare one of these envelopes, so I wanted to come and share my experience, which I can tell you was very satisfying, so join me to see how I prepared it.
Besides the fact that I loved how it was prepared, it was quite easy, these were the ingredients I used, the brownie that comes in a 400 grams envelope, an egg, a cup of liquid milk, three tablespoons of butter and on the recommendation of the same envelope I put a 100 g chocolate bar.
Once I had all the materials already organized, the first thing I did was to dissolve the chocolate, I placed a cup over low heat with a little condensed milk and the chocolate in pieces, I set it aside. Then in the mixer I began to pour each of the ingredients, starting with the contents of the sachet, that is the prepared brownie mix, then the milk, egg, butter and I also added a teaspoon of orange zest, at the end I added the melted chocolate that was not so melted but still, heh, heh, heh, heh.
I beat all this for 7 minutes, now it was time to put it in the pan, which was already buttered and floured with wheat flour so it would not stick. I put it in the oven at 200 °C, previously preheated for 10 minutes. In the cooking instructions it said that it was ready in about 20 minutes, but in my oven it takes about 75 minutes, that is, a little more than an hour. So it all depends on the power of your oven.
When it was ready, it looked risen, when it cooled it was like that, which is the normal consistency of brownies, and it also came off very easily from the mold. I was very happy with the result.
I made it for my husband's birthday and decorated it with nuts, I think it was very nice and delicious, it was creamy inside and tasted full chocolate.
I will tell you later how we celebrated it, but here I leave you the picture of how it looked inside, very good and rich, so I recommend it 100%, I will be trying the other sachets they sell to see how they turn out, hopefully as good as this Brownie.
I think it is a good idea, to make and snack or when you have a celebration and do not know how to make a cake or do not have much budget, this is an easy option to make and more economical.
Well, friends, that's all for today, thanks for visiting.

Mi blog es familiar, de mi día a día, en donde puedo subir fotos de niños u otras personas de mi entorno, NO autorizo a usar mis fotografías sin mi autorización.
My blog is a family blog, of my daily life, where I can upload photos of children or other people around me, I do NOT authorize you to use my photos without my authorization.
Fotos tomadas por | Photos taken by @leidimarc
Dispositivo | Device | Samsung Galaxy A54
Fotos editadas en: |Photos edited in | App Picsart/ Canva
Separadores hechos en | Separators made in | App Picsart / Canva
Traducción con | Translation with| DeepL

For the best experience view this post on Liketu