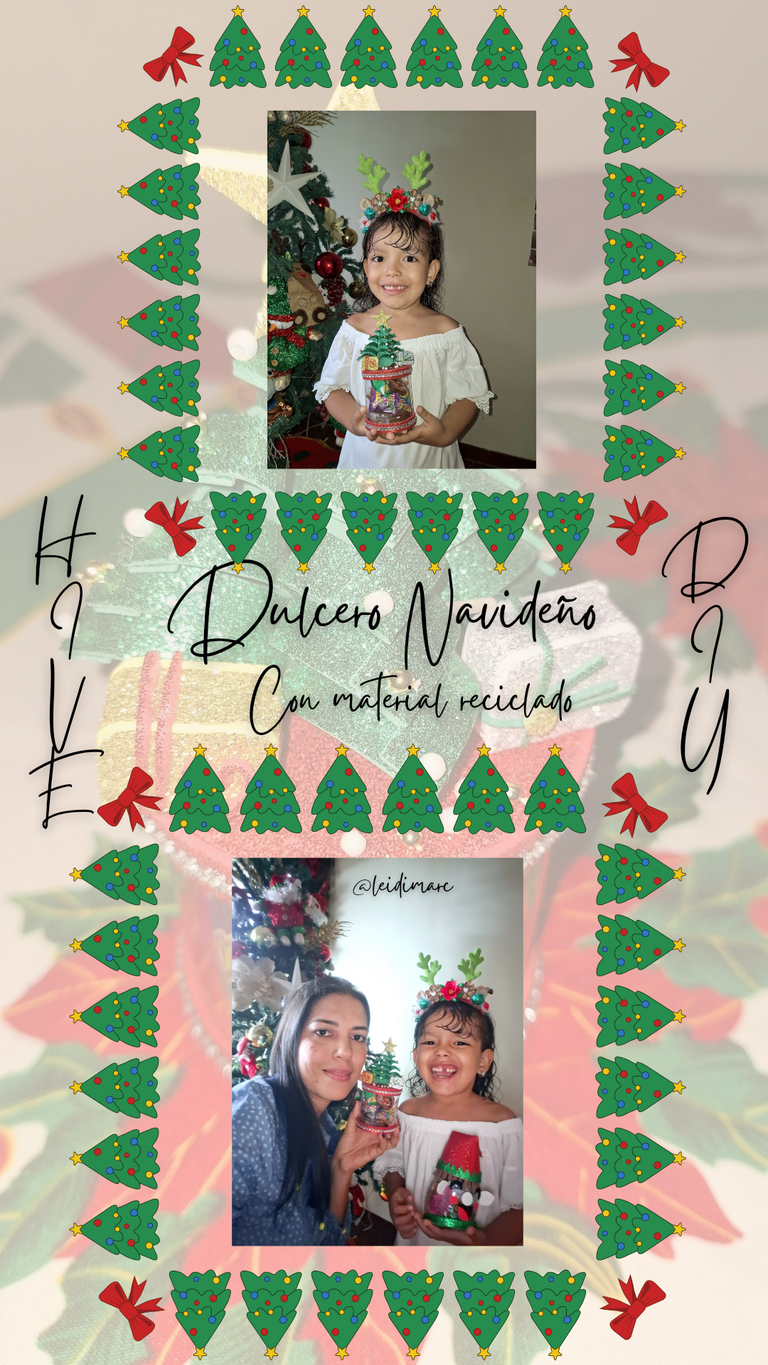
Saludos y bendiciones a todos los que hacen vida en esta hermosa comunidad @hivediy. Creo que esta es mi primera publicación por acá, aunque siempre que puedo veo sus bellas creaciones. Hoy quiero participar en la iniciativa navideña que tienen Activate.
Mi entrada es sobre la elaboración de un bonito Dulcero Navideño con materiales reciclados y lo estuve realizando para que mi princesa Ámbar se lo regalará a una de sus maestras y, ya que tiene dos, también le hice uno a su otra maestra que luego les estaré mostrando el #diy, aunque lo pueden ver en las fotos.
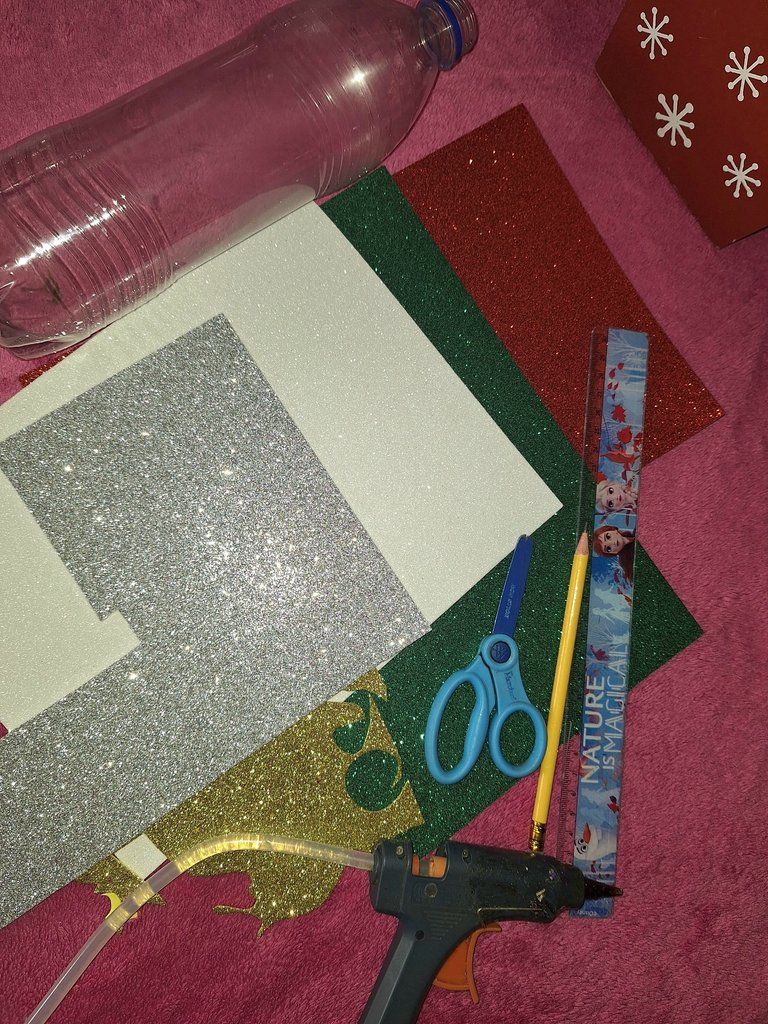
Materiales a usar
- Una botella plástica.
- Fomi escarchado en los colores navideños, rojo, verde, blanco, plateado y dorado.
- Tijera.
- Lápiz.
- Regla.
- Silicona.
- Pistola de silicona.
Procedimiento a seguir
Primero, déjeme decirles que todos estos materiales los tenía en casa, que han quedado de otros proyectos, por eso les digo que son reciclados.
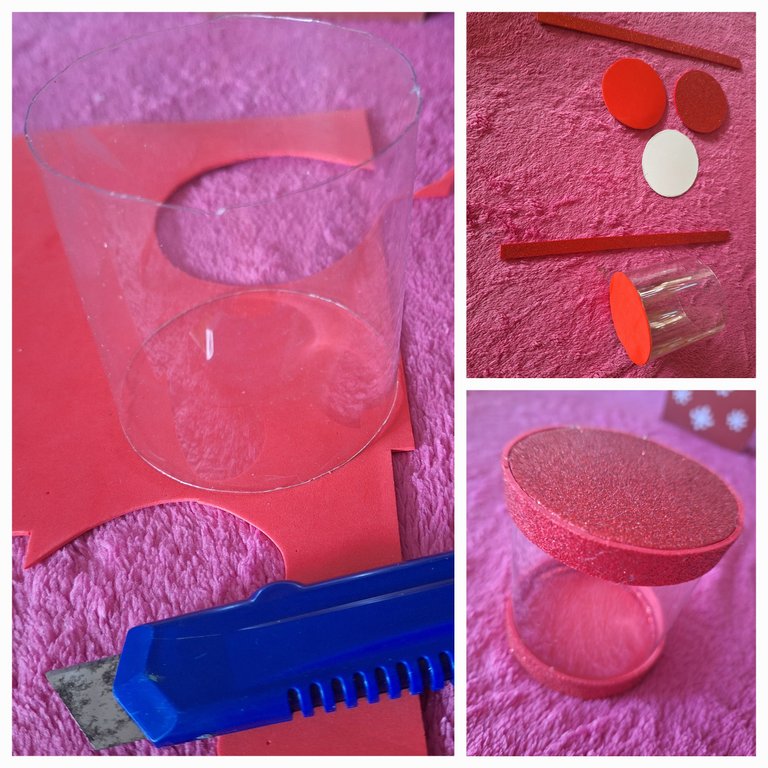
La base de este dulcero es de una botella de agua, a la que le quite la etiqueta con aceite, luego lo lave muy bien y lo corte dejando parte del centro, que es la más lisa y la que necesitaba.
En el fomi rojo, marqué la circunferencia del envase de plástico, además hice unas tiras del largo de la circunferencia y de 1,5 cm, las cuales sirvieron para hacer la base y la tapa del dulcero.
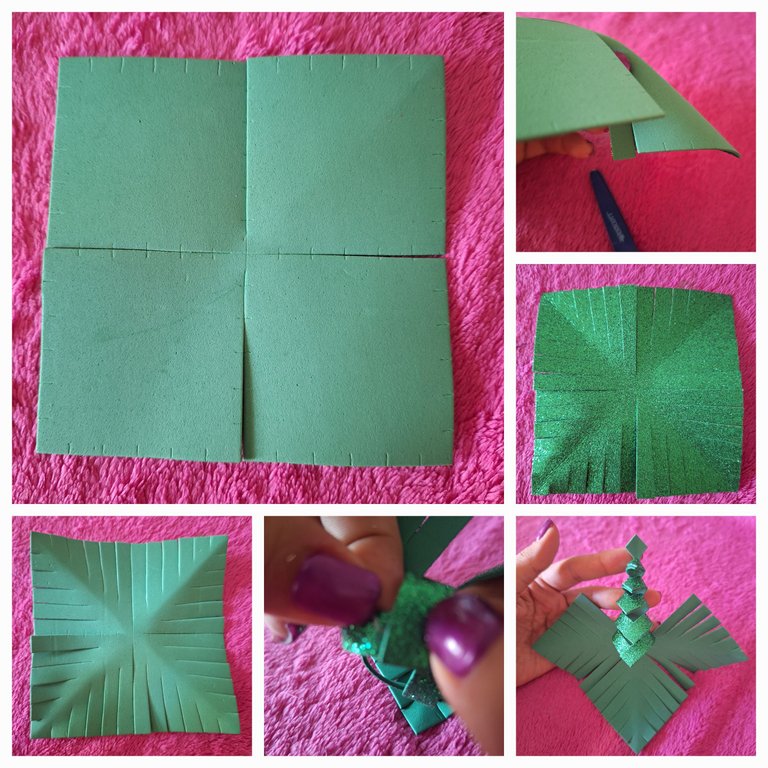
En el fomi verde corte un cuadrado de 12 cm, que luego dividí por la mitad y otra vez por la mitad, formando 4 cuadros, a los cuales por el borde le fui marcando espacios de 1 cm, para luego recortar varias líneas con cuidado de no pasarse de la cuenta, como ven en las imágenes.
En cada uno de los 4 cuadros, se iban a ir formando unos árboles diminutos, pegando las puntas, que se fueron marcando y cortando.
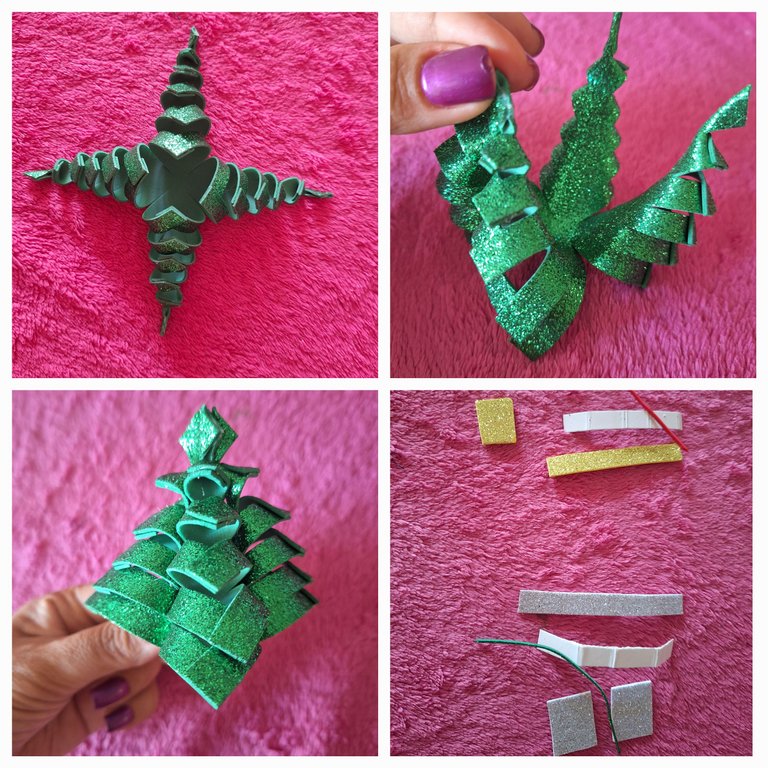
Una vez que se tenían los 4 árboles diminutos listos, se doblaban de tal forma, que coincidieran todas las puntas, para formar un arbolito más grande.
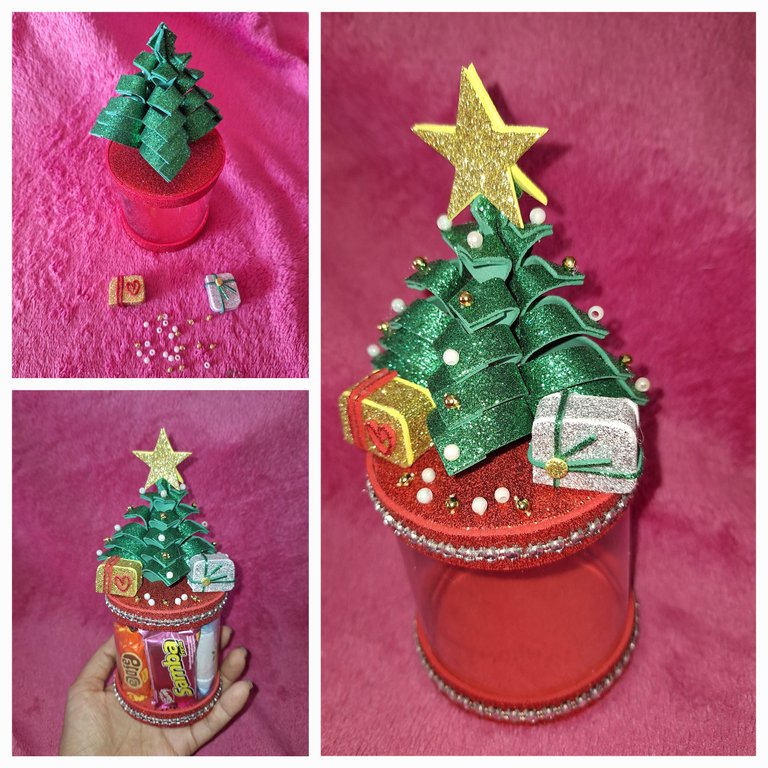
Seguí cortando en fomi dorado y plateado, tiras y cuadrados, para formar unas cajas diminutas de regalos
Las cajas fueron decoradas y, junto con el arbolito, se colocaron encima de la base de plástico. Para complementar, se le pusieron otras decoraciones que le dieron ese toque especial. Finalizado con la estrella.
Compré algunas golosinas para introducir en el dulcero y así ya se veía muy lindo y listo para ser entregado.
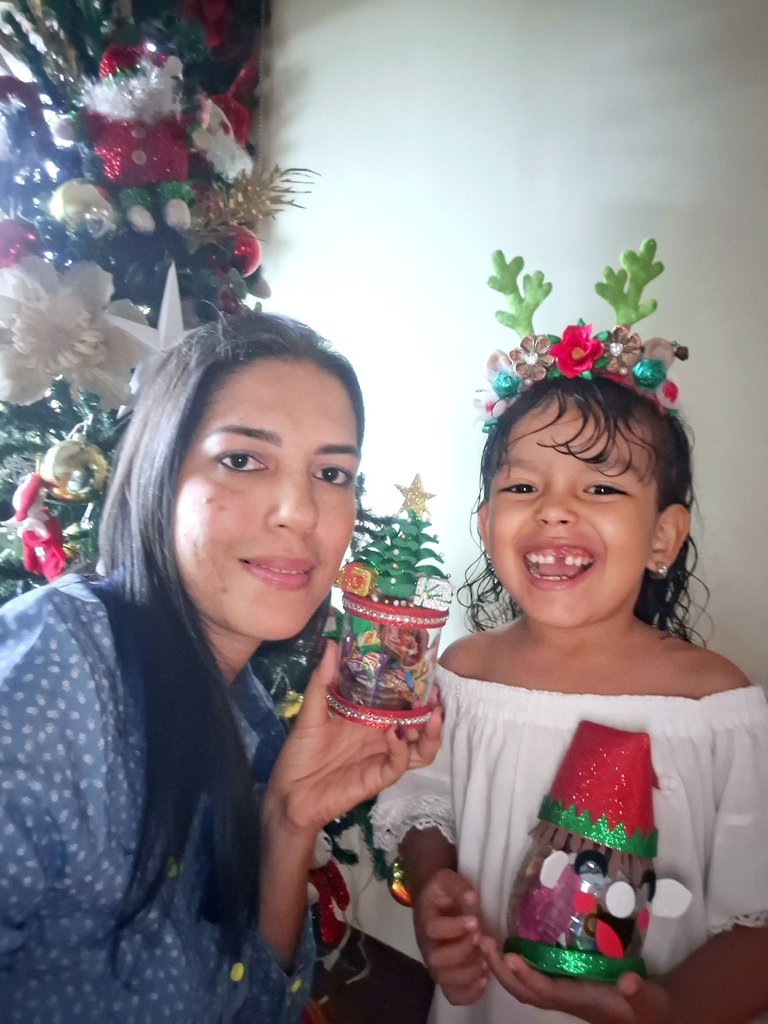
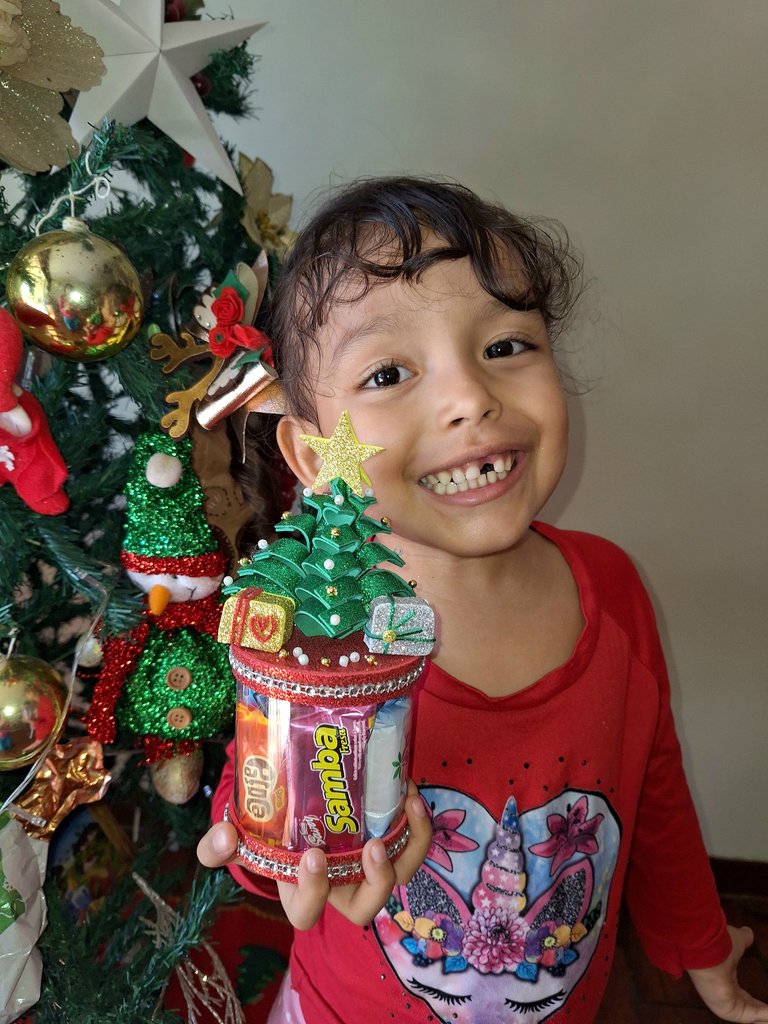
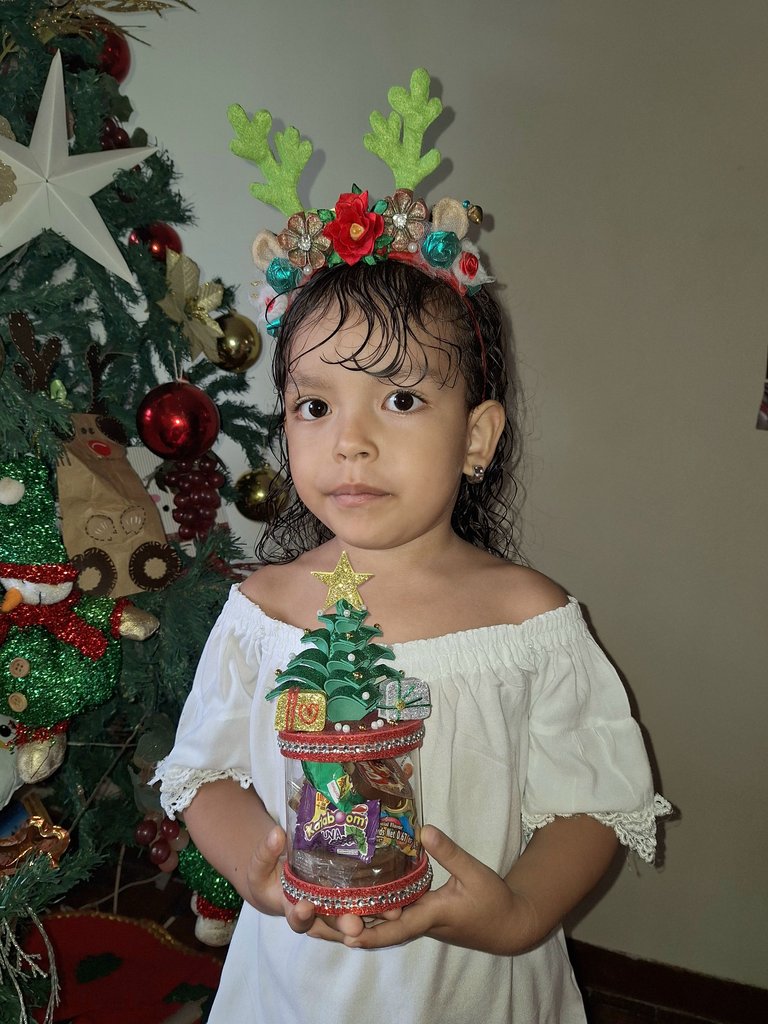
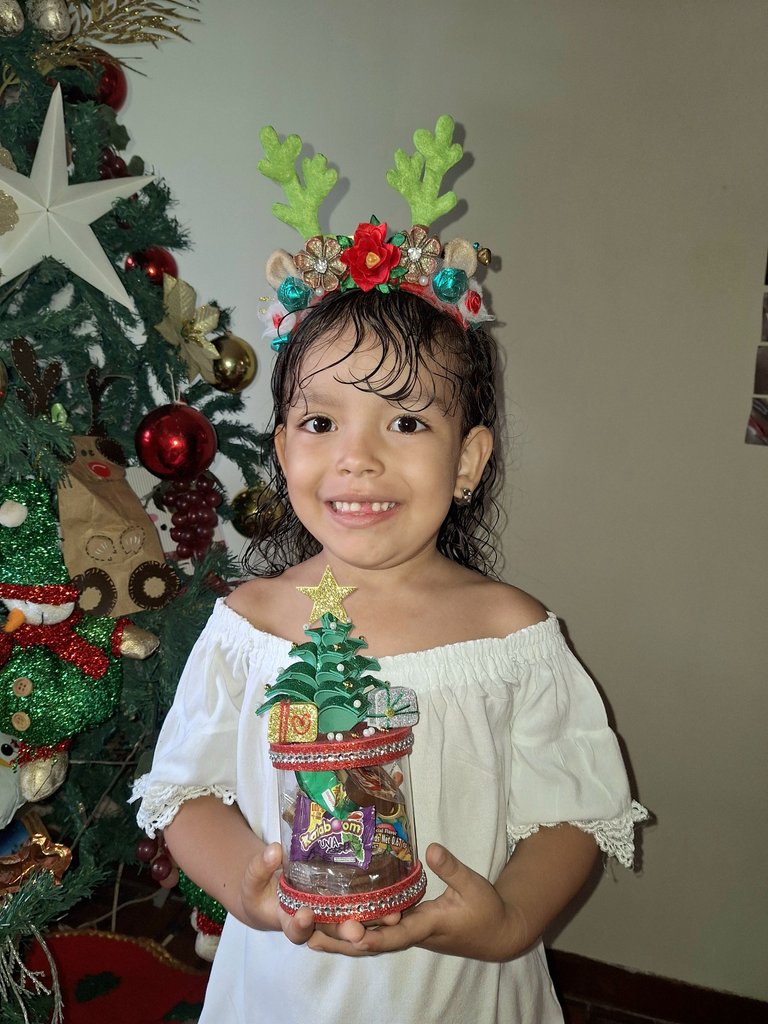
Aproveché y tomé unas lindas fotos con mi princesa Ámbar, que estaba preciosa con estos lindos regalos para sus maestras.
Ella estaba feliz de poder darle estos detalles a sus maestras y mamá estaba feliz por complacer a su princesa, haciendo estas manualidades, para ir a disfrutar de un ambiente de fiesta y compartir con sus compañeritos de clase.
Espero que les haya gustado, es muy fácil de hacer, espero que lo pongan en práctica. Agradecida con su vista, espero pasar pronto.
Inleo no me funciona, por eso lo tuve que publicar por peakd.


Christmas candy box with recycled material

Greetings and blessings to all who make life in this beautiful community @hivediy. I think this is my first post here, although I always see your beautiful creations when I can. Today I want to participate in the Christmas initiative that you have Activate.
My post is about making a beautiful Christmas Candy Box with recycled materials and I was making it for my princess Amber to give it to one of her teachers and, since she has two, I also made one for her other teacher that later I will be showing you the #diy, although you can see it in the photos.

Materials to use
- A plastic bottle.
Frosted Fomi in the Christmas colors, red, green, white, silver and gold. - Scissors.
- Pencil.
- Ruler.
- Silicone.
- Silicone gun.


Procedure to follow
First, let me tell you that I had all these materials at home, left over from other projects, that's why I say they are recycled.
The base of this candy box is a water bottle, which I removed the label with oil, then I washed it very well and cut it leaving the center part, which is the smoothest and the one I needed.
In the red fomi, I marked the circumference of the plastic container, I also made some strips the length of the circumference and 1.5 cm, which served to make the base and the lid of the candy box.
In the green fomi I cut a 12 cm square, which I then divided in half and then in half again, forming 4 squares, which I marked 1 cm spaces along the edge, and then cut several lines, being careful not to overdo it, as you can see in the pictures.
In each of the 4 squares, I was going to form some tiny trees, gluing the tips, which were marked and cut.


Once the 4 tiny trees were ready, they were folded in such a way that all the tips coincided, to form a bigger tree.
I continued cutting out strips and squares out of gold and silver fomi to form tiny gift boxes.
The boxes were decorated and, along with the tree, were placed on top of the plastic base. To complement, other decorations were added to give it that special touch. Finished with the star.
I bought some goodies to put in the candy box and it looked very nice and ready to be delivered.


I took advantage and took some nice pictures with my princess Amber, who looked beautiful with these cute gifts for her teachers.
She was happy to be able to give these details to her teachers and mom was happy to please her princess, making these crafts, to go enjoy a party atmosphere and share with her little classmates.
I hope you liked it, it is very easy to make, I hope you put it into practice. Thankful for your view, I hope to visit you soon.
Inleo doesn't work for me, that's why I had to publish it by peakd.
I invite @ariannamc and @valenpba to participate.

Mi blog es familiar, de mi día a día, en donde puedo subir fotos de niños u otras personas de mi entorno, NO autorizo a usar mis fotografías sin mi autorización.
My blog is a family blog, of my daily life, where I can upload photos of children or other people around me, I do NOT authorize you to use my photos without my authorization.
Dispositivo | Device | Samsung Galaxy A54
Fotos editadas en: |Photos edited in | CC Express for Picsart / Canva
Separadores hechos en | Separators made in | CC Express for Samsung
Traducción con | Translation with| DeepL

