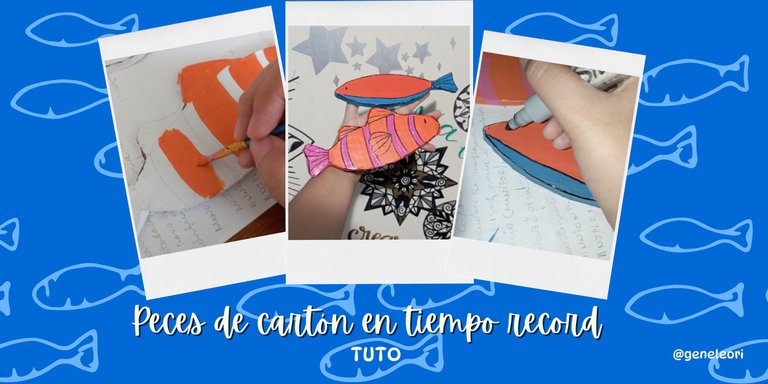
¡Hola hivers!💜
Espero que se encuentren bien y felices, queridos crafters. Tenía tiempo sin pasar por aquí, pero ya les cuento como hice unos pececitos para una actividad de una vecinita que se llama como yo, Génesis. Su papá es un buen amigo y se estaba volviendo loco con el cierre del proyecto de Génesis y su hermano, cuando la maestra decidió decir que necesitaba unos peces de cartón para el viernes, avisando el miércoles en la noche. Prácticamente 24 horas para cumplir la misión. Como tenía el tiempo, aunque me parecía que era ajustado, decidí ayudarlo y documentar un poco del proceso.
Seré honesta con algo, nunca había hecho peces con cartón y no soy experta en cortarlo. Así que busqué inspiración en pinterest y me aboque en el proceso, dando todo para que le gustaran mi vecinita y a su maestra. Les cuento como fue todo en 24 horas:

MATERIALES
Cartón (para la base de los peces, use de una caja vieja pero resistente)
Lápiz
Exacto o cutter
Papel (puede ser reciclado o blanco, yo usé blanco por el poco tiempo que tenía)
Pega blanca
Pintura acrílica (use naranja, azul, gris y fucsia)
Marcador permanente negro
PASO A PASO
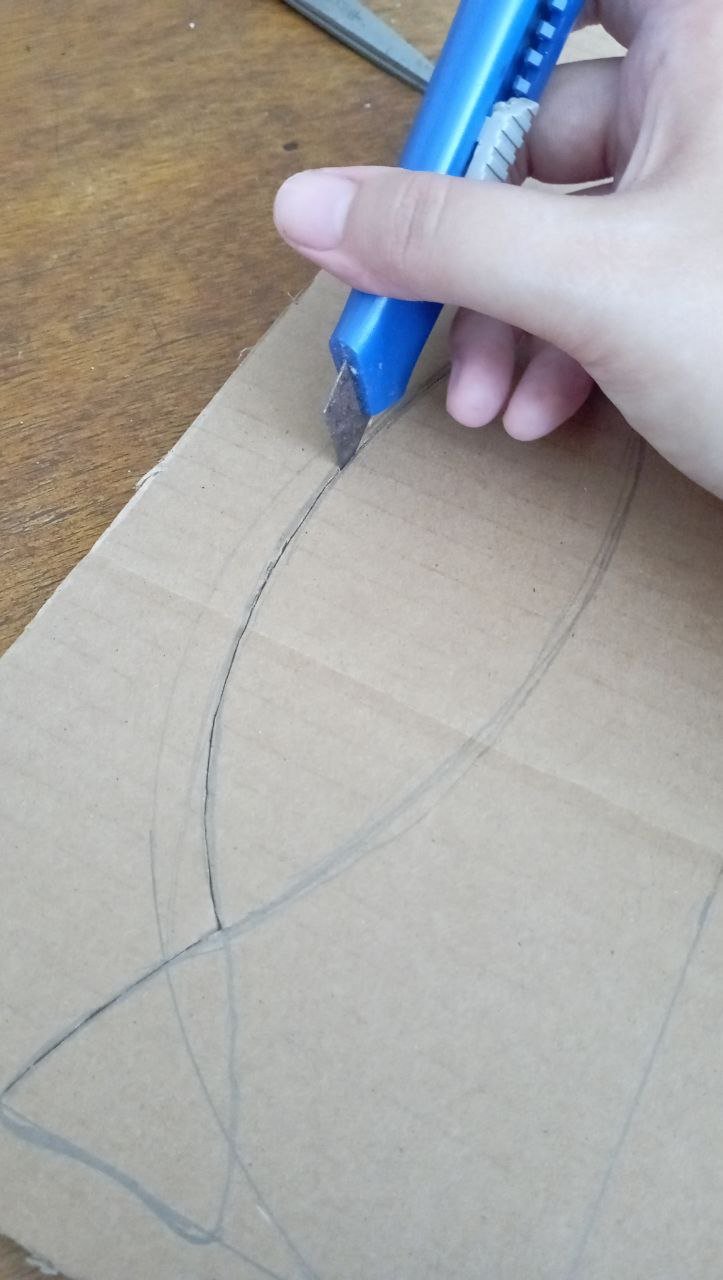
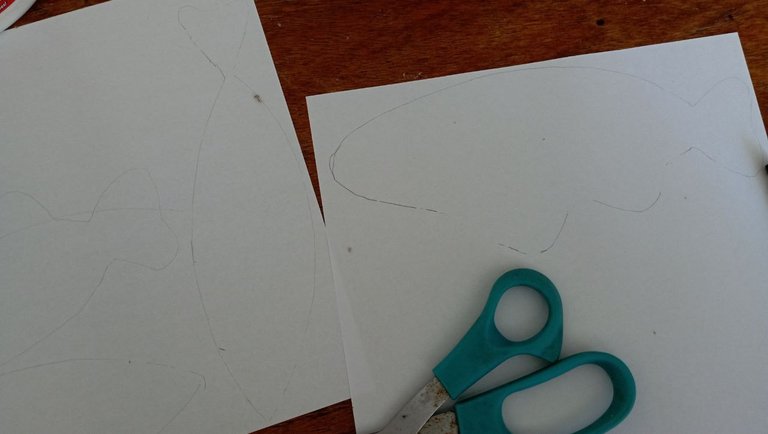
PASO 1
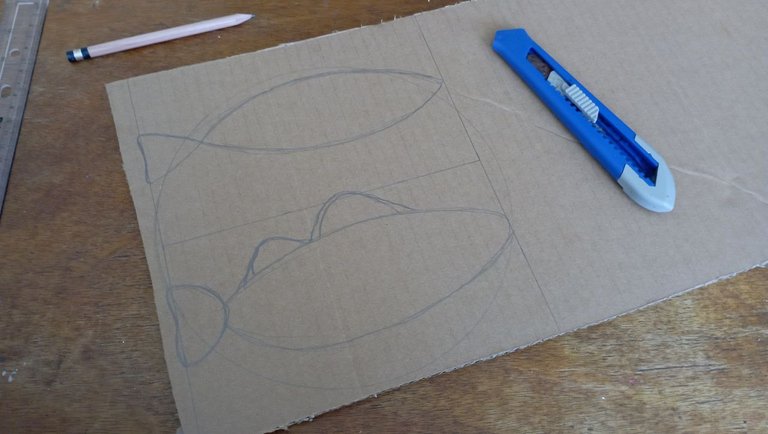
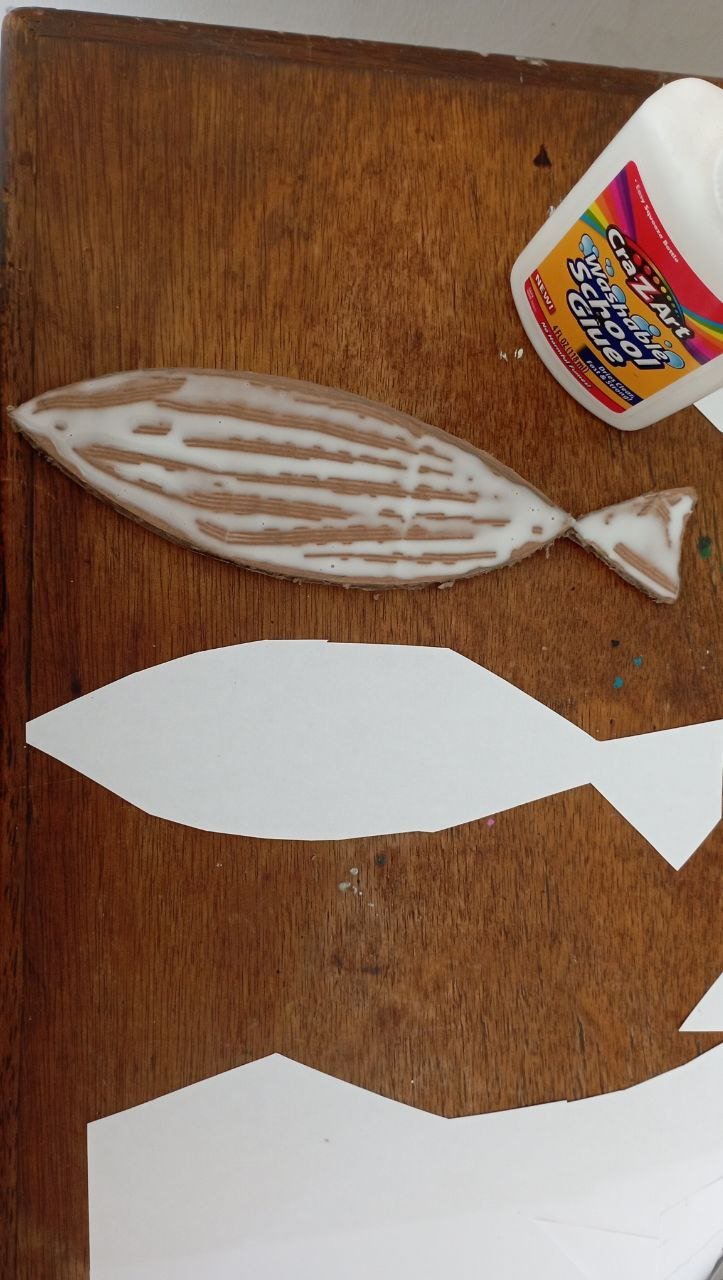
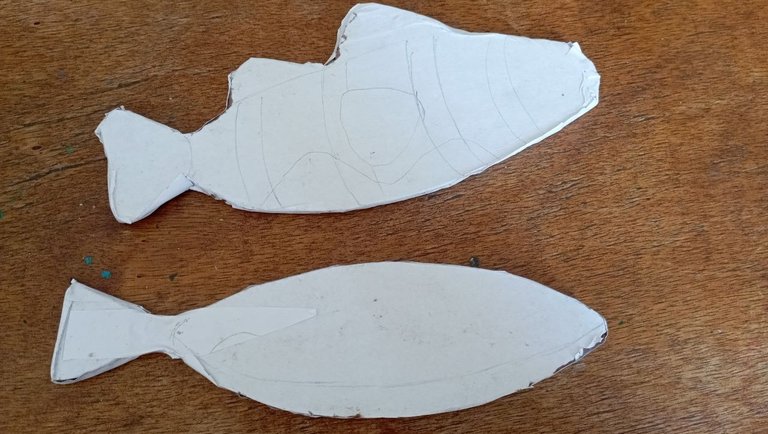
Primero hacer un molde de los peces en el cartón. Use de referencia alguno de pinterest. Los marqué con lápiz y procedí a cortarlos con ayuda del exacto o cutter.

PASO 2
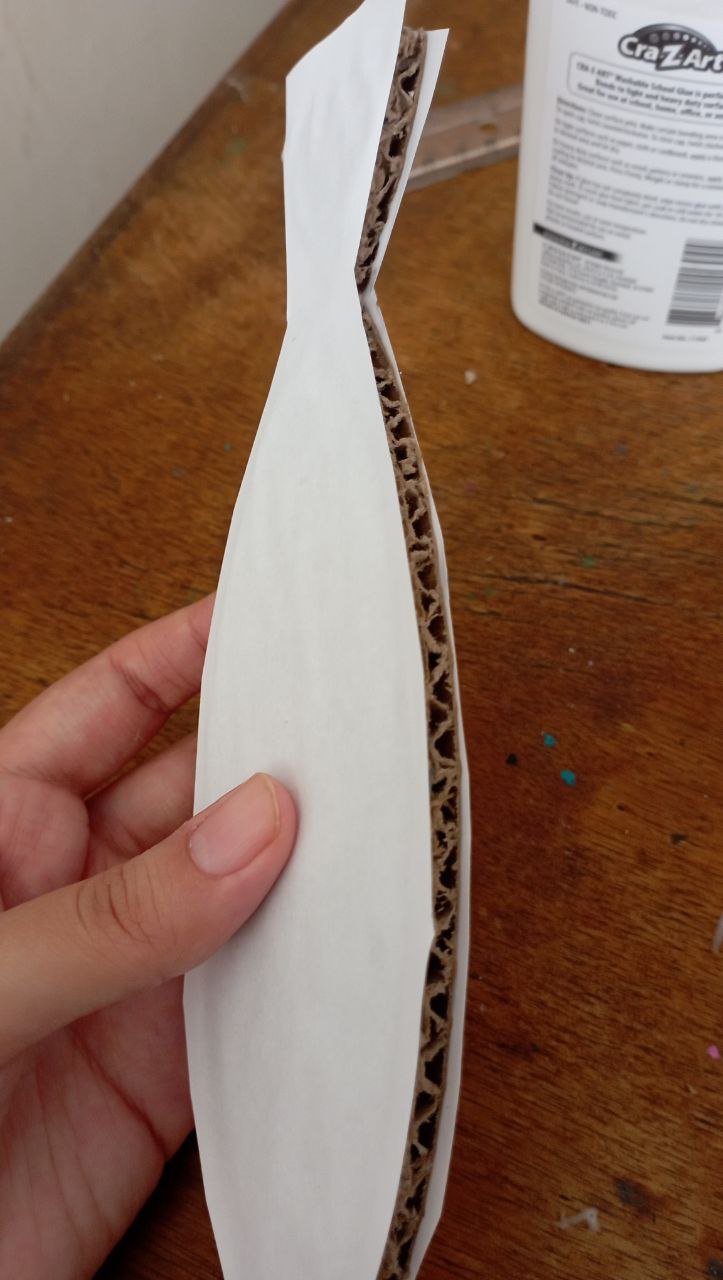
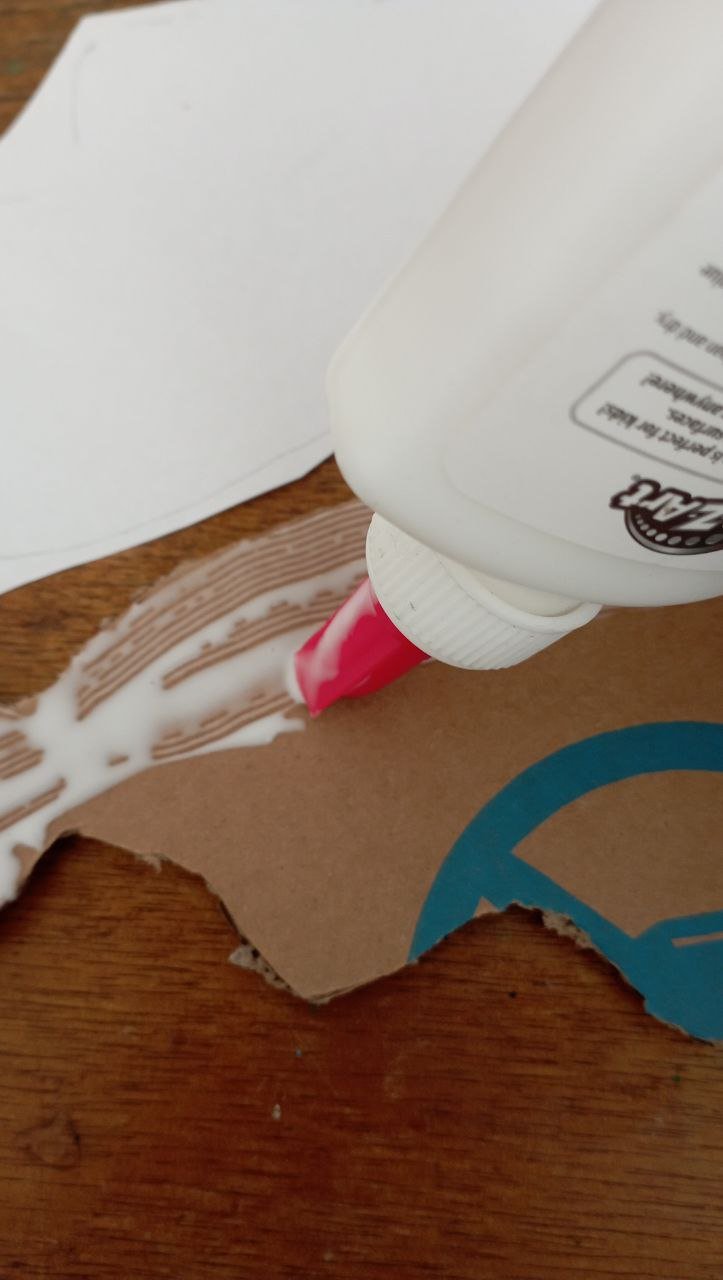
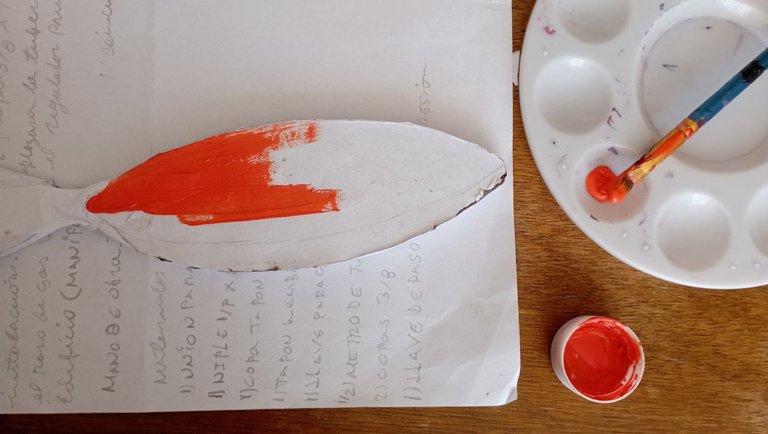
Como el fondo es marrón, use papel blanco y pega blanca para revestir la base y así poder pintar y que se secara en poco tiempo. Una vez las forre me dio miedo de que no se secara a tiempo para poder pintarlas, así que me ayudé de un secador de cabello para apurar el proceso, aun así fue lo que más tardó. Fueron unas 4 horas.
 |  |
|---|
 |  |
|---|
PASO 3
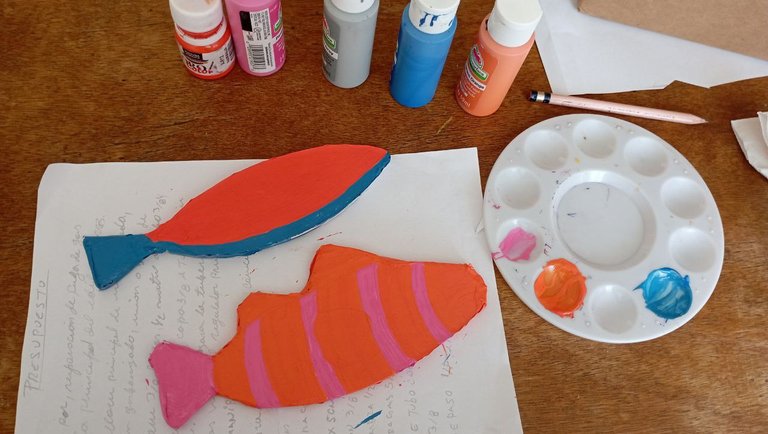
Una vez seco el pegamento, use un lápiz para marcar y definir los colores de los peces. Uno lo pinté de azul y gris, mientras que el otro fue fucsia y naranja. Tuve que darle al menos 3 capas para que el color quedara uniforme. Toco dejarlo secar unas 3 horas.
 |  |
|---|
 |  |
|---|
PASO 4
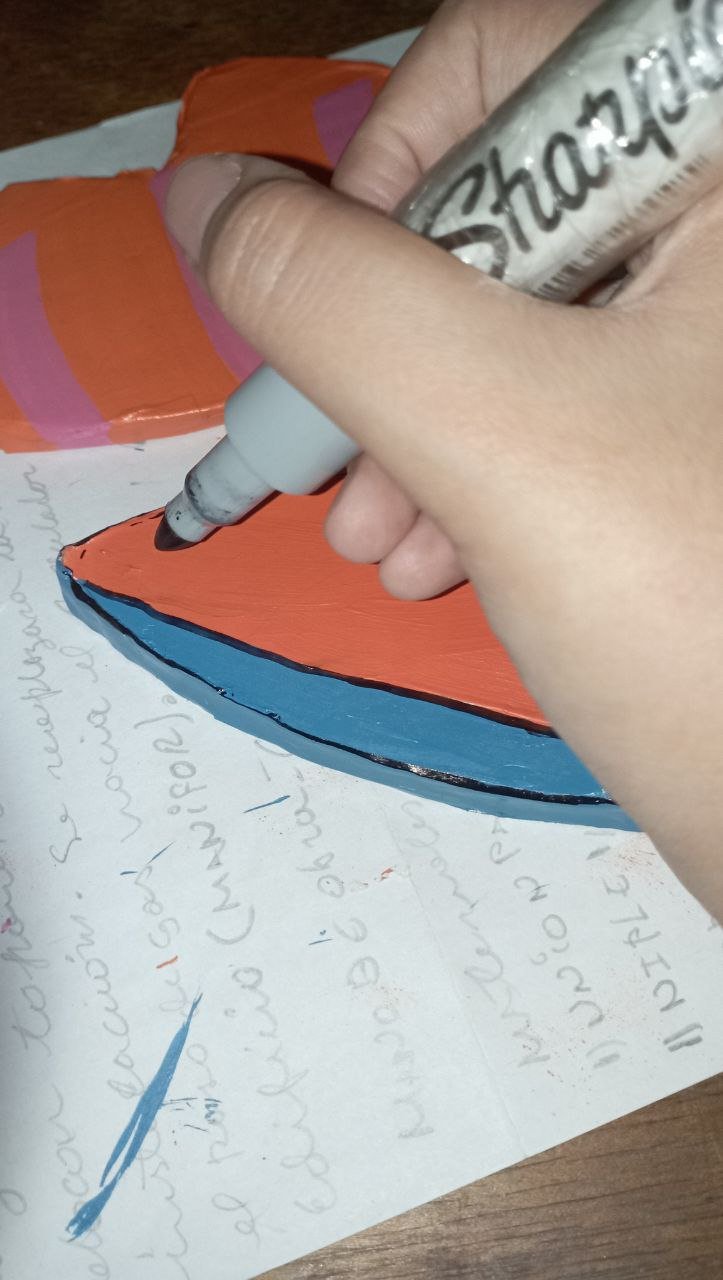
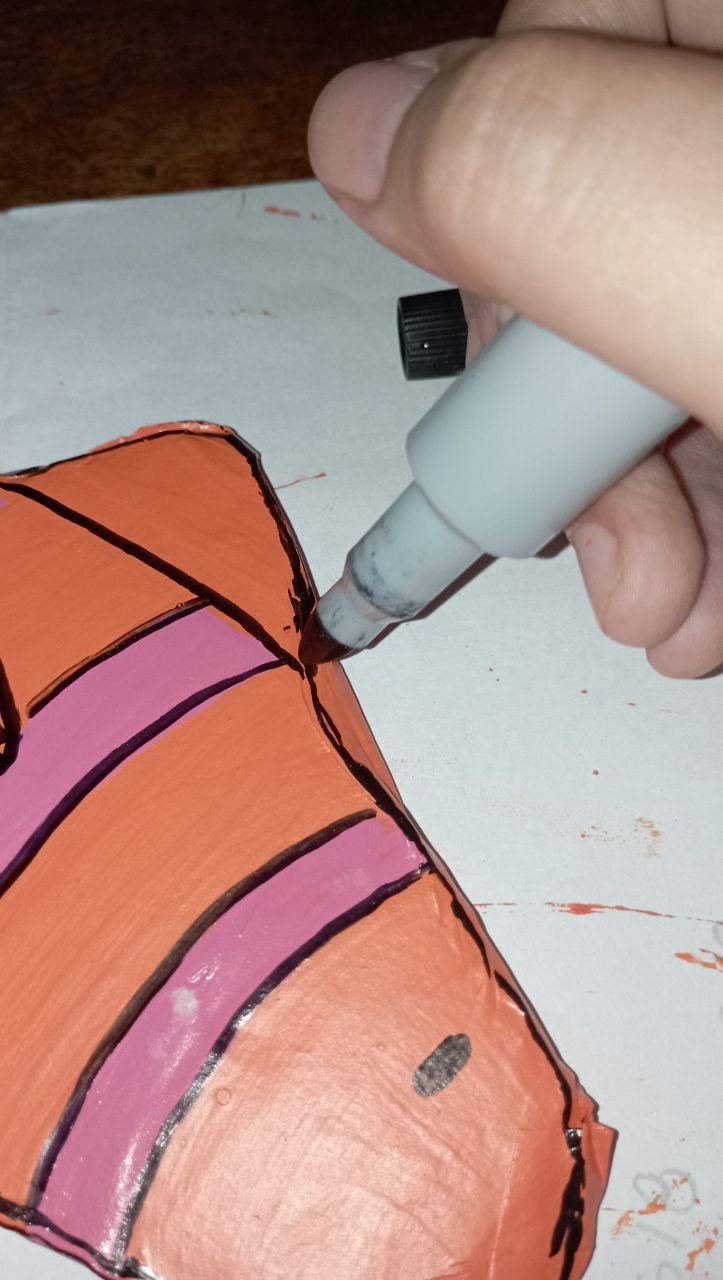
Hora de delinear. Para esto use un marcador permanente sharpie. Con él hice todo el contorno de los peces para definirlos bien.
 |  |
|---|
PASO 5
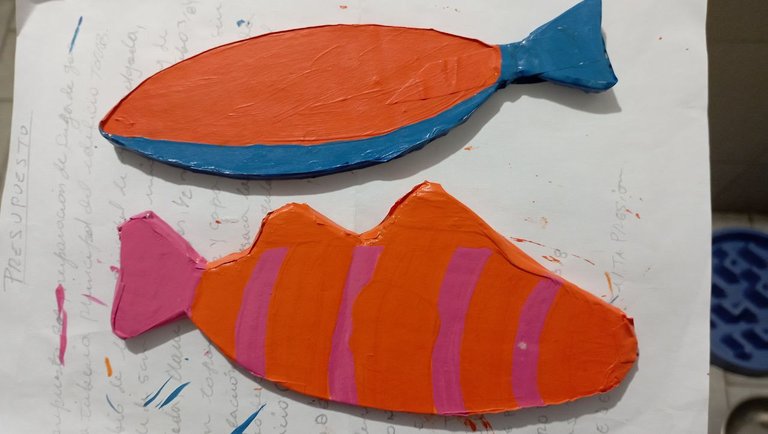
¡Peces listos para mi vecinita!
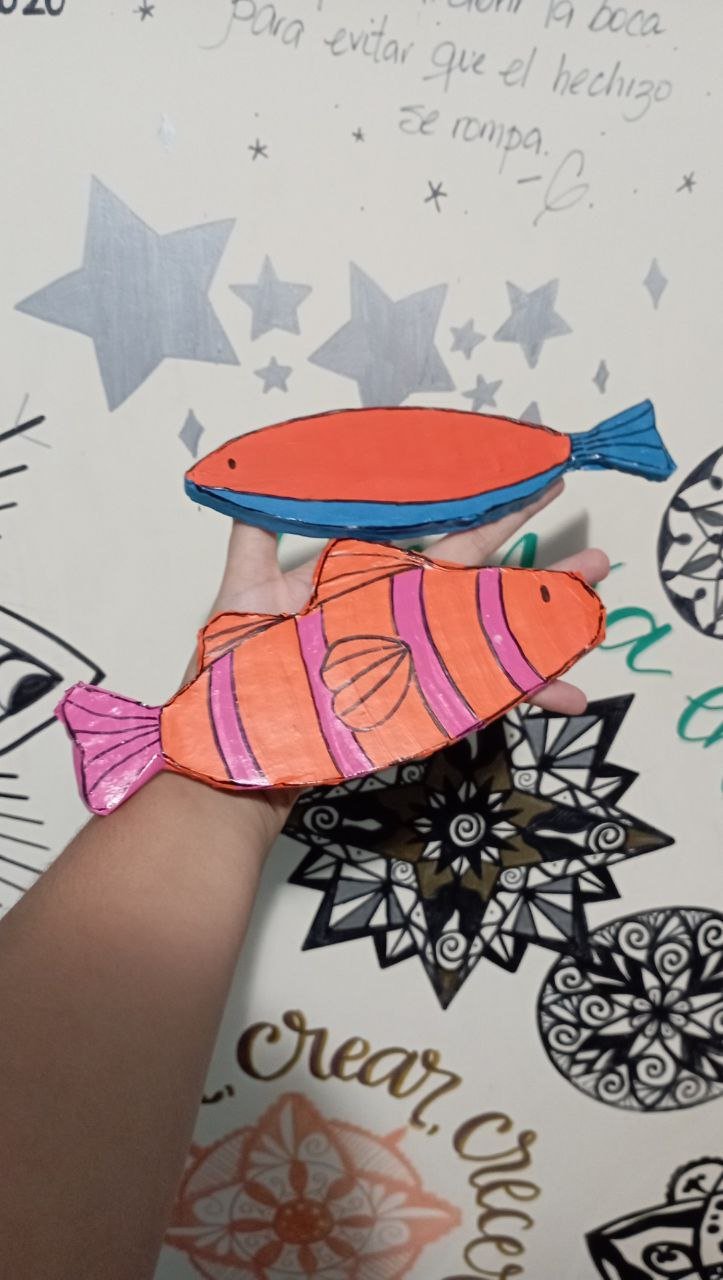
Logre entregarlos a eso de las 8 de la noche. En mi vida había hecho peces de carton, pero disfruté el proceso a pesar de lo apresurado que tuve que hacerlo. Me gusta tomar retos y este fue uno. Lo mejor de todo es que mi vecino, mi vecinita y la maestra de mi vecinita quedaron felices con los resultados.
Gracias por leerme
Con cariño, G.
Hi hivers! 💜
I hope you are well and happy, dear crafters. It's been a while since I've been here, but I'm telling you how I made some little fish for an activity for a little neighbor girl named Genesis, just like me. Her dad is a good friend and was going crazy with the closing of Genesis and her brother's project, when the teacher decided to say she needed some cardboard fish for Friday, giving notice on Wednesday night. Practically 24 hours to accomplish the mission. Since I had the time, even though I felt it was tight, I decided to help him out and document a bit of the process.
I'll be honest with something, I had never made fish out of cardboard before and I'm not an expert at cutting it. So I looked for inspiration on pinterest and went through the process, giving everything to make my neighbor and her teacher like them. I'll tell you how it all went in 24 hours:
MATERIALES
Cardboard (for the base of the fish, use from an old but sturdy box)
Pencil
exacto or cutter
Paper (can be recycled or white, I used white because of the short time I had)
White glue
Acrylic paint (I used orange, blue, gray and fuchsia)
Black permanent marker
STEP BY STEP
STEP 1
First make a mold of the fish out of cardboard. I used some from pinterest as a reference. I marked them with pencil and proceeded to cut them with the help of the exacto or cutter.
STEP 2
As the background is brown, I used white paper and white glue to line the base so I could paint and it would dry in a short time. Once I lined them I was afraid that they would not dry in time to be able to paint them, so I used a hair dryer to speed up the process, even so it took the longest. It took about 4 hours.
| |
|---|
| |
|---|
STEP 3
Once the glue was dry, I used a pencil to mark and define the colors of the fish. One was blue and gray, while the other was fuchsia and orange. I had to give it at least 3 coats so that the color would be uniform. I had to let it dry for about 3 hours.
| |
|---|
| |
|---|
STEP 4
Time to outline. For this I used a sharpie permanent marker. With it I did all the outline of the fish to define them well.
| |
|---|
STEP 5
Fish ready for my little neighbor!
I managed to deliver them at about 8 pm. I had never made cardboard fish in my life, but I enjoyed the process even though I had to do it in a hurry. I like to take on challenges and this was one of them. Best of all, my neighbor, my neighbor girl and my neighbor girl's teacher were happy with the results.
Thank you for reading me
With love, G..
FUENTE
Fotos: tomadas por mi desde mi redmi 10
Traducción: Deepl
SOURCE
Photos: taken by me from my redmi 10
Translation: Deepl


