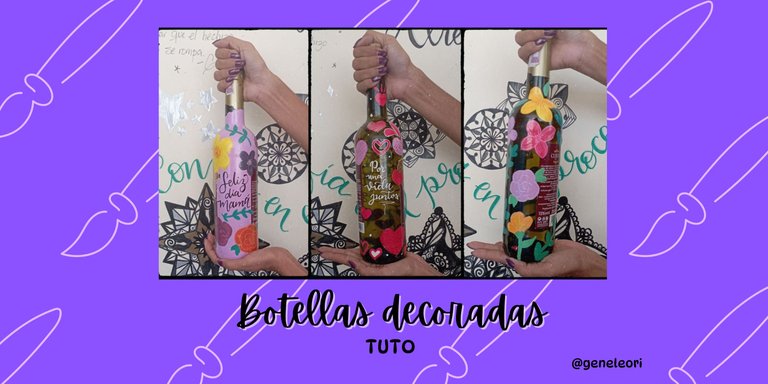
¡Hola hivers!💜
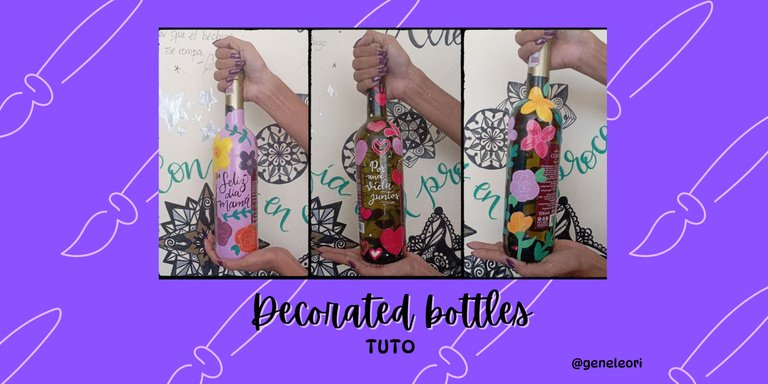
Me alegra volver a esta fantástica comunidad de artistas y creativos. Para el mes de las madres, quería regalar unas botellas de vino decoradas. Mientras buscaba inspiración encontré varias ideas que no solo podía aplicar para el día de las madres, sino para bodas o detalles. ¿Qué mejor que regalar flores y vino? de regalarla llena, luego de disfrutar del vino, fácil te puede quedar como un bonito jarrón decorativo, perfecto para dejarlo vacío o llenarlo de flores o hasta poner una vela. Así que les muestro el proceso:

MATERIALES
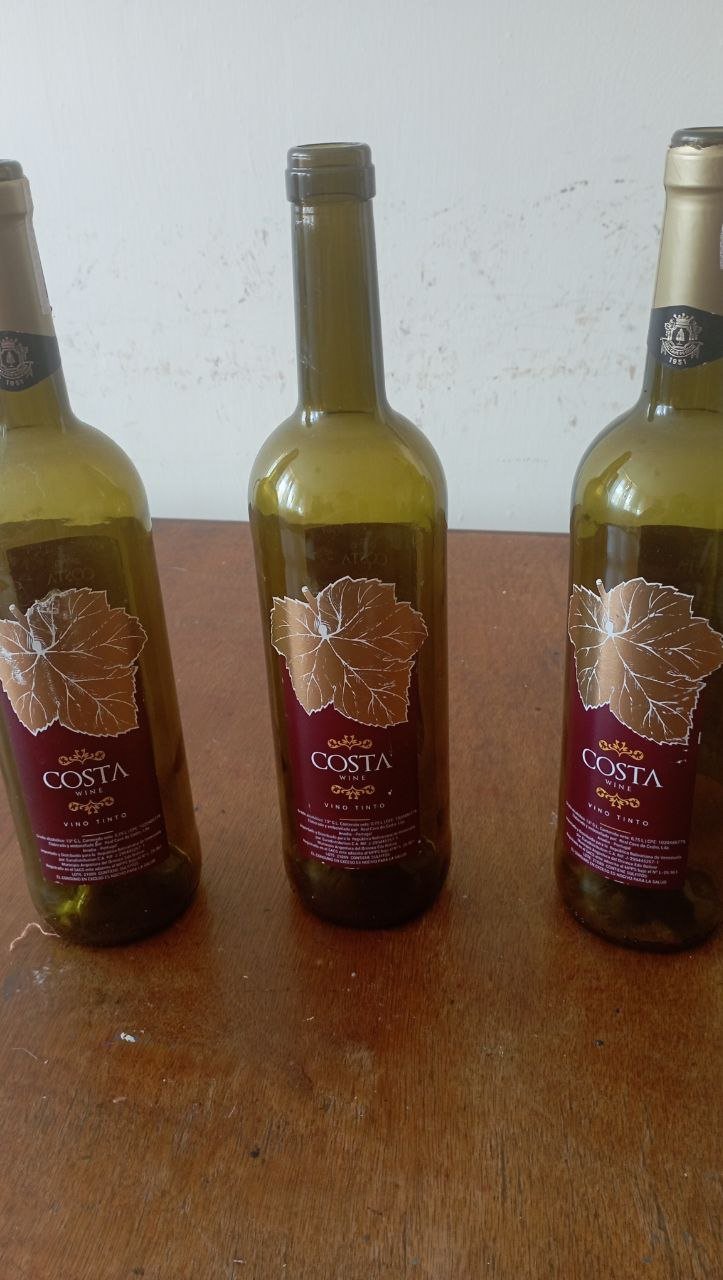
Botella de vino (puede ser llena o vacía)
Pintura acrílica
Pinceles
Washi tapes o cinta para enmascarar
Exacto
Marcadores de pintura acrílica
Spray sellador
PASO A PASO
 |  |
|---|
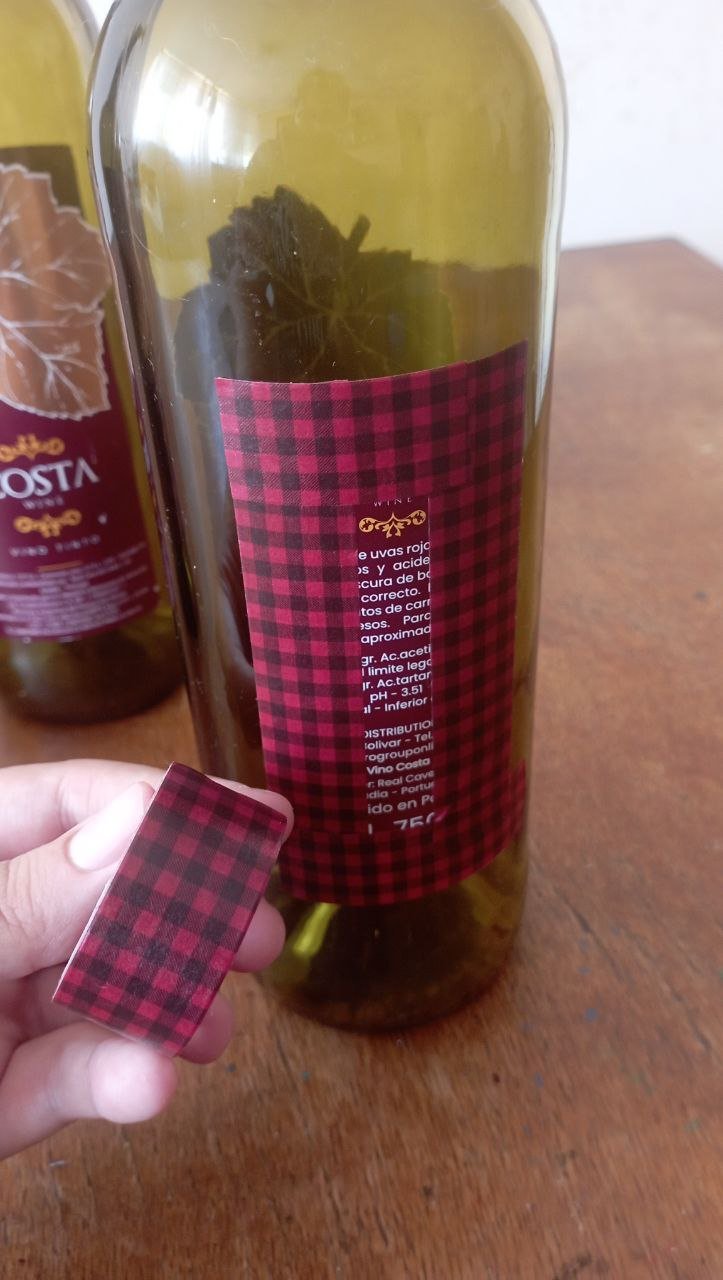
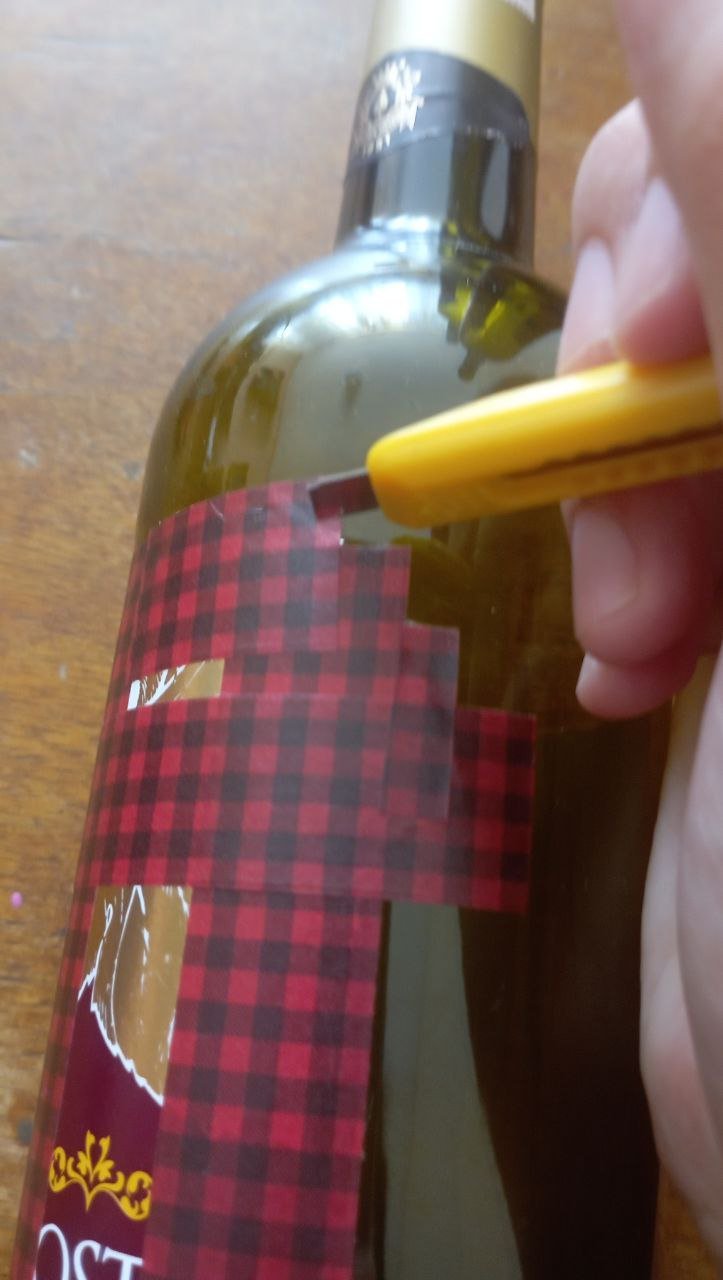
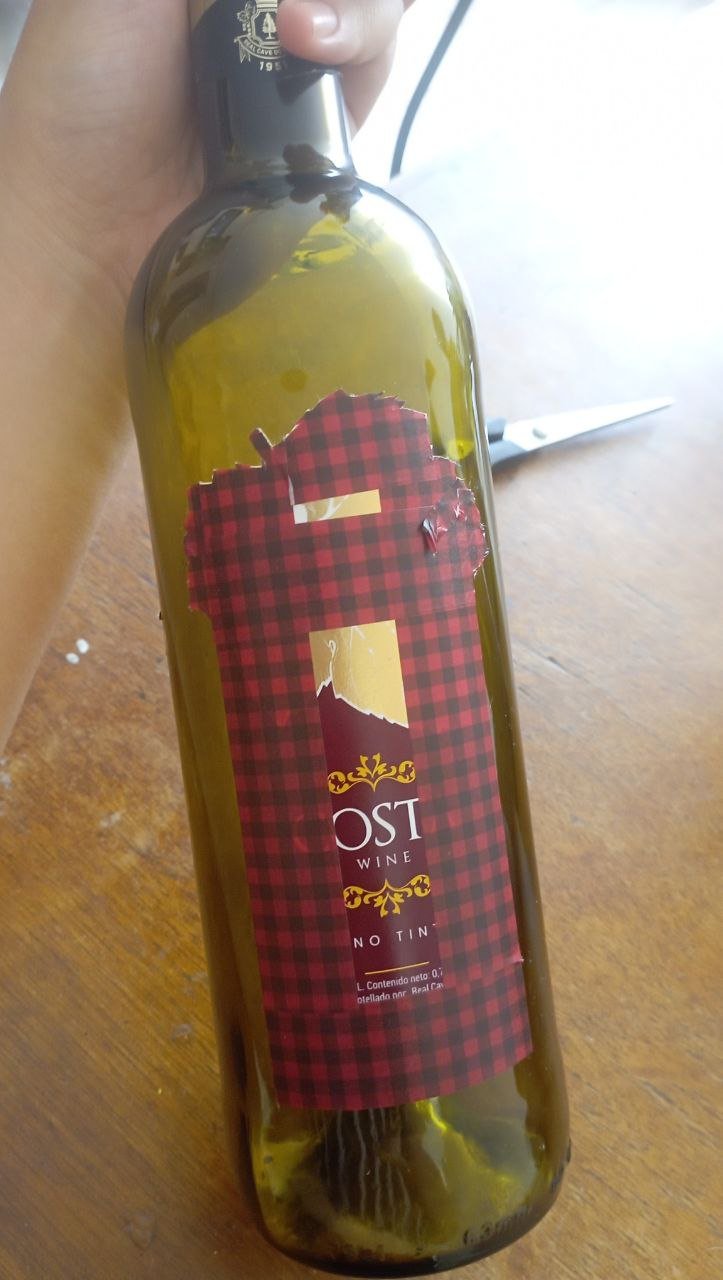
PASO 1
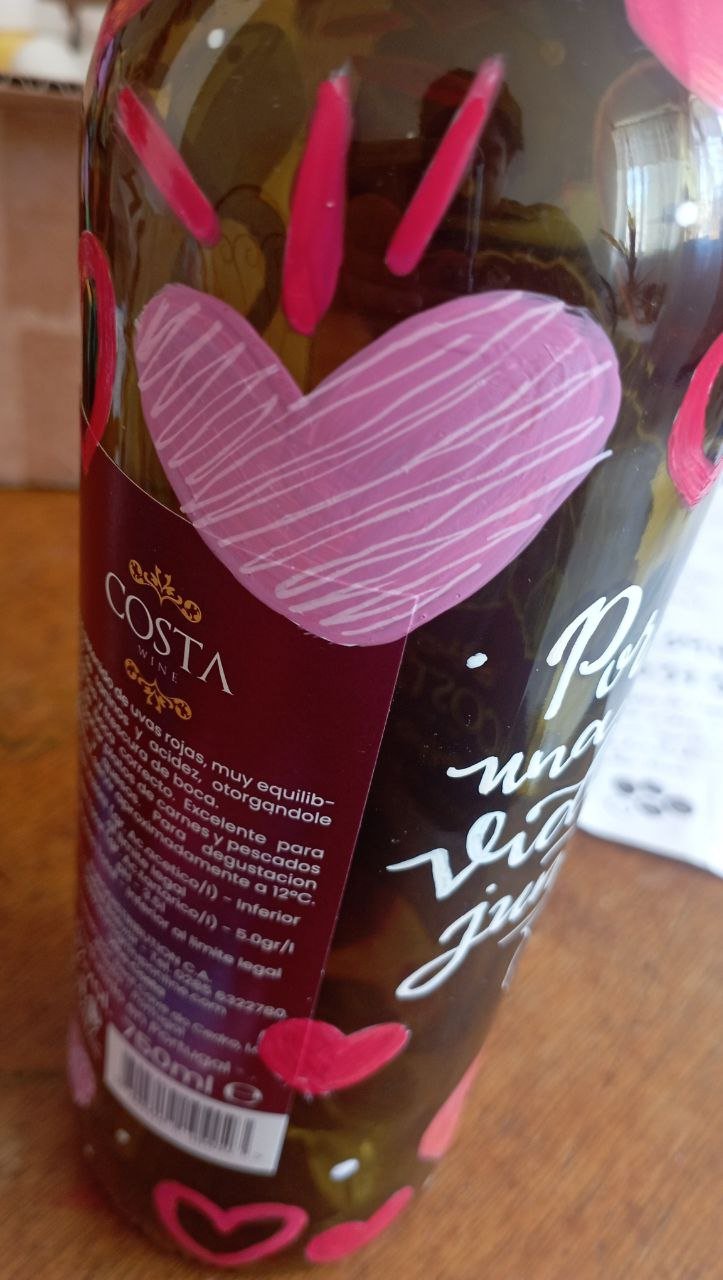
Lo primero es proteger las etiquetas de la botella. Para esto use washi tapes y un exacto para refinar los bordes y forma. Lo normal sería usar cinta de enmascarar pero no tenia, asi que me fui por un washi tapes, este es una cinta de papel de arroz y que viene con patrones decorativos, es genial porque puedes cortarlo con la mano y tiene menos pega, lo que te permite despegar sin dañar la base.
 |  |
|---|
 |  |
|---|
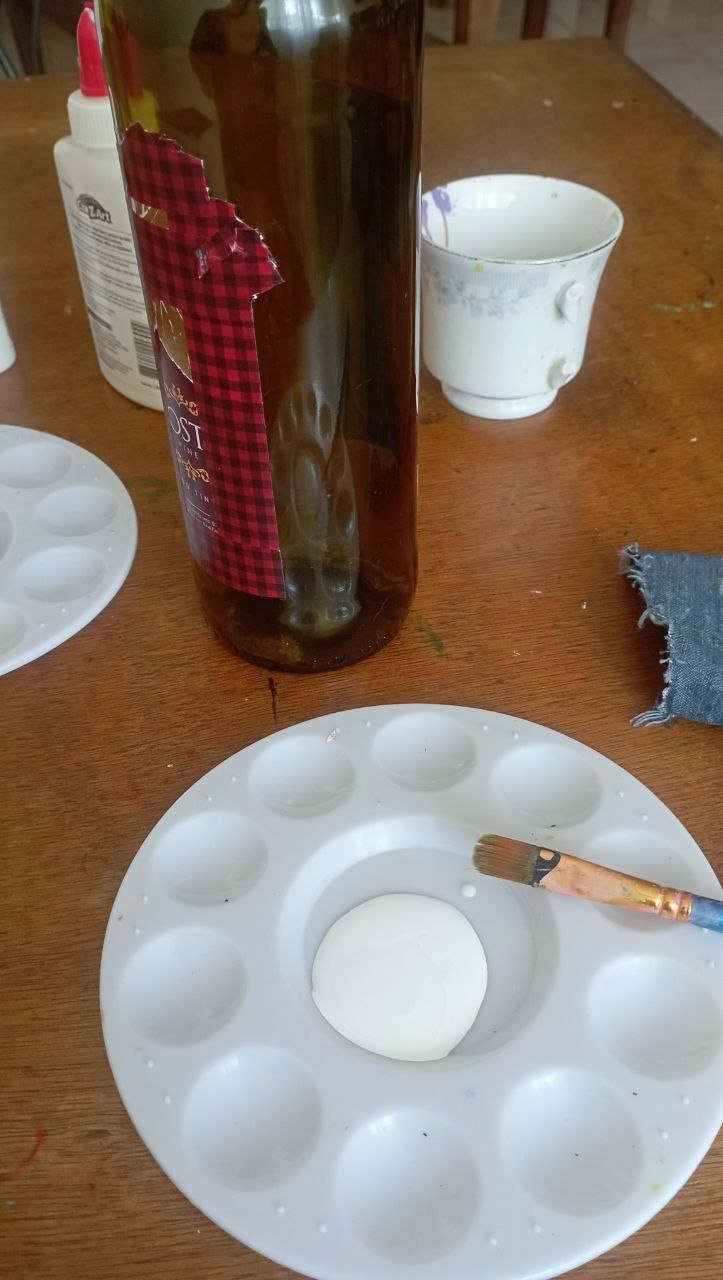
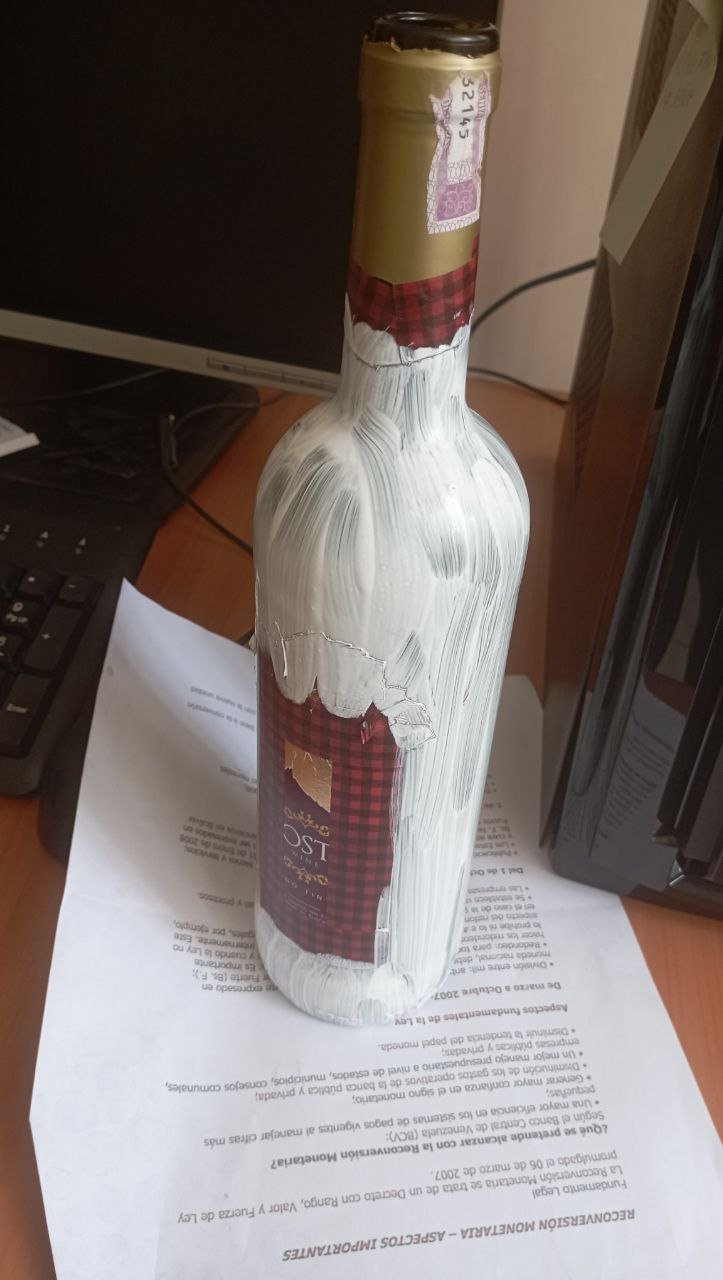
PASO 2
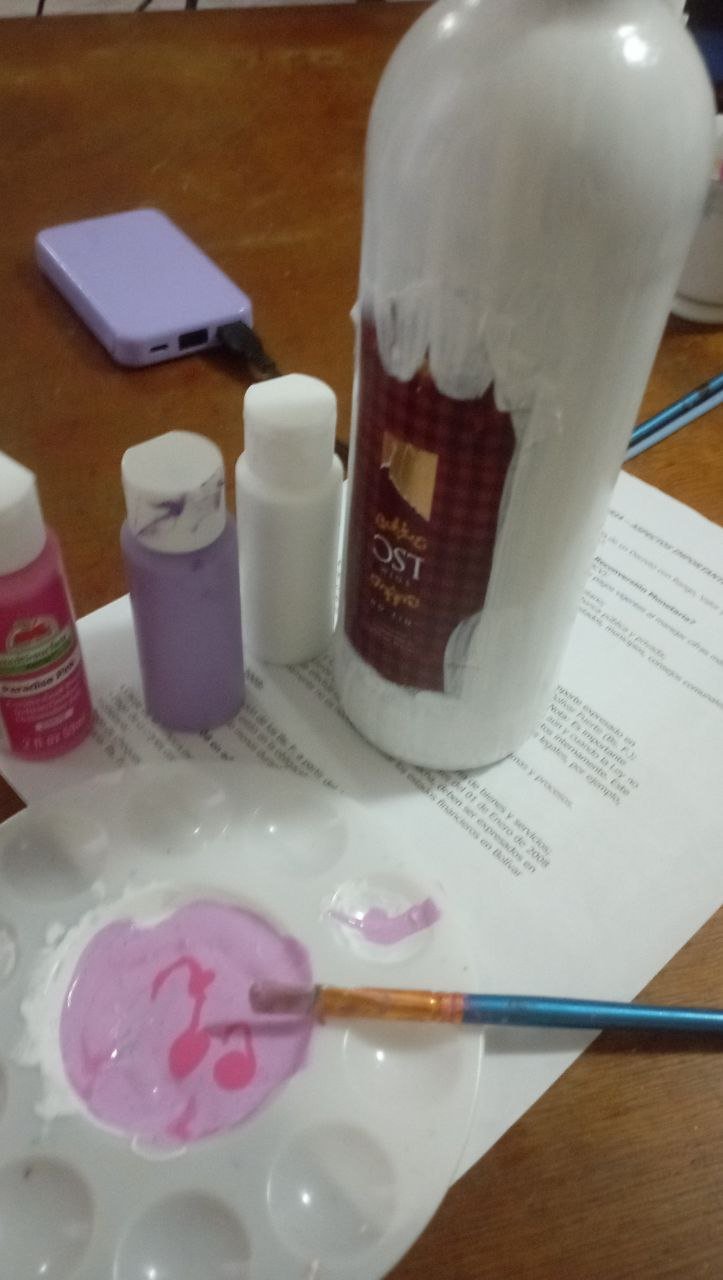
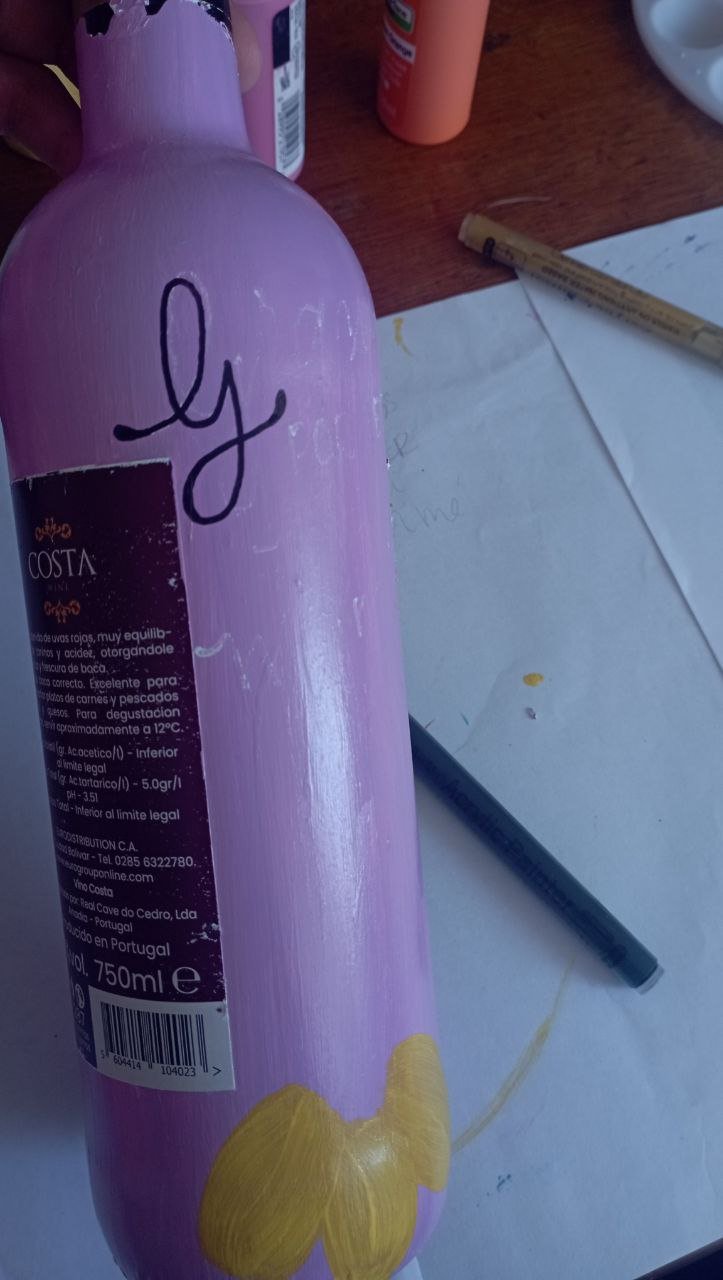
Una vez que estuvieron listas las protecciones, toca pintar las bases y definir el diseño. Tenía claro que una iba a llevar flores (así que busqué muchas referencias), otra corazones y un anillo de compromiso y la última iba tener un fondo de otro color. Como las botellas eran verdes, debía primero hacer la base con pintura blanca. Esta fue la parte que más tiempo tomó, dado que debía esperar que secara bien la pintura antes de dar la siguiente capa. Tuve que dar unas 4 capas y me tomó unos 4 días hacerlo.
 |  |
|---|
 |  |
|---|
PASO 3
Con las bases secas, llegó la hora de darle color.
Empecé con la botella totalmente cubierta. Sabía que iba a tardar más en secar ya que debía primero pintar el fondo, para el que use un tono violeta claro, y luego el resto de las flores.
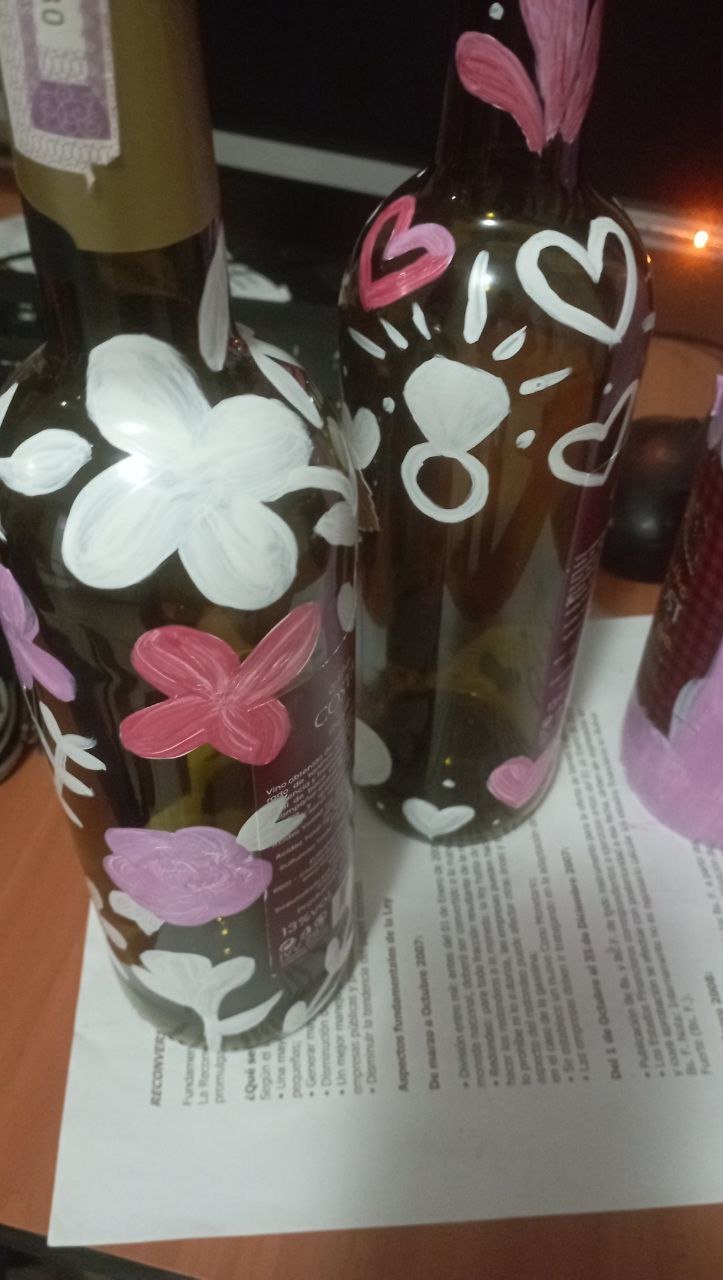
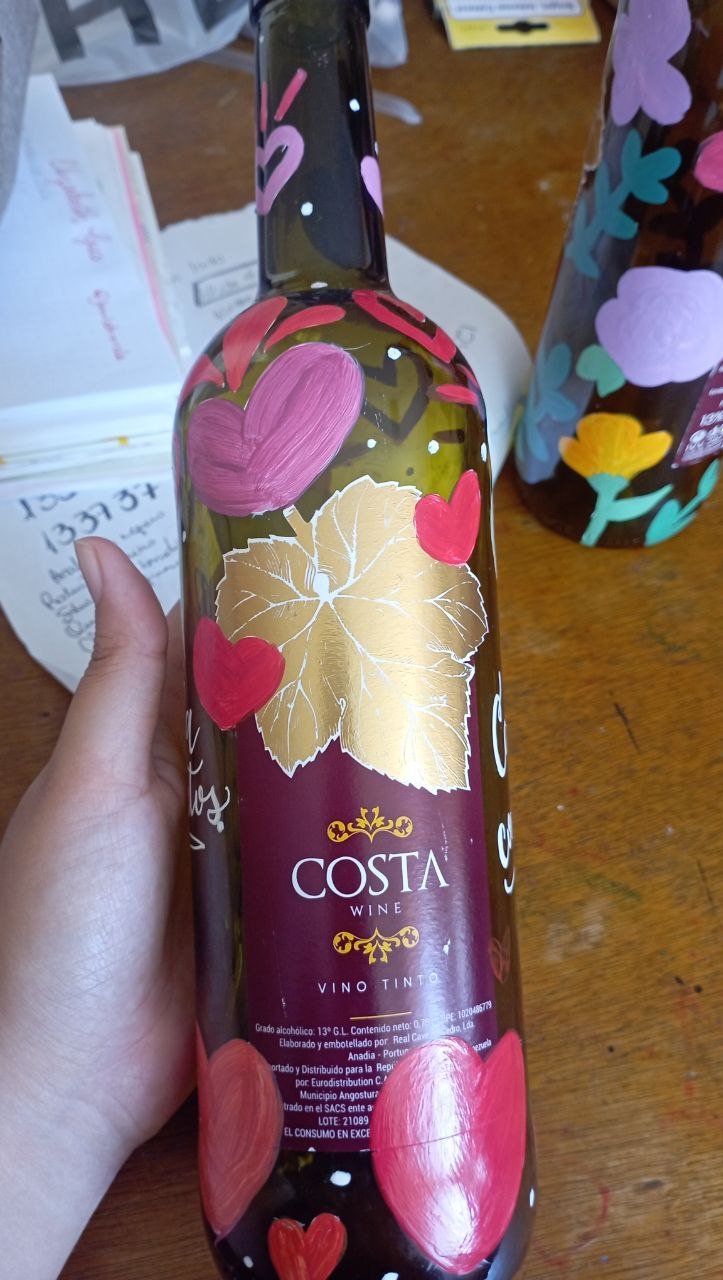
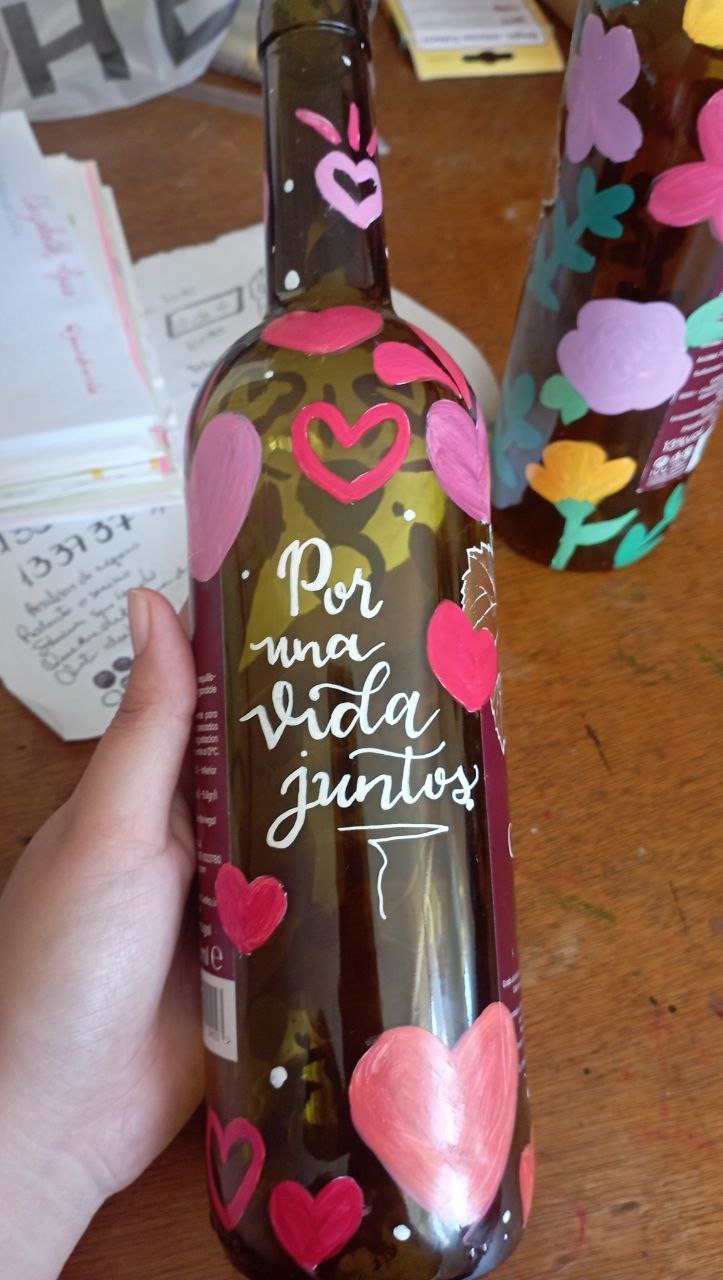
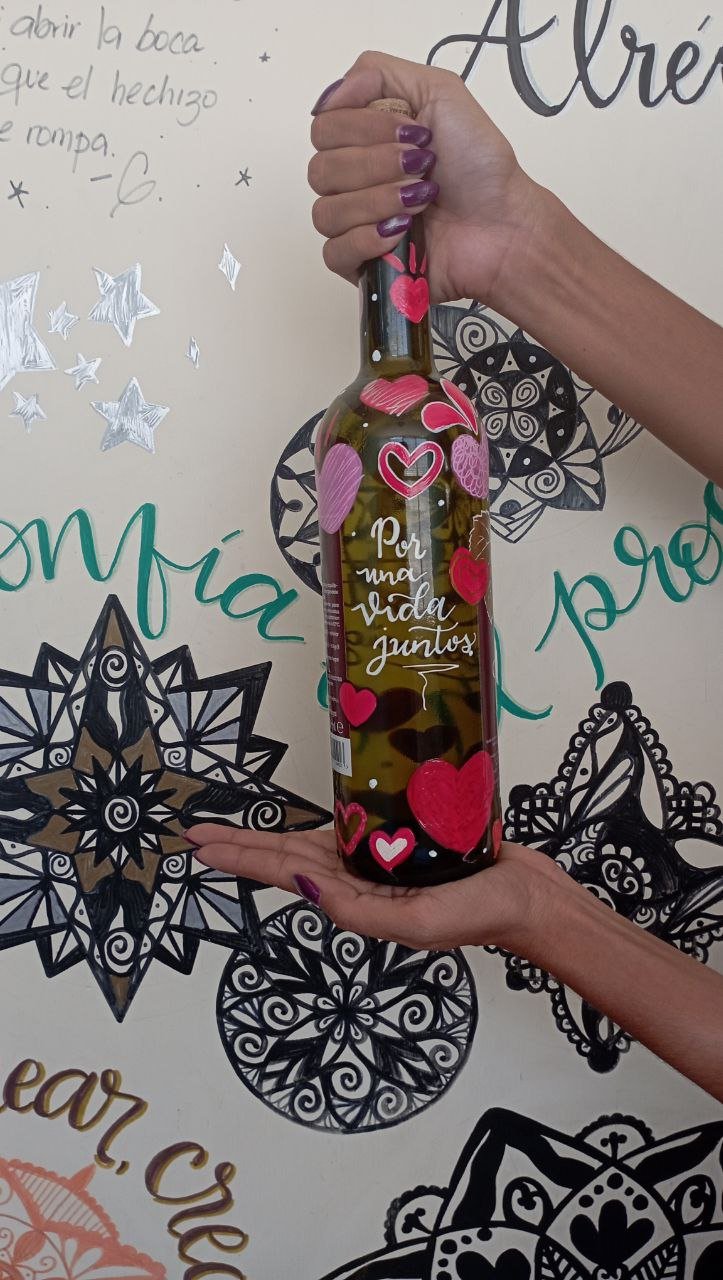
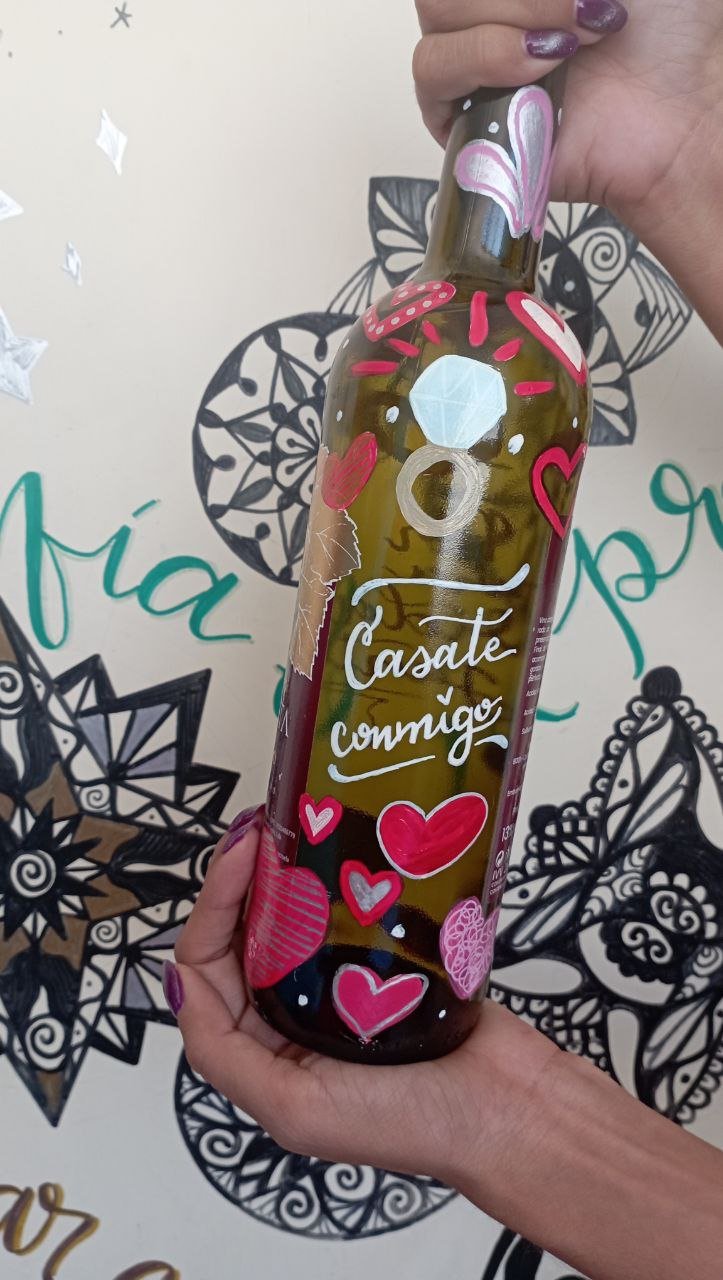
Con la de corazones y anillo, decidi usar varios tonos de color rojo, rosa y hasta morado. Admito que pintar el anillo fue mi parte favorita.
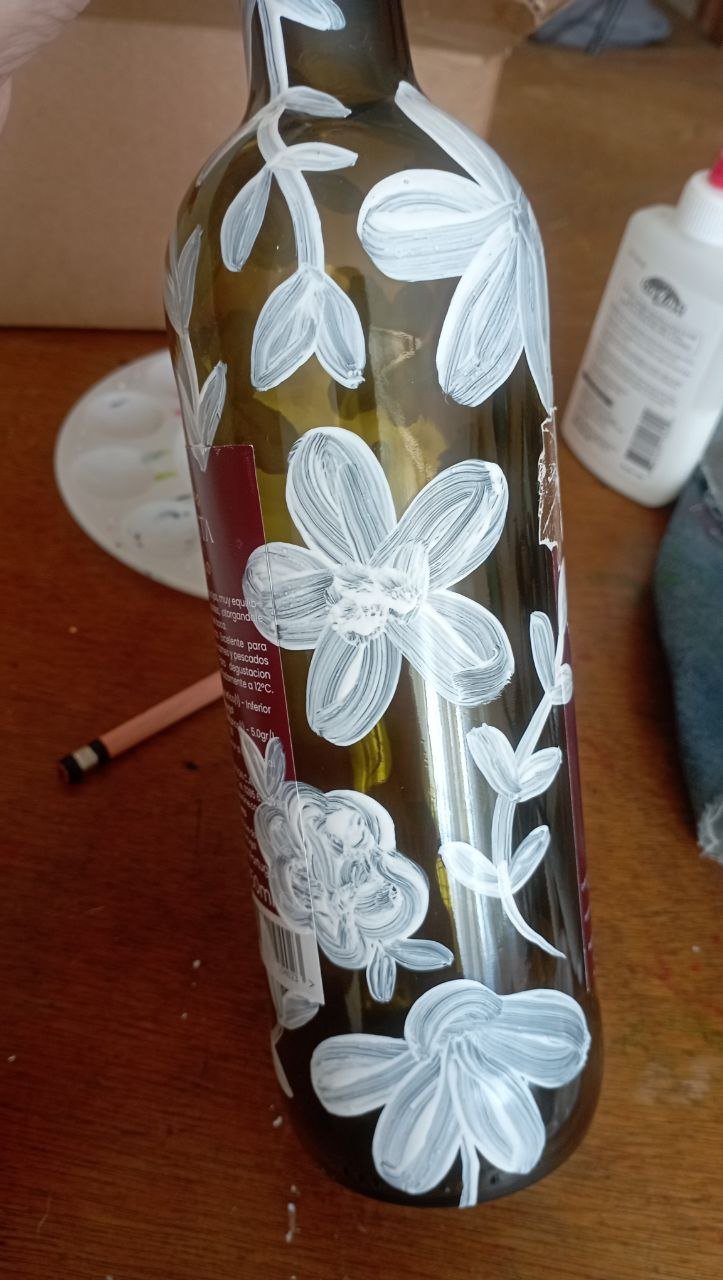
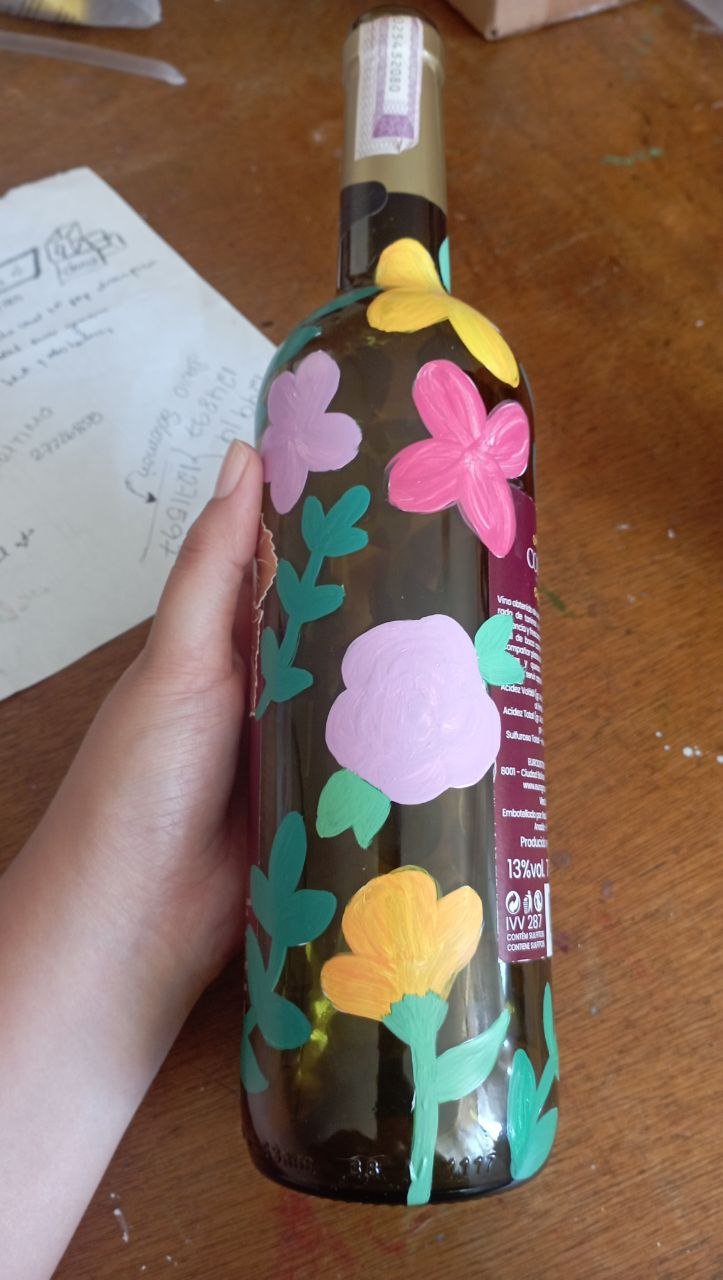
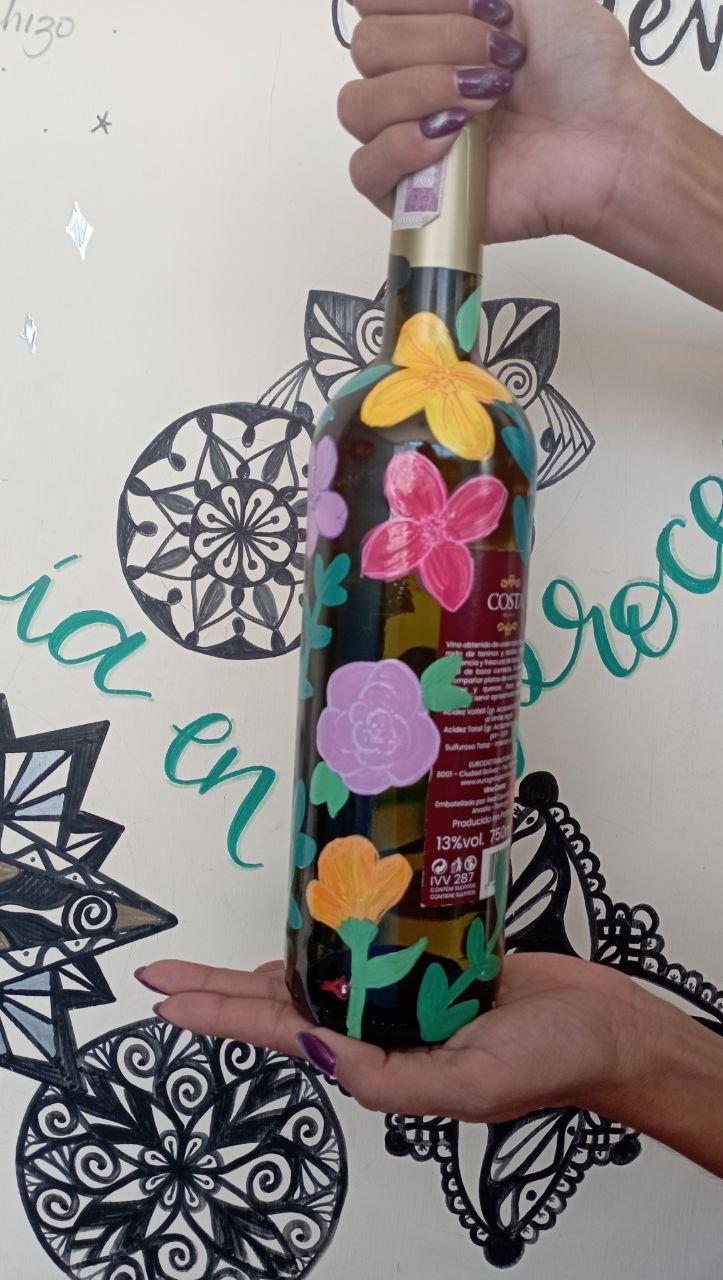
Para la de flores use muchos colores primaverales, aunque las hojas que pinte me fui por verdes un tanto pasteles casi llegando a turquesa. Aquí me aproveche del pincel para hacer rosetones y jugar con el fondo blanco, como si los pétalos tuvieran un degradado.
De igual forma, esta parte se tardó. Ya que tenía que esperar a que secara.
 |  |
|---|
 |  |
|---|
PASO 4
Ahora vienen las frases. Deje espacios sin cubrir en dos de las botellas: en la de corazones y en la de fondo violeta. Así que con los marcadores de pintura me encargue de dibujar las frases.
En la de corazones puse: “por una vida juntos” y “Cásate conmigo” con un lettering muy sencillo.
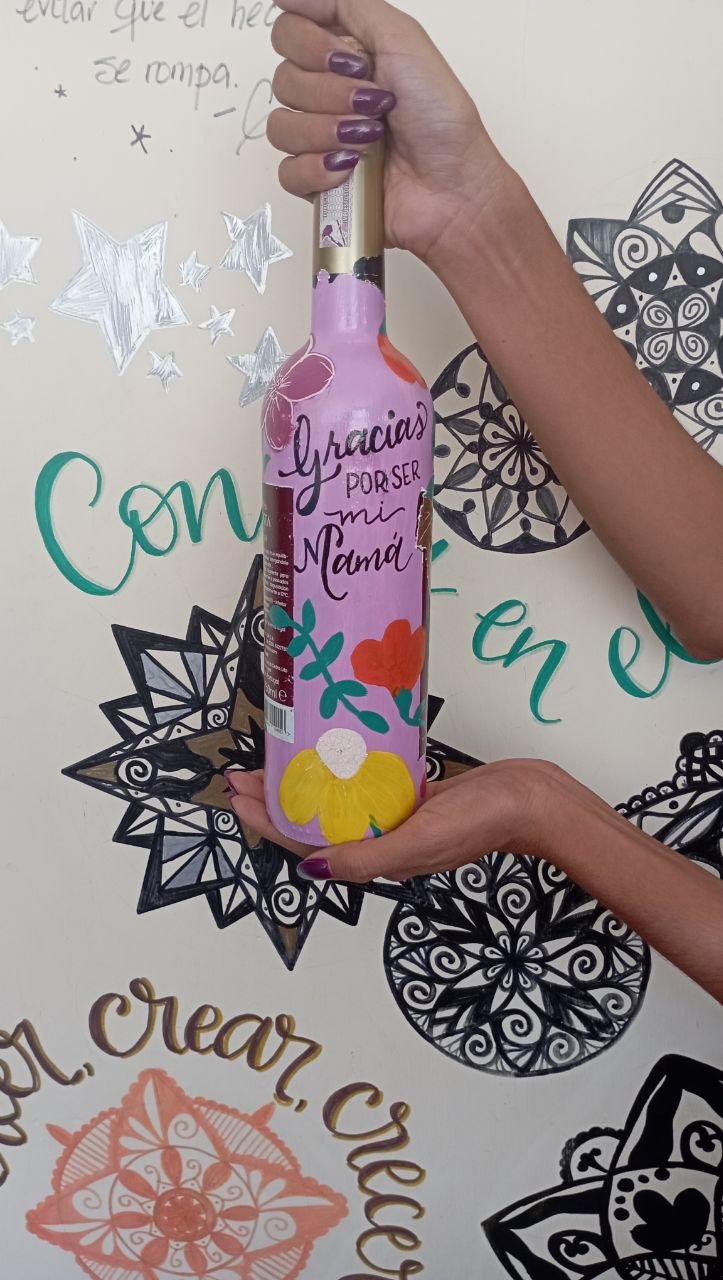
En la de fondo violeta puse: “feliz dia de las madres” y “gracias por ser mi mamá”.
PASO 5
Solo faltan los detalles. Por lo menos, en la botella de puras flores necesitaba definir los centros y pétalos, de igual forma en la de fondo violeta. Mientras que en la de corazones le puse detallitos a los corazones y debía definir el anillo.
PASO 6
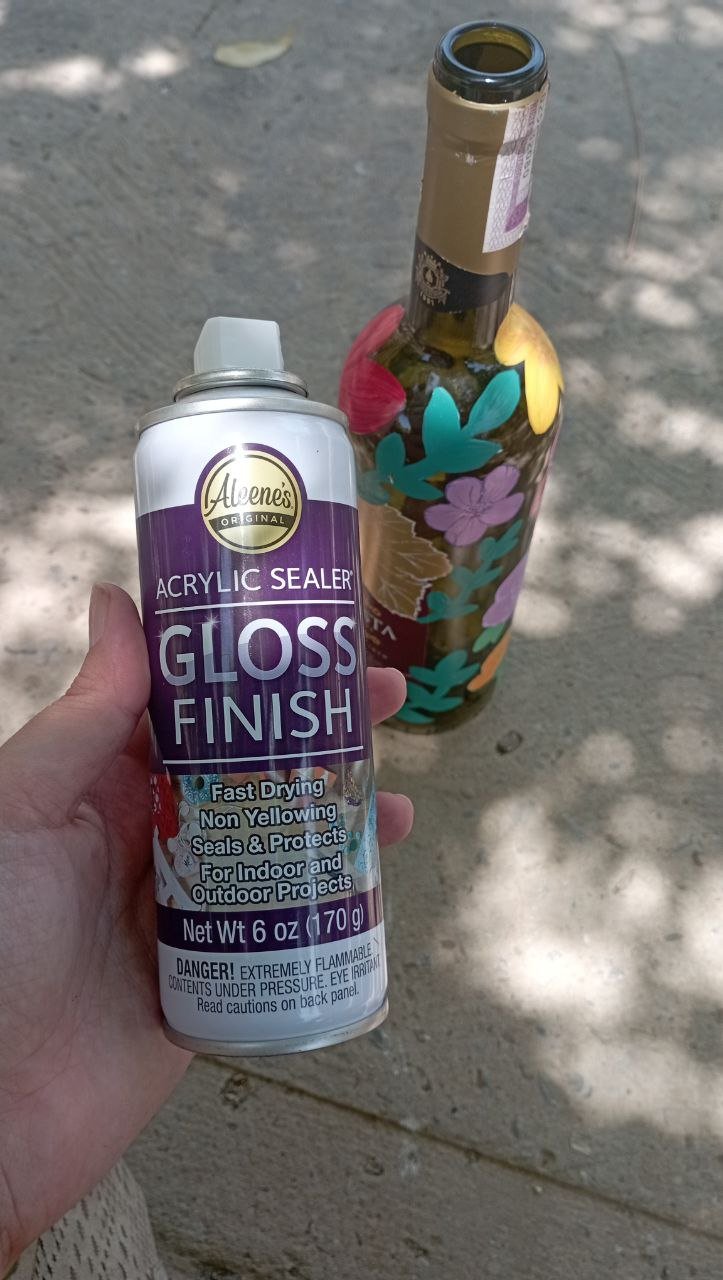
Luego de los detalles, espere que secara por lo menos 24 horas y les coloque el sellador en spray, así la pintura no se caería y duraran más.
 |  |
|---|
PASO 7
Botellas listas para ser regaladas!
 |  |
|---|
 | |
|---|
Decorar estas botellas fue un proceso largo, pero me encantó. Admito que no quedé muy conforme con la botella de fondo morado, pero la mamá que la recibió quedó muy feliz. Eso si ame la botella de flores. Se robó mi corazón y admito que no la regale. La de corazones también encontró un hogar con unos enamorados. Así que creo que todos quedamos contentos. Espero le haya gustado y sea útil para ustedes este tutorial.
Gracias por leerme
Con cariño, G.
Hi hivers!💜
I'm glad to be back in this fantastic community of artists and creatives. For Mother's month, I wanted to give some decorated wine bottles as a gift. While I was looking for inspiration I found several ideas that I could not only apply for Mother's Day, but also for weddings or details. What better than giving flowers and wine as a gift, to give it full, after enjoying the wine, you can easily leave it as a nice decorative vase, perfect to leave it empty or fill it with flowers or even put a candle in it. So I show you the process:
MATERIALS
Wine bottle (can be full or empty)
Acrylic paint
Brushes
Washi tapes or masking tape
Exact
Acrylic paint markers
Sealing spray
STEP-BY-Step
| |
|---|
STEP 1
The first thing is to protect the labels on the bottle. For this I used washi tapes and an exacto to refine the edges and shape. The normal thing would be to use masking tape but I didn't have any, so I went for washi tapes, this is a rice paper tape and it comes with decorative patterns, it's great because you can cut it by hand and it has less glue, which allows you to peel it off without damaging the base.
| |
|---|
| |
|---|
STEP 2
Once the protections were ready, it was time to paint the bases and define the design. I knew that one would have flowers (so I looked for many references), another one would have hearts and an engagement ring and the last one would have a different color background. Since the bottles were green, I first had to make the base with white paint. This was the part that took the most time, since I had to wait for the paint to dry well before applying the next coat. I had to do about 4 coats and it took me about 4 days to do it.
| |
|---|
| |
|---|
STEP 3
With the bases dry, it was time for color.
I started with the bottle completely covered. I knew it was going to take longer to dry since I had to paint the background first, for which I used a light violet tone, and then the rest of the flowers.
With the hearts and ring, I decided to use various shades of red, pink and even purple. I admit that painting the ring was my favorite part.
For the flowers I used a lot of spring colors, although the leaves I painted were a bit pastel green, almost turquoise. Here I took advantage of the brush to make rosettes and play with the white background, as if the petals had a gradient.
In the same way, this part took some time. Since I had to wait for it to dry.
| |
|---|
| |
|---|
STEP 4
Now come the phrases. I left uncovered spaces in two of the bottles: in the one with hearts and in the one with a purple background. So I used the paint markers to draw the phrases.
On the one with hearts I put: “For a life together” and “Marry me” with a very simple lettering.
On the purple background I put: “happy mother's day” and “thank you for being my mom”.
STEP 5
Only the details are missing. At least, in the pure flower bottle I needed to define the centers and petals, as well as in the purple one. While in the one with hearts I put details to the hearts and I had to define the ring.
STEP 6
After the details, I waited for them to dry for at least 24 hours and put the spray sealer on them, so the paint would not fall off and they would last longer.
| |
|---|
STEP 7
Bottles ready to be given away!
| |
|---|
| |
|---|
Decorating these bottles was a long process, but I loved it. I admit that I wasn't very happy with the purple bottle, but the mom who received it was very happy. I did love the flower bottle. It stole my heart and I admit I didn't give it as a gift. The one with hearts also found a home with some lovers. So I think we were all happy. I hope you liked and found this tutorial useful for you.
Thank you for reading me
With love, G..
FUENTE
Fotos: tomadas por mi desde mi redmi 10
Traducción: Deepl
SOURCE
Photos: taken by me from my redmi 10
Translation: Deepl


