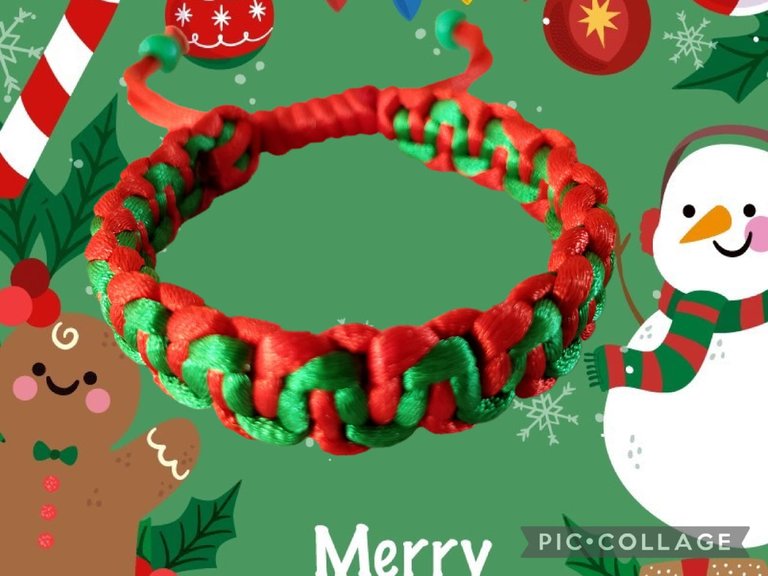
Greetings #jewelry community it is a pleasure to share with you again my creative project. It is a beautiful bracelet woven with my own hands. I tell you that there is nothing in the world more satisfying than seeing someone wearing a gift that you made with your hands using your creativity.
Today I am sharing with you a flat woven bracelet with mouse tail yarn. I am very happy for such a beautiful month of the year where we can share with family and friends who have been distant for a long time.
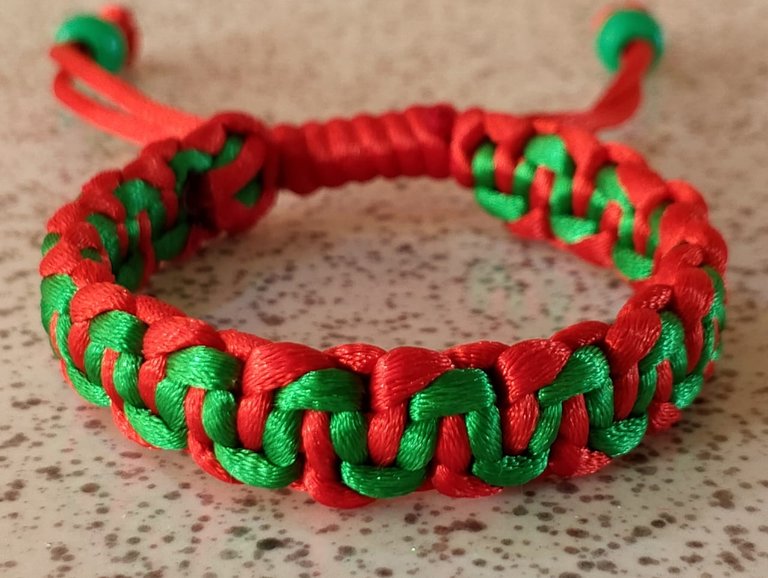
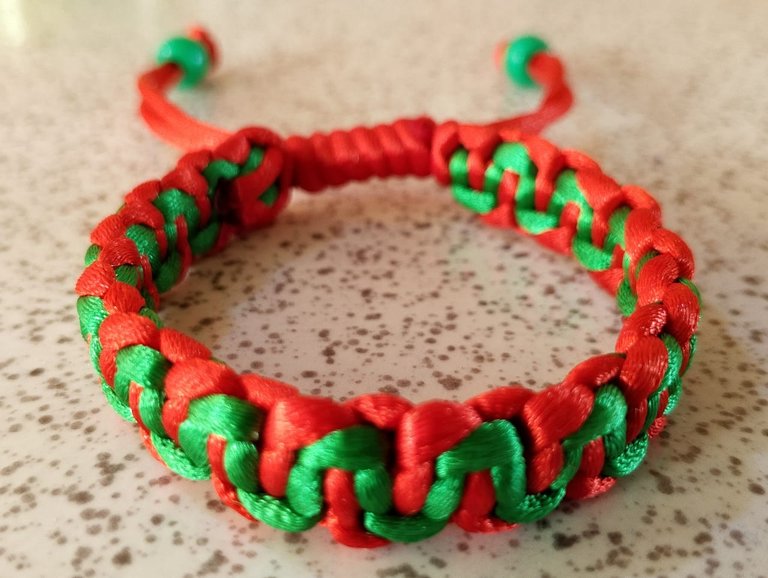
This is a delicate, attractive and very striking Zig Zag style bracelet with flat weave that make this a beautiful piece, it is a very simple jewelry to make but the end result is amazing. This bracelet is very easy to make and in a few minutes we have it done. It is very attractive and I loved the final result.
In this opportunity I join the challenge of this community in the creation of a beautiful accessory allusive to the month of December.
For my participation I made a very attractive bracelet and I loved its variety of Christmas colors. Therefore, I want to share with you my creation.
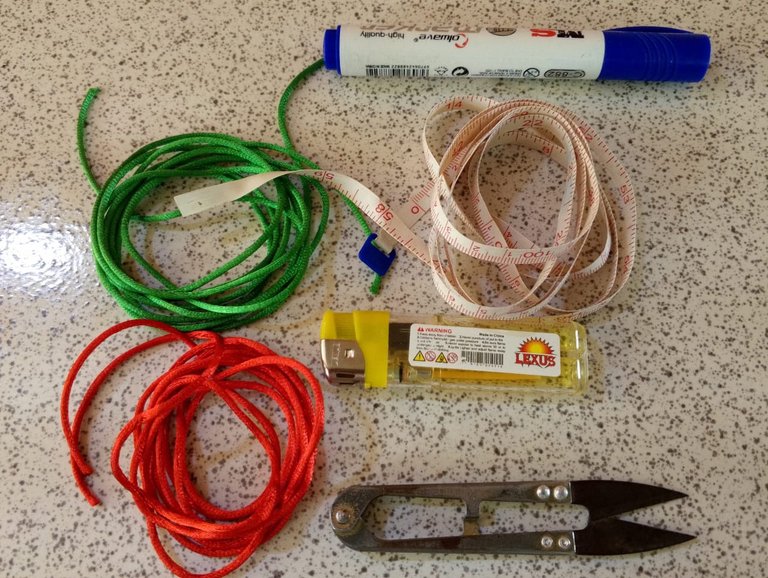
It is very simple to make and with materials that we regularly have at home.
God bless you and I hope you like my creation.
Saludos comunidad #jewelry es un gusto compartir nuevamente con ustedes mi proyecto creativo. Es una linda pulsera tejida con mis propias manos. Les cuento que no existe en el mundo nada más satisfactorio que poder ver a alguien usar un regalo que tu hiciste con tus manos usando la creatividad.
El día de hoy les comparto una pulsera en tejido plano con hilo cola de ratón . Les comento que me siento muy feliz por tan hermosa mes del año donde podemos compartir con familiares y amigos que han estado distantes por mucho tiempo.
Se trata de una delicada, atractiva y muy llamativa pulsera estilo Zig Zag con tejido plano que hacen de ésta una pieza hermosa .Es una joya muy sencilla de hacer pero el resultado final es asombroso. Esta pulsera es muy fácil de hacer y en pocos minutos la tenemos hecha. Es muy atractiva y me encantó el resultado final.
En esta oportunidad me uno al desafío de esta comunidad en la creación de un hermoso accesorio alusivo a la época del mes de diciembre.
Para mi participación realicé una pulsera muy atractiva y me encantó su variedad de colores navideños. Por eso, quiero compartir con ustedes mi creación.
Es muy sencilla de hacer y con materiales que regularmente tenemos en casa.
Que Dios les bendiga y espero les guste mi creación.
ELABORATION
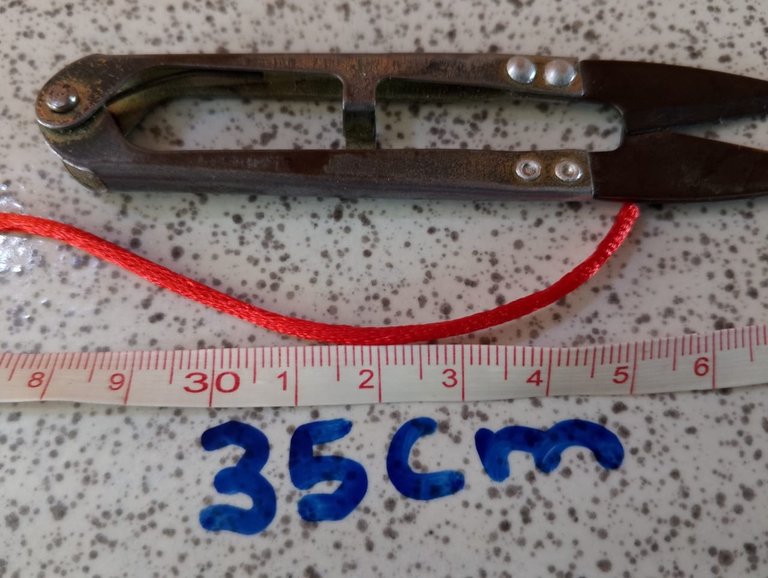
To start this delicate bracelet we will cut 35cm of thread that we will use as a base.
ELABORACIÓN
Para comenzar esta delicada pulsera vamos a cortar 35cm de hilo que usaremos como base.
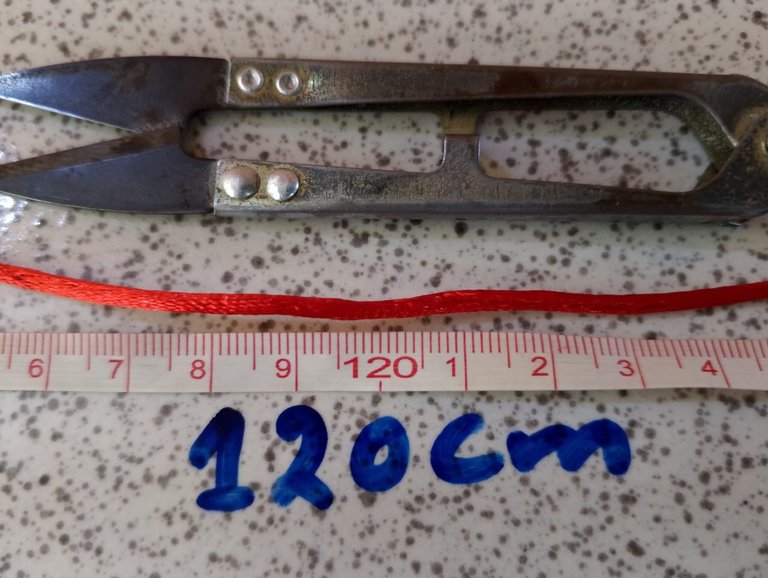
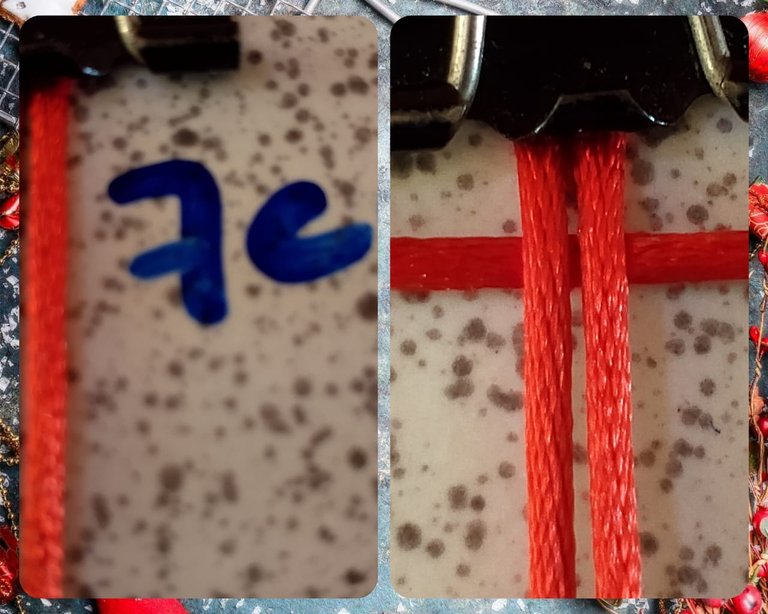
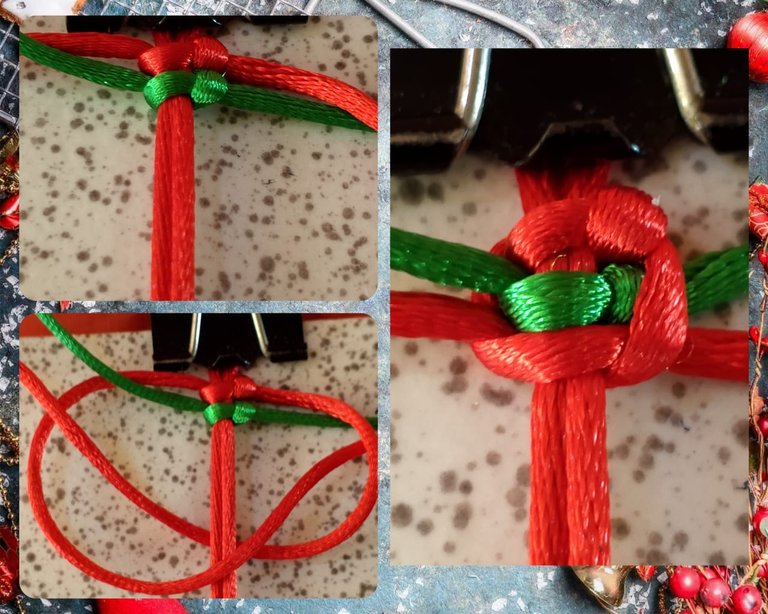
We start our flat weaving as follows: First we take the base yarn and measure 7cm from the top down and fasten with a pull, from that distance we start weaving, then the 120cm yarn we pass it under the base yarns and make a simple knot, the yarn must match by the ends.
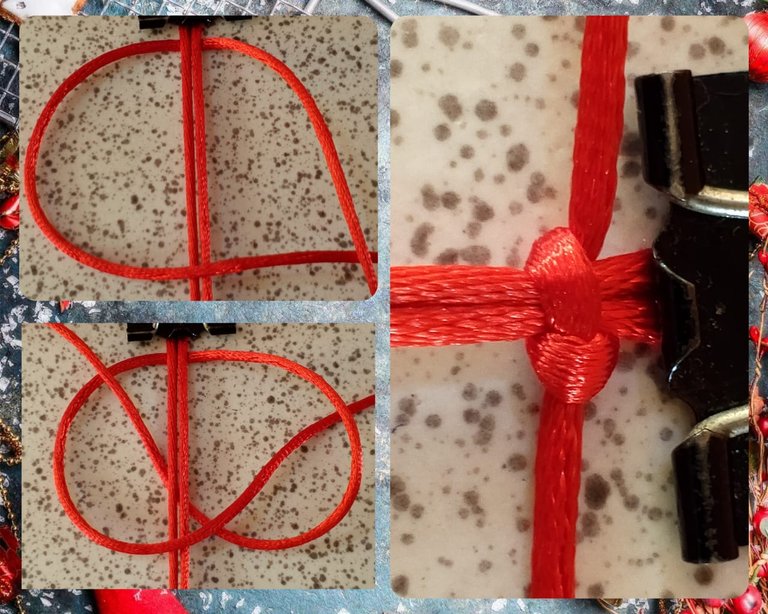
After this step, now, we pass the thread on the left side above the base threads and form a kind of four, then we pass the thread on the right side above the left thread that is on the right side, then we pass it under the base threads and take it out through the inside of the ring on the left side, then pressed so that we have a knot as shown in the image.
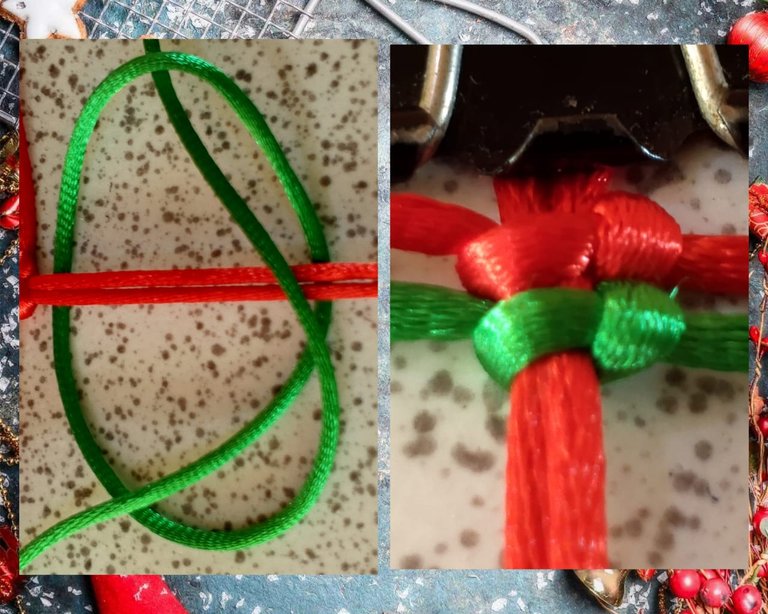
Now we pass the green thread over the knotting thread on the left side and the knotting thread on the right side over the green thread on the right side.
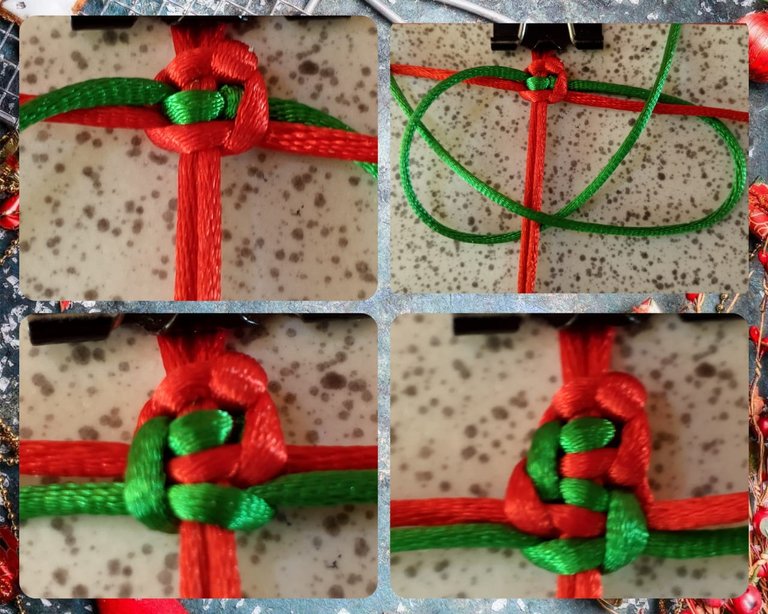
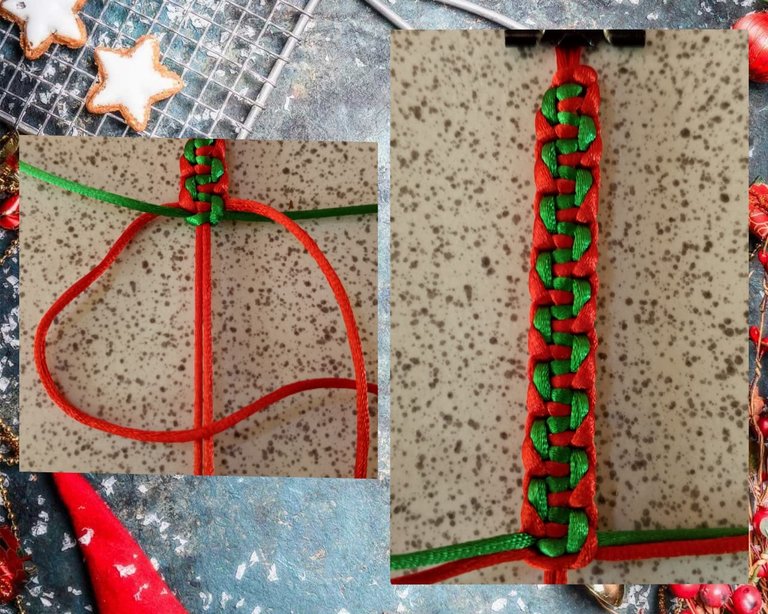
We continue with the same procedure.
Seguimos realizando el mismo procedimiento.
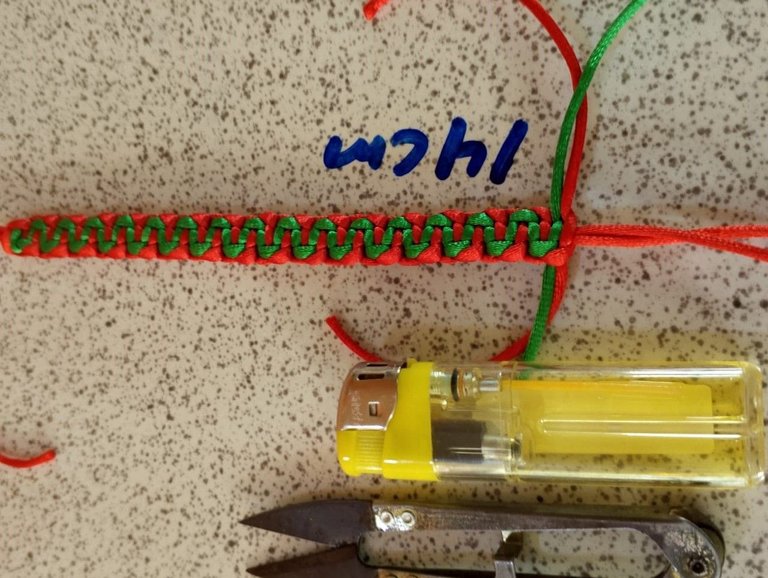
Then I cut a 20cm thread to make the sliding knot of the bracelet. For this I made a barrel knot. Then I cut off the excess ends and sealed them with the tinder.
This is how this beautiful Christmas bracelet turned out to give as a gift to someone special in this beautiful time of the year.
Así quedó ésta hermosa pulsera navideña para regalar a alguien especial en este época tan hermosa del año.
To conclude I invite @ajoyfuljoy3
@anacarolina2022 and @josdelmi.
Translated with https://www.deepl.com/translator
     Todas las imágenes son de mi autoría

      All the images are of my authorship
Posted Using InLeo Alpha
