Greetings friends who love handicrafts! Today I would like to share with you how we made a loom for costume jewelry in a simple and inexpensive way. Join me and I'll show you the process.
¡Saludos amigos amantes de las artes manuales! Hoy me gustaría compartir con ustedes la forma en que realizamos un telar para bisutería de forma sencilla y económica. Acompáñenme y les enseño el proceso.
Hagamos un telar para bisutería DIY
Some time ago I improvised my loom with a shoe box. The result was what I expected, but I wanted to improve in this technique that I love. So I enrolled in a classroom course and my surprise was that in the first class we made our own loom.
It is really very simple and it is not only useful for weaving with mustard, it can also be used to weave bracelets with simple knots, rhinestones and even macramé.
Hace un tiempo improvisé mi telar con una caja de zapatos. El resultado fue el que yo esperaba, pero quería mejorar en esta técnica que me encanta. Así que me inscribí en un curso presencial y mi sorpresa fue que en la primera clase hicimos nuestro propio telar.
Realmente es muy sencillo y no solamente es útil para el tejido con mostacilla, también puede servir para tejer pulseras con nudos sencillos, pedrería y hasta macramé.
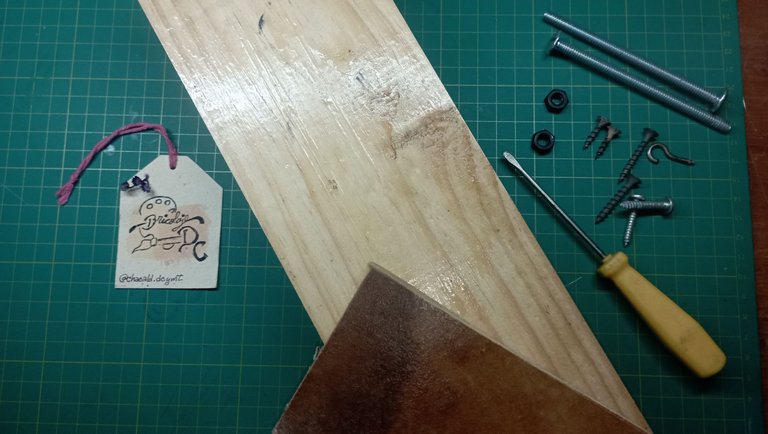
Materials
For this project we will need:
1 piece of wood 30 centimeters long by 10 centimeters wide
2 pieces of wood 10 centimeters long by 3 centimeters tall
2 screws 10 centimeters long with their respective nuts
4 large eyebolts
1 small eyebolt
1 short wood screw
4 long wood screws
Screwdriver
150 grit sandpaper
Varnish
Wood glue
Materiales
Para este proyecto vamos a necesitar:
1 madera de 30 centímetros de largo por 10 centímetros de ancho
2 trozos de madera de 10 centímetros de largo por 3 centímetros de alto
2 tornillos de 10 centímetros de largo con sus tuercas respectivas
4 armella grandes
1 armella pequeña
1 tornillo para madera corto
4 tornillos para madera largos
Destornillador
Lija de grano 150
Barniz
Pegamento para madera
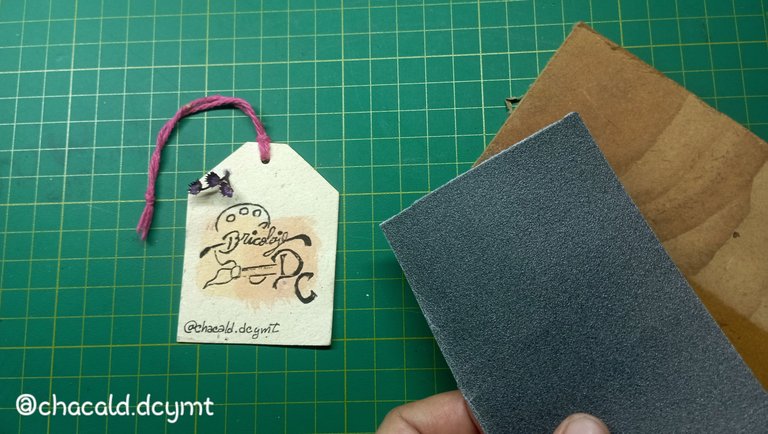
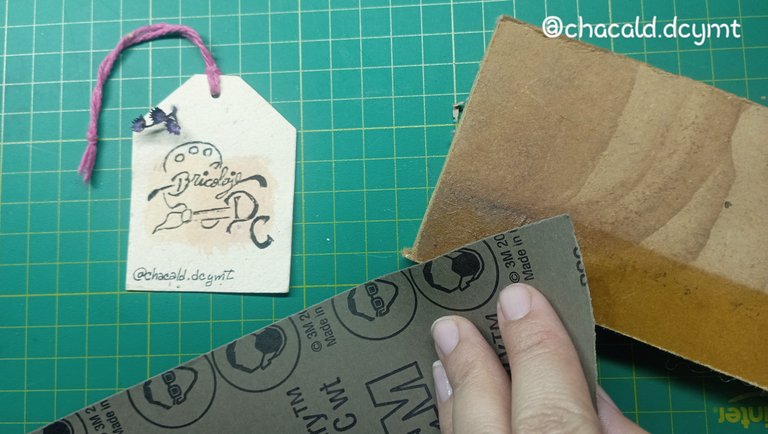
We start by sanding the wood pieces. It is important that the sandpaper is fine, 150 grit or water sandpaper, so that the edges are smooth and do not damage the threads when working.
Comenzamos por lijar las piezas de madera. Es importante que la lija sea fina, de grano 150 o lija de agua, para que los bordes queden suaves y no dañen los hilos al momento de trabajar.
 |  |
|---|
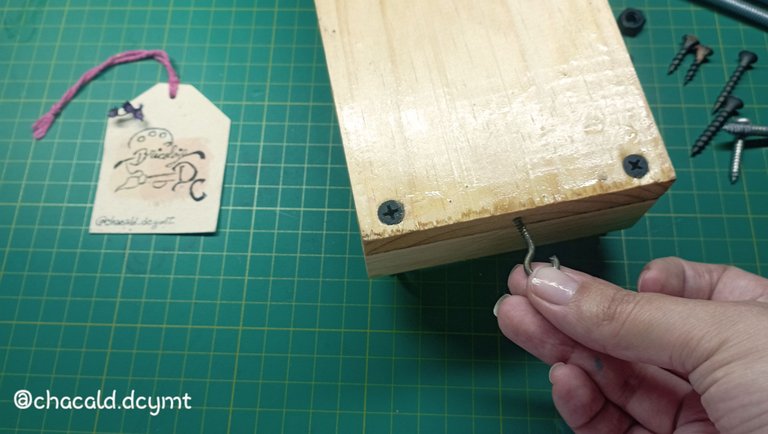
Once we have the edges of the wood sanded, we are going to place the lateras which are the small pieces of wood in each corner of the wood of 30 centimeters, which will be the base of the loom. These lateras will be a bridge of height to make it easier to pass the needle or threads from one side to the other.
We apply a little glue between each piece and then we will place a wood screw in each corner.
Una vez que tenemos los bordes de la madera lijados, vamos a colocar los laterales que son los trozos de madera pequeños en cada esquina de la madera de 30 centímetros, que será la base del telar. Estos lateras serán un puente de altura para que se facilite pasar la aguja o los hilos de un lado a otro.
Aplicamos un poco de pegamento entre cada pieza y luego vamos a colocar un tornillo para madera en cada esquina.
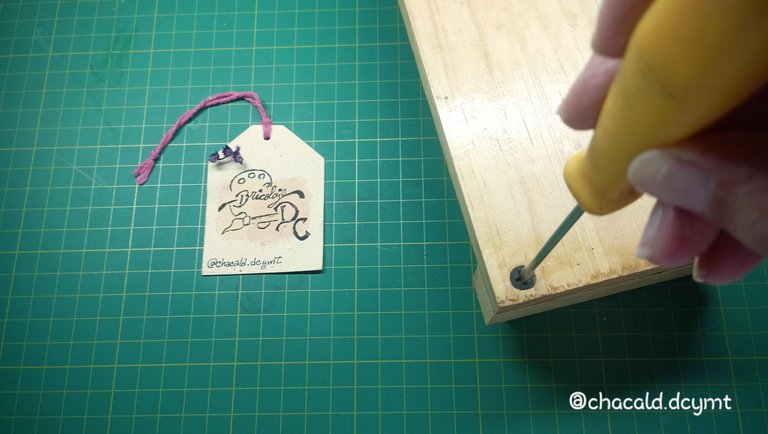
At one end of the base wood, we are going to place the small eyebolt. This will be used to tie the threads.
En un extremo de la madera de base, vamos a colocar la armella pequeña. Esta servirá para amarrar los hilos.
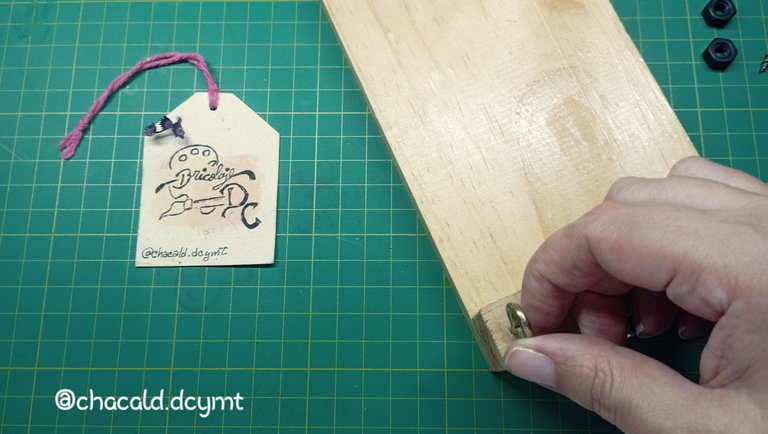
On each of the bridges, we will place a large eyebolt in each corner. These will hold the long screws.
Sobre cada uno de los puentes, colocaremos una armella grande en cada esquina. Estas van a sostener los tornillos largos.
At the other end of the base wood, we will place a short wood screw. It will have the same function as the eyebolt.
En el otro extremo de la madera de base, colocaremos tornillo para madera corto. Tendrá la misma función que la armella.
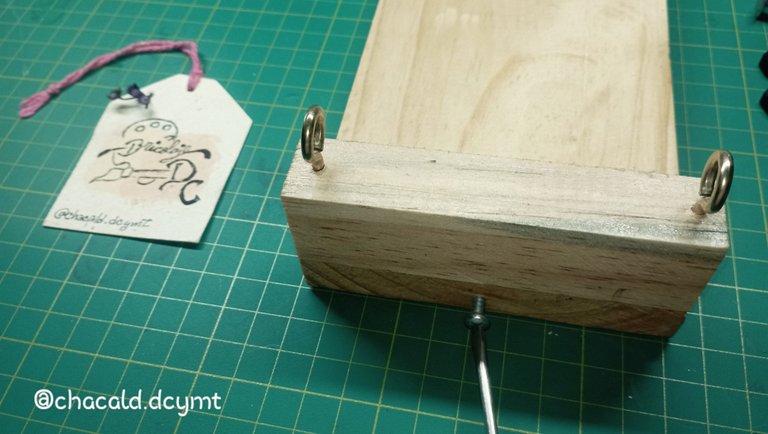
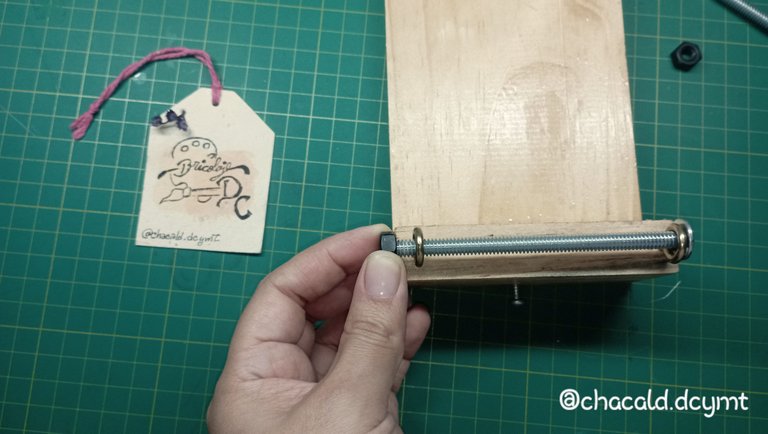
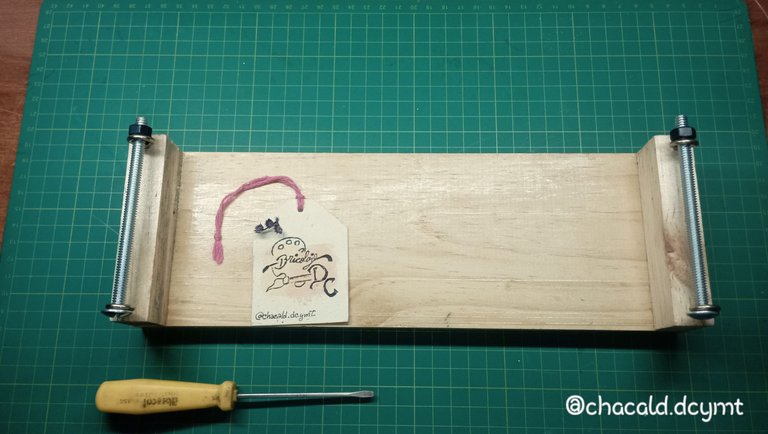
Now we are going to place the screws in the eyebolts and fix them with the nut. They must be well tightened so that they do not move.
Ahora vamos a colocar los tornillos en las armellas y fijamos con la tuerca. Deben quedar bien apretados para que no se muevan.
Then we will give the wood a coat of varnish. This protects it from moisture and we can count on a loom for much longer. Let it dry for 10 hours and that's it. We have our loom ready to work.
Luego vamos a darle una capa de barniz a la madera. Así se protege de la humedad y podemos contar con un telar por mucho más tiempo. Dejamos secar por 10 hora y listo. Tenemos nuetro telar listo para trabajar.
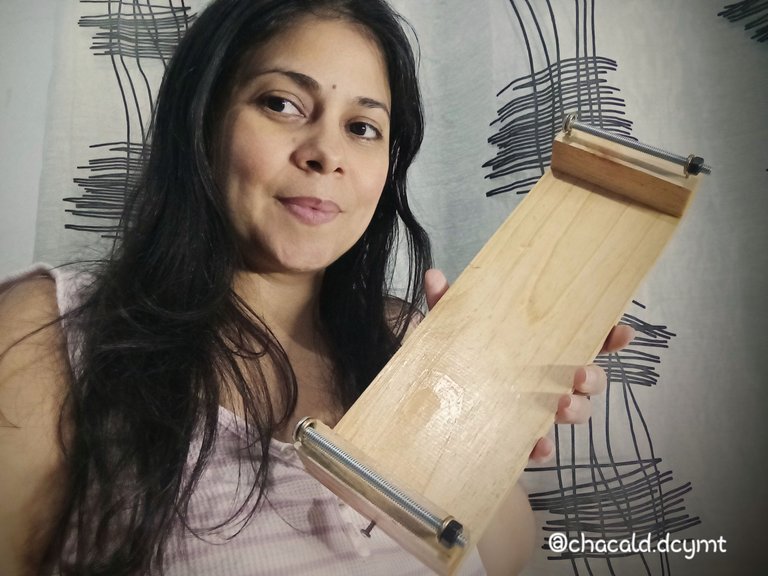
It is a very economical way to make this working tool that is useful and comfortable. With a budget of 6$ we can have our own DIY loom. I hope you find this simple loom design helpful. See you next time, Bye!
Es una forma muy económica de hacer esta herramienta de trabajo que resulta útil y cómoda. Con un presupuesto de 6$ podemos tener nuestro propio telar DIY. Espero les sea de ayuda este diseño sencillo del telar. Nos vemos en una próxima oportunidad. Chao!

Original content by the author.
Resources: App: Canva / Giphy / Inshot
📷 Redmi 10 Smartphone
Translation done with Deepl.com
✿ All Rights Reserved || © @chacald.dcymt 2024✿
💌 Discord: chacald.dcymt#3549
X: @chacald1
Reddit: chacald
_
Contenido original del autor.
Recursos: App: Canva / Giphy / Inshot
📷 Redmi 10 Smartphone
Traducido con Deepl.com
✿ Todos los Derechos Reservados || © @chacald.dcymt 2024✿
💌 Discord: chacald.dcymt#3549
X: @chacald1
Reddit: chacald
Posted Using InLeo Alpha


