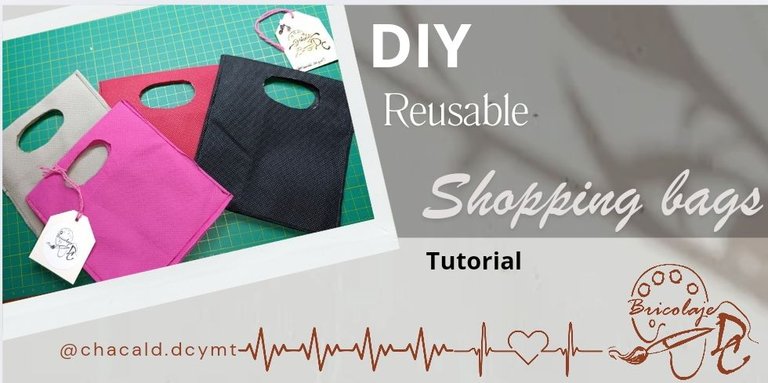
Greetings friends who love handmade crafts! Once again I welcome you to my workshop @bricolajedc. This time we are going to make fabric shopping bags, a 100% DIY project that gives our businesses a special touch as we deliver our products in a reusable handmade bag. Join me and I'll show you the process of elaboration.
¡Saludos amigos amantes de las artes manuales! Una vez más les doy la bienvenida a mi taller @bricolajedc. En esta oportunidad vamos a elaborar bolsas de compra en tela, un proyecto 100% DIY que aporta a nuestros negocios un toque especial ya que entregamos nuestros productos en una bolsa reusable hecha a mano. Acompáñenme y les muestro el proceso de elaboración.
These last months I have been increasing the production of costume jewelry and details for my small business. I already have the cards and stickers, the plastic packaging but I am missing the bags to deliver the purchases. I inquired in several stores and I find them very expensive since the price varies between 20 and 30$ a dozen.
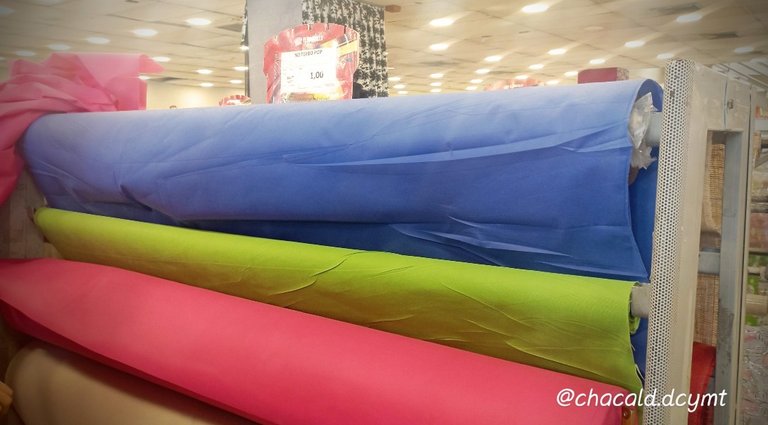
I went to the fabric castle in my city and found the Pop fabric that is used to make these eco-friendly shopping bags, and the price is $1 per meter long and 1.5 meters wide. I took home 1 meter of black, beige, pink and red, for a total of 4$.
Estos últimos meses he estado aumentando la producción de bisutería y detalles para mi pequeño emprendimiento. Ya tengo las tarjetas y los stickers, los empaques de plástico pero me faltan las bolsas para entregar las compras. Averigüé en varias tiendas y me parece muy costoso ya que el precio varía entre 20 y 30$ la docena.
Fui al castillo de las telas en mi ciudad y encontré la tela Pop que es con la que se hace n estas bolsas ecológicas para compras, y el precio es de 1$ por metro de largo y 1.5 metros de ancho. Me llevé a casa 1 metro de color negro, beige, rosa y rojo, para un total de 4$.
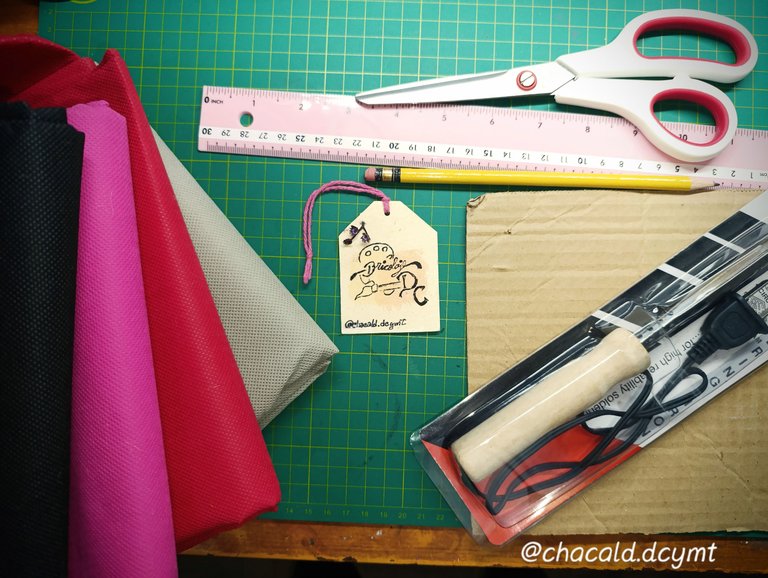
Materials:
Pop fabric
Measuring ruler
Metal ruler
Fabric scissors
Cardboard scissors
Thick cardboard
Cutter
Soldering iron
Materiales:
- Tela Pop
- Regla de medidas
- Regla metálica
- Tijera para tela
- Tijera para cartón
- Cartón grueso
- Cutter
- Cautín
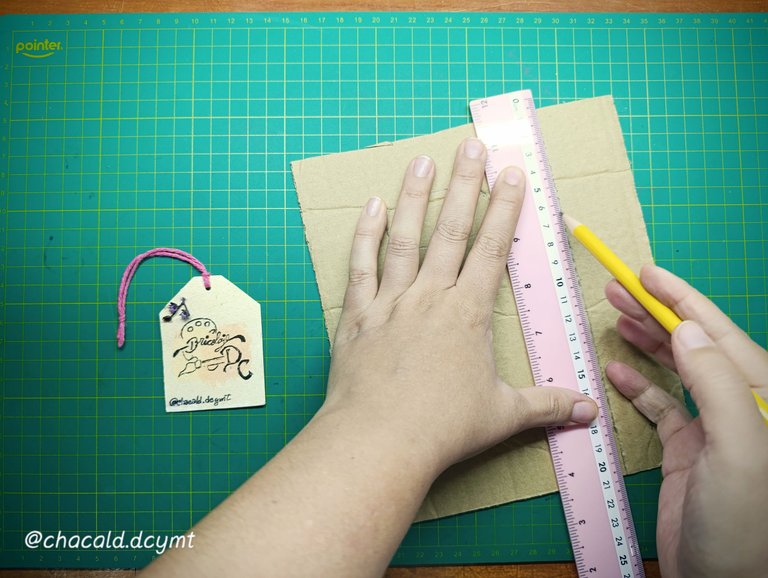
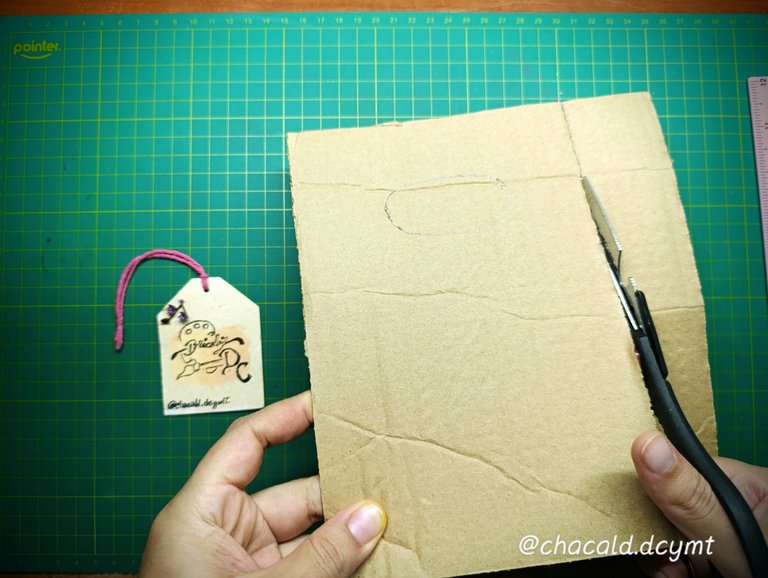
The first thing we are going to make is a cardboard mold. This will be very useful to measure and cut our bags on the fabric.
I need small size bags, so the measurements of these 14 centimeters wide by 20 centimeters high.
Lo primero que vamos a hacer es un molde de cartón. Este nos va a ser de gran utilidad para medir y cortar nuestras bolsas sobre la tela.
Necesito bolsas de tamaño pequeño, por lo que las medidas de estas 14 centímetros de ancho por 20 de alto.
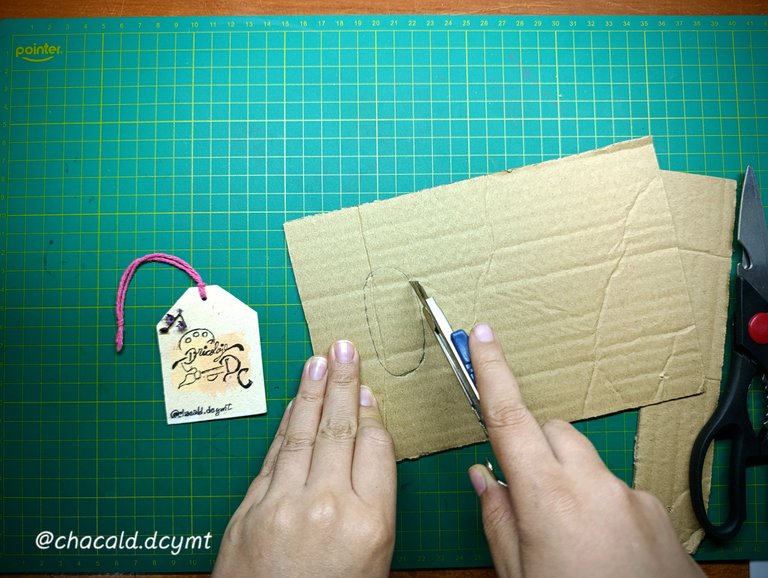
We are going to mark in the center of the mold of the bag, an oval that will be where we will hold our cloth bag. Cut it out with a cutter.
Vamos a marcar en el centro del molde de la bolsa, un ovalo que se será de donde sujetemos nuestra bolsa de tela. Recortamos con un cutter.
 |  |
|---|
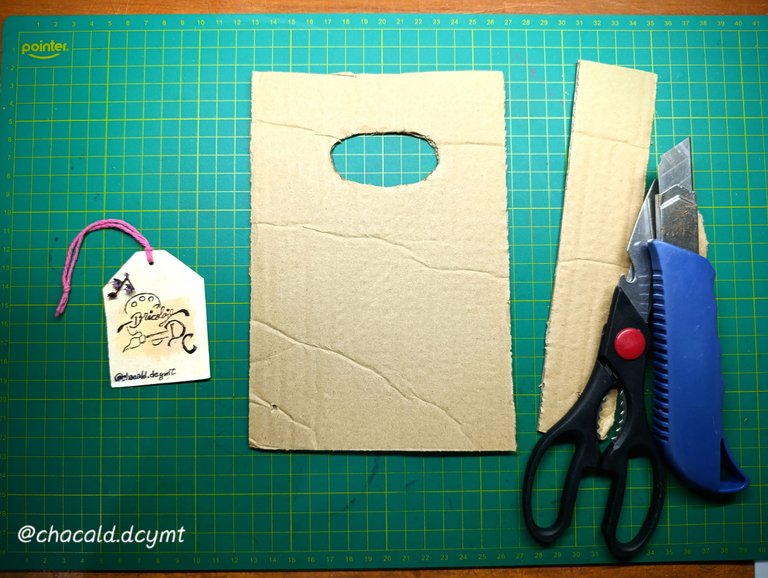
Once we have our mold. It will be much easier to mark and cut our bags. We can make different sizes depending on the product we offer.
Una vez que tenemos nuestro molde. Ya será mucho más fácil marcar y cortar nuestras bolsas. Podemos hacer de diferentes tamaños depende del producto que ofrecemos.
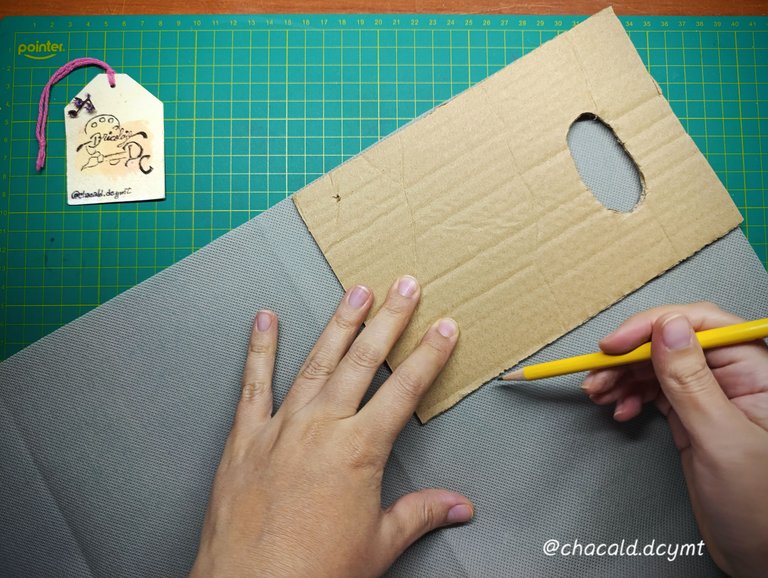
To use the mold, we place on the Pop fabric on the part that goes inwards, it is very easy to differentiate it, and we mark it.
Para utilizar el molde, colocamos sobre la tela Pop en la parte que va hacia adentro, es muy fácil diferenciarla, y marcamos.
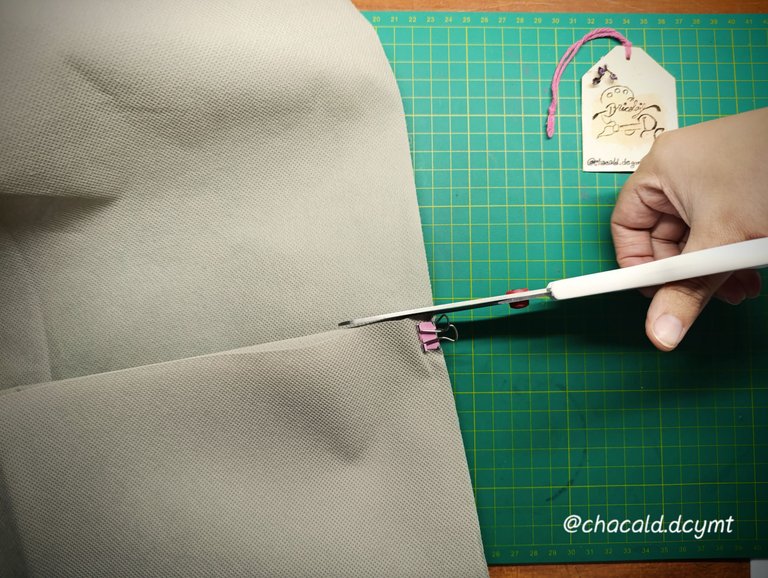
Then we are going to cut with the fabric scissors following the mold so that the cut is firmer. I helped myself by using some stationery hooks, this way the fabric is fixed and a mistake when cutting is avoided.
Luego vamos a recortar con la tijera para tela siguiendo el molde para que el corte sea más firme. Yo me ayudé utilizando unos ganchos de papelería, así se fija la tela y se evita un error al cortar.
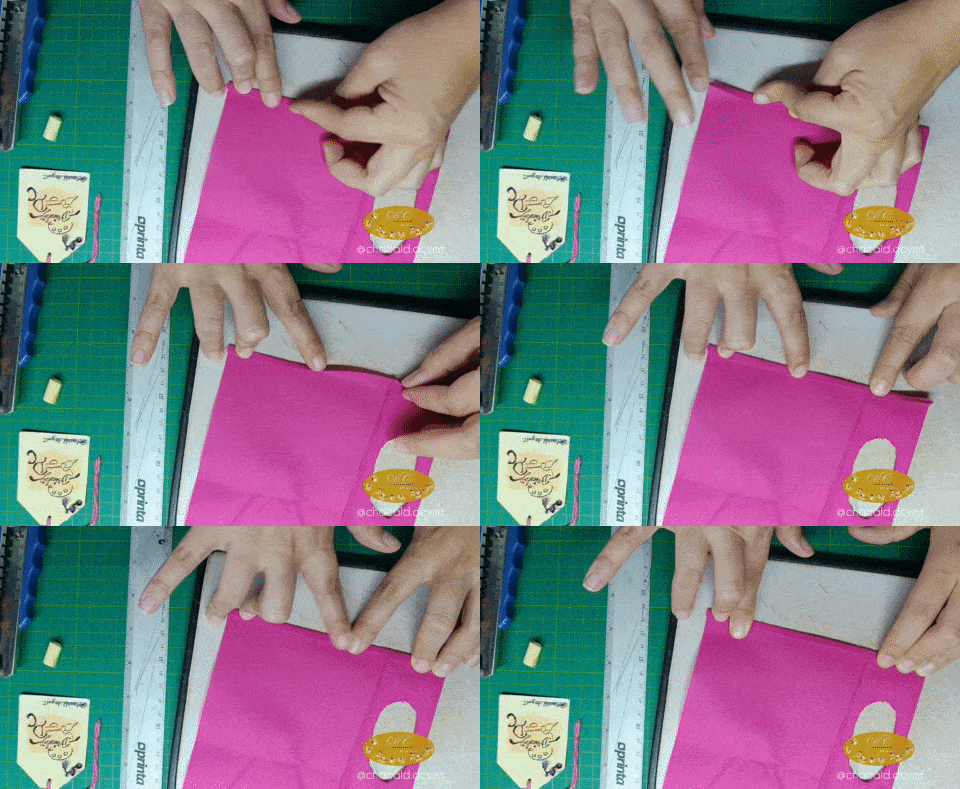
With the soldering iron and with the help of a metal ruler, we will make a 2-inch border.
Con el cautín y ayudándonos con una regla metálica, vamos a hacer un borde de 2 pulgadas.
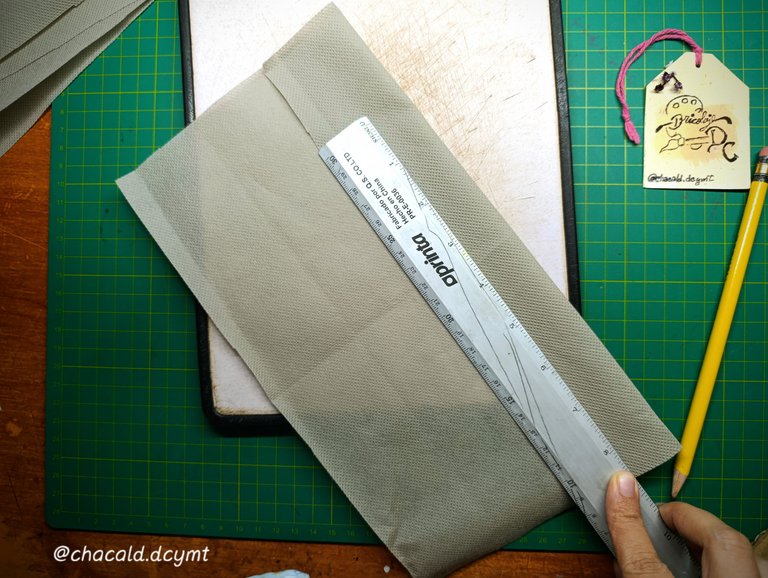
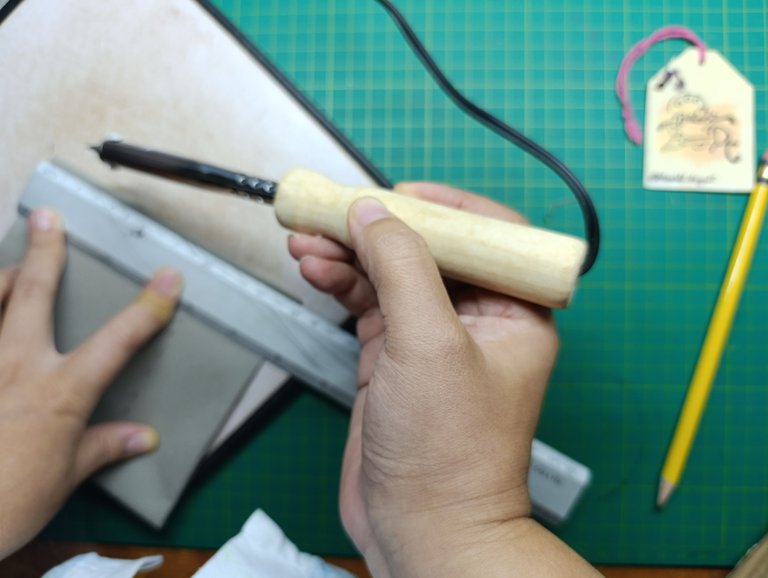
When the soldering iron is passed through the Pop fabric, it melts and sticks one side to the other and makes a perfect seam. This way we can make a shopping bag in a couple of minutes. My recommendation is to use a heat-resistant cutting board to avoid accidents with the soldering iron.
Al pasar el cautín por la tela Pop, esta se derrite y se pega un lado con otro y hace una costura perfecta. Asi logramos en un par de minutos una bolsa de compras. Mi recomendación es utilizar alguna tabla de corte resistente al calor para evitar accidentes por el cautín.
With the help of the mold, we pass the soldering iron through the oval in the center and cut what will be the handle of the bag. We take advantage of the edge we made earlier to make it double and make it more resistant.
Con ayuda del molde, pasamos el cautín por el óvalo del centro y cortamos lo que sera el asa de la bolsa. Aprovechamos el borde que hicimos anteriormente para que sea doble y quede más resistente.
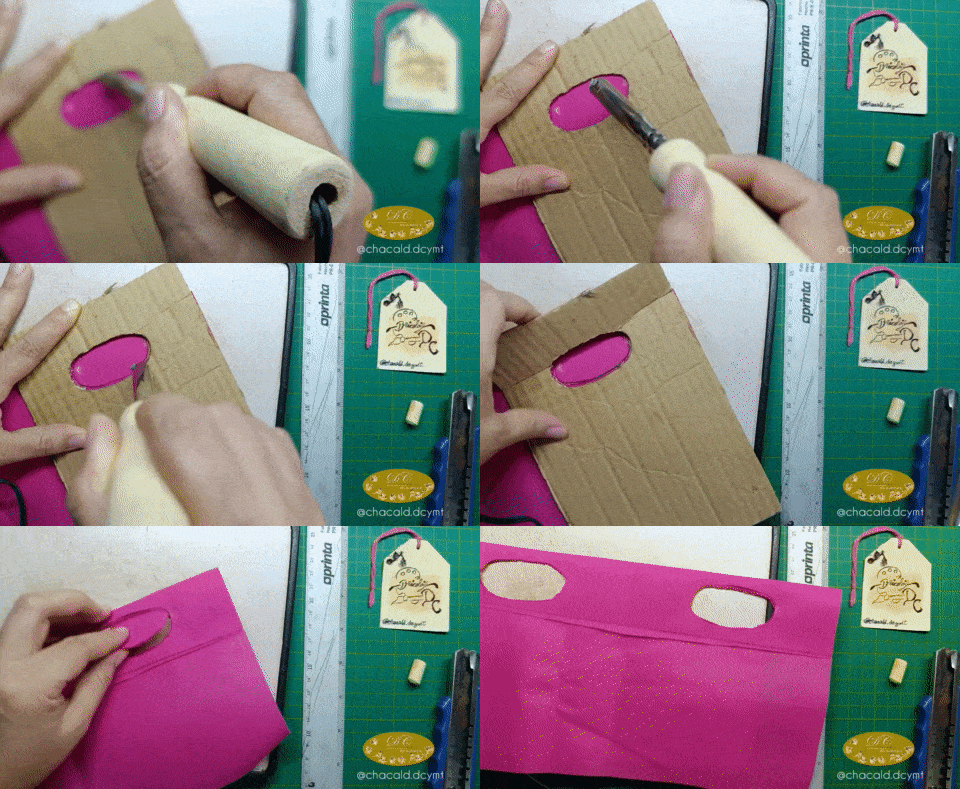
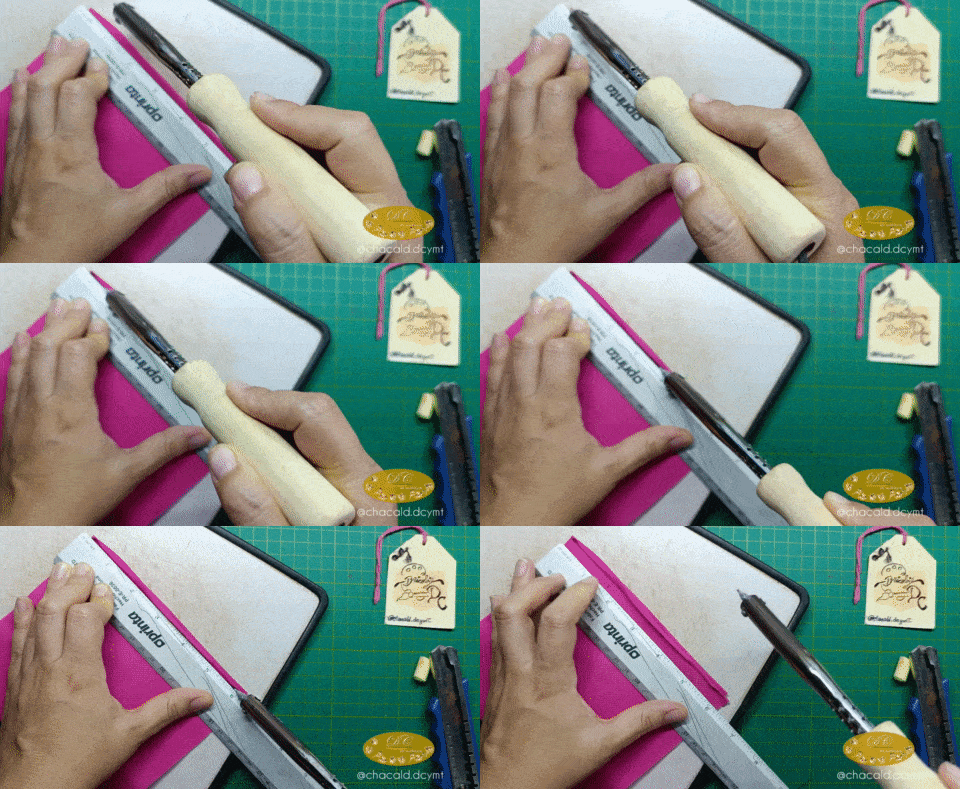
Then we will take a metal ruler and pass the soldering iron through each of the edges of the bag and it will be sealed.
Luego tomaremos una regla metálica y pasaremos el cautín por cada uno de los bordes de la bolsa y así quedará sellada.
 |  |
|---|
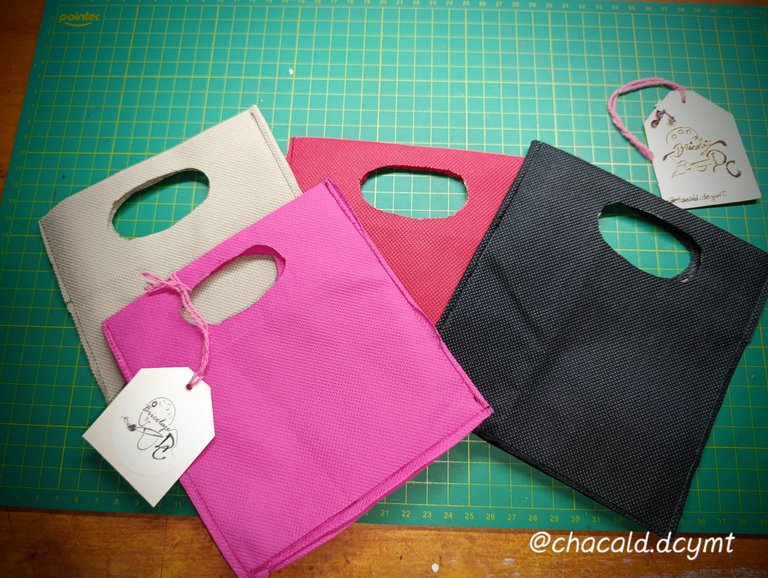
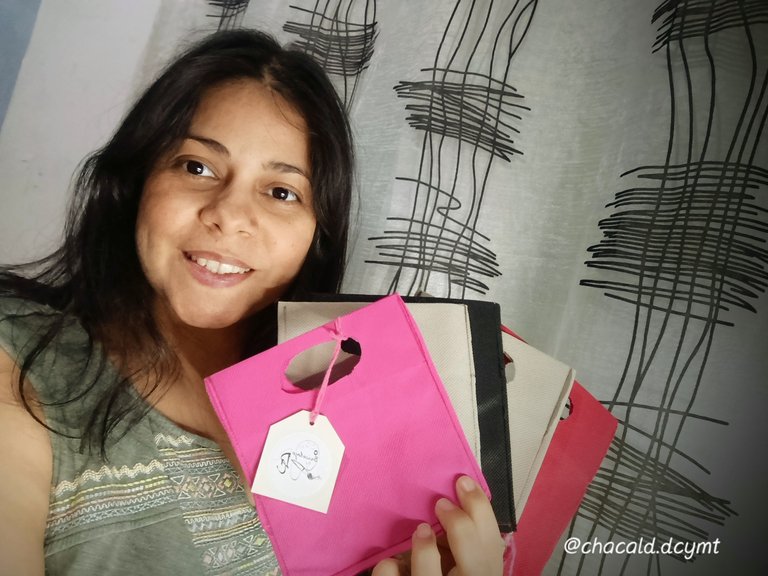
And our bags are ready. Personally I loved how they turned out, it was fast, simple and very economical. Now I have a personalized packaging to deliver my online store orders.
Y estarán nuestras bolsas listas. Personalmente me encantaron como quedaron, fue rápido, sencillo y muy económico. Ahora tengo un empaque personalizado donde entregar los pedidos de mi tienda virtual.
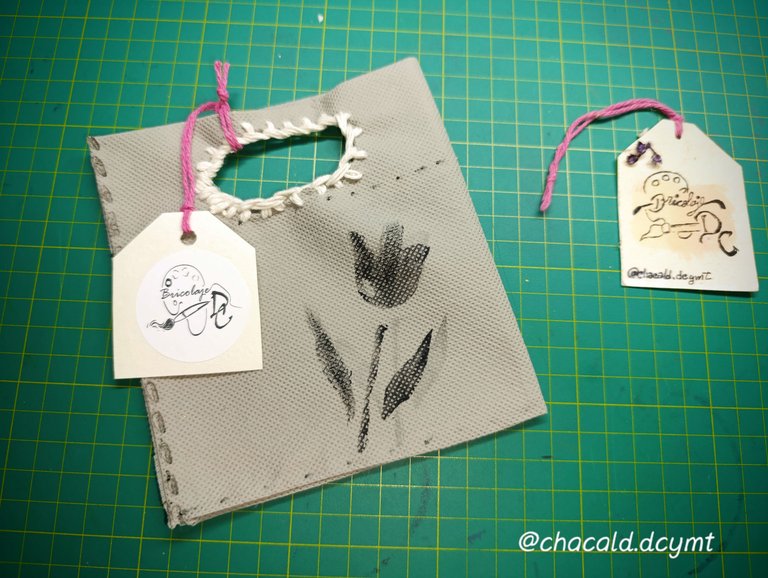
I have also added some details according to the client, for example I show you this design I made for an order of flowers, I used a stamp with fabric paint and with pabilo thread I embroidered all the contour of the handle.
También he agregado algunos detalles según el cliente, por ejemplo les enseño este diseño que hice para un pedido de flores, utilicé un sello con pintura para tela y con hilo pabilo bordé todo el contorno del asa.
I am happy to share with you this creative process, I hope you are encouraged to make your own reusable bags. See you next time. Bye!
Me da gusto compartir con ustedes este proceso creativo, de spero se animen a realizar sus propias bolsas reutilizables. Nos vemos en una próxima oportunidad. Chao!!!

Original content by the author.
Resources: App: Canva / Giphy / Inshot
📷 Redmi 13 note pro Smartphone
Translated with Deepl.com
✿ All Rights Reserved || © @chacald.dcymt 2025✿
💌 Discord: chacald.dcymt#3549
X: @chacald1
Reddit: chacald
Follow us on Instagram
_
Contenido original del autor.
Recursos: App: Canva / Giphy / Inshot
📷 Redmi 13 note pro Smartphone
Traducido con Deepl.com
✿ Todos los Derechos Reservados || © @chacald.dcymt 2025✿
💌 Discord: chacald.dcymt#3549
X: @chacald1
Reddit: chacald

Tienda virtual @bricolajedc
Síguenos en Instagram
