
Hola, es un placer estar de nuevo compartiendo con esta comunidad de #holozing
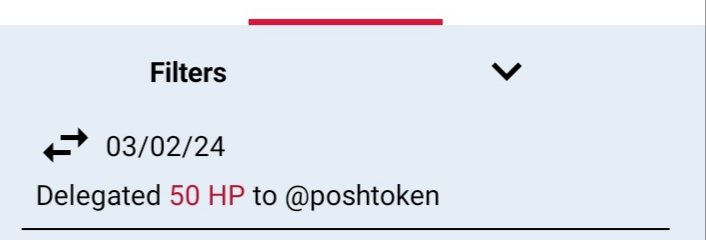
Primeramente quiero mostrarle mi primera delegación de 50 HP que realicé y de esta forma tan sencilla doy mi apoyo y es una forma de expresar mi confianza a la comunidad, en lo adelante continuaré incrementando las delegaciones, ya que por el momento cuento con pocos recursos.
Hello, it is a pleasure to be sharing with this #holozing community again
Firstly I want to show you my first delegation of 50 HP that I made and in this simple way I give my support and it is a way of expressing my trust in the community, from now on I will continue to increase the delegations, since at the moment I have few resources.
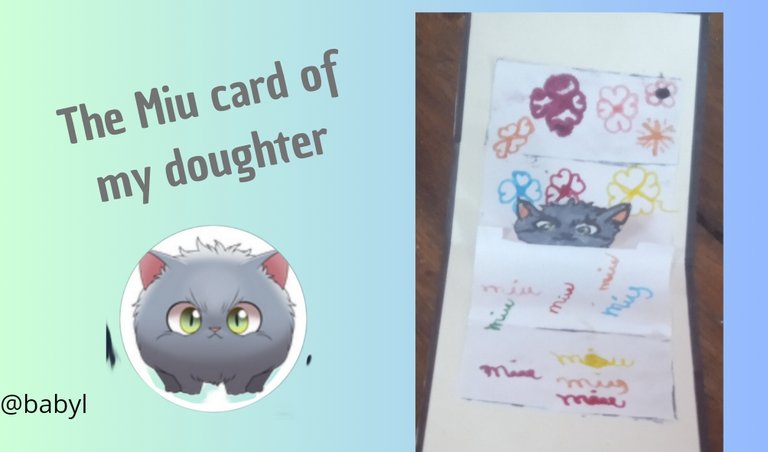
Hoy quiero mostrarle una manualidad que realizó mi hija menor inspirada en el Miu, ya que adora a los gatos y este se ha convertido en su Fan Art.
Sin más comienzo con el paso a paso.
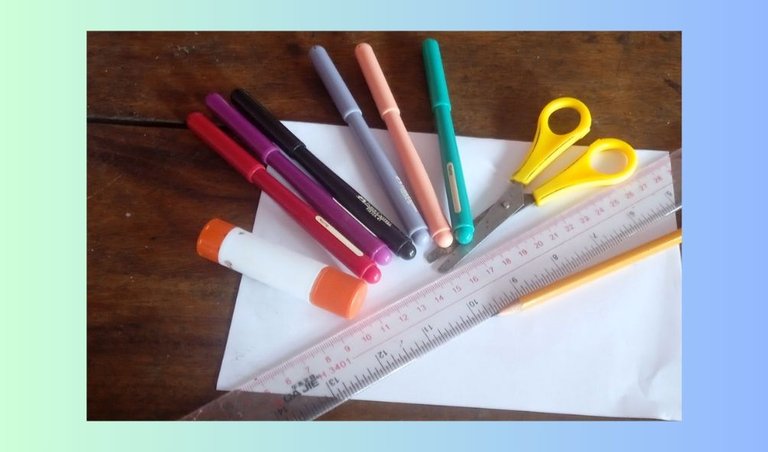
Materiales.
📌 1 cartulina blanca
📌 tijera
📌Pegamento
📌1 lápiz de escribir
📌4 Plumones.
Today I want to show you a craft that my youngest daughter made inspired by the Miu, since she loves cats and this has become her Fan Art.
Without further ado, I'll start with the step by step.
Materials.
📌 1 white cardboard
📌 scissors
📌Glue
📌1 writing pencil
📌4 Plumons
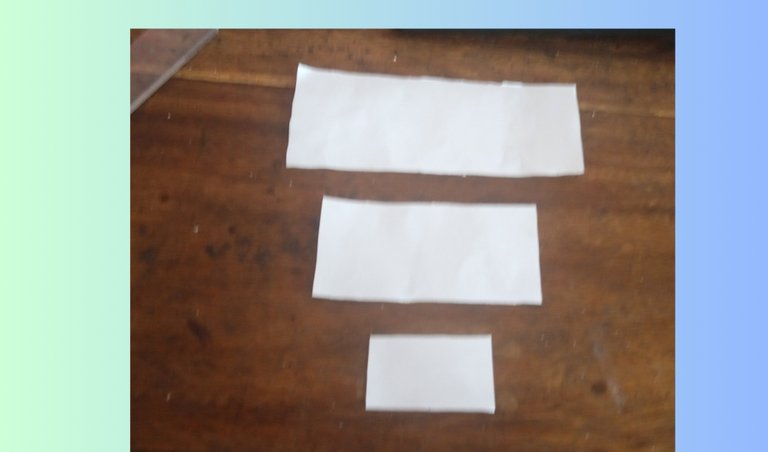
Primeramente marcamos en la cartulina con ayuda de la regla las medidas de cada pieza. La primera mide 14cm x 6cm, la segunda 10cm x 5 cm y la tercera 4 cm x 2cm y recortamos con ayuda de la tijera.
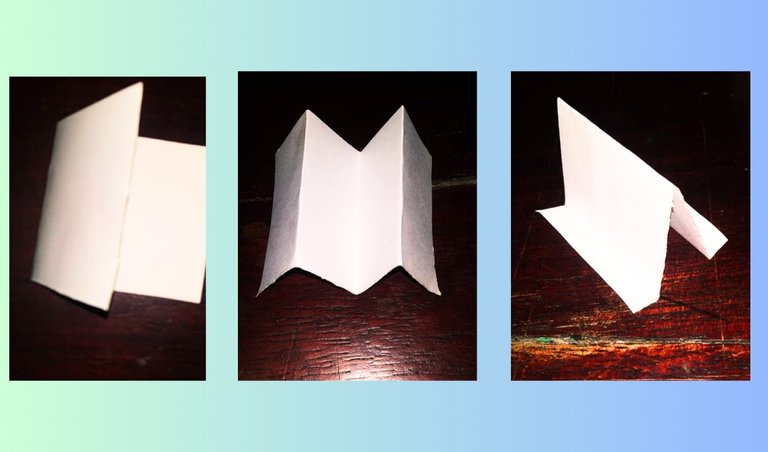
Luego la más grande la doblamos a la mitad, la segunda la doblamos a la mitad y cada parte se vuelve a doblar quedando en forma de M y la tercera se dobla a la mitad y se le deja un borde pequeñito hacia afuera.
First we mark the measurements of each piece on the cardboard with the help of the ruler. The first measures 14cm x 6cm, the second 10cm x 5cm and the third 4cm x 2cm and we cut it out with the help of scissors.
Then we fold the largest one in half, the second we fold it in half and each part is folded again, leaving it in the shape of an M and the third is folded in half and a small edge is left outwards.
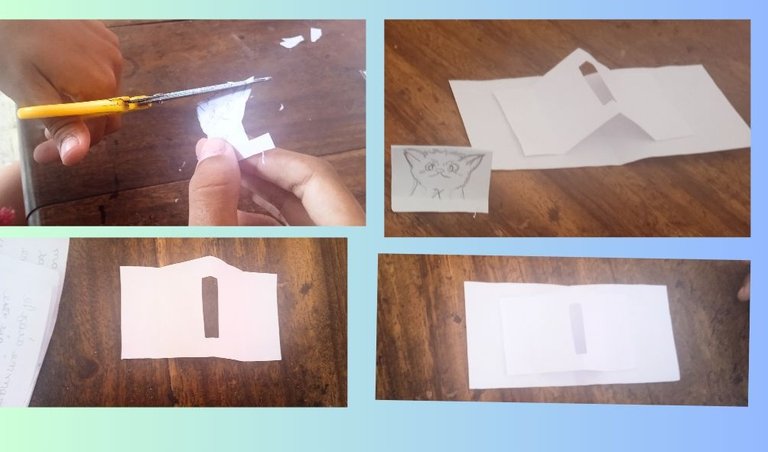
Luego cogemos la que fue doblada en forma de M y le hacemos un corte triangular y dibujamos el Miu en la más pequeña, recortamos y coloreamos y lista para empezar a pegar.
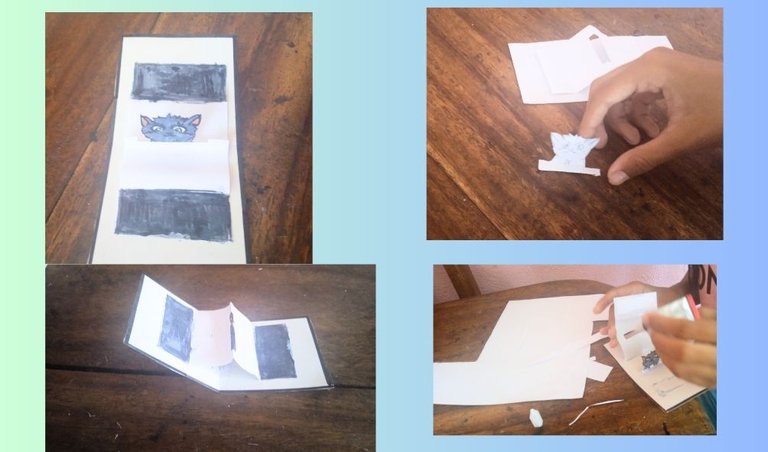
Colocamos el Miu en el centro de la tarjeta y la que tiene realizado el corte debe quedar de manera tal que al abrir la tarjeta el Miu salga.
Finalmente le dio rienda suelta a su imaginación y lo decoró por los alrededores con lindas florecitas y corazoncitos.
Then we take the one that was folded in the shape of an M and we make a triangular cut and draw the Miu on the smallest one, cut it out and color it and it's ready to start gluing.
We place the Miu in the center of the card and the one with the cut must be in such a way that when you open the card the Miu comes out.
Finally he gave free rein to his imagination and decorated it around it with pretty little flowers and hearts.
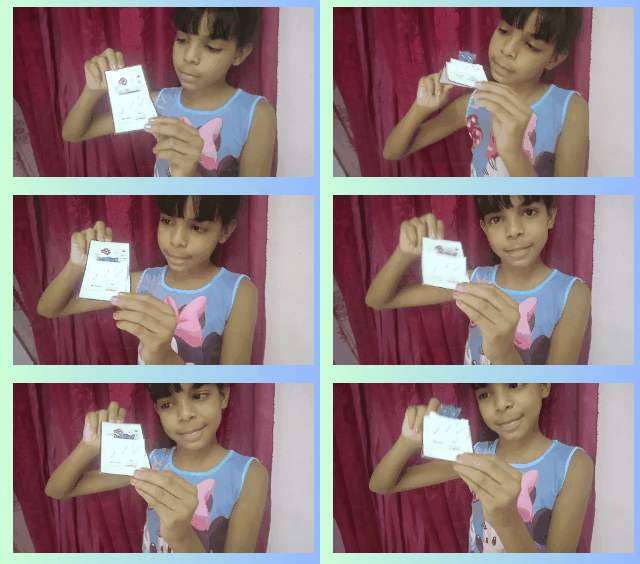
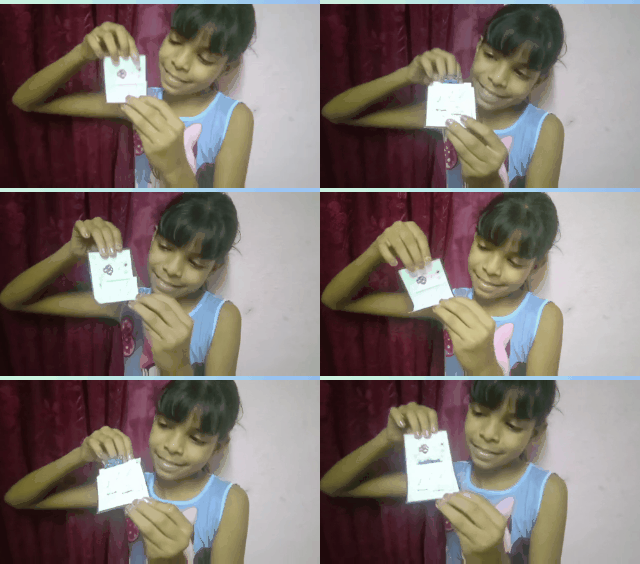

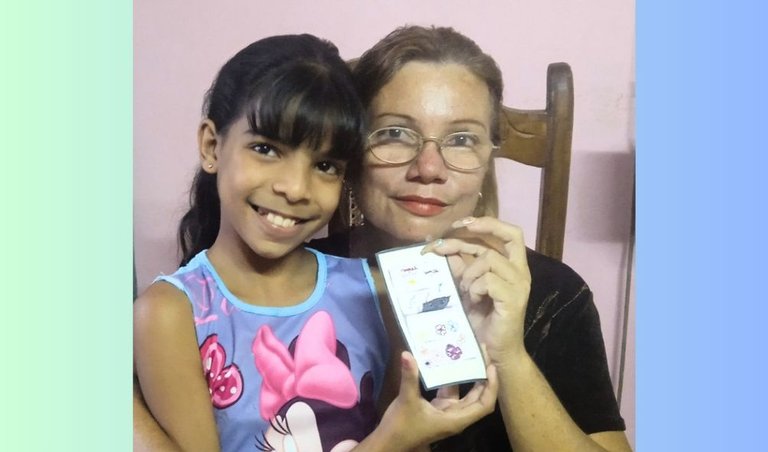
Disfrute mucho ver a mi hija tan feliz realizando su tarjeta del Miu.y es que ella es muy curiosa y tuve la genial idea de crear esta manualidad tan sencilla, pero divertida. Espero que les guste tanto como a mí y les deseo una Feliz noche.
Las fotos fueron tomadas por mi con mi teléfono.y editadas en [canva](https://www.canva.com/)
The phothos were taking by me with my pnone and editated with
Translated by Deepl.com
Traducido por Deepl.com
