Cover Image: photo of my property: my Desktop Pc
 La versione in italiano è subito dopo la versione in inglese - The Italian version is immediately after the English version

It's time to build a new desktop PC! Step Two: Components Purchased!

After more than 12 years I decided to send my (dinosaur) Desktop Pc on vacation to build a new Pc.
My current "dinosaur" Desktop PC has this configuration:
- CPU: Intel i3-530
- RAM: 6 GB DDR3
- VIDEO: NVIDIA GeForce 9500 GT 1 GB
- HD: SSD 250 GB
- 3 HDD: 4 Terabyte in totale
My new Desktop PC will have this configuration:
- CPU: Intel i5-14500
- RAM: 32 GB DDR5
- VIDEO: NVIDIA GeForce RTX 4060 OC 8GB
- HD: 2TB M.2 SSD
Ten days ago I chose the components to buy and shared my choices in the post you can read at this link: It's time to assemble my new Desktop PC! Step one: Choosing components to purchase (ENG/ITA)
Four days ago I shared the component purchasing step in the post you can read at this link: It's time to Build my new Desktop PC! STEP TWO: Components Purchased! (ENG/ITA)
Today I continue to share my progress in building my new desktop PC.
I bought all the components from Amazon except the CPU which I bought from another online shop because I saved almost 40 euros from the lowest price I found on Amazon.
Finally yesterday the courier also delivered the CPU to me, so I had everything I needed to start assembling my new desktop PC.
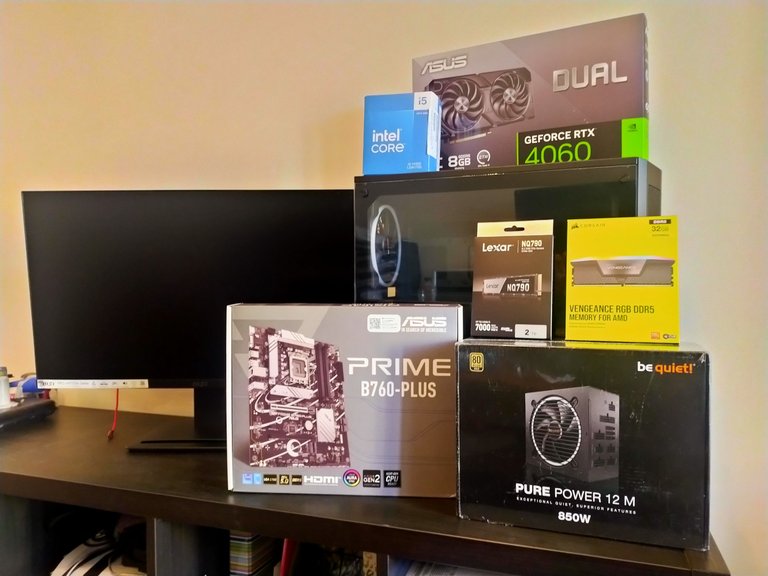
In the next picture you can see all the components I purchased to build my new desktop pc.
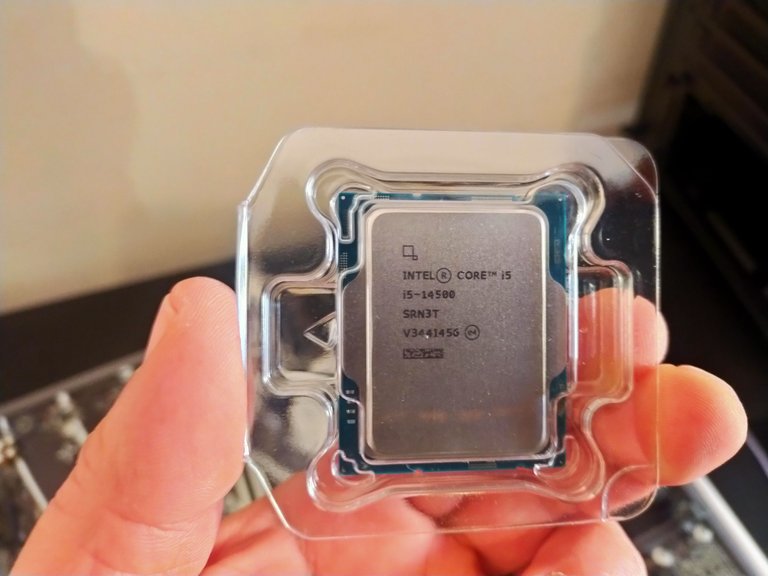
The first step in assembling a new desktop Pc is the installation of the CPU.
Those who have never assembled a pc might think that CPU installation is a complicated operation, but instead it is a very simple and quick operation.
The most important part when assembling a new pc is configuration = choosing components that are compatible with each other but assembly is a relatively very simple operation.
I purchased the motherboard: ASUS Prime B760-PLUS: Intel LGA 1700 ATX motherboard, DDR5 PCIe 5.0, 3 M.2 slots, ...
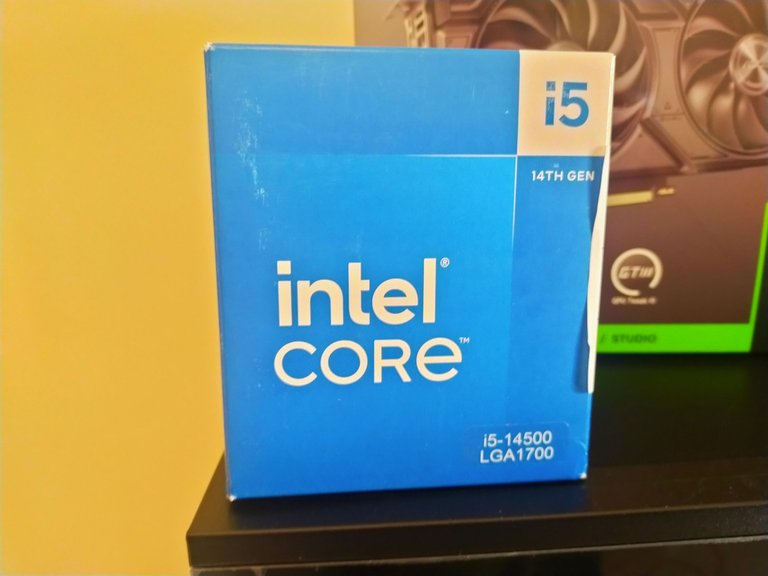
On which I decided to mount Intel's 14th generation CPU: i5-14500
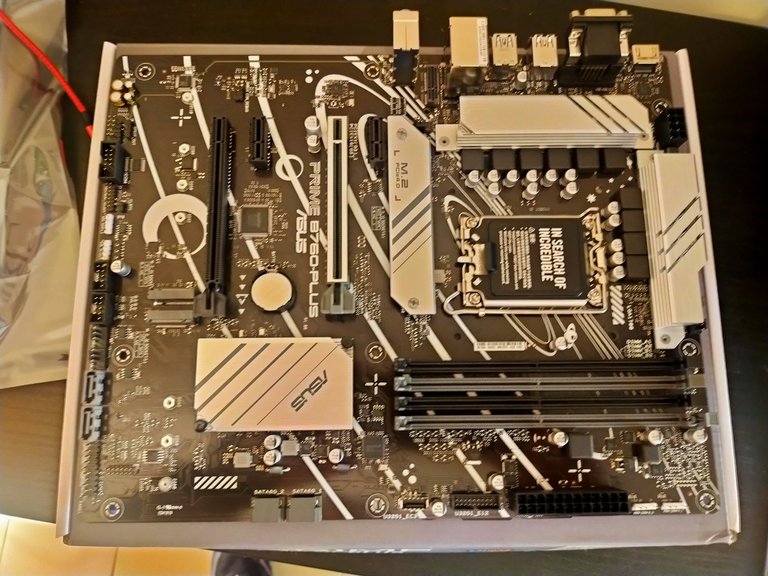
Before mounting the CPU on the Motherboard, it is important to:
- discharge electrostatic energy by touching an iron object with your hands.
- place the motherboard on a clean, non-conductive surface.
I placed my motherboard on the box it was in. - avoid touching the CPU pins with your hands
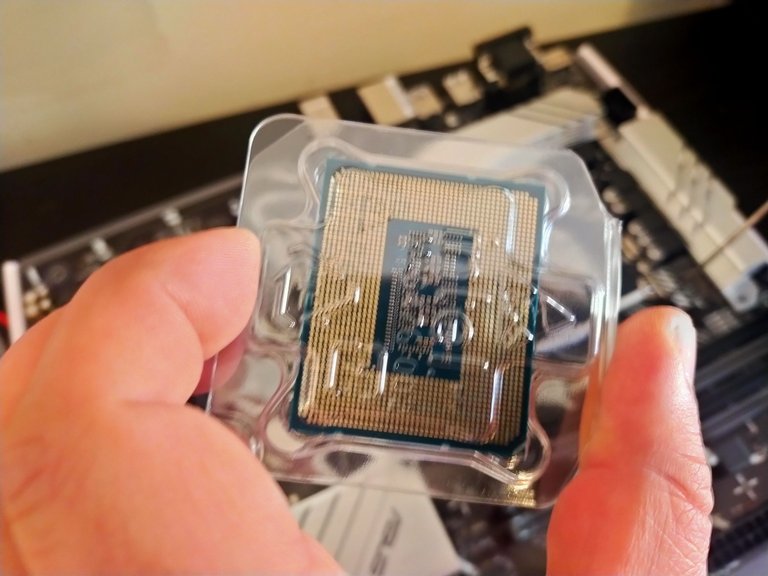
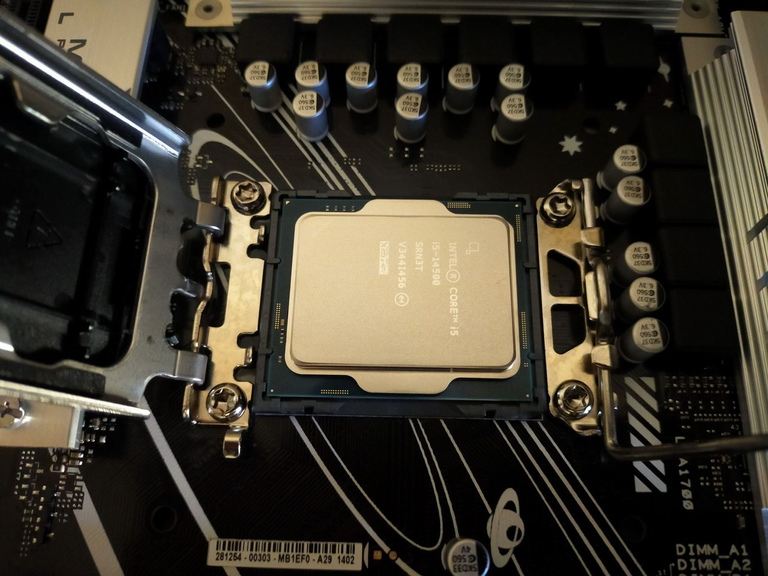
I levered up the socket retaining arm present on the motherboard and gently placed the CPU inside the socket.
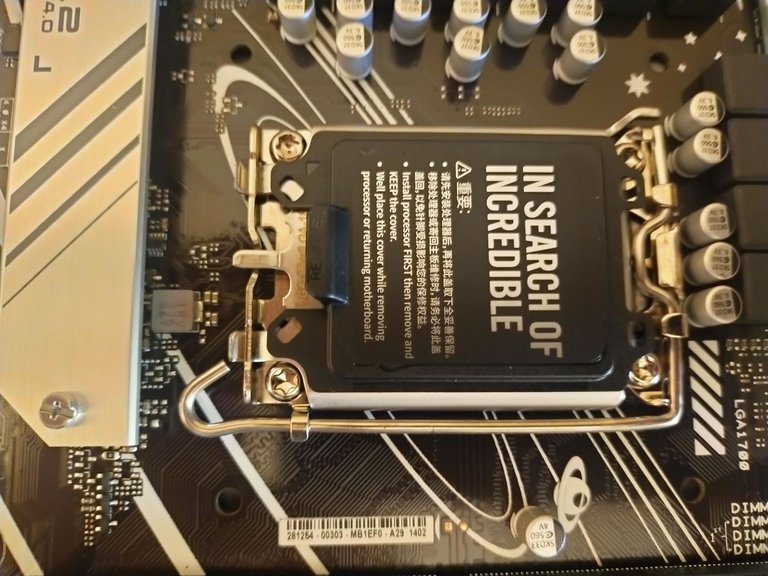
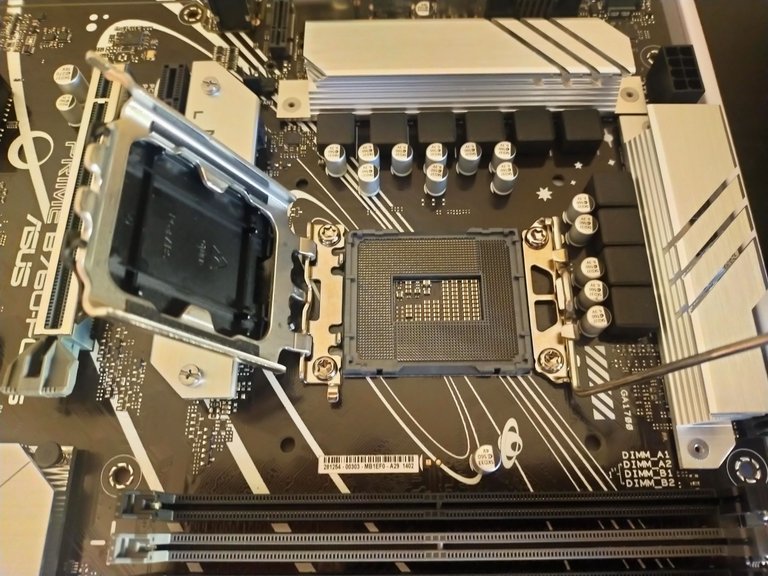
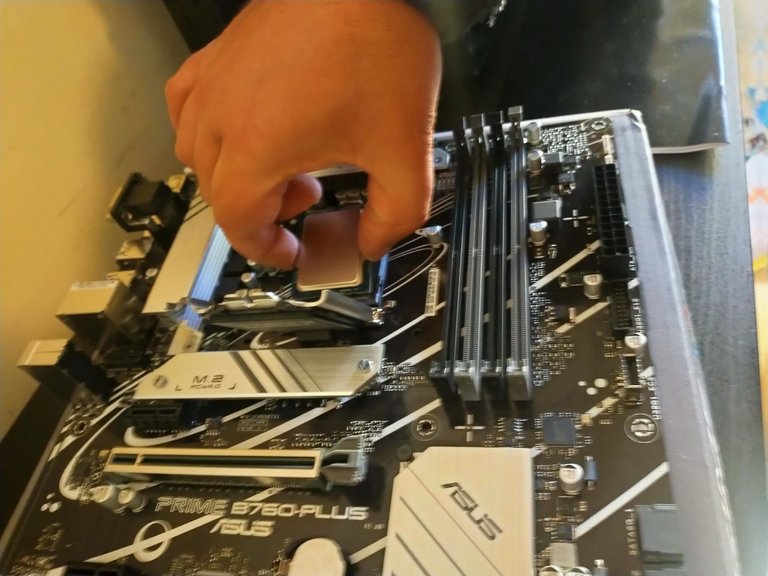
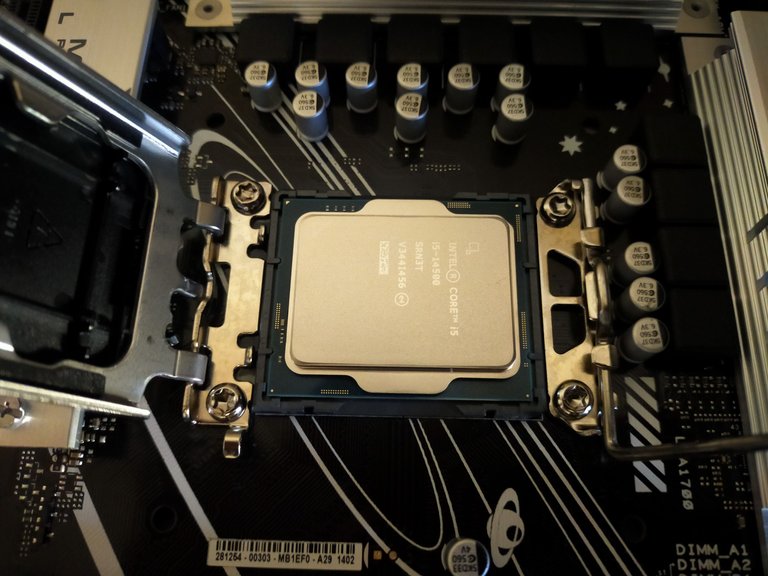
Then I closed the cover again, removed the plastic cover, and lowered the mounting bracket.
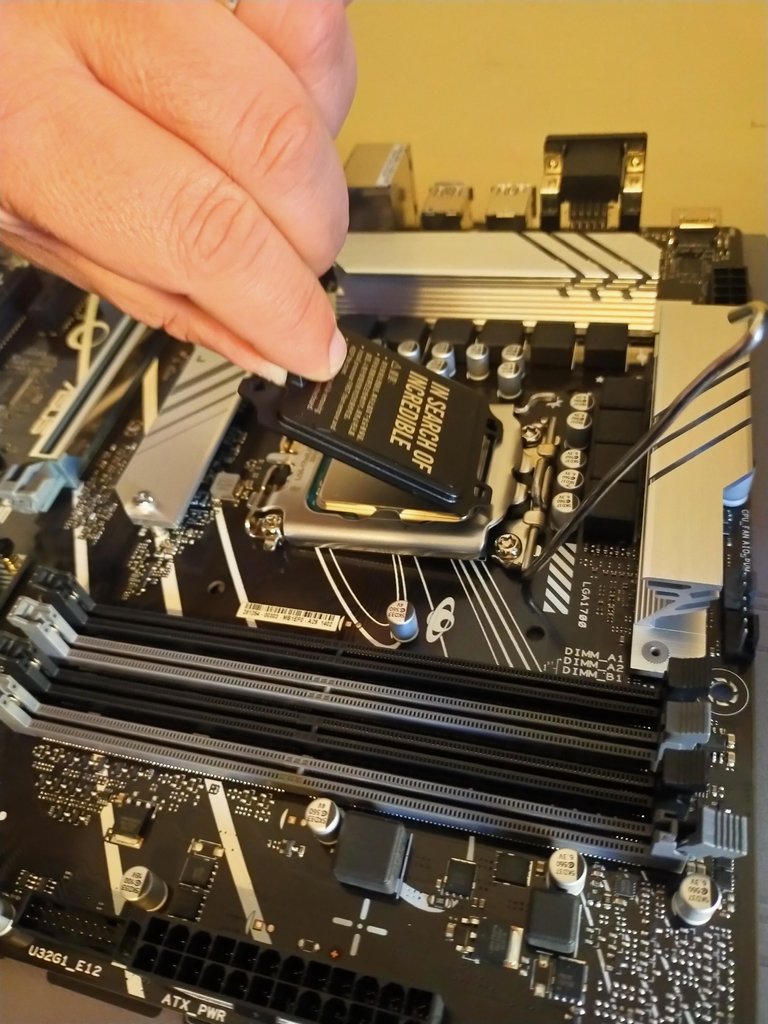
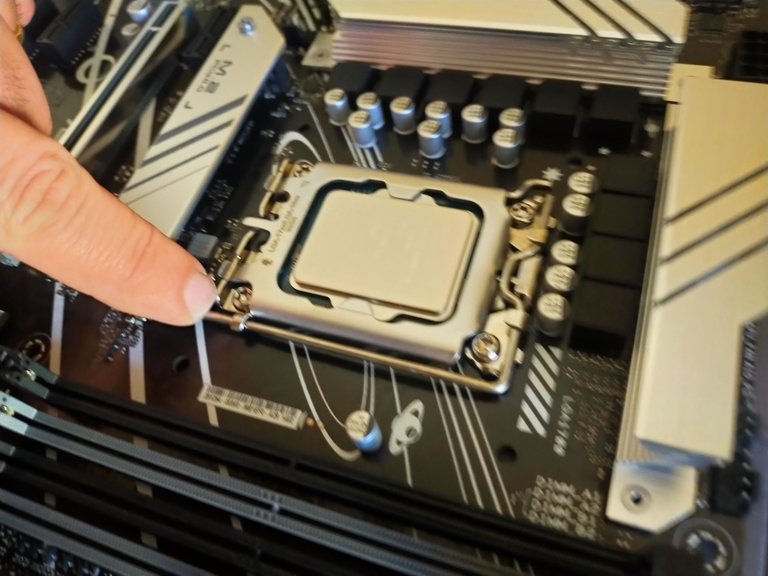
The next step was to fix the CPU Heatsink on the CPU.
Not needing to overclock, I chose to use Intel's heatsink that I found in the CPU box that already has thermal paste.
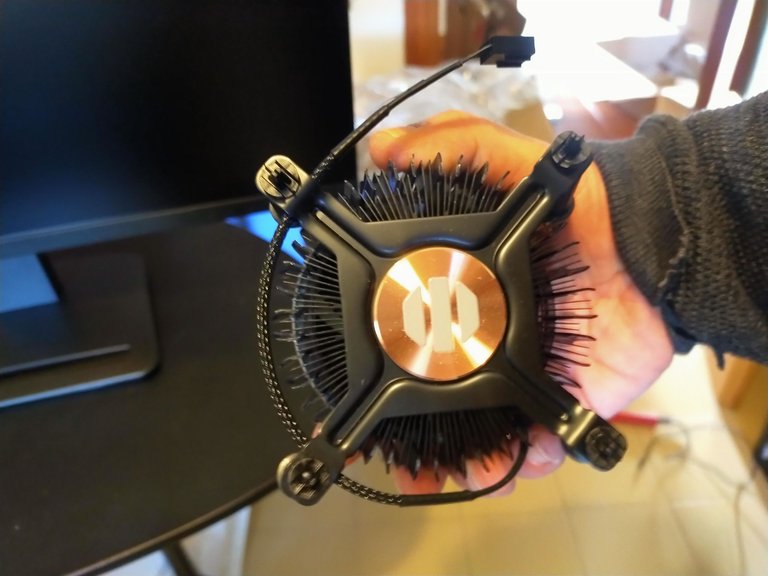
Installing the CPU heatsink was also very easy.
I placed the heatsink in the four holes around the CPU on the motherboard and turned the four screws 90° to the left.
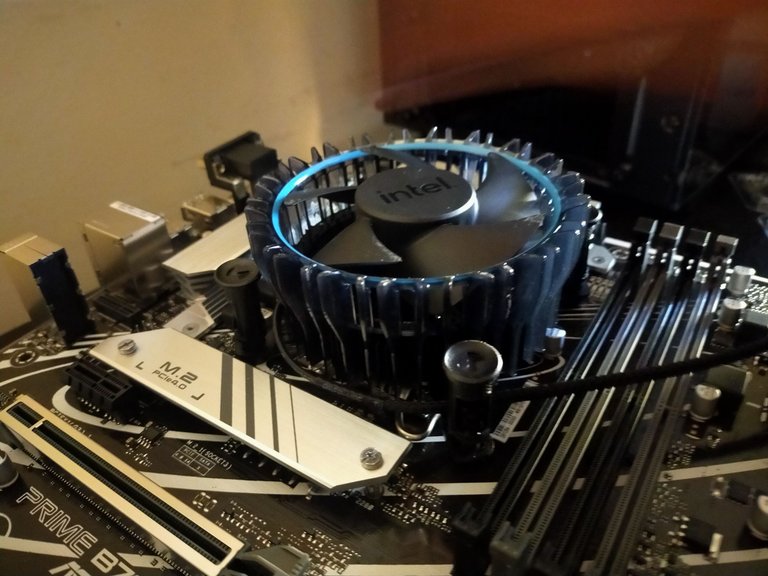
It took me about 20 minutes to install the CPU into the motherboard socket but the effective time was only a few minutes because I spent most of the time reading the instructions for screwing the screws of the heatsink.
In my next posts I will share the other steps I took to build my new desktop pc.
I hope you liked my post and thank you for taking your time to read it!


La costruzione del mio nuovo PC Desktop! FASE 3: Installazione della CPU sulla scheda madre

Dopo più di 12 anni ho deciso di mandare in vacanza il mio (dinosaur) Desktop Pc per costruire un nuovo Pc.
Il mio attuale "dinosaur" Desktop PC ha la seguente configurazione:
- CPU: Intel i3-530
- RAM: 6 GB DDR3
- VIDEO: NVIDIA GeForce 9500 GT 1 GB
- HD: SSD 250 GB
- 3 HDD: 4 Terabyte in totale
Il mio nuovo Desktop PC avrà la seguente configurazione:
- CPU: Intel i5-14500
- RAM: 32 GB DDR5
- VIDEO: NVIDIA GeForce RTX 4060 OC 8GB
- HD: 2TB M.2 SSD
Dieci giorni fa ho scelto i componenti da acquistare e ho condiviso le mie scelte nel post che puoi leggere a questo link: It's time to assemble my new Desktop PC! Step one: Choosing components to purchase (ENG/ITA)
Quattro giorni fa ho condiviso la fase di acquisto dei componenti nel post che puoi leggere a questo link: It's time to Build my new Desktop PC! STEP TWO: Components Purchased! (ENG/ITA)
Oggi continuo a condividere i miei progressi nella costruzione del mio nuovo desktop PC.
Ho acquistato tutti i componenti da Amazon tramme la CPU che ho acquistato da un altro shop online perchè ho risparmiato quasi 40 euro rispetto al prezzo più basso che avevo trovato su Amazon.
Finalmente ieri il corriere mi ha consegnato anche la CPU e quindi ho avuto tutto l'occorrente per iniziare l'assemblaggio del mio nuovo desktop PC.

Nella foto seguente puoi vedere tutti i componenti che ho acquistato per costruire il mio nuovo desktop pc.

Il primo passo per assemblare un nuovo desktop Pc è l'istallazione della CPU.
Chi non ha mai assemblato un pc potrebbe pensare che l'installazione della CPU è un operazione complicata e invece è un'operazione molto semplice e veloce.

La parte più importante quando si assembla un nuovo pc è la configurazione = scegliere componenti compatibili tra di loro ma l'assemblaggio è un operazione relativamente molto semplice.
Io ho acquistato la motherboard: ASUS Prime B760-PLUS: Scheda madre Intel LGA 1700 ATX, DDR5 PCIe 5.0, 3 slot M.2, ...
Su cui ho deciso di montare la CPU di quattordicesima generazione di Intel: i5-14500

Prima di montare la CPU sulla Motherboard è importante:
- scaricare l'energia elettrostatica toccando con le mani un oggetto di ferro
- posizionare la motherboard su una superfice pulita e non conduttiva
Io ho poggiato la mia motherboard sulla scatola in cui era contenuta - evitare di toccare con le mani i piedini della CPU

Ho sollevato il braccio di ritenzione del socket presente sulla scheda madre e con delicatezza ho posizionato la CPU all'interno del socket.


Poi ho richiuso la copertura, ho rimosso la copertura in plastica e ho abbassato la staffa di fissaggio.


Il passo successivo è stato fissare il dissipatore della CPU sulla CPU.
Non avendo necessità di fare overclocking ho scelto di utilizzare il dissipatore di Intel che ho trovato nella box della CPU che ha già la pasta termica.

Anche l'installazione del dissipatore della CPU è stato molto semplice.
Ho posizionato il dissipatore nei quattro fori intorno alla CPU presenti sulla scheda madre e ho girato di 90° le quattro viti verso sinistra.

Ho impiegato circa 20 minuti per installare la CPU nel socket della scheda madre ma il tempo effettivo è stato di pochi minuti perchè la maggior parte del tempo l'ho impiegata per leggere le istruzioni per avvitare le viti del dissipatore.
Nei miei prossimi post condividerò gli altri step che ho effettuato per costruire il mio nuovo desktop pc.


Posted Using InLeo Alpha
Posted Using InLeo Alpha


