It's the new year 🎊🎉 in two days.
I am extremely happy and grateful for a wonderful year spent. I know the new year will be splendid, like an unwrapped gift 🎁.
It is a lovely anticipation and I am most grateful for the gift of a new experience.
A friend of mine called out to me excitedly that her daughter was chosen to be a flower girl at a wedding on the 5th of January. The style had already been picked with its many descriptions, which made it a bit easier.
A cute ball gown with two big bows, one bigger than the other, it looked so adorable.🤩
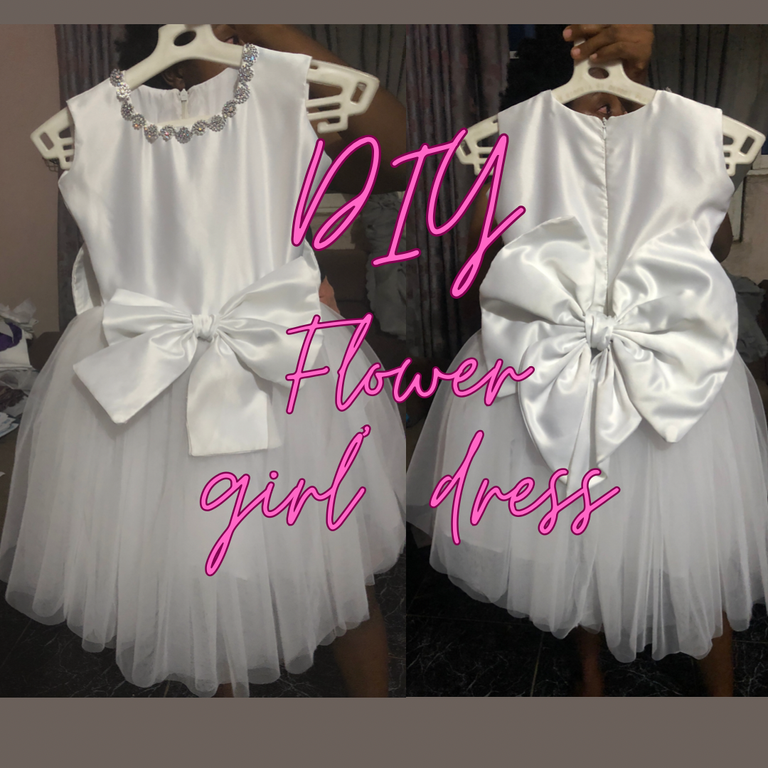
Although the time frame was not conducive. For the sake of a five-year-old’s broad smile and happiness, I succumbed.
Items needed
- Two yards of mesh fabric
- One and a half yards of satin fabric
- One yard of hard net
- Two yards of soft nylon lining
- Half a yard of thick air stay
- Invisible zip
- Measuring tape
- Ruler
- Scissors
- Chalk
- Sewing thread
- Office pins
- Sewing machine or/and thread & needle
First step, as usual, I drew out a picture of what was asked of me. This helps me stay on track till the end. I am sorry it looks like a child's doodle😅, it is the front and back view.

I measured the biggest part of her body- ‘the hips’ to make the big bow behind the dress.
It comprised two parts for each bow, the top (which is bigger) and the bottom using the satin fabric.
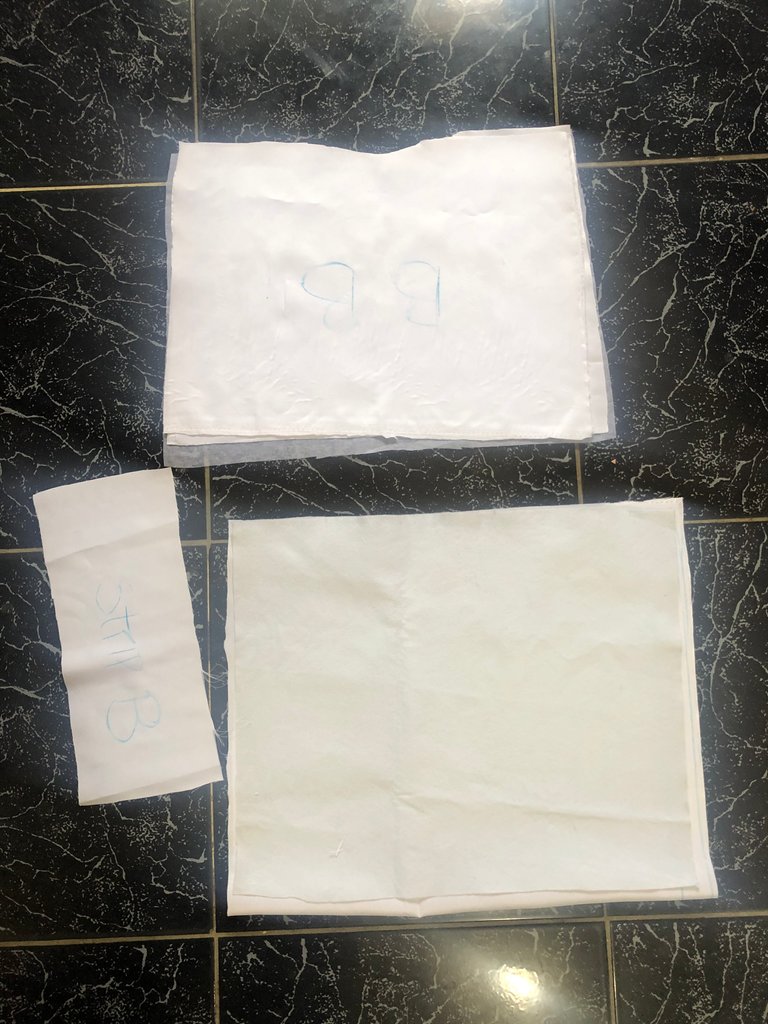
I cut out the same shape of the bows on an air stay to make it a bit thick. Iron pressed it over the bow shape and I sewed all around on the wrong side, leaving a peephole to turn over on the part that will be covered by the bow strip.
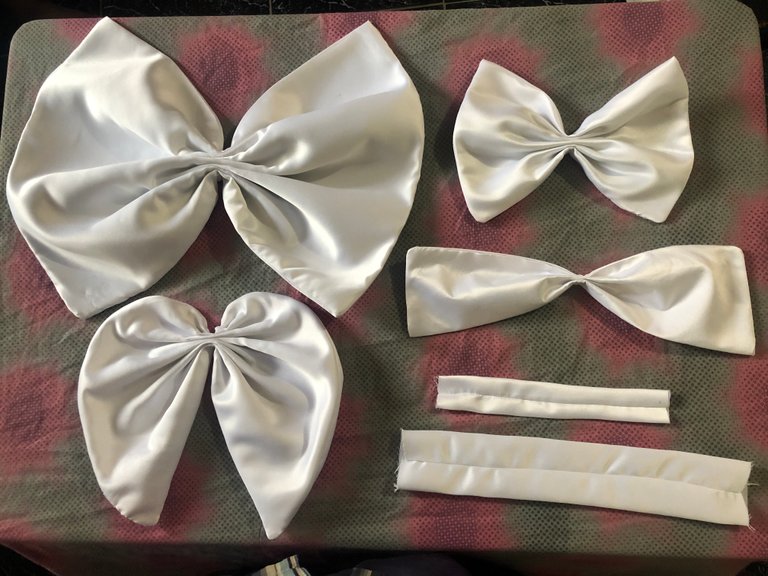
I used a big needle and thread to make the gathers then joined the two parts together as seen below, before sewing the strip over the middle part.

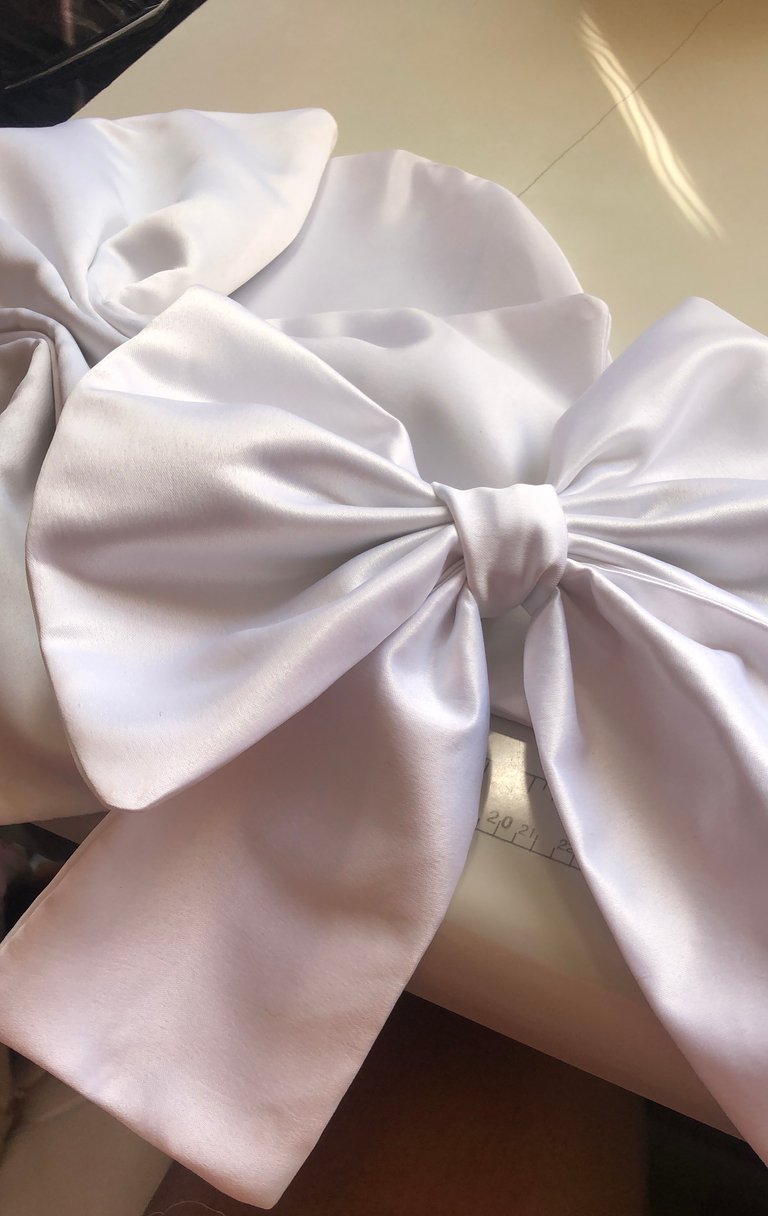
Then I sewed all that needed to be used for the ball.
Sew the rim of each fabric using a loose stitching format to draw out the thread to achieve a ball-like look. I did not join the zip area behind.
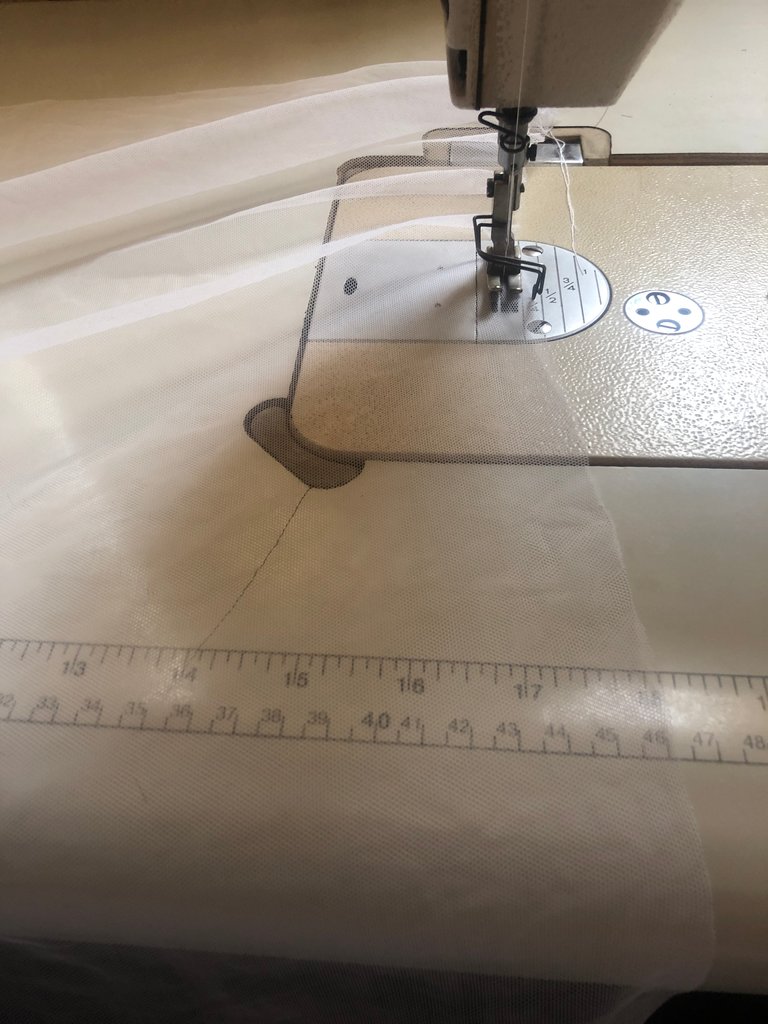
The hard net

The mesh was made in three layers

The soft nylon fabric in two layers
Next, I cut out the top part of the ball gown and sewed it around.
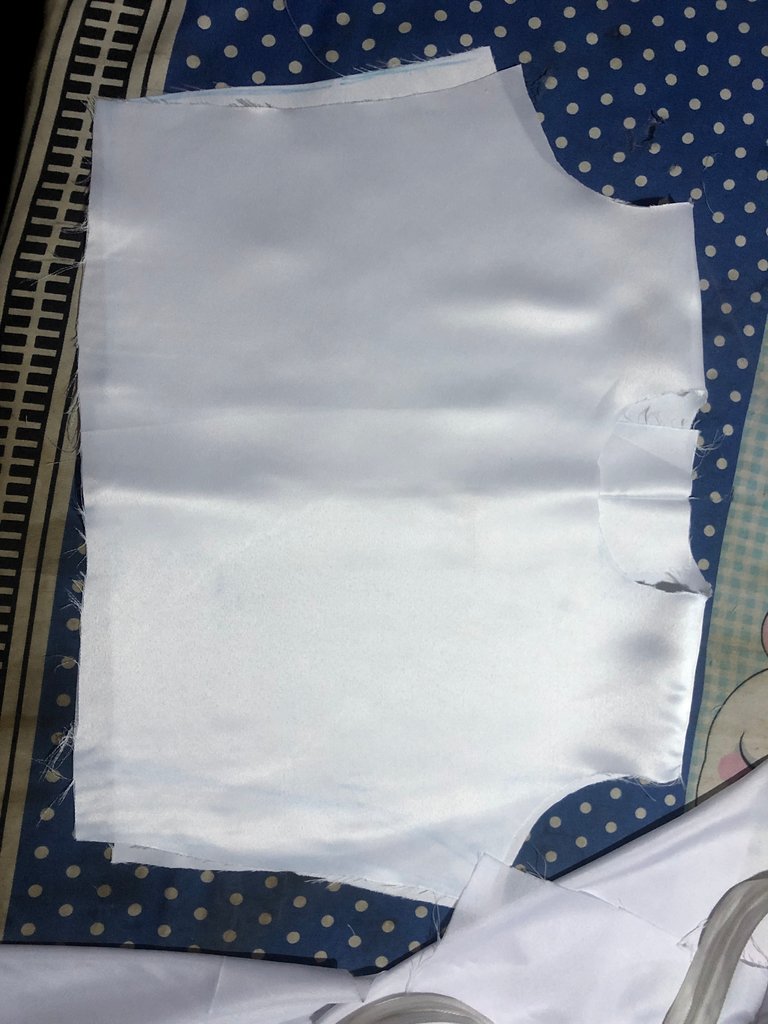

I cut out a lining using the soft nylon fabric and sewed them together.

Joining the puffy gathered lower part to the top part was quite tasking. Although I shared them in parts.
The first two layers were the two lining over the hard net.

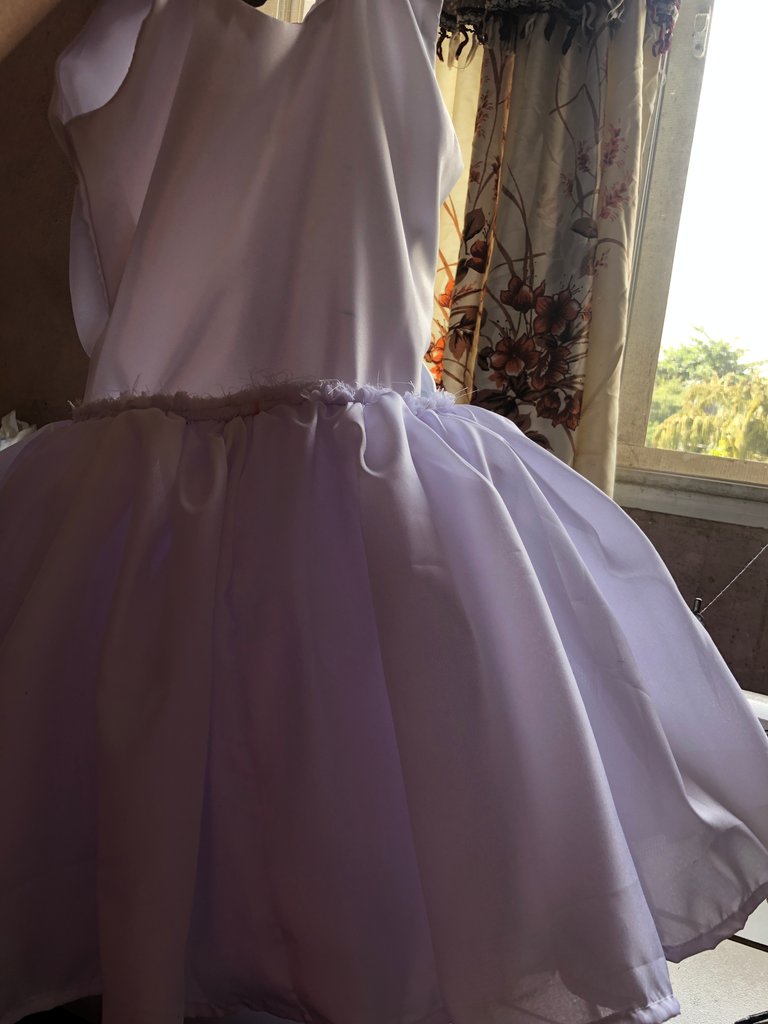
The three-layered mesh atop the lining.
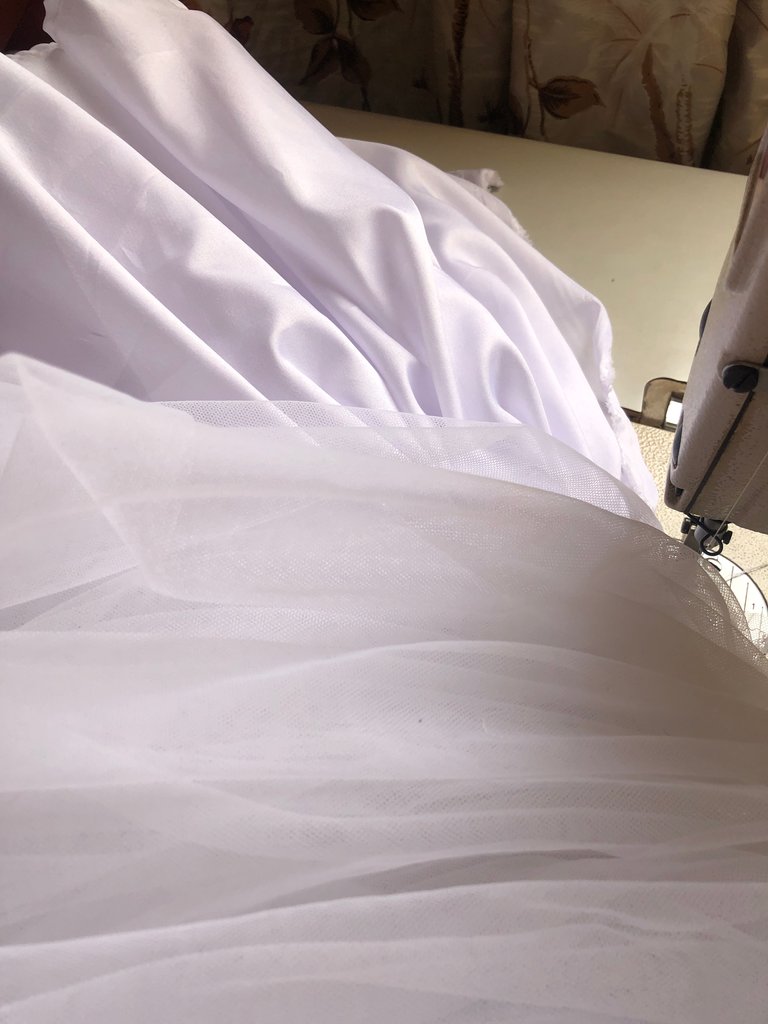

Here is the gown before the embellishment.
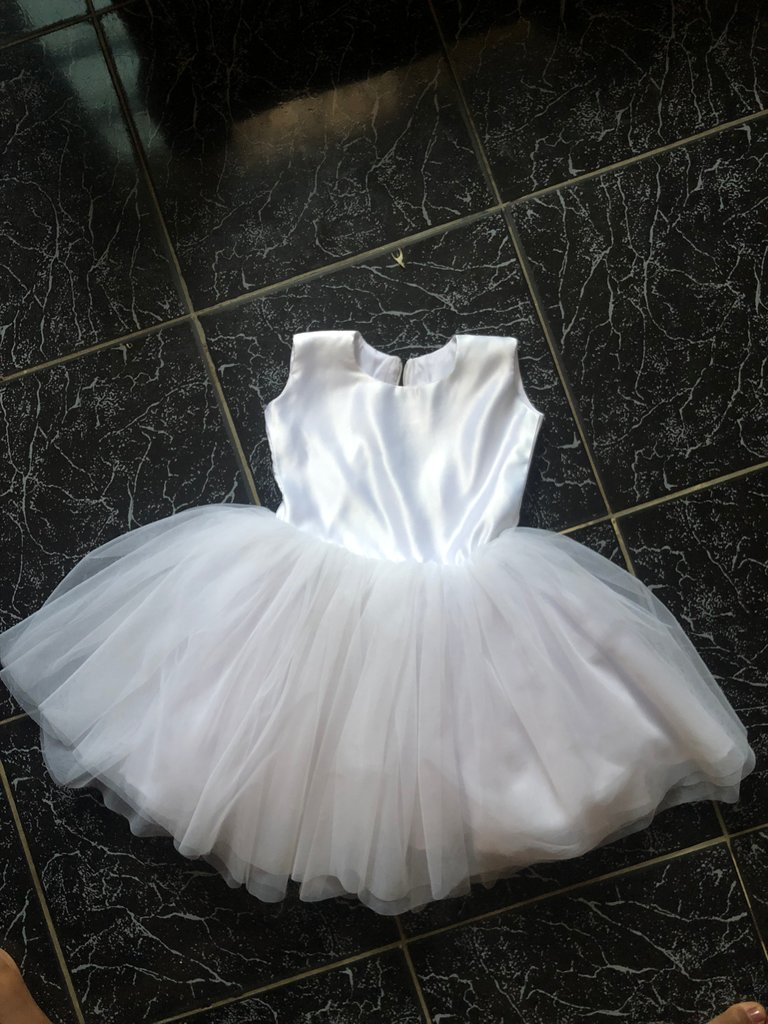
After the bows and shiny neckline were hand sewn, one with a big needle and the other with a tiny beading needle.

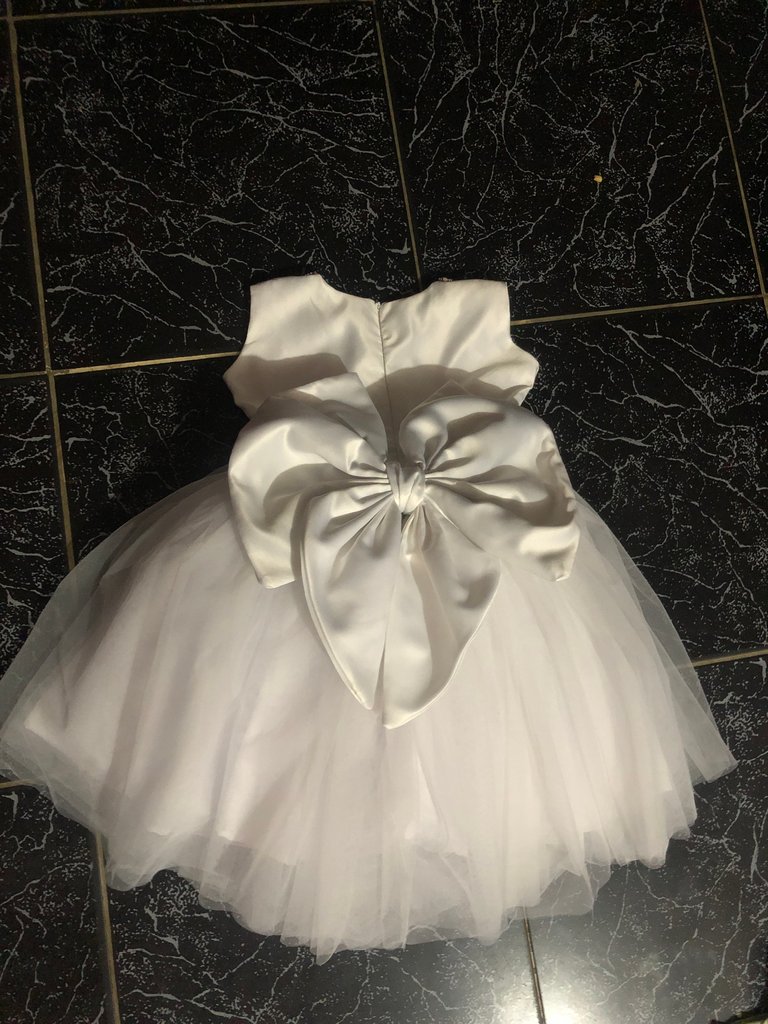
Here is the dress hung on a hanger.

Front view

Back view
Thanks for stopping by💕✨
®️Whitney Alexander

