Hey!!! It's Christmas tomorrow… 💃🏽💃🏽💃🏽 I have been so busy making outfits for Christmas that I keep procrastinating on posting DIY’s.
This post is in the spirit of Christmas. So putting off on my sewing dealings I had to post this.
A friend of my mum came by and asked me to make an outfit for her niece for Christmas. She brought three fabrics to make a pick from and this rose flower-designed chiffon fabric that embodied the color of Christmas rang to me.
I promised an adorable outfit her teenage neice would love.
She, like most teenagers, was unenthusiastic.
Her aunty mentioned that her teenage niece is quite picky and does not put on most of the dresses she buys for her.
So I swung into action and browsed online for designs she might like, to know her taste. Her pick was ball gowns.
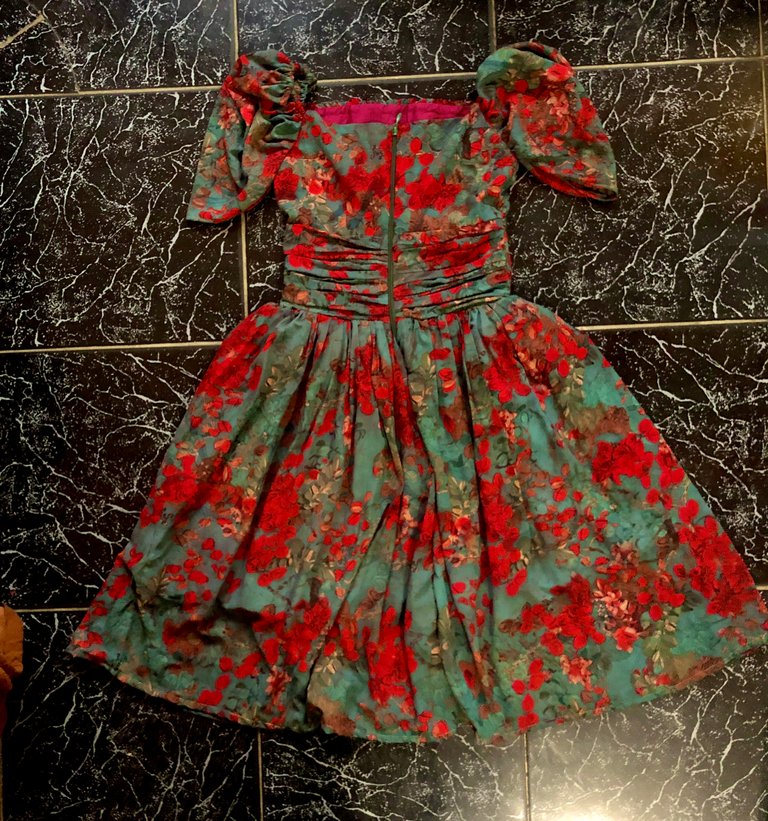
I chose this ruffled off-shoulder elastic sleeve ball gown and got into action.
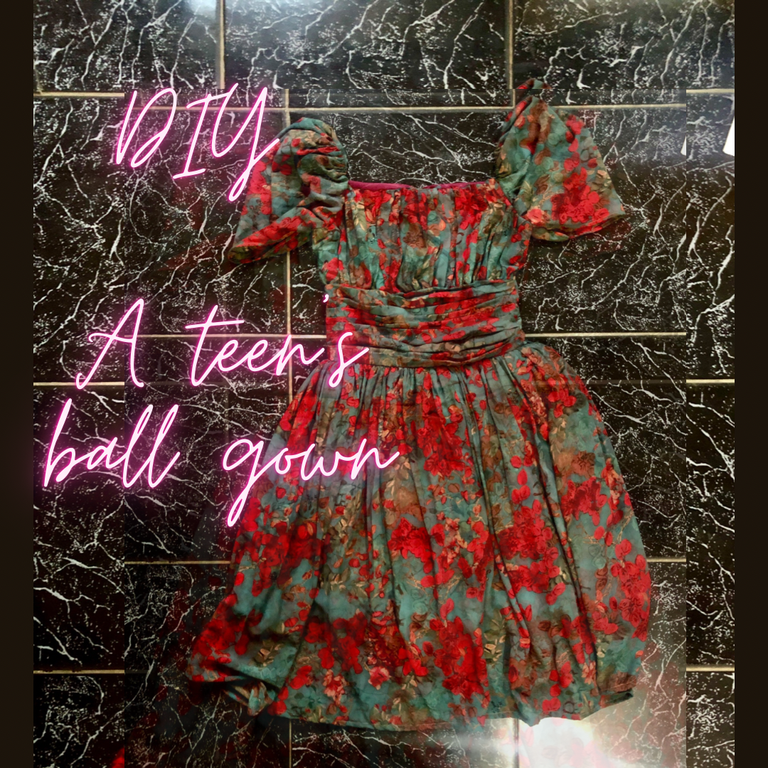
Items needed
- Three yards of a chiffon fabric
- Quarter-yard air stay gum
- Measuring tape
- Ruler
- Chalk
- Soft nylon lining
- Scissors
- Sewing thread
- Office pins
- Half-yard elastic band
- Sewing machine or thread & needle
First I drew out a picture of what I wanted to make. This helps me keep on track till the end. I drew this on tissue paper as that was what I had in hand at the time 😅
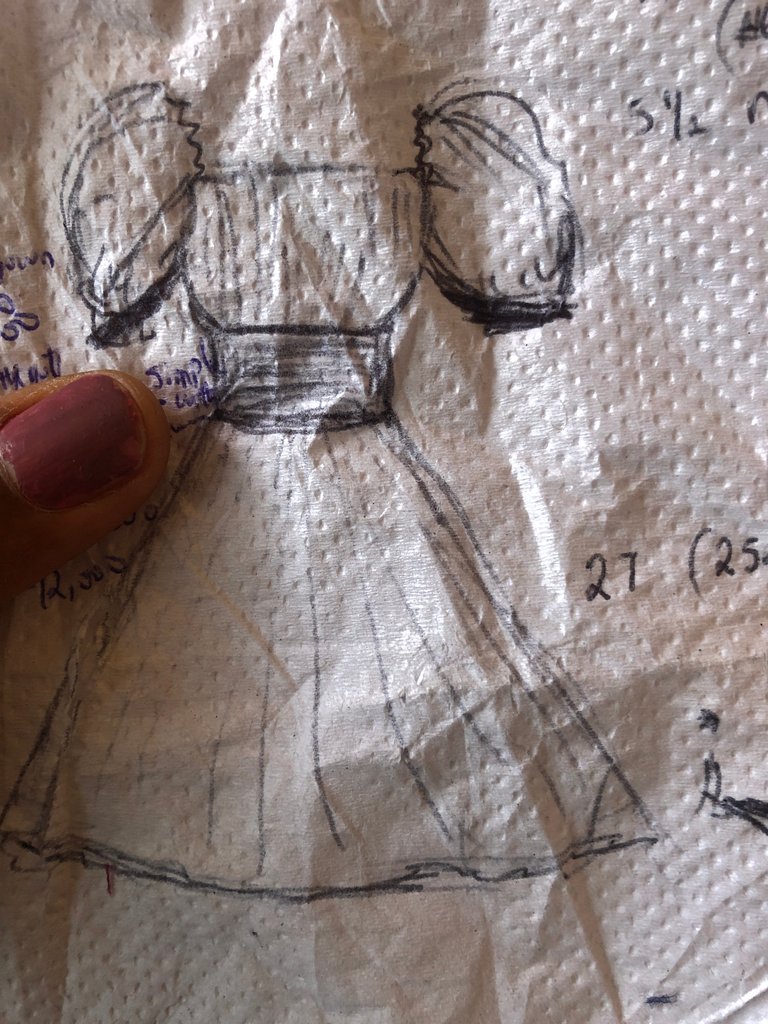
Then using the measurements of a 13-year-old young lady, I mapped out the pattern on the fabric. You could use brown paper then use it to cut out this pattern on the fabric.
I cut out the front part thrice its width to make a ruffle on the front part. I did the same for the waistline, both back and front but made the height or length 1.5 times longer to better create the ruffles.
But cut out the back part as is her measurement.
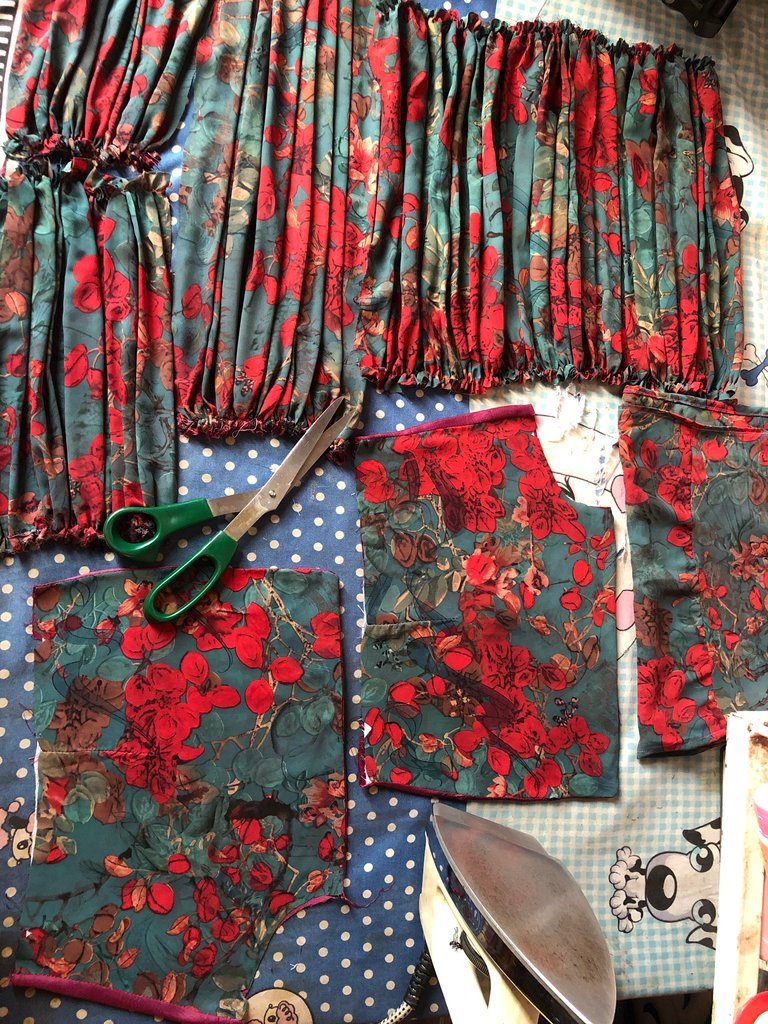
The front ruffle is horizontal so it will remain as is immediately after I make the folds and sew the edges.
But for the waistline, it was formed diagonally so it will droop if I do not iron it in place with an air stay gum.
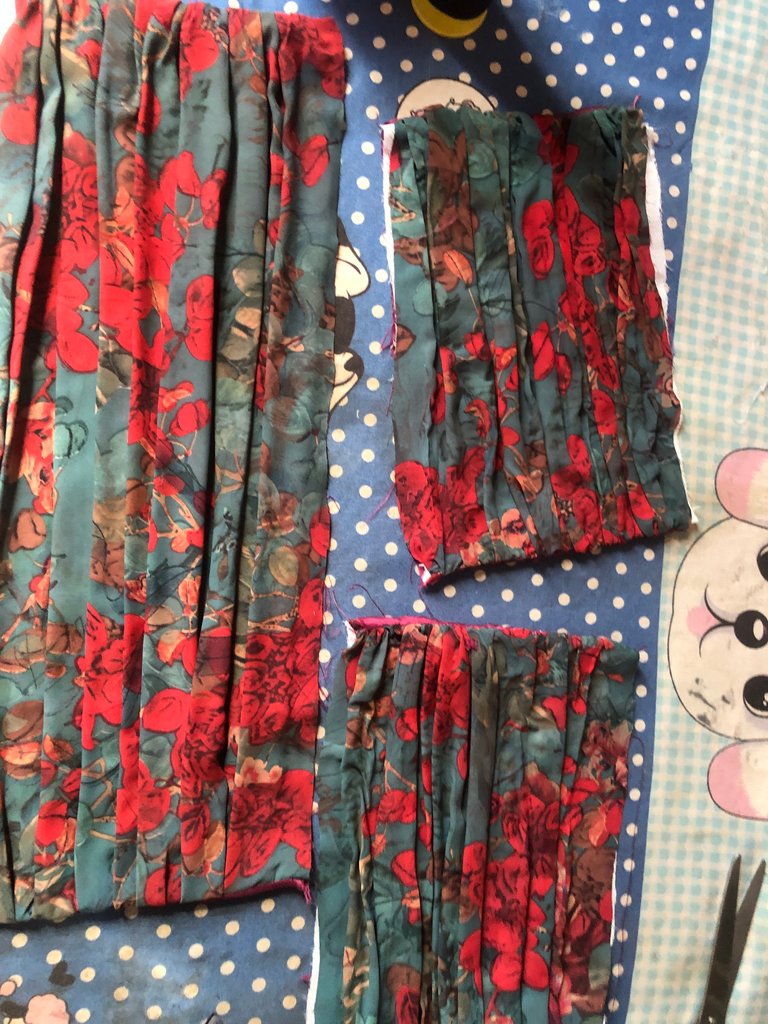
Here is the one piece for the front and two-piece for the back
I cut out the air stay for the waistline and ironed it atop the gathered pattern. Then sewed the lining over it as seen below.
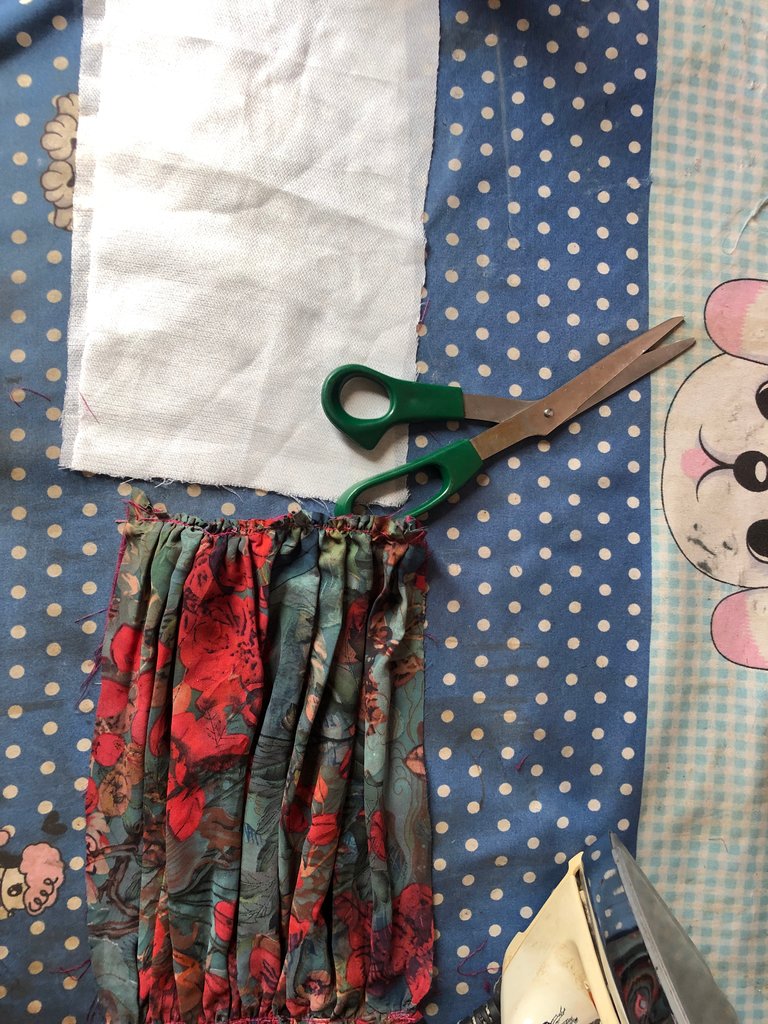
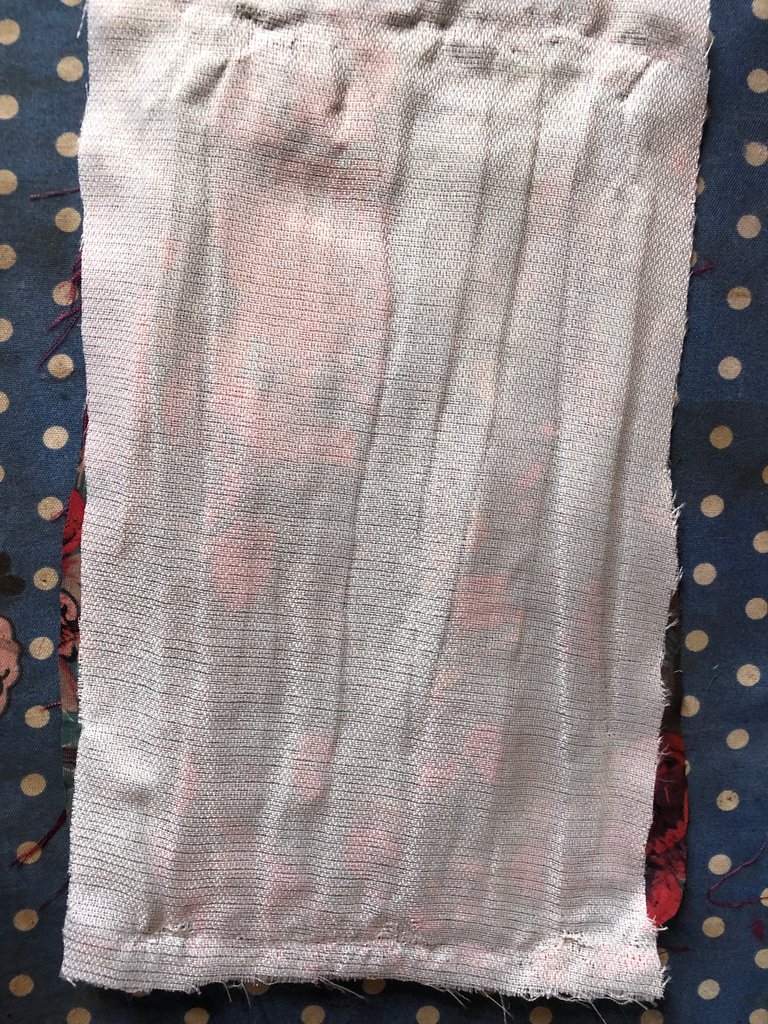
Then I moved on to the skirt part. Sewing a loosed thread over the three-times wide width of the cutout fabric to make a full ball.
I did the same for the lining for extra fullness.
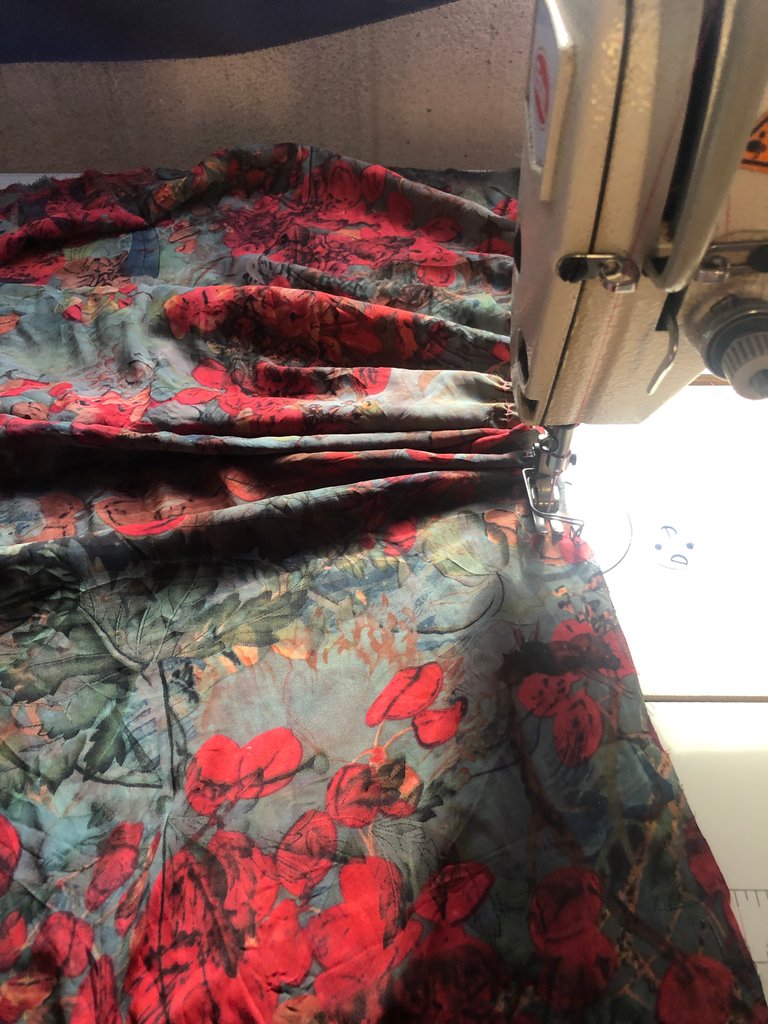
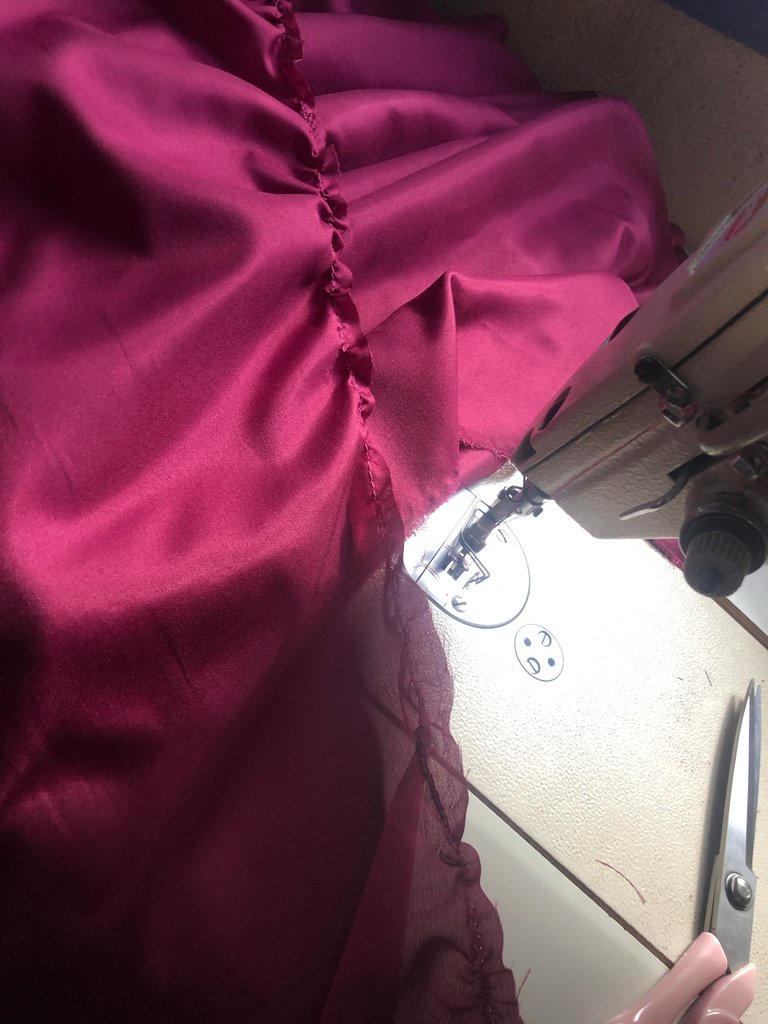
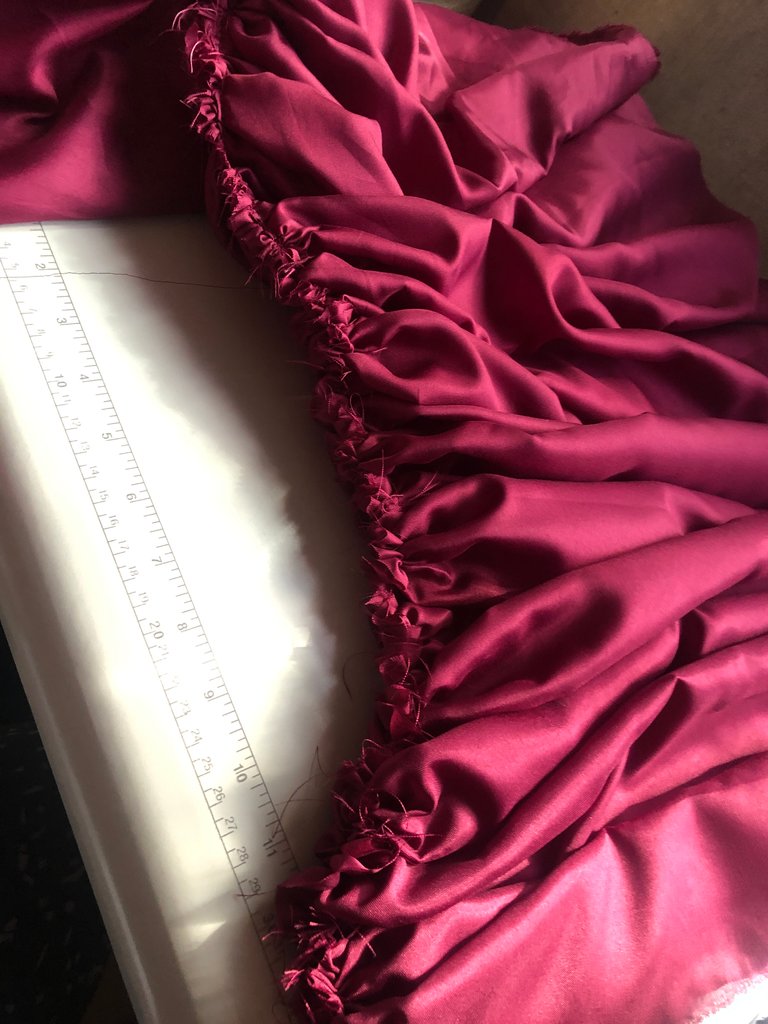
I joined the front parts and the back parts together leaving an allowance for zip.
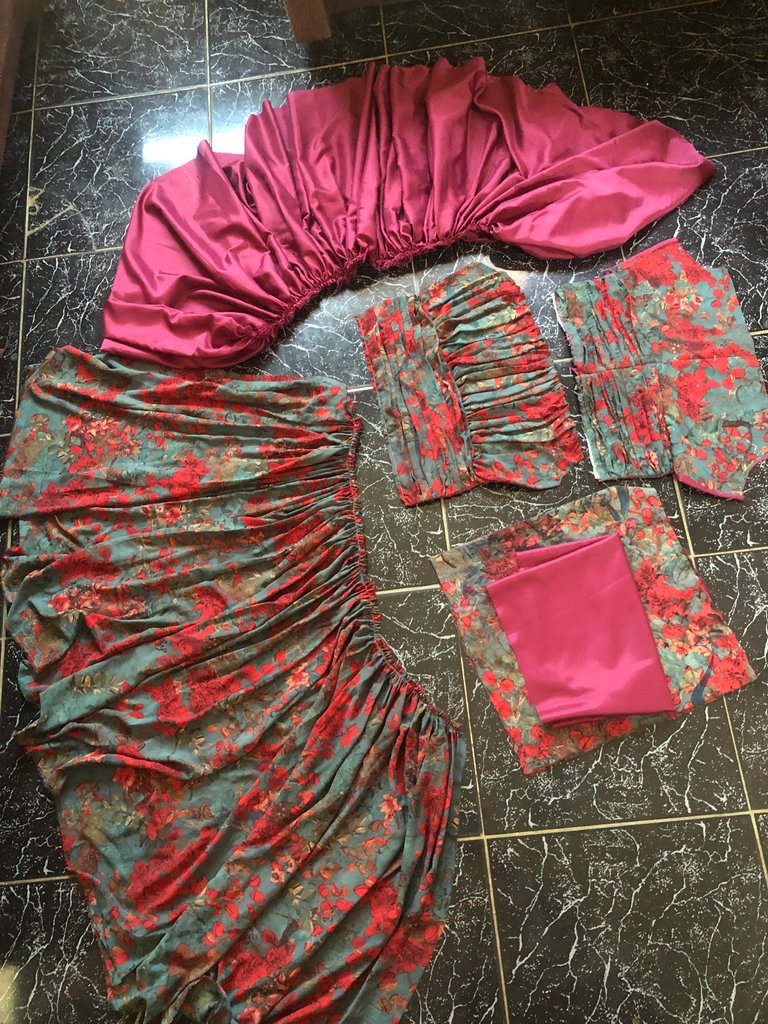
Here are all the parts to be assembled
I sewed the parts and got this.
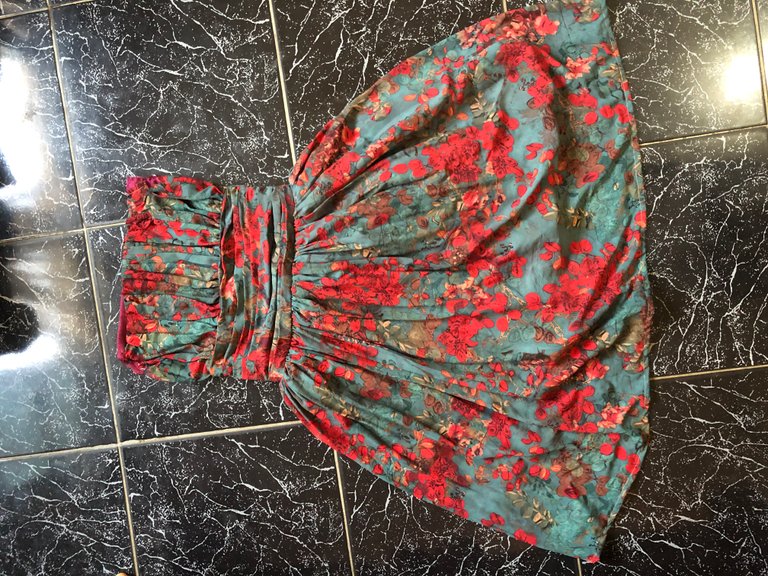
She came for a fitting and loved it especially as the dress waistline sinched in well with hers, bringing out the ball look perfectly. I loved her excitement and bottled-up joy. Her confidence in it and her smile were all the compliments I needed to forge on.
It said to me ‘You did well Whitney😁’
Then I cut out the excess fabric underneath her arm and took the round sleeve measurement to make the sleeve using a slim elastic band and…
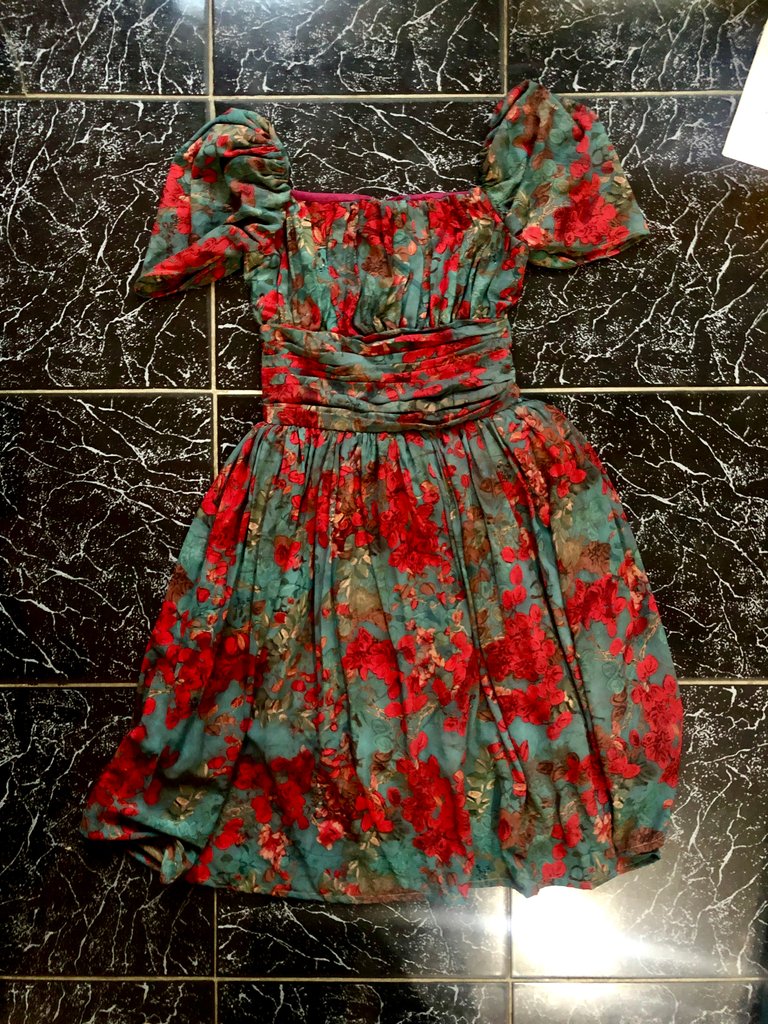
Front view
Back view
Thanks for stopping by💕✨
®️Whitney Alexander
