ENGLISH VERSION
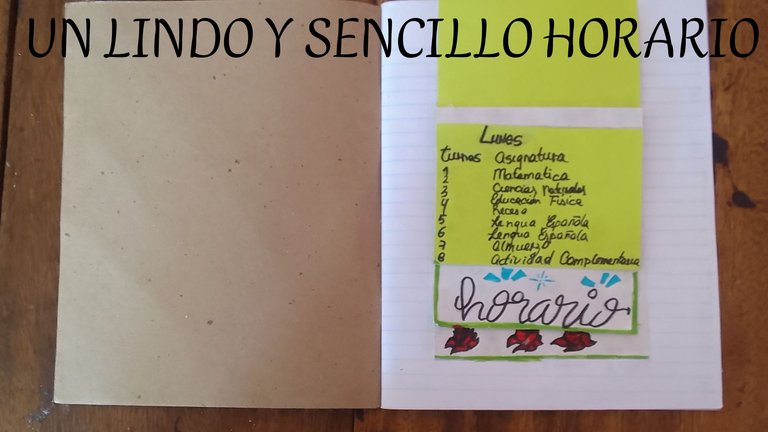
Hello everyone, today I have the 0lacer of publicsr in this beautiful #DIYHub community and this time I bring you a very nice and simple schedule. I decided to make it as a gift to my sister.
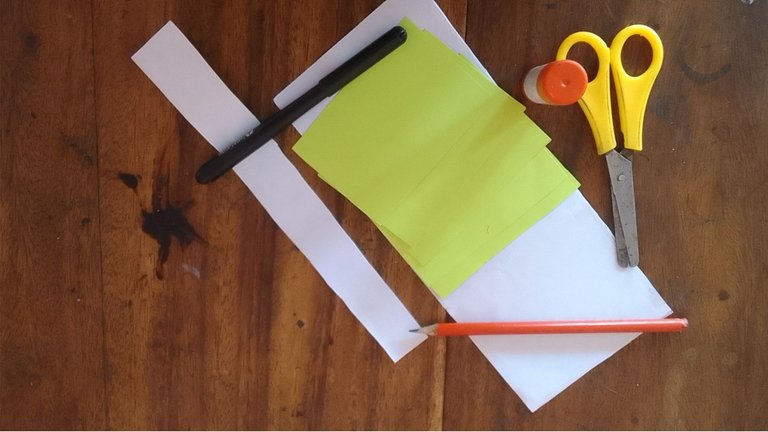
MATERIALS
- A sheet of 10cm wide and 26.5cm long
- A strip of a leaf 2.5cm wide and 22cm long.
- 5 pieces of cardboard 10cm wide and 7.5cm long
- A pencil
- A scissors
*Markers
FIRST STEP
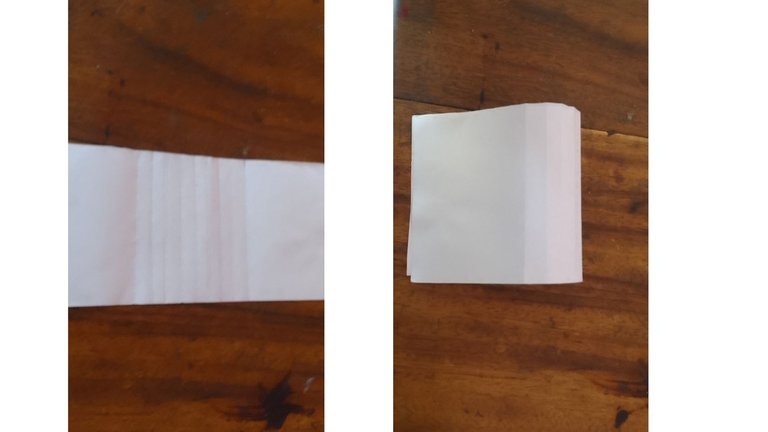
We will begin by making 10 dice lines in the center of the sheet 10cm wide and 26.5cm long. With a space between each line of one centimeter and we will fold them
SECOND STEP
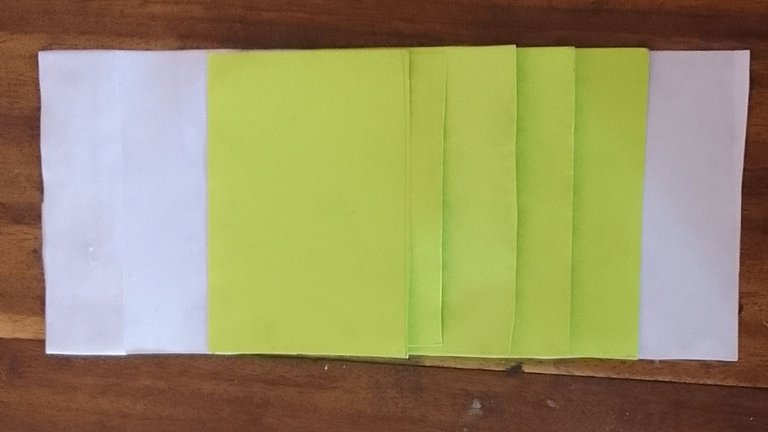
After having the 10 divisions made, we have to glue the 5 cards.
We will start gluing from the bottom up. That is, where the last 1cm space is, apply glue to that entire space and glue the first cardboard, only the upper edge of the cardboard is glued in the 1cm space. In the space above 1 cm we will leave it empty and we will glue another piece of cardboard in the same way in the space above the one we left empty and until we have the 5 pieces of cardboard glued together, they remain
make a cardstock, a space and a cardstock.
THIRD STEP
With all the cardboard glued, with the 2.5cm wide and 22cm long strip we will glue it to the top of the sheet 10cm wide and 26.5cm wide in such a way that the strip is in the center and the tips are If they stick out, we will fold them inwards and also glue them. After this we will fold the sheet with the cardboard and paste the part of the band-aid in the notebook. So that our schedule can move.
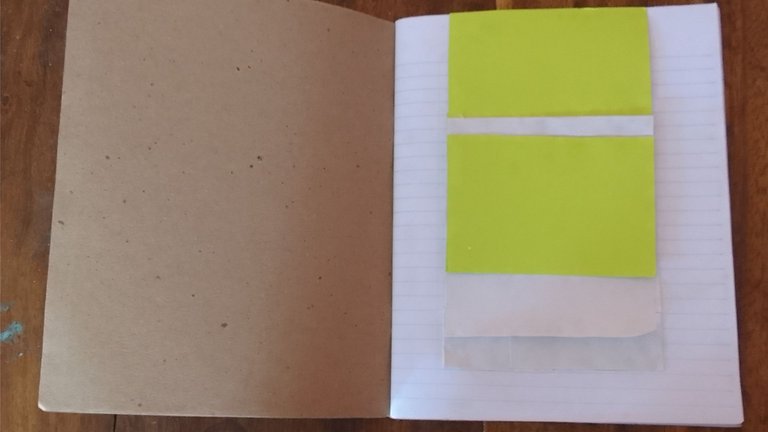
We just need to decorate it and copy the schedule for each day of the week on each card.
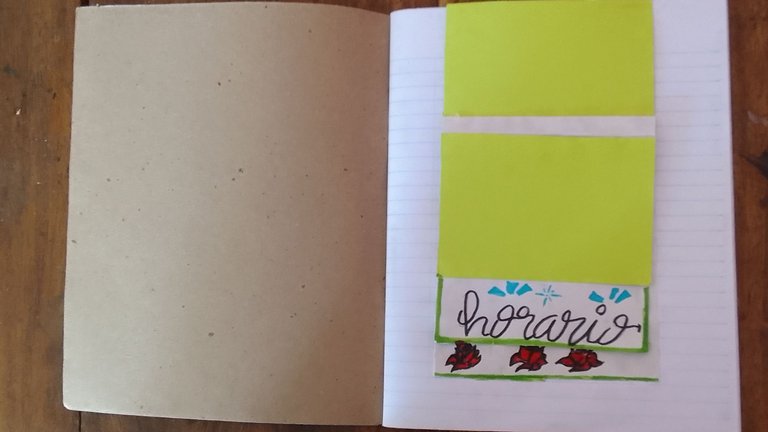
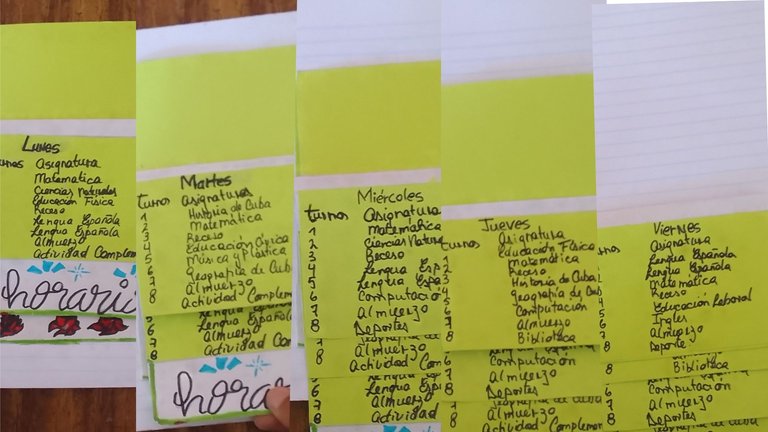
This was the result of my work I hope you like it there I just have to wish you all a happy day
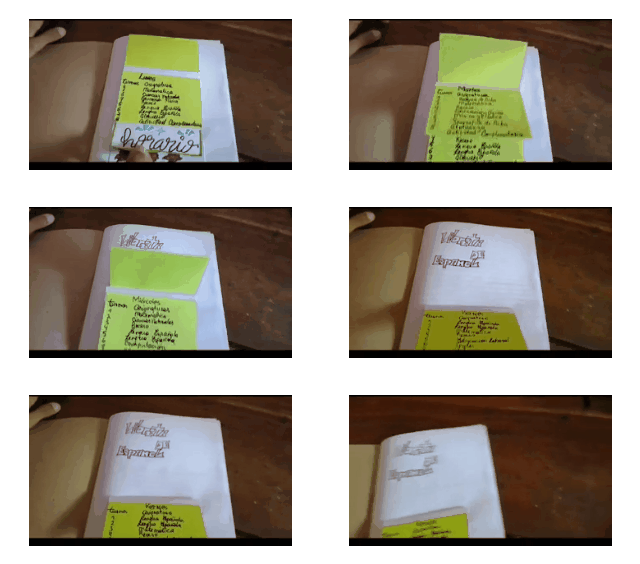


The photos were taken by my Samsung Galaxy A 03 Core phone and edited in canva
The text was translated by Deepl

VERSIÓN EN ESPAÑOL
Hola todos hoy tengo el placer de publicsr en esta hermosa comunidad de #DIYHub y esta vez les traigo un muy bonito y sencillo horario. Decidí hacerlo para regalarselo a mi hermana .
MATERIALES
- Una hoja de 10cm de ancho y 26.5cm de largo
- Una tirita de una hoja de 2.5cm de anchos y de 2.2cm de largo
- 5 cartulinas de 10cm de anchos y 7.5cm de largo
- Un lápiz
- Una tijera
- Plumones

PRIMER PASO
Comenzaremos realizando 10 líneas en el centro de la hoja de 10cm de ancho y 26.5cm de largo. Con un espacio entre cada línea de un centimetro y después las doblaremos

SEGUNDO PASO
Después de tener las 10 divisiones realizadas nos toca pegar las 5 cartulinas.
Comenzaremos a pegar de abajo hacia arriba. Es decir en donde se encuentra el último espacio de 1cm se aplicará pegamento en ese espacio entero y pegaremos la primera cartulina, solo se pega el borde superior de la cartulina en el espacio de 1cm. En el espacio de arriba de 1 cm lo dejaremos vacío y pegaremos de igual forma otra cartulina en el espacio que se encuentra sobre el que dejamos vacío y asī hasta tener las 5 cartulinas pegada quedando una cartulina, un espacio y una cartulina.

TERCER PASO
Ya con todas las cartulinas pegadas, Con la tira de 2.5cm de ancho y 22cm de largo la pegaremos en la parte superior de la hoja 10cm de ancho y 26.5cm de ancho de tal forma que la tirita quede en el centro y las puntas que sobresalen las doblaremos hacia adentro y también la pegaremos. Después de esto doblaremos la hoja con las cartulinas y pegaremos en la libreta la parte de la tirita. Para que así nuestro horario pueda moverse, por los diferentes días de la semana.

Solo nos falta decorarlo y en cada cartulina copiar el horario de cada días de la semana .


Este fue el resultado de mi trabajo espero que les allá gustado. Solo me queda desearles a todos un feliz día!!


Las fotos fueron tomadas por mi teléfono Samsung Galaxy A 03 Core y editadas en canva
El texto fue traducido por Deepl


