ENGLISH VERSION
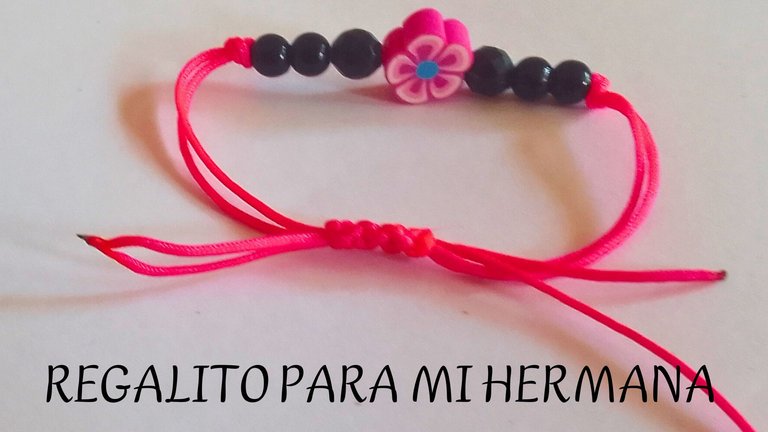
Hello #Jewelry community, today I have the pleasure of publishing for the first time in this community and I do it with the step by step of a click that I want to give to my sister. I tell you that it is very simple and easy to make, you only need three pieces of Chinese thread, one smaller than the other two that you are going to make of the same size and beads. Well now let's get to work.
FIRST STEP
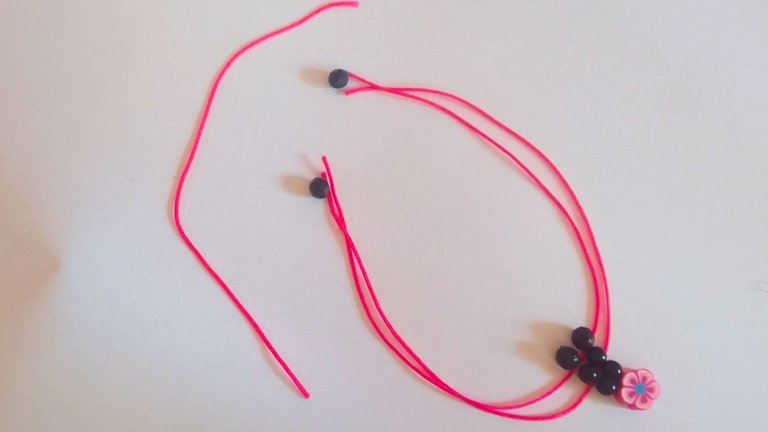
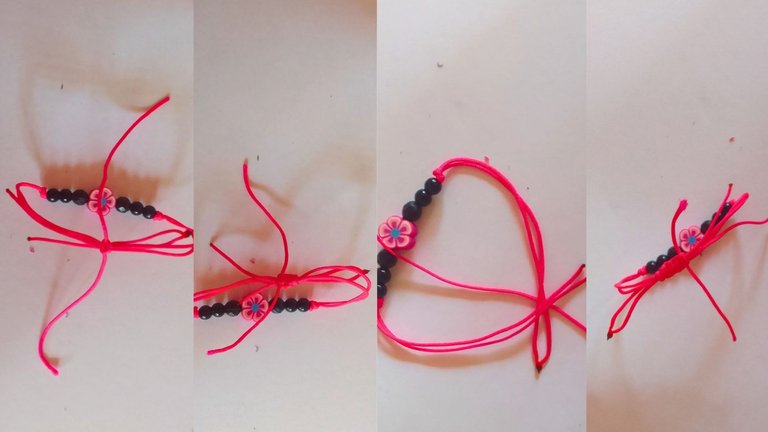
We begin by taking in our hands the two pieces of Chinese thread that are the same size. I chose a pink one; You can choose the color you want. With our threads in hand we will begin to place the beads; I got black pearls, but as I told you before you can use them in any color you want, first place only three, two of them round and one in the shape of a pentagon.
SECOND STEP
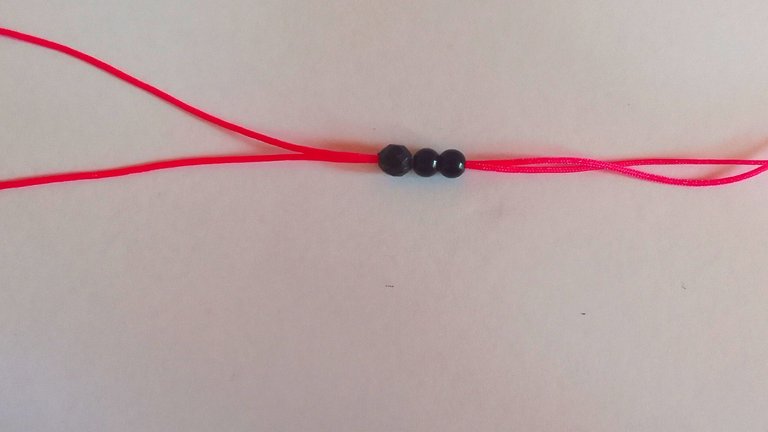
Then place a pink flower decoration; You can place the decoration you want and the color you want, even if you don't want to put decorations on it and just make it pearls too.
THIRD STEP
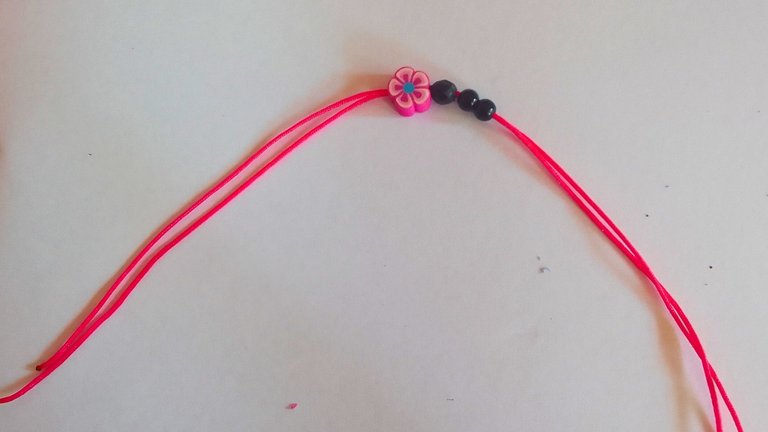
After placing my ornament, I placed three more black pearls of the same type, two round and one pentagon-shaped. Creating a total of six pearls, two of them pentagon-shaped and the other four round.
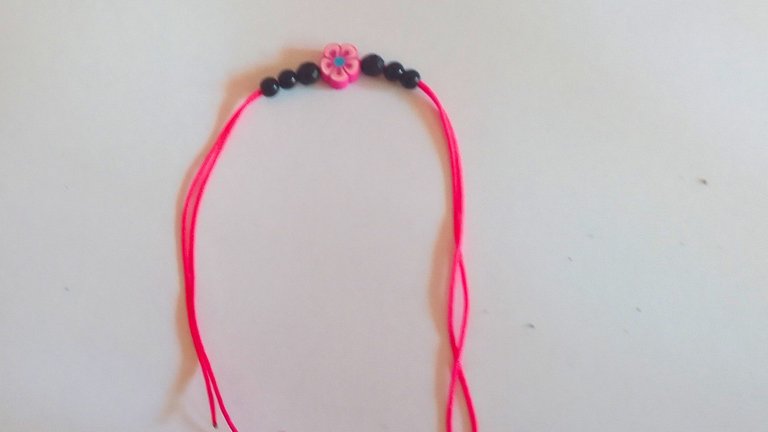
So that the pearls would not move from their place, I had to tie a knot at each end of the pearls.
FOURTH STEP
Before tying the knot I had to join the ends of the bracelet to make sure the pearls were well in the center.
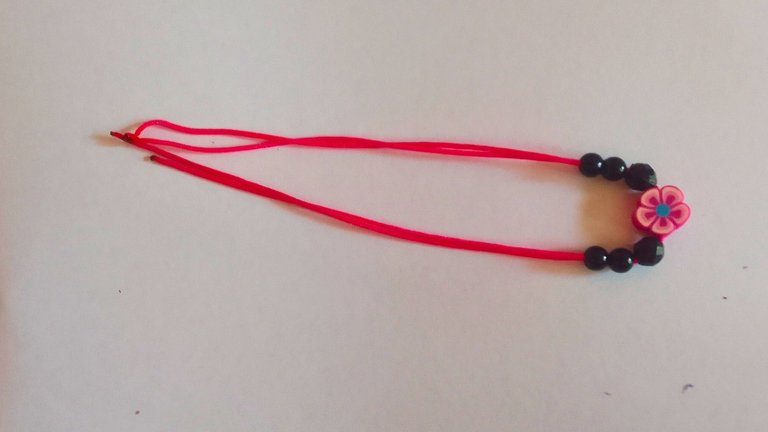
FIFTH STEP
After having made sure that the pearls were in the center of the pulse. I tied a knot at each end, which I did not tighten too much so that people would not slip through the knot and get out of place.
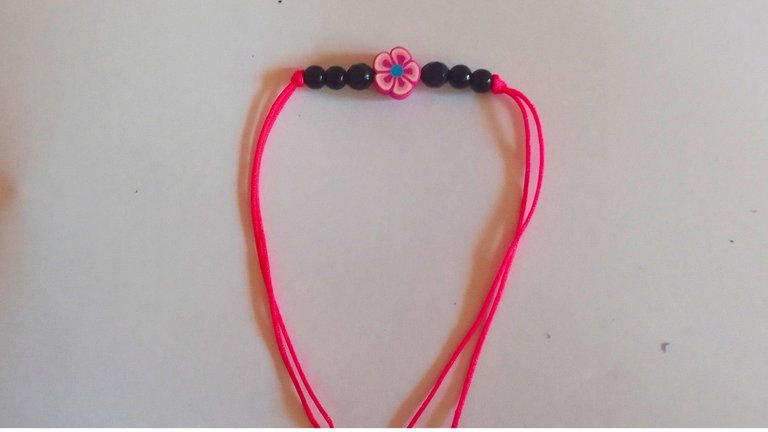
Now it's time to close the button that will allow us to open it, close it and adjust it as we wish.
THISTH STEP
Before making the closure, place the tips of the bracelet crossed in the shape of an X so that the macrame stitch that is the one used in the closure becomes easier.
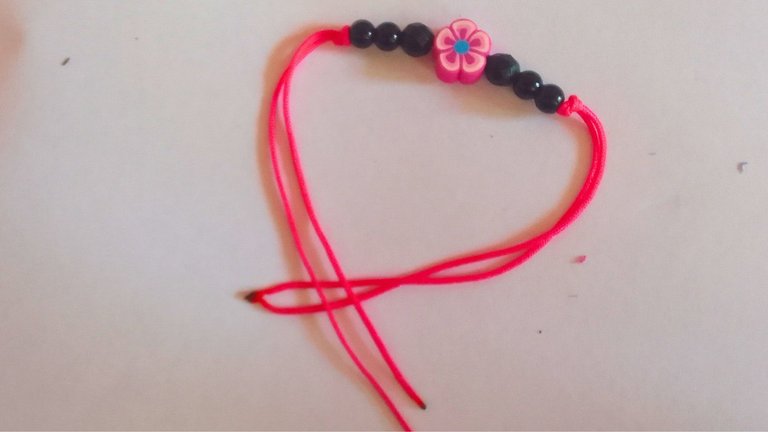
SEVENTH STEP
Now let's make the closure with the pulse well organized so that our work becomes easier, the procedure is to knit the closure with the macrame stitch. For that I used the remaining piece of pink Chinese thread. With that little piece of thread, I took the two ends of the pulse that was in the shape of a cross and passed the thread underneath, made a knot and began to knit. I passed the right end of the thread over the tips of the pulse, which was in the shape of an I burned the ends that were left over from the closure a little so that they wouldn't come loose.
EIGHTH STEP
At the end of the strips that hang from the pulse she placed two pearls to decorate it and I tied a knot so that it would not come loose.
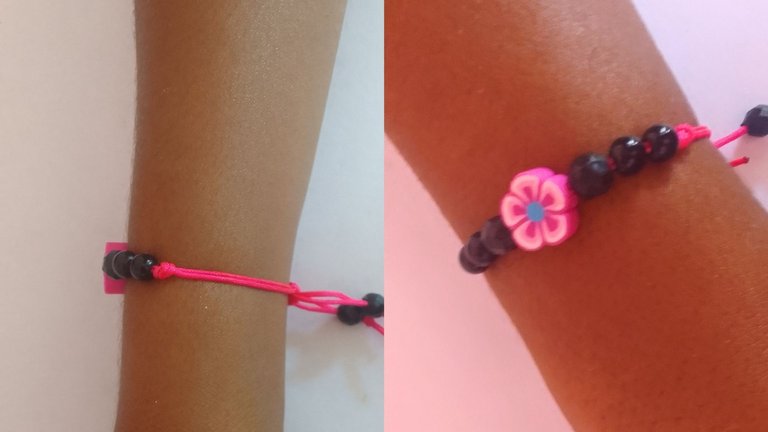
And this was the result of my bracelet. I hope you like it and let me know in your comments. I just have to wish you a happy day.
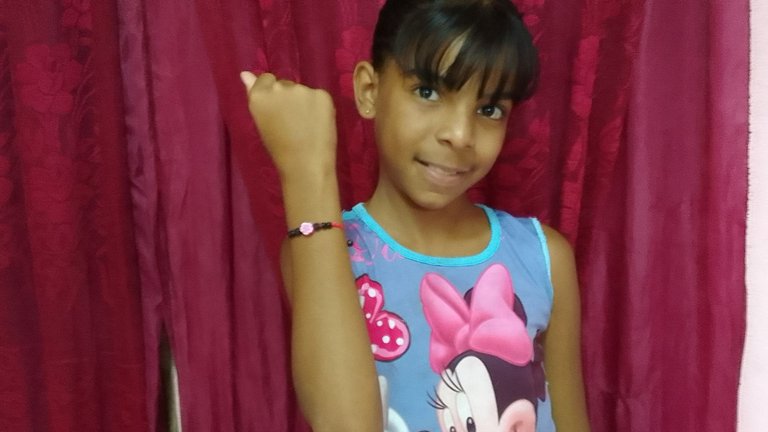
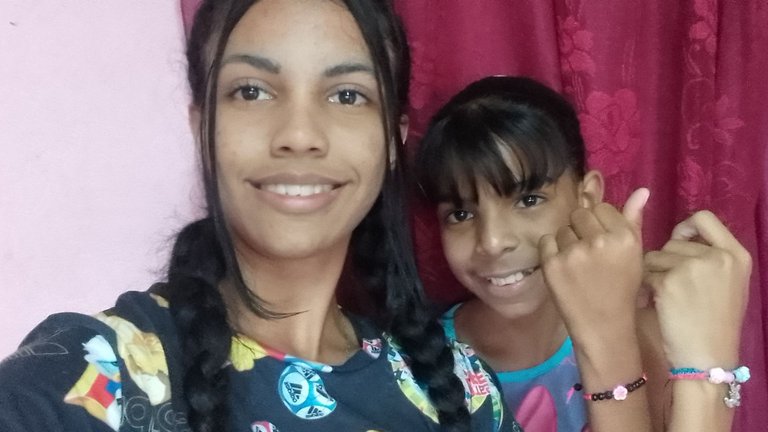
The photos were taken by my Samsung Galaxy A 03 Core phone and edited in canva
The text was translated by Deepl

VERSIÓN EN ESPAÑOL
Hola comunidad de #Jewelry hoy tengo el placer de publicar por primera vez en esta comunidad y lo hago con el paso a paso de una pulsa que le quiero regalar a mi hermana. Les digo que es muy sencilla y fácil de hacer solo se necesita tres pedazos de hilo chino uno mas pequeño que los otros dos que van hacer del mismo tamaño y perlitas. Buenoahora si manos a la obra.

PRIMER PASO
Comenzamos tomando en nuestras manos los dos pedazos de hilo chino que tienen el mismo tamaño yo elegí uno de color rosado; ustedes pueden elegirlo de el color que quieran. Ya con nuestros hilos en la mano le empezaremos a colocar las perlitas; yo obte por perlas negras , pero como les dije antes pueden utilizarlas de el color que quieran, primero coloque solo tres dos de ellas redondas y una en forma de pentágono .

SEGUNDO PASO
Luego coloque un adornito de una flor rosado ; ustedes pueden colocar el adorno que quieran y de el color que quieran, incluso si no quieren ponerle adornos y solo que sea de perlas también .

TERCER PASO
Luego de colocar mi adornito le coloque tres perlitas negras mas de el mismo tipo dos redondas y una en forma de pentágono. Creando un total de seis perlas dos de ellas en forma de pentágono y las otras cuatro redondas .

Para que las perlas no se movieran de su lugar tenia que realizar un nudo en cada estremo de las perlas
CUARTO PASO
Antes de realizar el nudo tuve que unir las puntas de la pulsa para asegurarme que las perlas quedaran bien en el centro .

QUINTO PASO
Después de haberme asegurado bien de que las perlas se encontraban en el centro de la pulsa. Realicé un nudo en cada estremo, el cual no aprete mucho para que las personas no se fueran por el nudo y se saliran de su lugar.

Ahora toca realizar el cierre de la pulsa que nos permitira abrirla , cerrarla y ajustarla a nuestro antojo
SESTO PASO
Antes de realizar el cierre coloque las puntas de la pulsa cruzadas en forma de X para que el punto macrame que es el que utilice en el cierre se nos vuelva mas fácil.

SÉPTIMO PASO
Ahora si a realizar el cierre ya con la pulsa bien organizada para que se nos vuelva mas fácil el trabajo, procedimiento a tejer el cierre con el punto macrame. Para eso utilicé el pedazo de hilo chino rosado que quedaba. Con ese pedacito de hilo , tomè las dos puntas de la pulsa que estaba en formas de cruz y pasé el hilo por debajo hicè un nudo y comencé a tejer. El extremo derecho de el hilo lo pasé por encima de las puntas de la pulsa que estaba en forma de X y el estreno izquierdo lo pase por debajo de el extremo derecho apreté y así obtuve el primer punto repetí este procedimiento hasta tener mi cierre completo. Quemé un poco las puntas que sobraron de el cierre para que no se soltaran.

OCTAVO PASO
Al final de las tiras que cuelgan de la pulsa coloque dos perlitas para adornarla y le hicè un nudo para que no se safara .

Y este fue el resultado de mi pulsa espero que les guste y que me lo hagan saber en sus comentarios. Solo me queda desearles un feliz día.


Las fotos fueron tomadas por mi teléfono Samsung Galaxy A 03 Core y editadas en canva
El texto fue traducido por Deepl