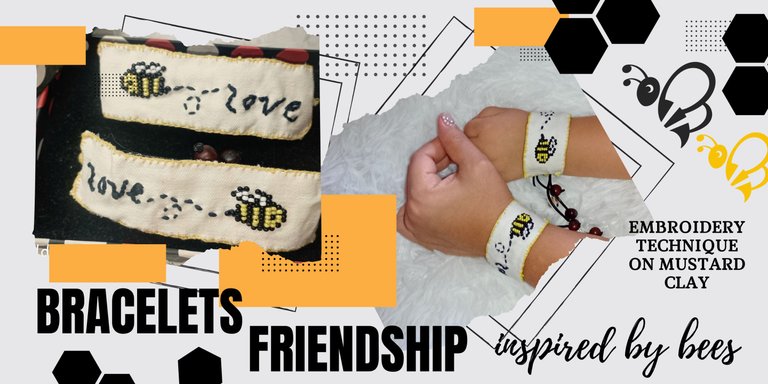
Greetings friends who love handicrafts! I welcome you once again to my Bricolaje DC workshop. This time I would like to make some friendship bracelets inspired by bees, using the technique of embroidery in mustard and thread. Join me and I will show you the creative process.
¡Saludos amigos amantes de las artes manuales! Les doy la bienvenida una vez más a mi taller Bricolaje DC. En esta oportunidad me gustaría realizar unos brazaletes de la amistad inspirados en las abejas, utilizando la técnica de bordado en mostacilla y en hilo. Acompáñenme y les enseño el proceso creativo.
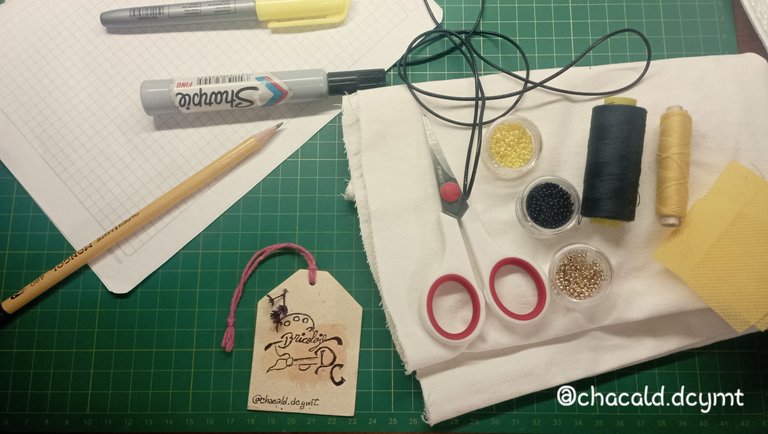
For this project we will need the following materials:
Piece of white jean fabric
72 centimeters of Chinese thread
10 centimeters of fine Chinese thread
Yellow, black and white beads
Black and yellow thread
Scissors
Pencil
Grid sheet
Black and yellow fine tip markers
Needle for mustard clay
Embroidery needle
Lighter
8 wooden spheres
Para este proyecto vamos a necesitar los siguientes materiales:
Trozo de tela de jean color blanco
72 centímetros de hilo chino
10 centímetros de hilo chino fino
Mostacillas de color amarillo, negro y blanco
Hilo de color negro y amarillo
Tijera
Lápiz
Hoja cuadriculada
Marcadores punta fina color negro y amarillo
Aguja para mostacilla
Aguja para bordar
Encendedor
8 esferas de madera
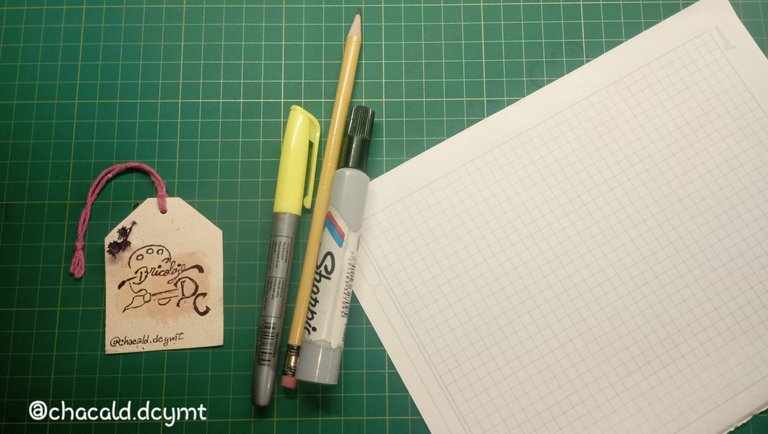
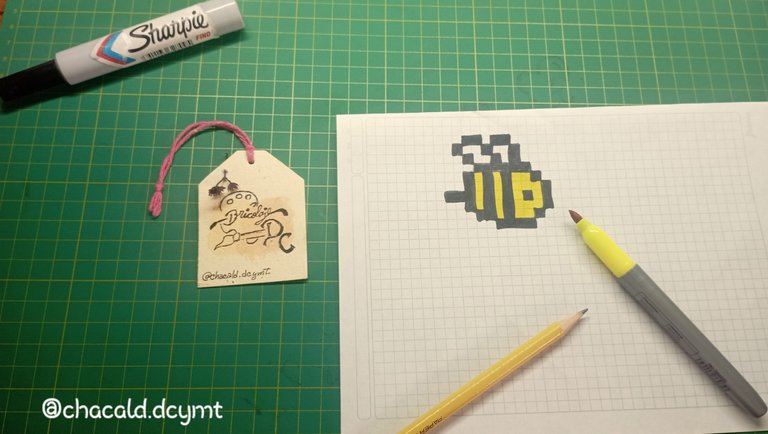
We start by making our pixel art designs. With the markers we will mark each square of our sheet to form a bee. This design is very simple.
Comenzamos haciendo nuestro diseños en pixel art. Con los marcadores marcaremos cada cuadro de nuestra hoja para formar una abeja. Este diseño es muy sencillo.
 |  |
|---|
We proceed to prepare the fabric that will be the base of the bracelet. I used a piece of white jeans fabric (reused fabric from a pair of pants).
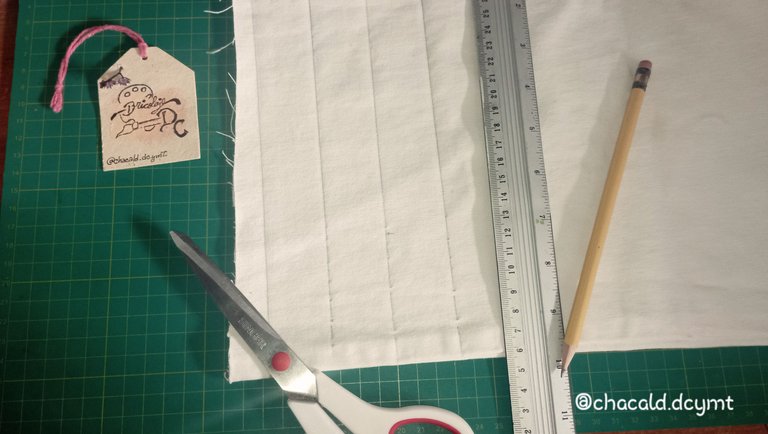
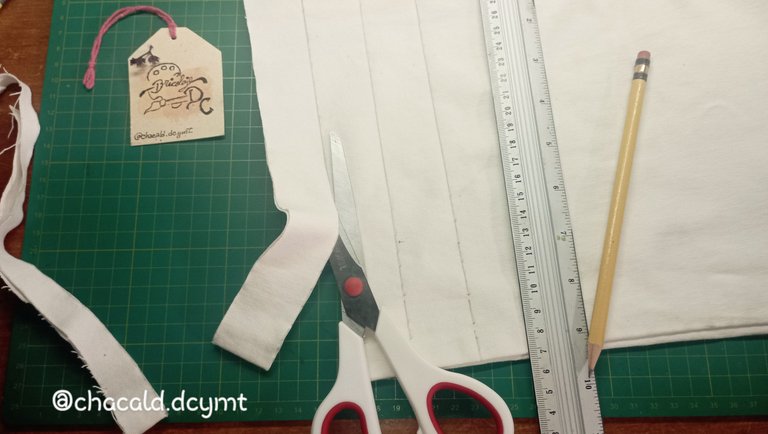
With the help of a ruler and a pencil, we will trace 4 centimeters wide stripes and cut them.
Procedemos a preparar la tela que será la base del brazalete. Yo utilicé un retazo de tela de jeans blanco (tela reutilizada de un pantalón).
Con ayuda de la regla y el lápiz, vamos a trazar franjas de 4 centímetros de ancho y cortamos.
 |  |
|---|
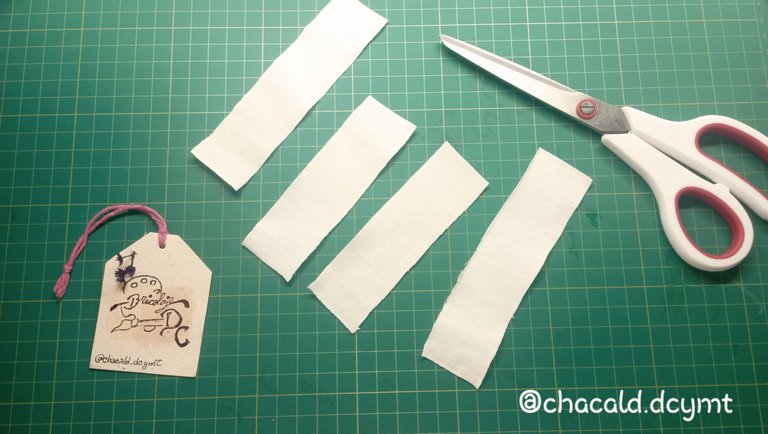
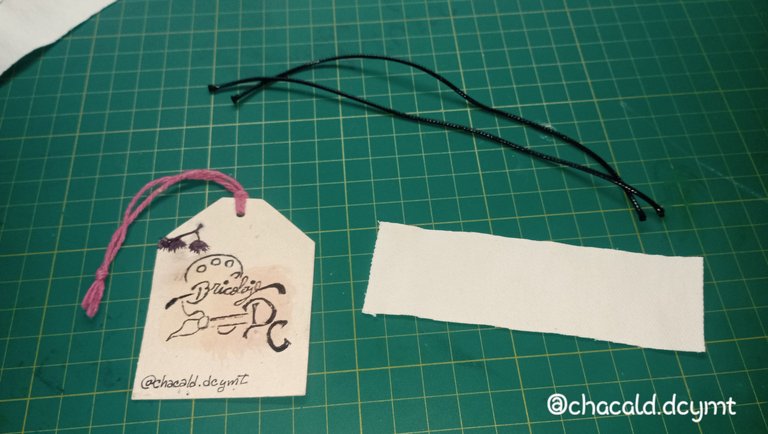
For each bracelet we will use 2 strips of fabric, one 8 centimeters long and one 6 centimeters long. We will also use 2 strips of Chinese thread of 19 centimeters per bracelet, that is to say, we will cut 4 strips of thread.
Para cada brazalete vamos a utilizas 2 franjas de tela, una de 8 centímetros de largo y una de 6 centímetros de largo. También vamos a utilizar 2 tiras de hilo chino de 19 centímetros por brazalete, es decir que cortaremos 4 tiras de hilo.
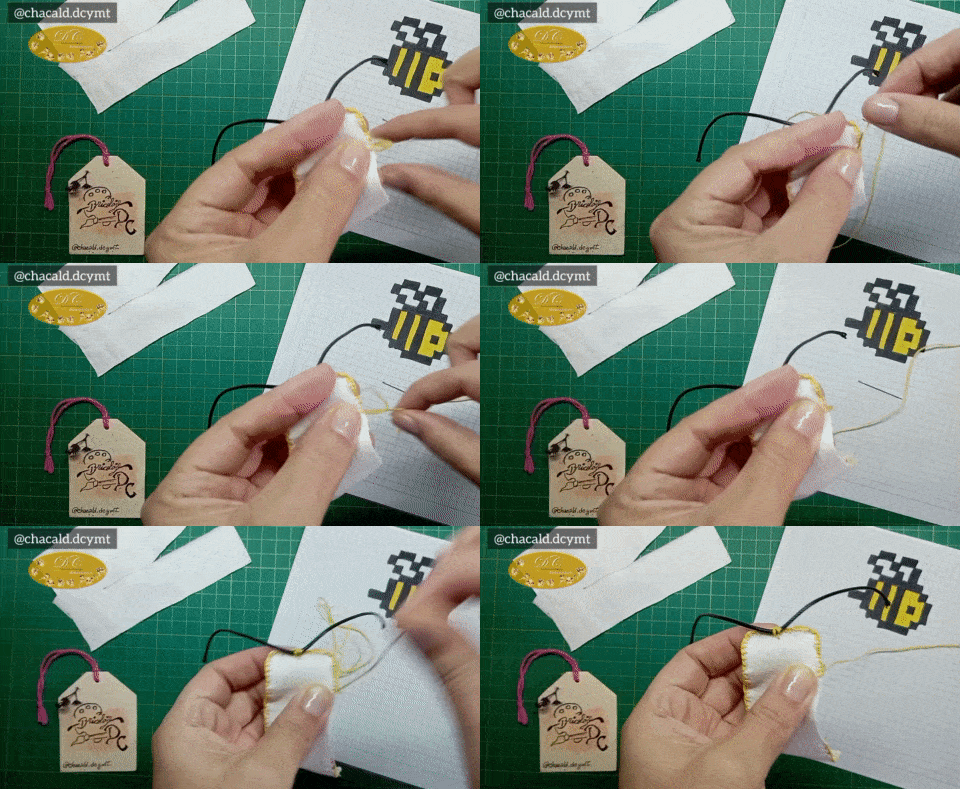
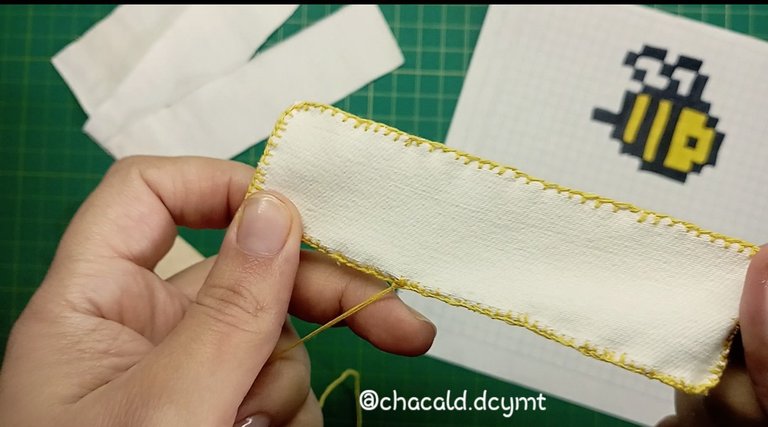
We take the embroidery needle and yellow thread. We are going to make an embroidered outline to the whole strip of fabric of 4 x 8 centimeters.
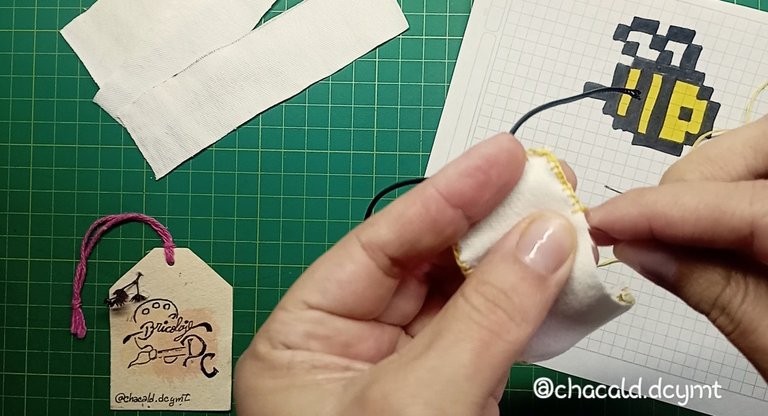
On each side of the rectangle of fabric, we are going to join with the yellow thread the strips of Chinese thread that we cut. Fold them in half and join them with the embroidery. We need one on each side.
Tomamos la aguja de bordar y el hilo amarillo. Vamos a hacer un contorno bordado a toda la franja de tela de 4 x 8 centímetros.
A cada lado del rectángulo de tela, vamos a unir con el hilo de color amarillo las tiras de hilo chino que cortamos. Las doblamos a la mitad y unimos con el bordado. Necesitamos una de cada lado.
 |  |
|---|
Once we have our bracelet base, we are going to start embroidering our bee design. To do this we count the beads in rows and with the bead needle we will arrange them row by row until we complete our bee.
Una vez que tenemos nuestra base del brazalete, vamos a comenzar a bordar nuestro diseño de abeja. Para esto contamos las mostacillas por filas y con la aguja para mostacilla vamos acomodando fila por fila hasta completar nuestra abeja.
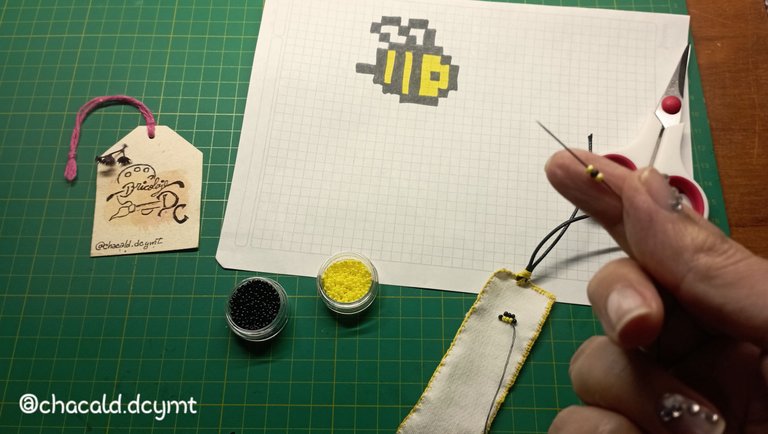
We join one row to the other by crossing the thread between the beads. I like to make 2 joints, at the top and at the bottom of each row so that the beads are well joined.
Unimos una fila con otra cruzando el hilo entre las cuentas. A mí me gusta hacer 2 uniones, arriba y abajo de cada fila para que las cuentas queden bien unidas.
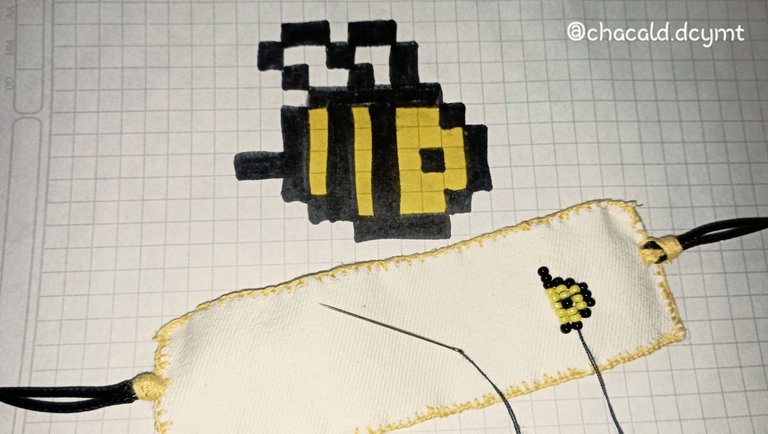
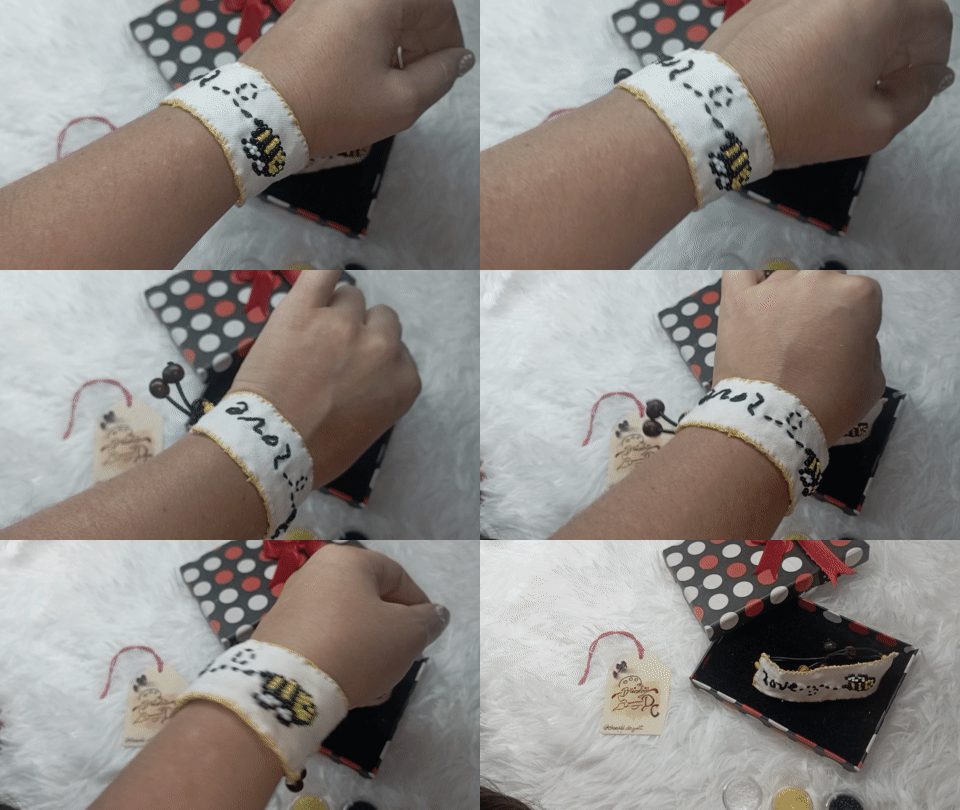
When we finish embroidering our bee, we are going to write with pencil a word that represents a bond between the people who will wear the bracelets. In this case I wrote "Love" and added some dots to mark the path of the bee.
Cuando terminemos de bordar nuestra abeja, vamos a escribir con lápiz una palabra que represente un lazo entre las personas que usarán los brazaletes. En este caso escribí "Love" y agregué unos puntitos que marcan el recorrido de la abeja.
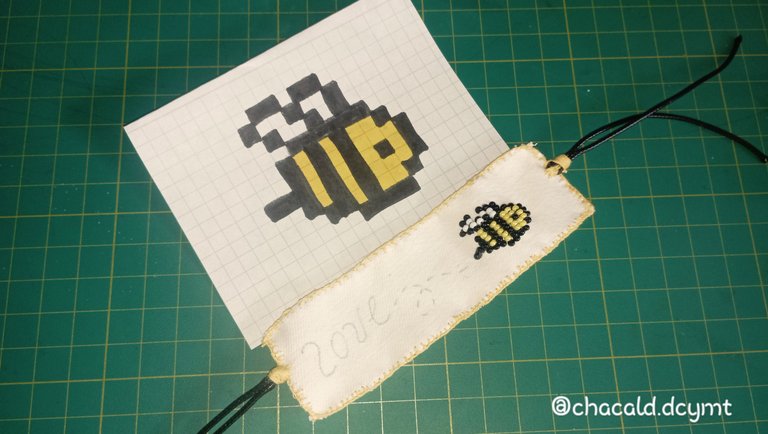
With the black thread in 5 strands and the embroidery needle, we are going to cover the pencil of the phrase and the path of the bee. The idea is to leave a suitable thickness so that the phrase can be distinguished.
Con el hilo negro en 5 hebras y la aguja de bordar, vamos a cubrir el lápiz de la frase y de.la trayectoria de la abeja. La idea es que quede de un grosor adecuado para que se distinga la frase.
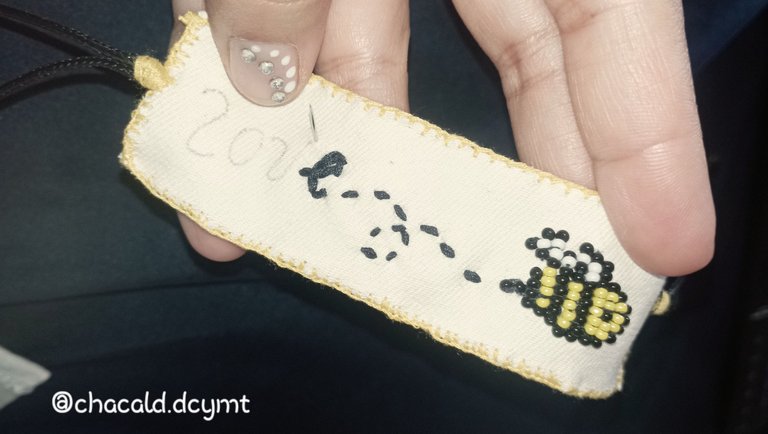
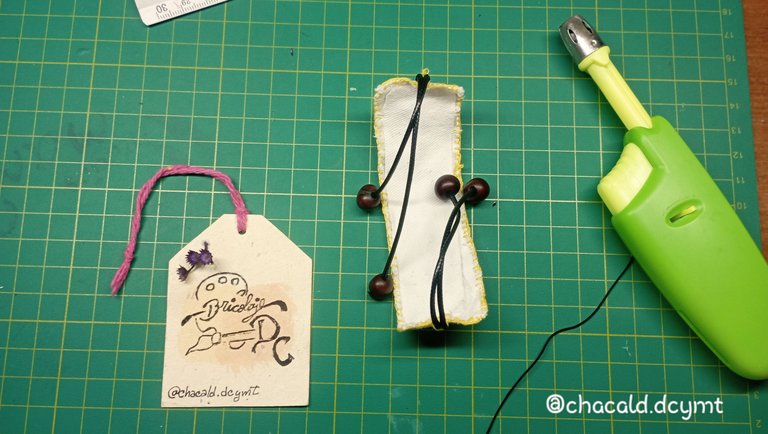
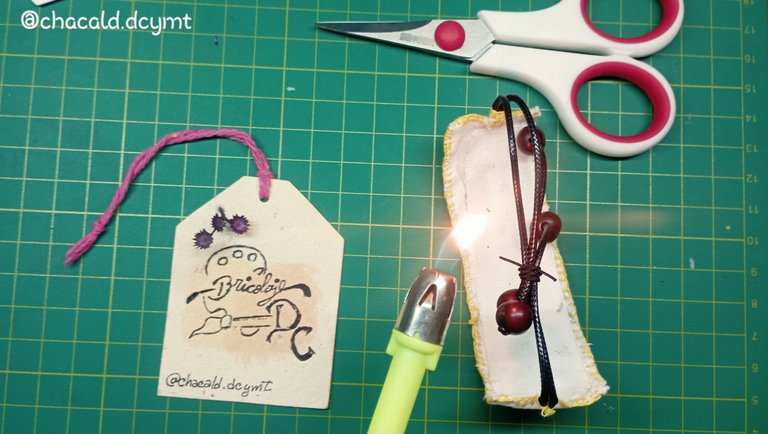
To finish the work, we are going to place a wooden sphere at the tip of each Chinese thread. We need 4 spheres.
Note: I recommend to take into account the thickness of the thread and the size of the hole of the spheres as I found it very difficult to pass the thread through the type of spheres I selected.
With the lighter we burn the ends of the Chinese thread so that the spheres do not come out and we flatten them.
Para finalizar el trabajo, vamos a colocar una esfera de madera en la punta de cada hilo chino. Necesitamos 4 esferas.
Nota: recomiendo tener en cuenta el grosor del hilo y el tamaño del agujero de las esferas ya que me resultó muy díficil pasar el hilo por el tipo de esferas que seleccioné.
Con el encendedor quemamos las puntas del hilo chino para que no se salgan las esferas y aplanamos.
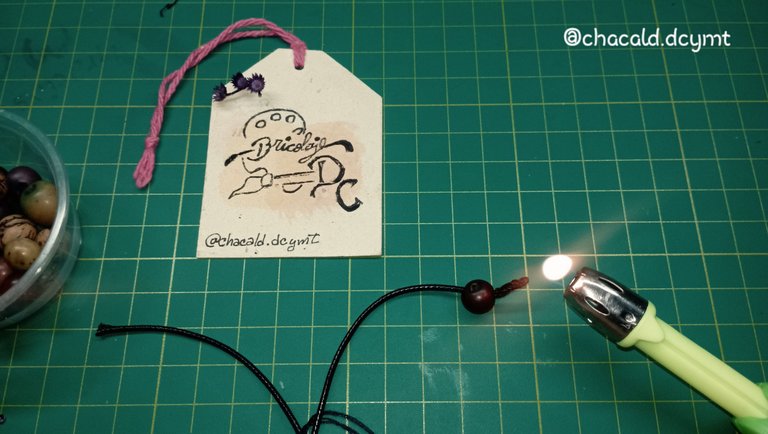
To close the bracelet we will make a slip knot with the help of the fine Chinese thread, joining both strips of the bracelet. After we make the knot, we burn the ends so that it does not come loose.
Para cerrar el brazalete haremos un nudo corredizo con ayuda del hilo chino fino, uniendo ambas tiras del brazalete. Después que hacemos el nudo, quemamos las puntas para que no se suelte.
 |  |
|---|
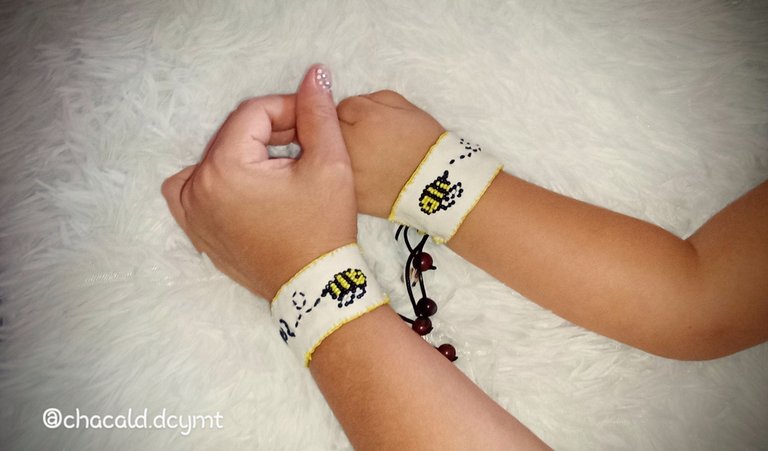
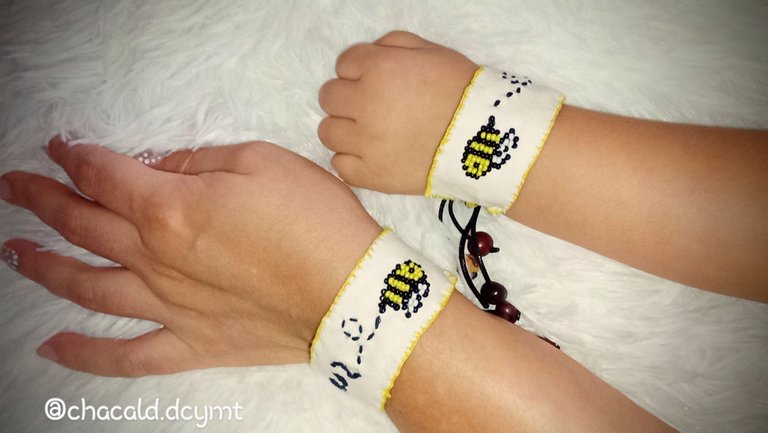
And that's how our friendship bracelets are ready. What I liked about this project was how simple the process was and how beautiful the final work is.
Y así quedan listos nuestros brazaletes de la amistad. Lo que me gustó de este proyecto fue lo sencillo del proceso de elaboración y lo lindo que resulta el trabajo final.
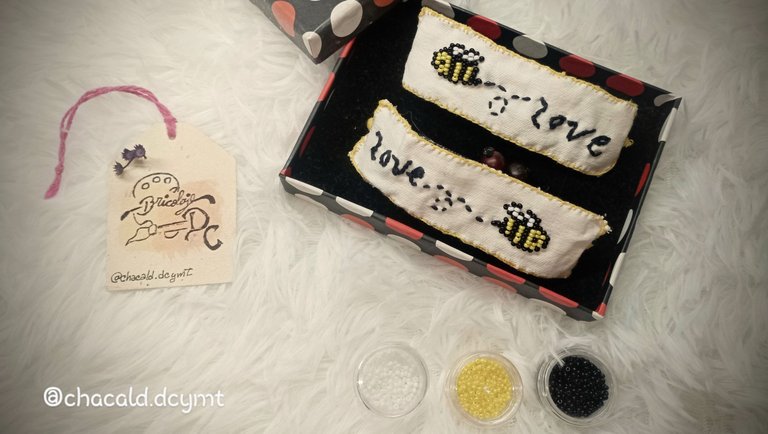
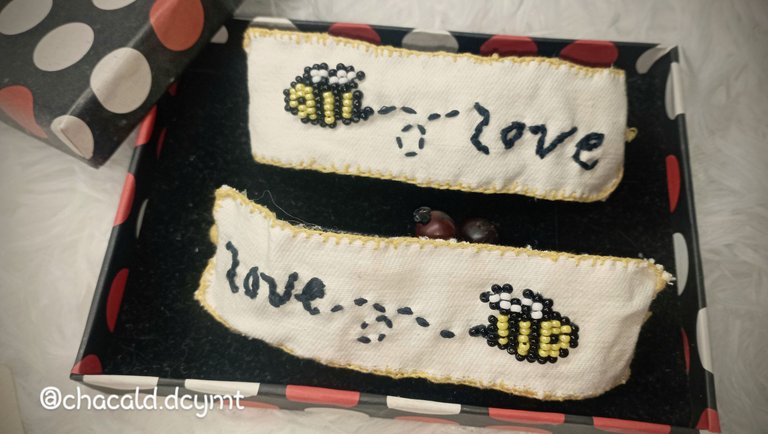
I made this project for my daughter, so that we both have a bracelet that represents our bond. I hope you are encouraged to make your own personalized bracelet with this beautiful technique. Thanks for stopping by to visit my publication. See you next time. Bye!
Este proyecto lo hice para mi hija, para que ambas tengamos un brazalete que representa nuestro lazo. Espero se animen a realizar su propio brazalete personalizado con esta bonita técnica. Gracias por pasar a visitar mi publicación. Nos vemos en una próxima oportunidad. Chao!
 |  |
|---|

Original content by the author.
Resources: App: Canva / Giphy / Inshot
📷 Redmi 10 Smartphone
Translation done with Deepl.com
✿ All Rights Reserved || © @chacald.dcymt 2024✿
💌 Discord: chacald.dcymt#3549
X: @chacald1
Reddit: chacald
_
Contenido original del autor.
Recursos: App: Canva / Giphy / Inshot
📷 Redmi 10 Smartphone
Traducido con Deepl.com
✿ Todos los Derechos Reservados || © @chacald.dcymt 2024✿
💌 Discord: chacald.dcymt#3549
X: @chacald1
Reddit: chacald
Posted Using InLeo Alpha


