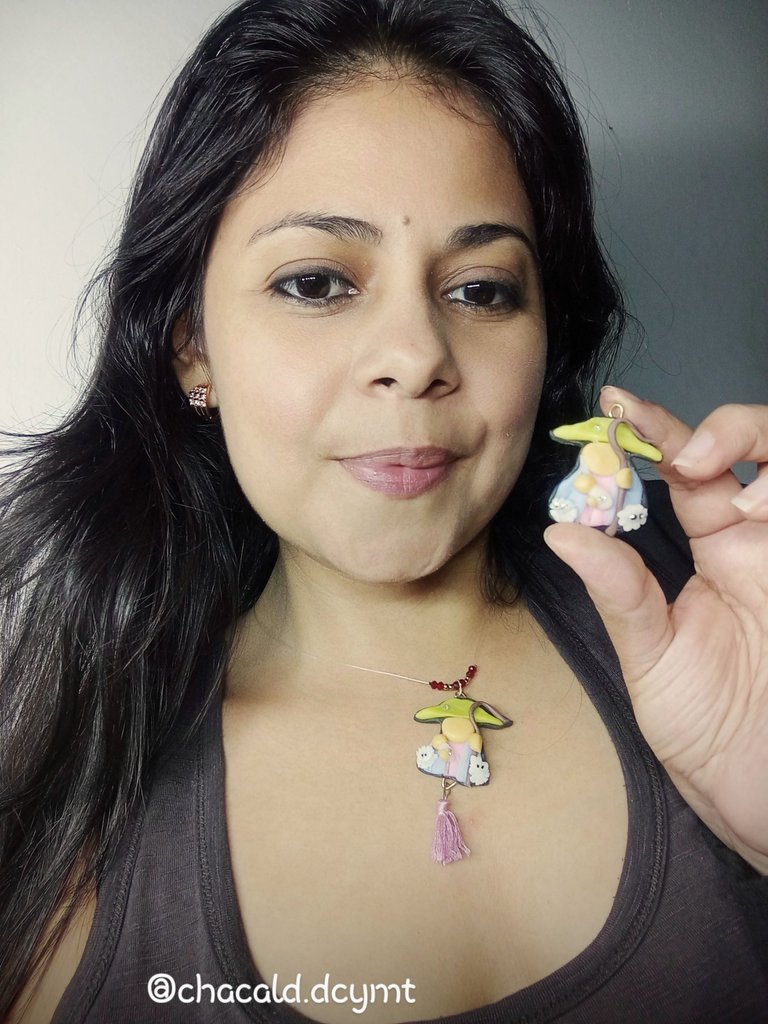
Greetings friends who love handicrafts! Welcome to my workshop Bricolaje DC, today I would like to share with you a cold porcelain pendant of the "Divina Pastora", join me and I will show you the process of elaboration.
¡Saludos amigos amantes de las artes manuales! Bienvenidos a mi taller Bricolaje DC, hoy me gustaría compartir con ustedes un colgante en porcelana fría de la "Divina Pastora", acompáñenme y les muestro el proceso de elaboración.
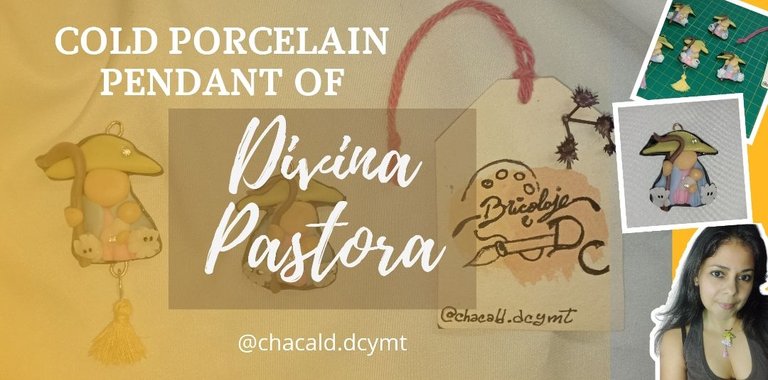
I always comment in my publications that the Venezuelan population is very believing and conservative of their religious customs, proof of this is the day of the "Divina Pastora". That is why I decided to teach step by step how to make a beautiful pendant in a simple way.
Siempre comento en mis publicaciones que la población venezolana es muy creyente y conservadora de sus costumbres religiosas, muestra de ello es el día de la "Divina Pastora". Es por eso que decidí enseñar paso a paso a elaborar un bonito colgante de forma sencilla.

Materials:
-20 grams of cold porcelain dough
-Molding trays
-Watercolor
Shiny inlaying pieces -Glittering glue
-Glue
-Resin
-Jewelry wire
-Thread
Materiales:
-20 gramos de masa de porcelana fría
-Estecas para moldear
-Acuarela
-Pierdas brillantes para incrustar
-Pegamento
-Resina
-Alambre de bisutería
-Hilo

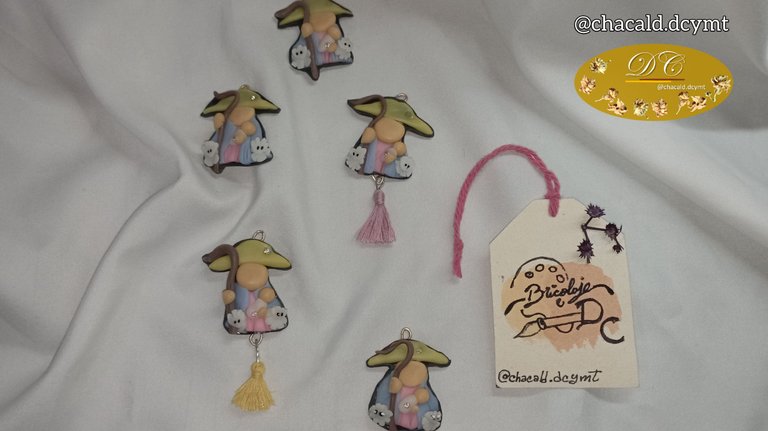
For this project, I made 5 pieces. 2 of them with a hanging tassel to present 2 designs.
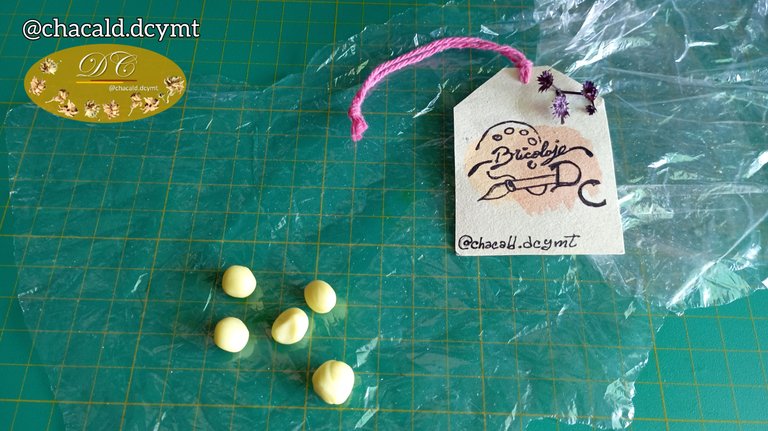
-We started by making a 1 centimeter sphere, in yellow cold porcelain mass.
Para este proyecto, hice 5 piezas. 2 de ellas con una borla colgante para presentar 2 diseños.
-Comenzamos haciendo una esfera de 1 centímetro, en masa de porcelana fría de color amarillo.
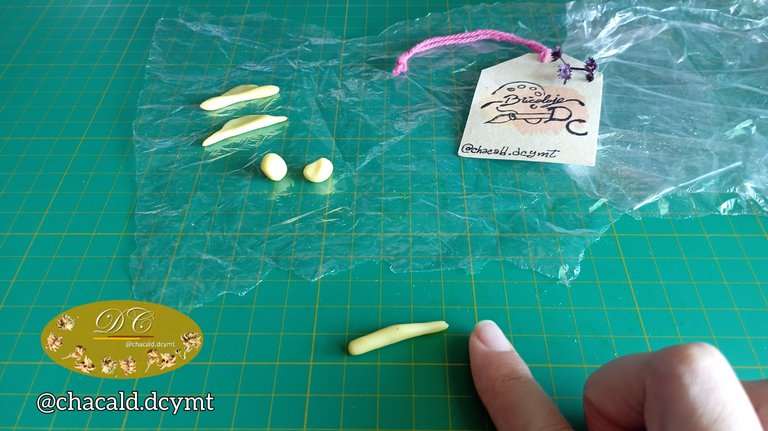
-We make a cylinder and stretch the center upwards a little to give it the shape of a hat.
-Hacemos un cilindro y estiramos un poco en centro hacia arriba para darle forma de sombrero.
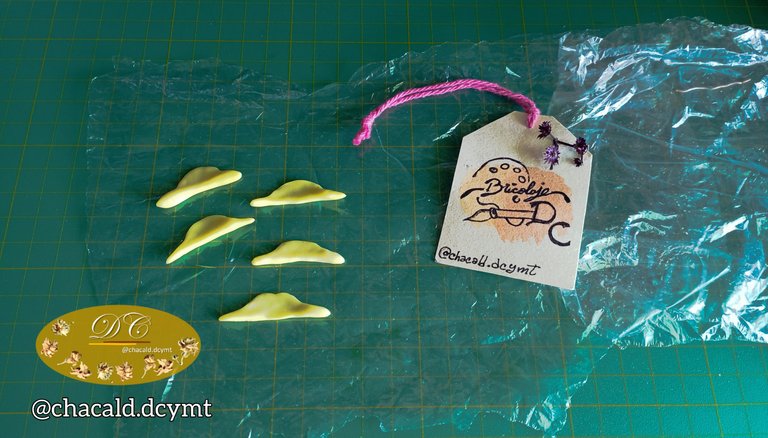
-In one corner of the hat, we embed a small shiny stone. Remember that before joining any piece, in this case the stone with the dough, we must apply glue so that the piece will be fixed when it dries.
-En una esquina del sombrero, incrustamos una pequeña piedra brillante. Recordamos que antes de unir cualquier pieza, en este caso la piedra con la masa, debemos aplicar pegamento así quedará fija la pieza al secar.
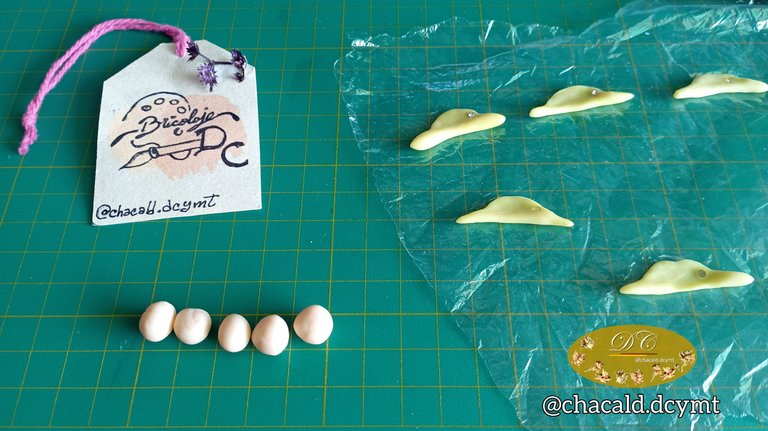
-We proceed to make a sphere of 1 centimeter in diameter in skin-colored dough. This will be the head.
-We make pressure in the center of the sphere to flatten it. With the hat we make a straight shape at the top so that when we join the pieces together there are no spaces.
-We make a 0.5 centimeter skin colored sphere, this will be the head of the child that holds the Shepherdess.
-Procedemos a hacer una esfera de 1 centímetro de diámetro en masa de color piel. Esta será la cabeza.
-Hacemos presión en el centro de la esfera para que se aplane. Con el sombrero damos forma recta en la parte superior para que al unir las piezas no queden espacios.
-Hacemos una esfera de color piel de 0.5 centímetros, esa sera la cabeza del niño que sostiene la Pastora.
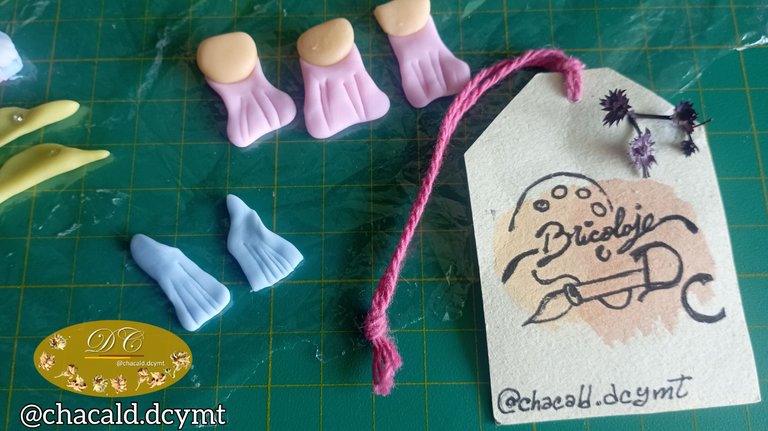
-With pastel pink dough, we are going to make the tunic of the Shepherdess. We mold with the head so that there are no spaces and with a stake we make vertical lines that will be wrinkles in the fabric.
-Con masa de color rosa pastel, vamos a hacer la túnica de la Pastora. Moldeamos con la cabeza para que no queden espacios y con una esteca hacemos líneas verticales que seran arrugas de la tela.
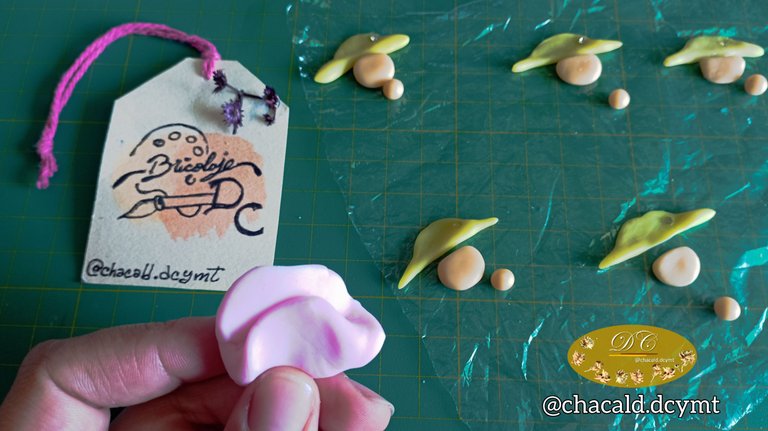
-Once we have the central part of the tunic, we will make the sleeve part with more pastel purple.
-Una vez que tenemos la parte central de la túnica, haremos la parte de las mangas con mas de color violeta pastel.
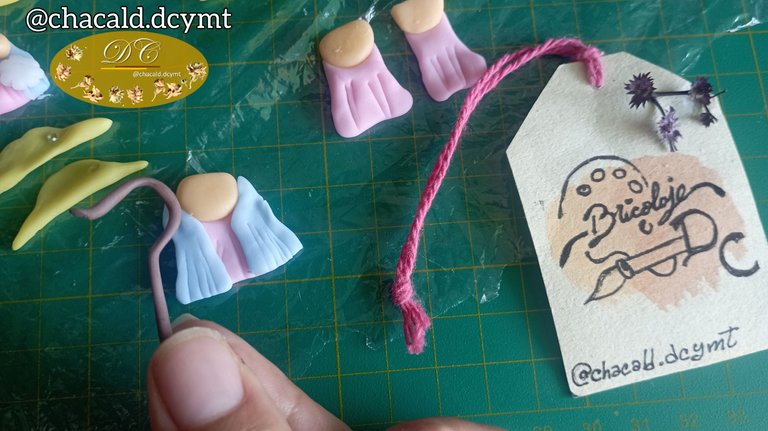
-With a piece of brown dough, we will make a cane for the Shepherdess and place it on the right side of the violet tunic. On the left side we place the head of the child.
-Con un trozo de masa de color marrón, haremos un bastón para la Pastora y lo colocamos del lado derecho de la túnica violeta. Del lado izquierdo colocamos la cabeza del niño.
-With a small white cylinder, we will make the body of the child. We can embed another shiny stone.
-Con un pequeño cilindro de color blanco, vamos a hacer el cuerpo del niño. Podemos incrustar otra piedra brillante.
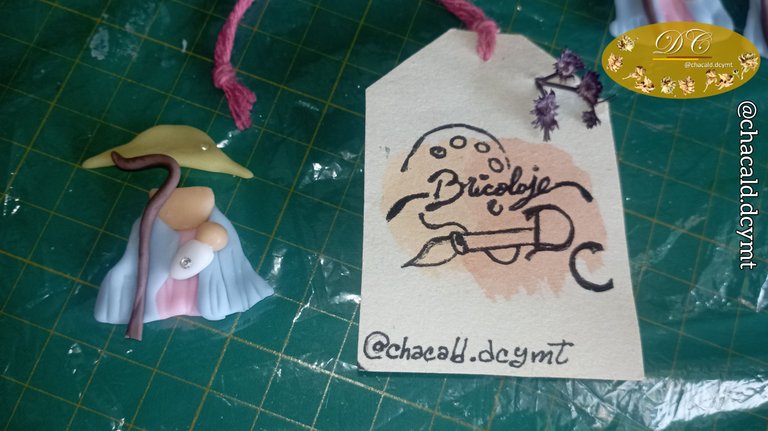
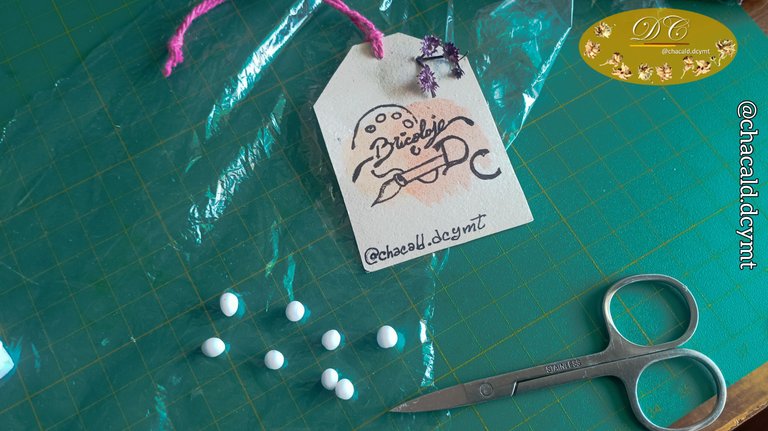
-To make the sheep, we take a white sphere, smaller than the one we made for the child's head. We flatten the sphere and with the scissors we make cuts to simulate fluffiness.
-Para hacer las ovejas, tomamos una esfera de color blanco, más pequeña que la que hicimos para la cabeza del niño. Aplanamos la esfera y con la tijera hacemos cortes para simular esponjosidad.
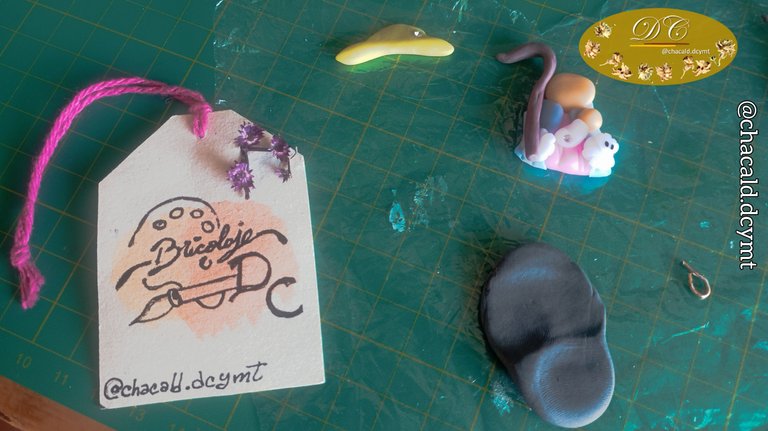
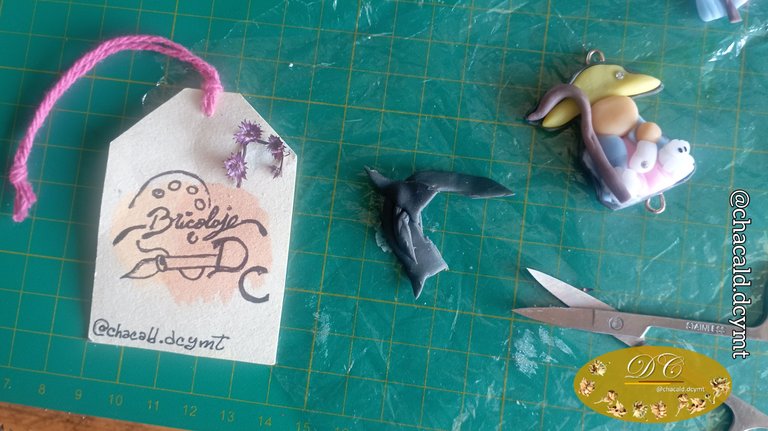
-To give a better finish to the pendant piece. We take a piece of black mallet, stretch it until it is very thin and on it we will assemble all the pieces of the "Divina Pastora" that we made. Then with the scissors we cut the excess.
We place a ring at the top. For the design with the thread tassel, we make 2 rings, one for the upper part and one for the lower part.
-Para darle un mejor acabado a la pieza del colgante. Tomamos un trozo de maza de color negro, estiramos hasta que quede muy fina y sobre esta vamos a ensamblar todas las piezas de la "Divina Pastora" que hicimos. Luego con la tijera recortamos en excedente.
-Colocamos una argolla en la parte superior. Para el diseño con la borla de hilo, hacemos 2 argollas una para la parte superior y otra para la parte inferior.
 |  |
|---|---|
 | 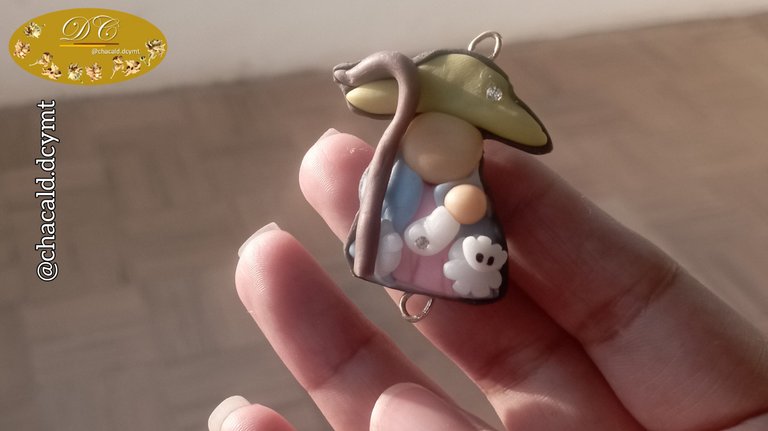 |
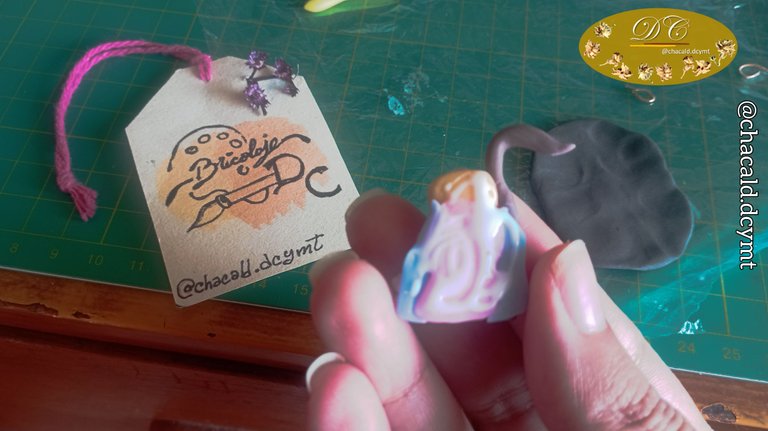
-All that remains is to add details such as the sheep, the sheep's eyes and the hands of the Shepherdess holding the staff and the child. Once all the details are finished, we will apply a layer of resin and let it air dry for 8 hours, this way the piece will be resistant to humidity.
-Solamente nos queda agregar detalles como las ovejas, los ojos de las ovejas y las manos de la Pastora que sostienen el bastón y al niño. Una vez que terminamos todos los detalles, vamos a aplicar una capa de resina y dejamos secar al aire por 8 horas, de esta manera la pieza queda resistente a la humedad.
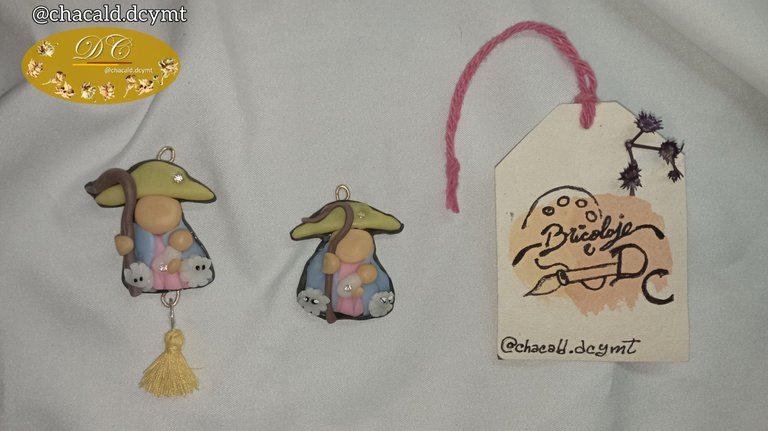

And so we have our "Divina Pastora" pendant ready. I hope you like my work that I have presented in simple steps. See you next time. Bye!
Y así tenemos listo nuestro colgante de la "Divina Pastora". Espero les guste mi trabajo que he presentado en sencillos pasos. Nos vemos en una próxima oportunidad. Chao!

Original content by the author.
Resources: App: Canva / Giphy / Inshot
📷 Redmi 10 Smartphone
Translation done with Deepl.com
✿ All Rights Reserved || © @chacald.dcymt 2024✿
💌 Discord: chacald.dcymt#3549
X: @chacald1
Reddit: chacald
_
Contenido original del autor.
Recursos: App: Canva / Giphy / Inshot
📷 Redmi 10 Smartphone
Traducido con Deepl.com
✿ Todos los Derechos Reservados || © @chacald.dcymt 2024✿
💌 Discord: chacald.dcymt#3549
X: @chacald1
Reddit: chacald

