

Hola mis amigos de @lifestyle, como pasaron su fin de semana. Por aquí bien, ocupada en varias cosas a la vez. Esperando llegue la Semana Santa para salir un rato de la rutina.
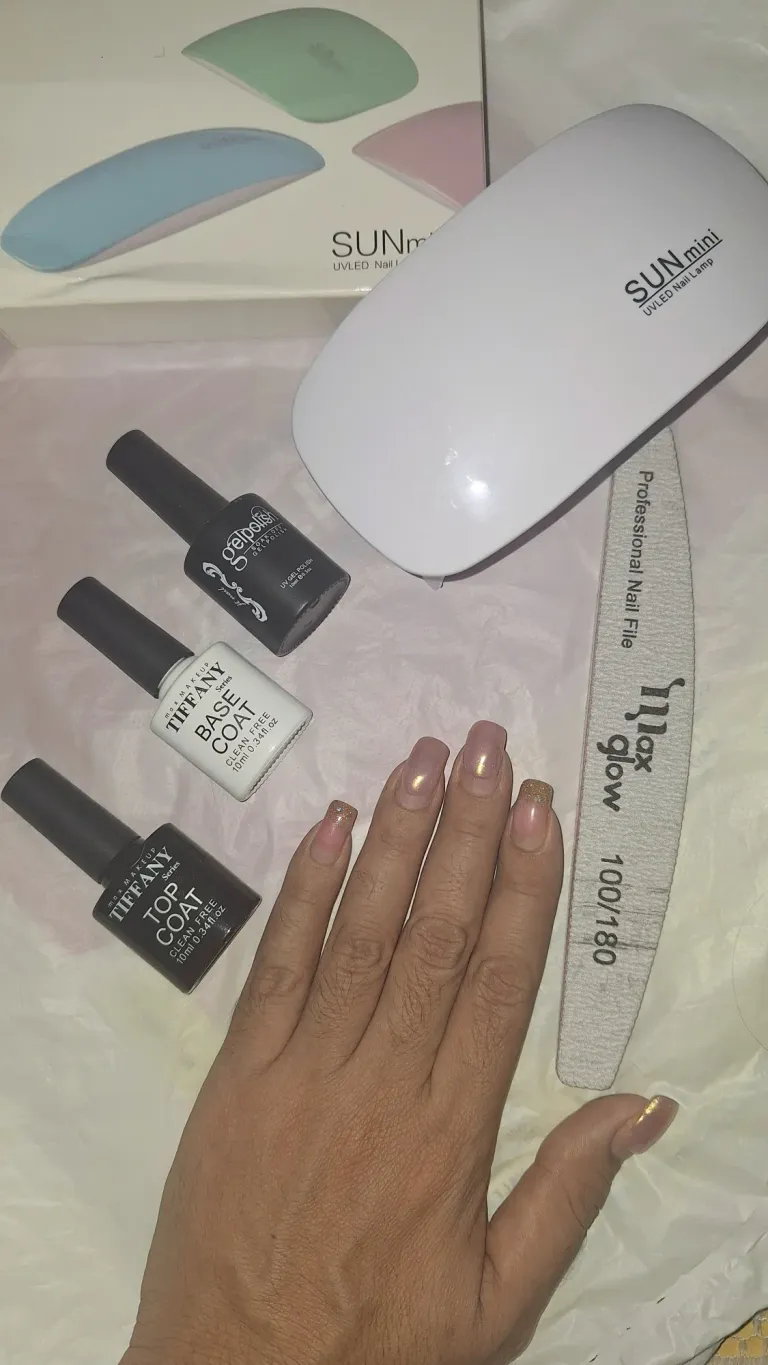
Hoy les muestro como ya use los materiales básicos para hacerme las uñas con pintura semipermanente, que les había mostrado hace días en mi blog.
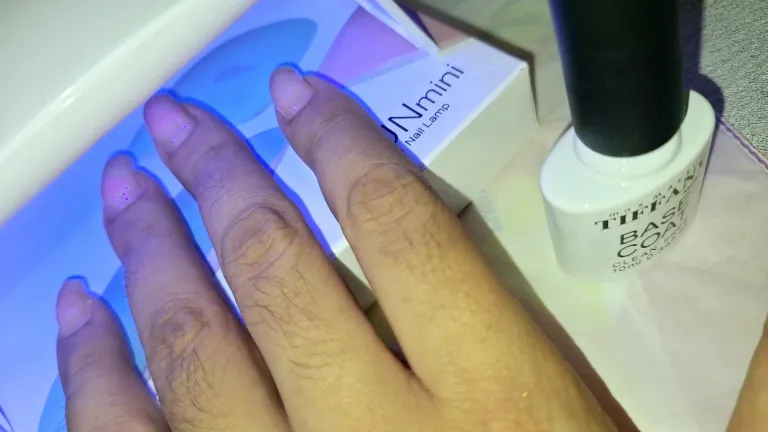
Este día aún no había comprado mi mini lámpara, mi cuñada me la presto y así ver si de verdad funcionaba, ya que por ser tan económica, no le tenía mucha fe y déjenme decirles que si funciona, por eso ya me compré la mía.
Como era la primera vez que me la pintaba con pintura semipermanente, no me quedaron tan bien, pero igual me gustó el resultado, pensé que me podían quedar peor, je, je, je.
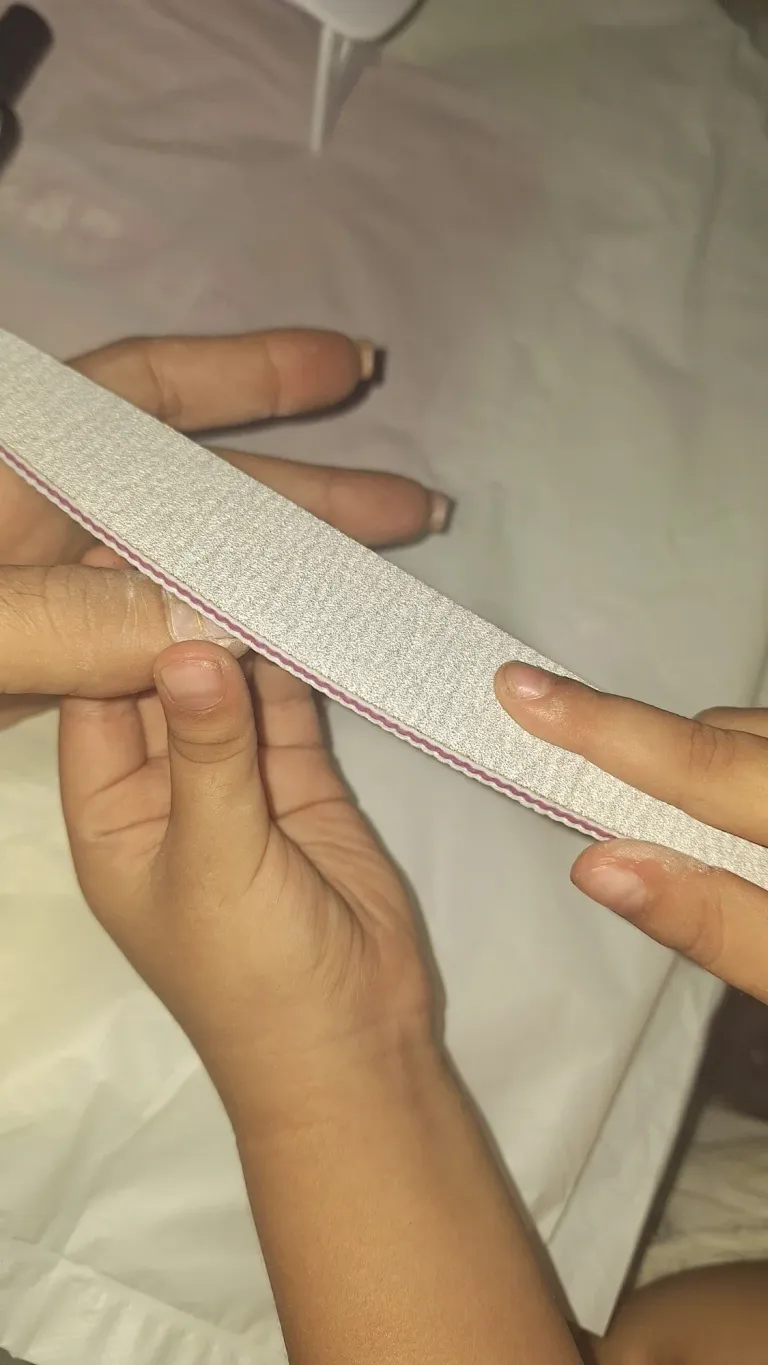
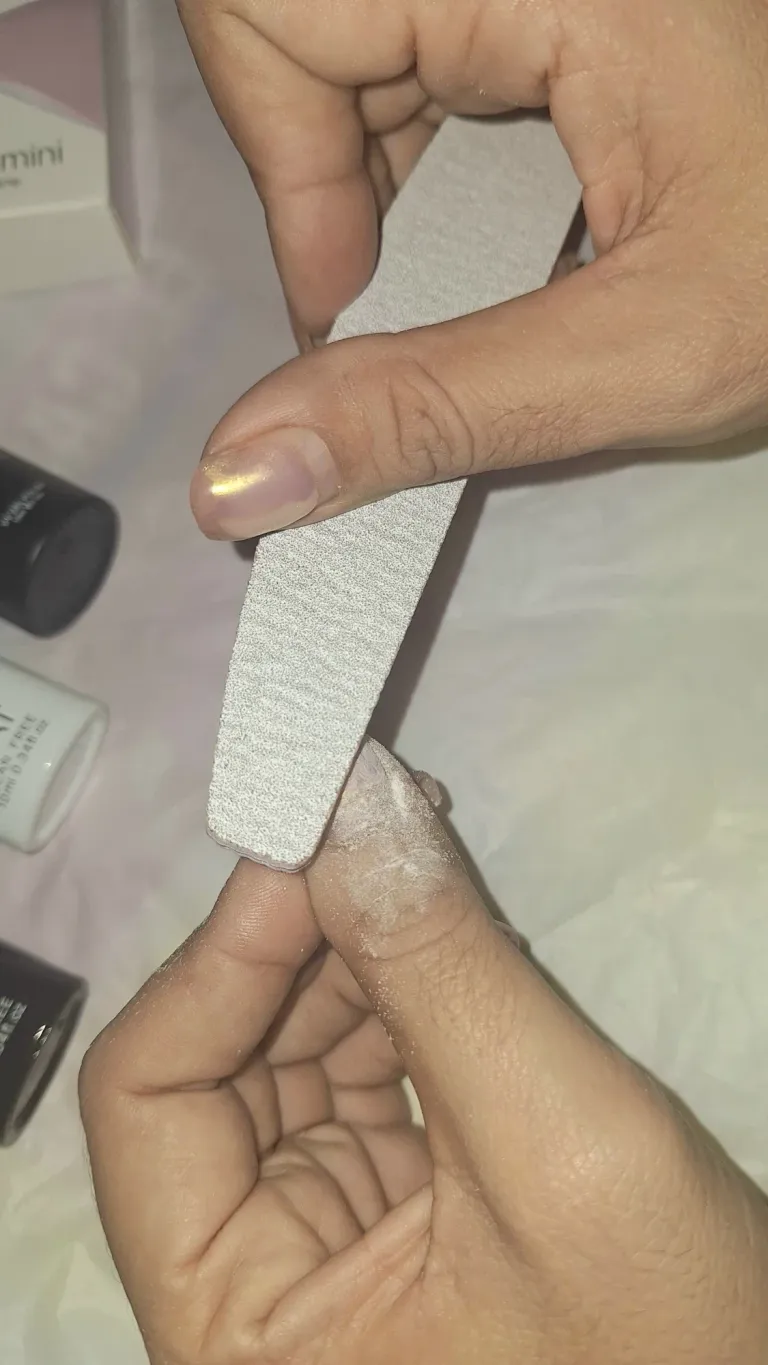
Lo primero que hice fue limar mis uñas, como ven, ya me habían crecido bastante y a pesar de todo se veían intactas, un buen trabajo había hecho mi hija @orismargc, quien fue que me las pintó.
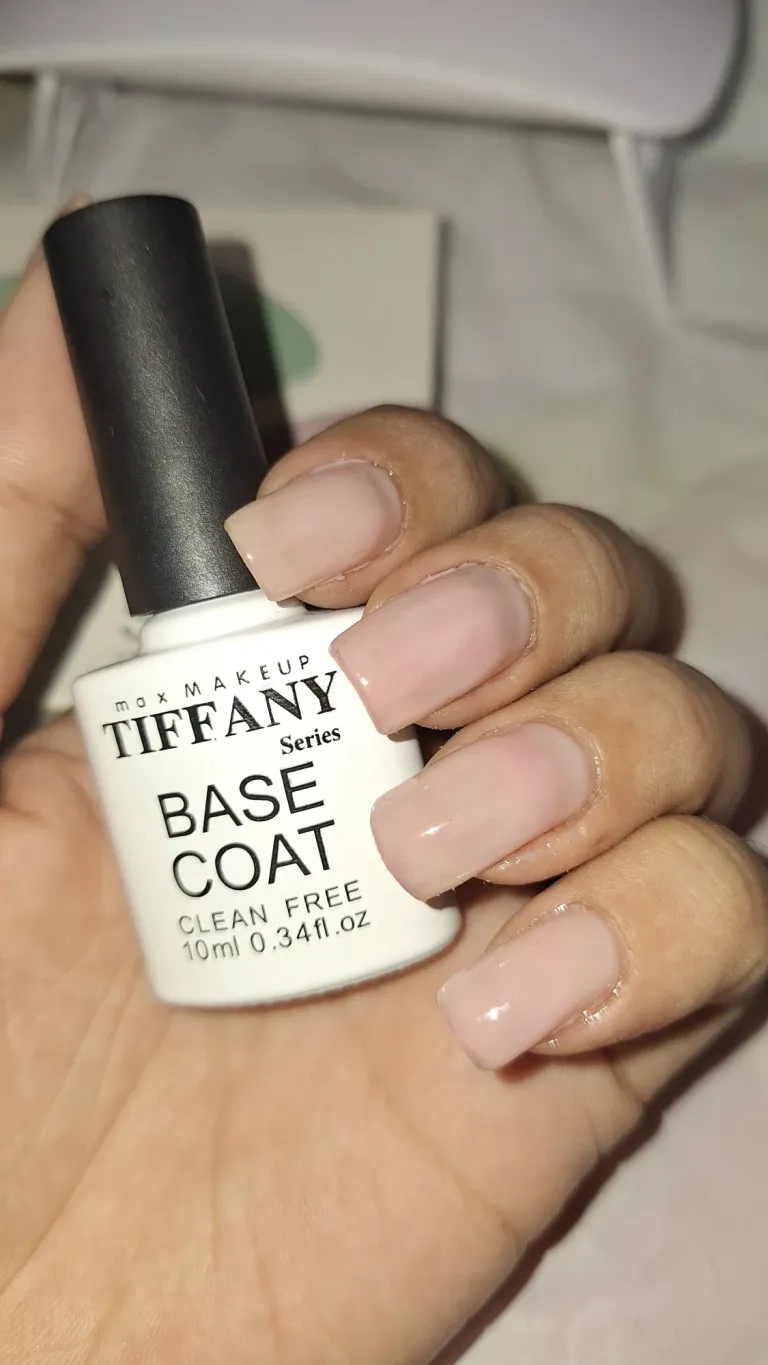
Ámbar también me ayudo a limarlas, hay que limar bastante, como era tarde de la noche solo me las lime y al otro día seguí con el proceso. Que fue echarme la base coat, colocar las uñas en la mini lámpara por 60 segundos.
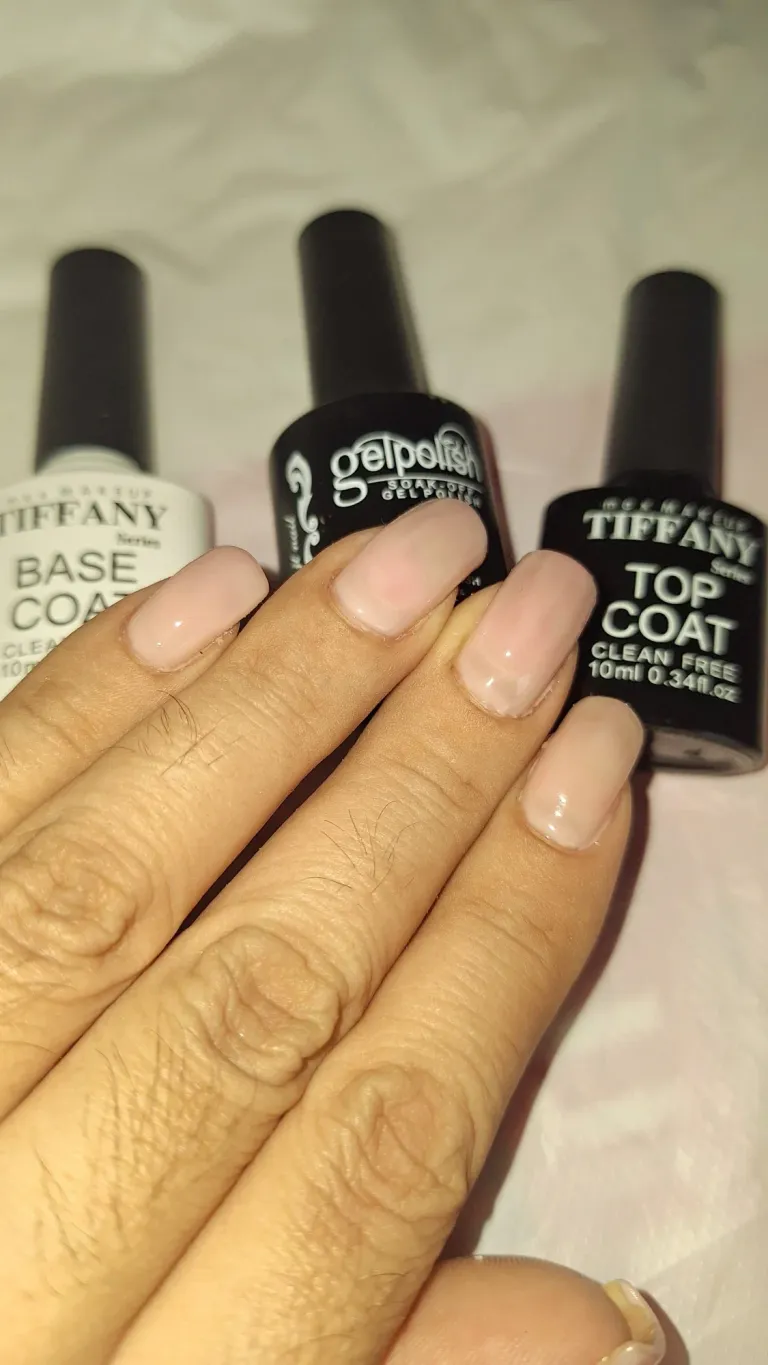
Luego me eche dos capas de pintura semipermanente, cada vez las metía en la lámpara. Al final me eché el top coa, que es un brillo, para pasarla por última vez a la lámpara.
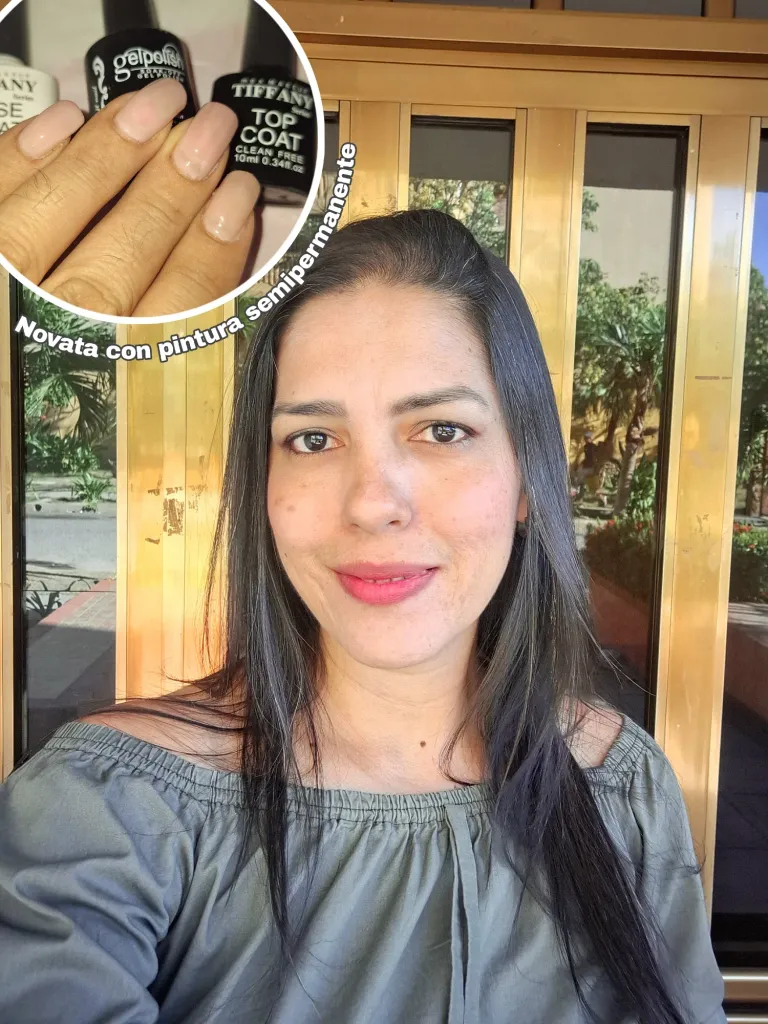
Como ven aún se me veía un poco de la pintura que tenía anteriormente y la parte de las cutículas no me quedaron muy prolijas, pero corriendo lejos no se notaba tanto.
Lo bueno es que ahora puedo hacer mis uñas y siempre tenerlas arregladas y lindas, gracias a que mi princesa mayor me animo y empezó a consentirme dedicándole tiempo a mis uñas.
Algo que me hace recordar aquellos momentos en mi juventud, de colegiala que me la pasaba todas las semanas pintándome las uñas y hasta paisajes me pintaba, claro que esos dotes sí lo he perdido por la falta de práctica.
Bueno, amigos espero que luego me salgan mejor y les estaré contando. Gracias por su visita. Dios les bendiga y tengan una linda semana.

Newbie with semi-permanent paint
Hello my @lifestyle friends, how was your weekend. Around here well, busy with several things at the same time. Waiting for Easter to come to get out of the routine for a while.
Today I show you how I already used the basic materials to make my nails with semi-permanent paint, which I had shown you days ago in my blog.
This day I had not yet bought my mini lamp, my sister-in-law lent it to me to see if it really worked, because it was so cheap, I did not have much faith in it and let me tell you that it does work, so I bought mine.
As it was the first time I painted them with semi-permanent paint, they didn't look so good, but I still liked the result, I thought they could be worse, he, he, he, he.
The first thing I did was to file my nails, as you can see, they had already grown a lot and in spite of everything they looked intact, my daughter @orismargc had done a good job, she was the one who painted them.
Amber also helped me to file them, you have to file a lot, as it was late at night I just filed them and the next day I continued with the process. I applied the base coat, put the nails in the mini lamp for 60 seconds.
Then I applied two coats of semi-permanent paint, each time I put them in the lamp. At the end I applied the top coat, which is a gloss, to put it in the lamp for the last time.
As you can see I could still see a little of the paint that I had previously and the cuticles were not very neat, but running away it was not so noticeable.
The good thing is that now I can do my nails and always have them neat and pretty, thanks to my eldest princess who encouraged me and started to spoil me dedicating time to my nails.
Something that makes me remember those moments in my youth, when I was a schoolgirl I spent every week painting my nails and even painted my landscapes, of course I have lost those skills due to lack of practice.
Well, friends, I hope they will come out better and I will be telling you about it. Thanks for your visit. God bless you and have a nice week.

Fotos tomadas por | Photos taken by @leidimarc
Dispositivo | Device | Samsung Galaxy A54
Fotos editadas en: |Photos edited in | App Picsart/ Canva
Separadores hechos en | Separators made in | App Picsart / Canva
Traducción con | Translation with| DeepL

For the best experience view this post on Liketu
