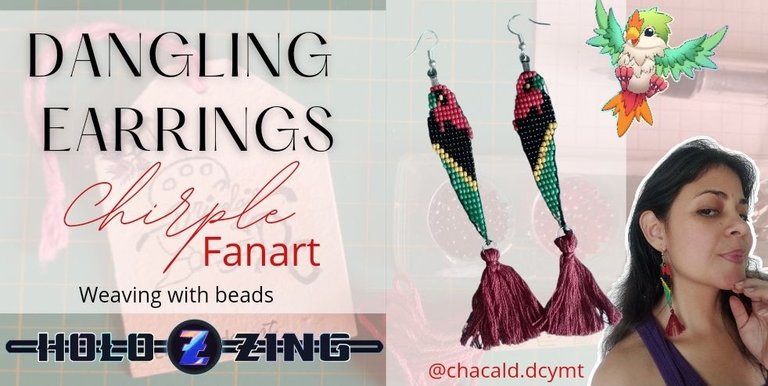
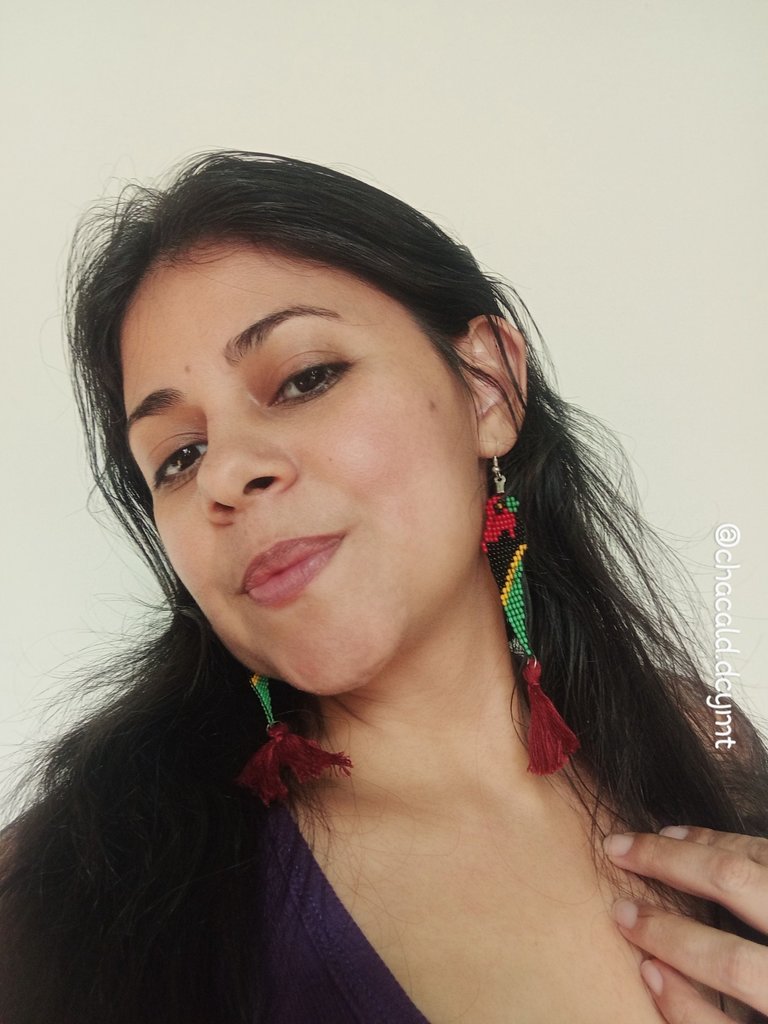
Greetings friends who love handmade crafts! Welcome once again to my DC DIY Workshop, this time I would like to present you a fan art of Chirple that I have made in dangling earrings woven with a handmade pattern. Join me and I will show you this creative process.
¡Saludos amigos amantes de las artes manuales! Sean bienvenidos una vez más a mi Taller Bricolaje DC, en esta oportunidad me gustaría presentarles un fan art de Chirple que he realizado en aretes colgantes tejidos en mostacilla con un patrón hecho a mano. Acompáñenme y les enseño este proceso creativo.
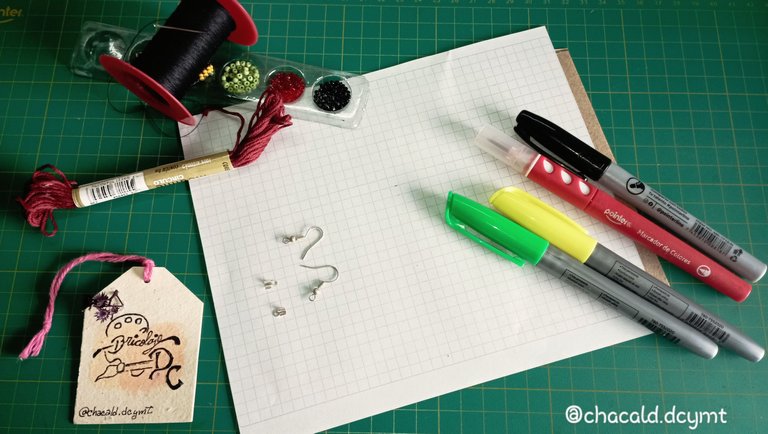
Materials:
Grid sheet
green, red, black and yellow markers
2 earring hooks
2 rings
2 clamp hooks
84 red beads
100 green beads
152 black beads
40 yellow beads
Water for beads
Black thread
Wine-colored silk
Materiales:
Hoja cuadriculada
Marcadores de color verde, rojo, negro y amarillo
2 anzuelos para aretes
2 argollas
2 enganches de abrazadera
84 mostacillas de color rojo
100 mostacillas de color verde
152 mostacillas de color negro
40 mostacillas de color amarillo
Agua para mostacilla
Hilo de color negro
Sedalina color vino
Elaboration process
Pattern:
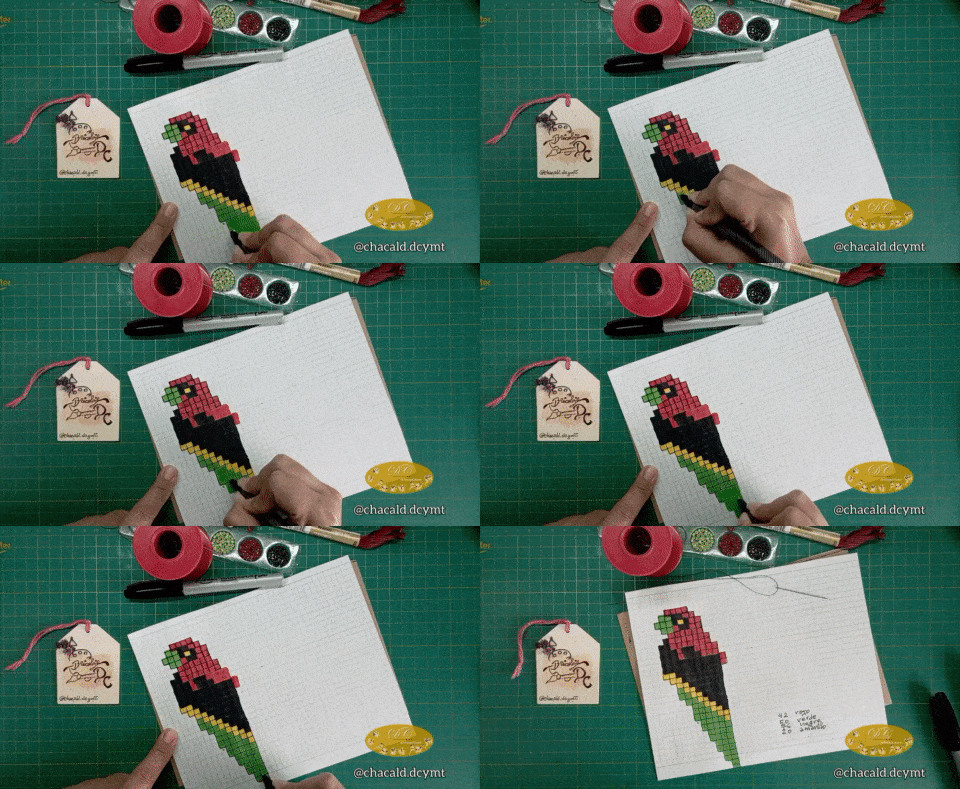
We start by making our pattern on the grid sheet. With the markers we will paint the squares and each square will represent a mustard.
Proceso de elaboración
Patrón:
Comenzamos haciendo nuestro patrón en la hoja cuadriculada. Con los marcadores pintaremos los cuadros y cada cuadro representará una mostacilla.
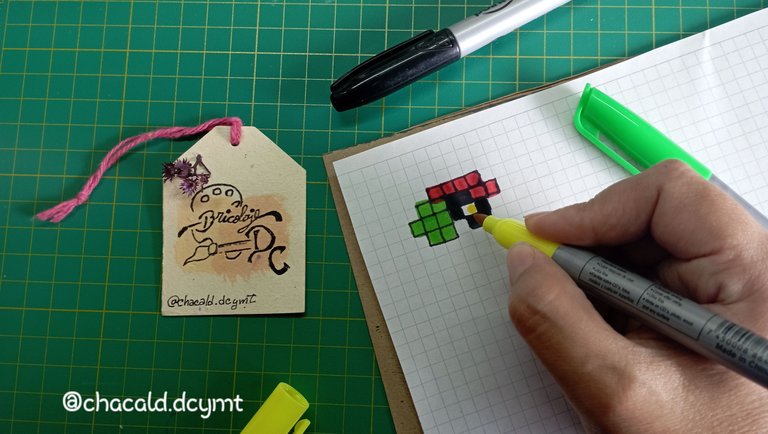
I like to highlight the outline of each frame with a ballpoint pen, this makes it easier to count the spaces.
Me gusta remarcar el contorno de cada cuadro con bolígrafo, esto hace que sea más sencillo a la hora de contar los espacios.
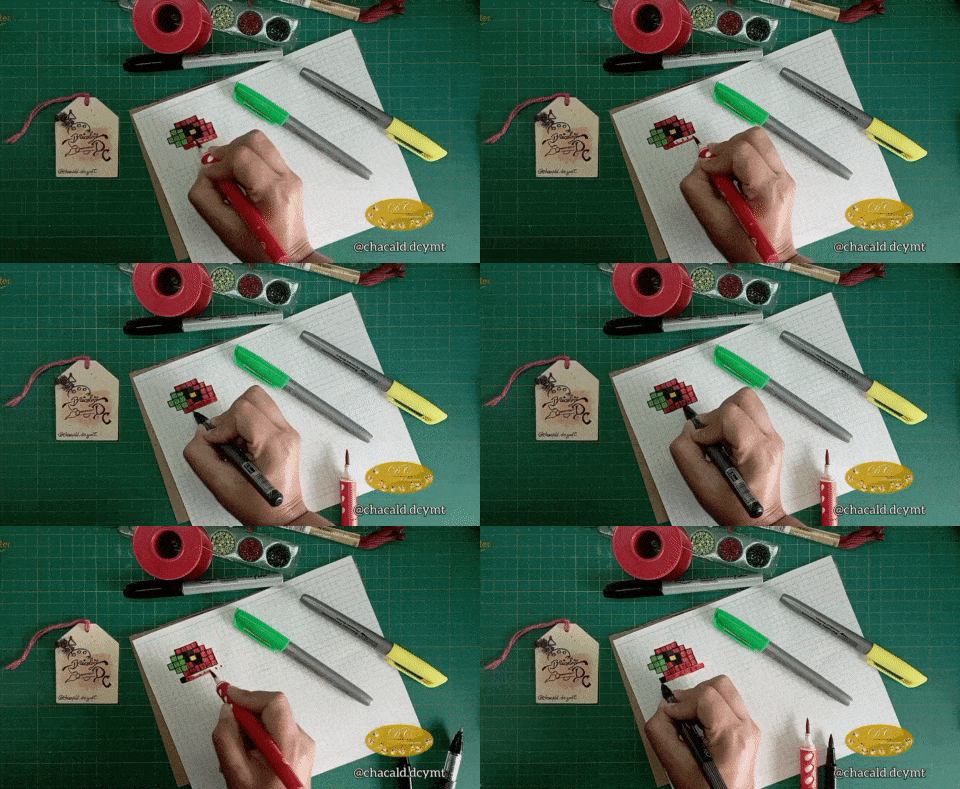
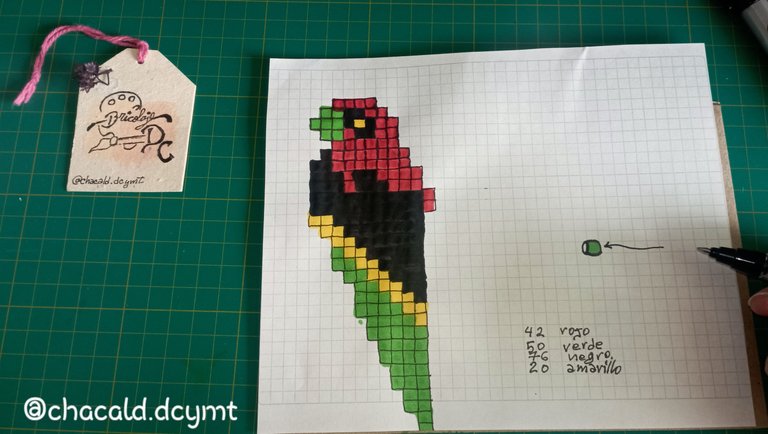
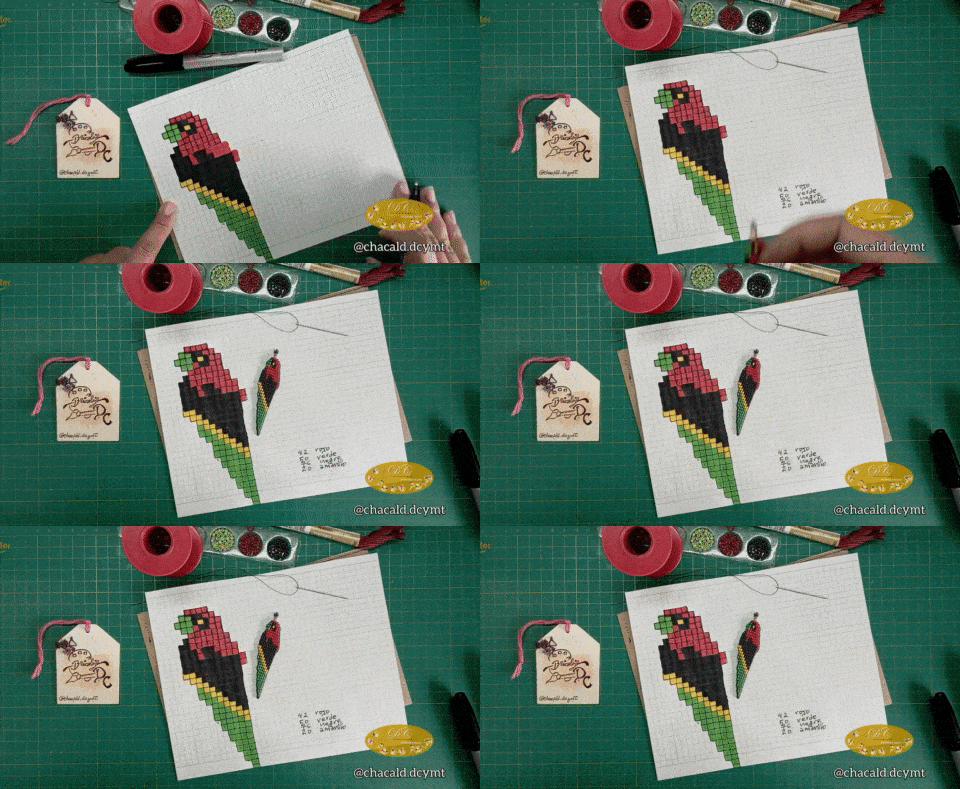
Little by little we put the pattern together without forgetting any detail. I started with the head and finished with the tail. After we have the pattern ready, we count how many beads of each color we will need. In this case they will be earrings so each color will be double.
Poco a poco vamos armando el patrón sin olvidar ningún detalle. Comencé por la cabeza y terminé con la cola. Después de tener todo el patrón listo, contamos cuantas mostacillas de cada color necesitaremos. En este caso seran aretes así que cada color sera doble.

Weaving with mustard
We can start at the place where we find it easiest to continue each line. I started with the tail that would be increasing adding a bead to make it wider.
We pass the thread through a bead and leave one end on each side, we calculate that the thread is enough for the whole design to avoid the joints.
Tejido con mostacilla
Podemos comenzar por el lugar que nos parezca más sencillos continuar cada líneas. Yo inicié por la cola que iría en aumento agregando una mostacilla para hacerla más ancha.
Pasamos el hilo por una mostacilla y dejamos un extremo de cada lado, calculamos que el hilo sea suficiente para todo el diseño para evitar las uniones.
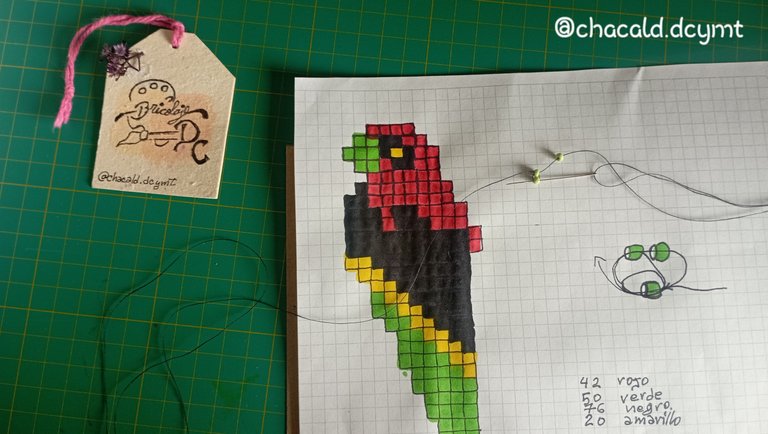
The idea is to pass the needle through each stitch and then pass it through the needle of the previous row to fix it. Tighten the yarn so that one stitch is next to the other.
La idea es pasar la aguja por cada mostacilla y luego pasarla por la de la fila anterior para que quede fija. Tensamos boen el hilo para que quede una mostacilla junto a la otra.
One line on top of the other, we go forward, always following the pattern.
With this type of weaving it is not even necessary to cut the gun as it is very simple if we follow the pattern.
Una línea sobre otra vamos avanzando, siempre apoyándonos del patrón.
Con este tipo de tejido no hace falta ni gun talar ya que es muy sencillo si seguimos el patrón.
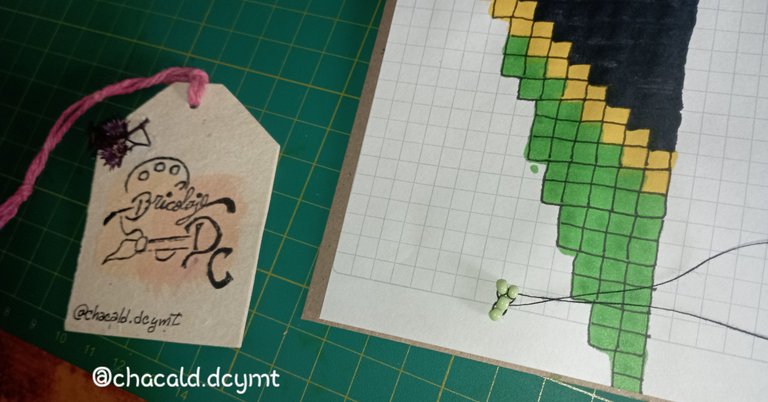
We can make a reinforced edge with a twist to make the yarn look thicker.
Podemos hacer un borde reforzado con una vuelta para que el hilo se vea más grueso.
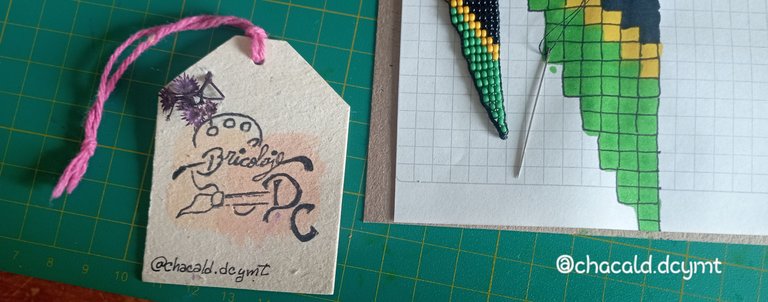
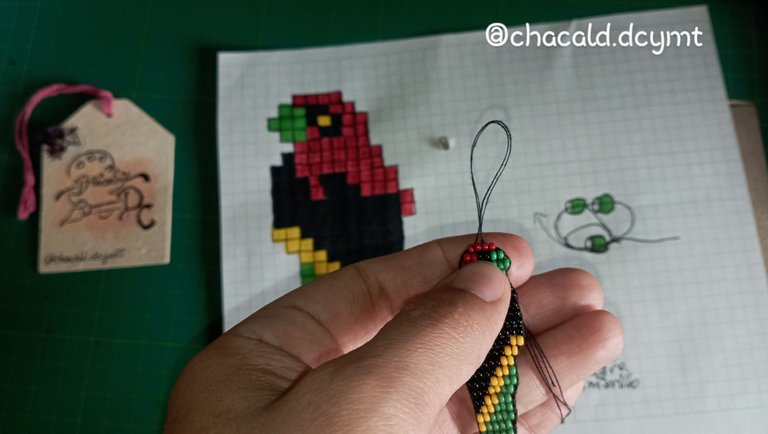
When we finish the entire pattern, we bring the yarn to the center of the design to place the clamp hitch. We place the 4 strands of yarn together and knot. Then we place the hitch and close the clamps.
Cuando terminemos el patrón completo, llevamos el hilo al centro del diseño para colocar el enganche de abrazadera. Colocamos las 4 hebras de hilo juntas y anudamos. Luego colocamos el enganche y cerramos las abrazaderas.
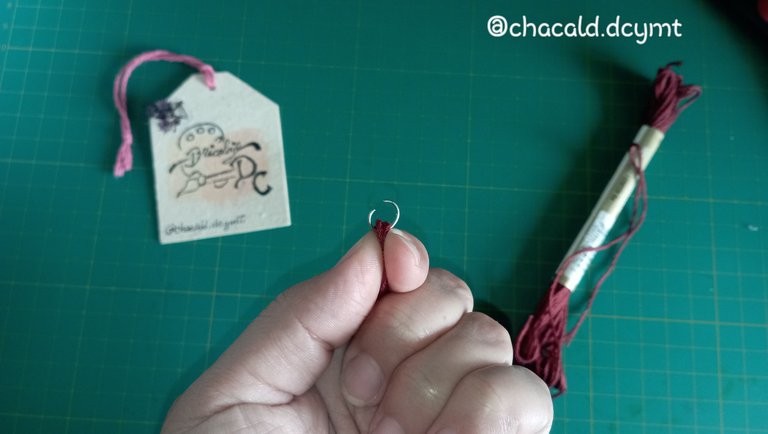
We place the hooks and take the fishing line using 3 fingers as a guide, turn the line 10 times and cut it.
Colocamos los anzuelos y tomamos la sedalina utilizando de guía 3 dedos, damos 10 vueltas a la sedalina y cortamos.
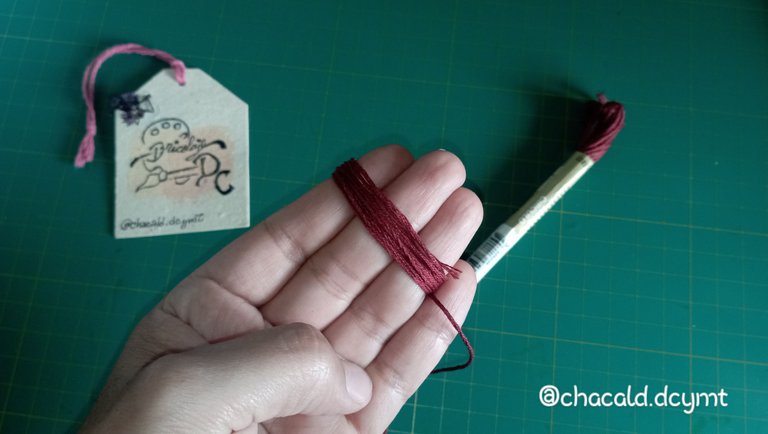
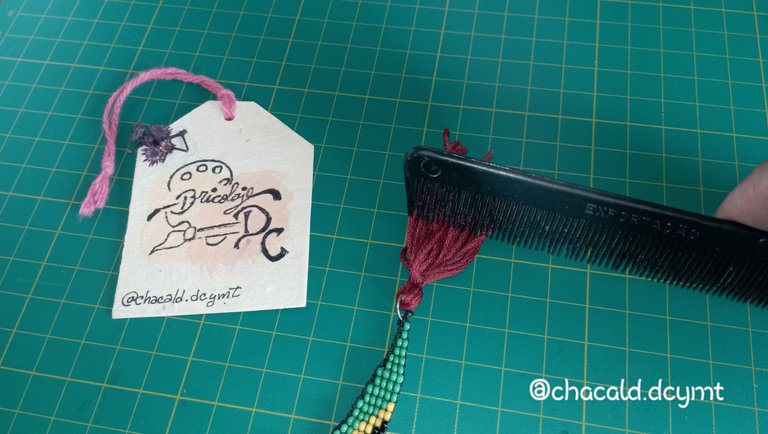
We place the ring and tie the knot. With the help of a fine comb, we are going to separate the strands of the fishing line so that they look loose and have movement.
Colocamos la argolla y anudamos. Con ayuda de un peine fino, vamos a separar los hilos de la sedalina para que se vean sueltos y tengan movimiento.
 |  |
|---|
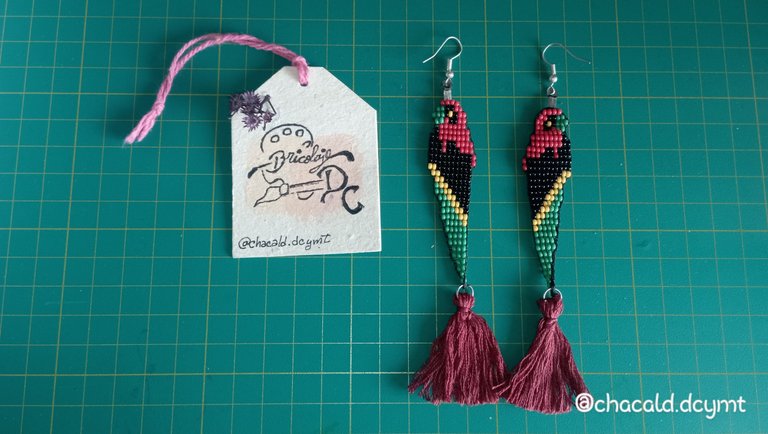
And this is how our fanart of the charming Chirple looks like.
Y así es como queda nuestro fanart del encantador Chirple.
Rewards update
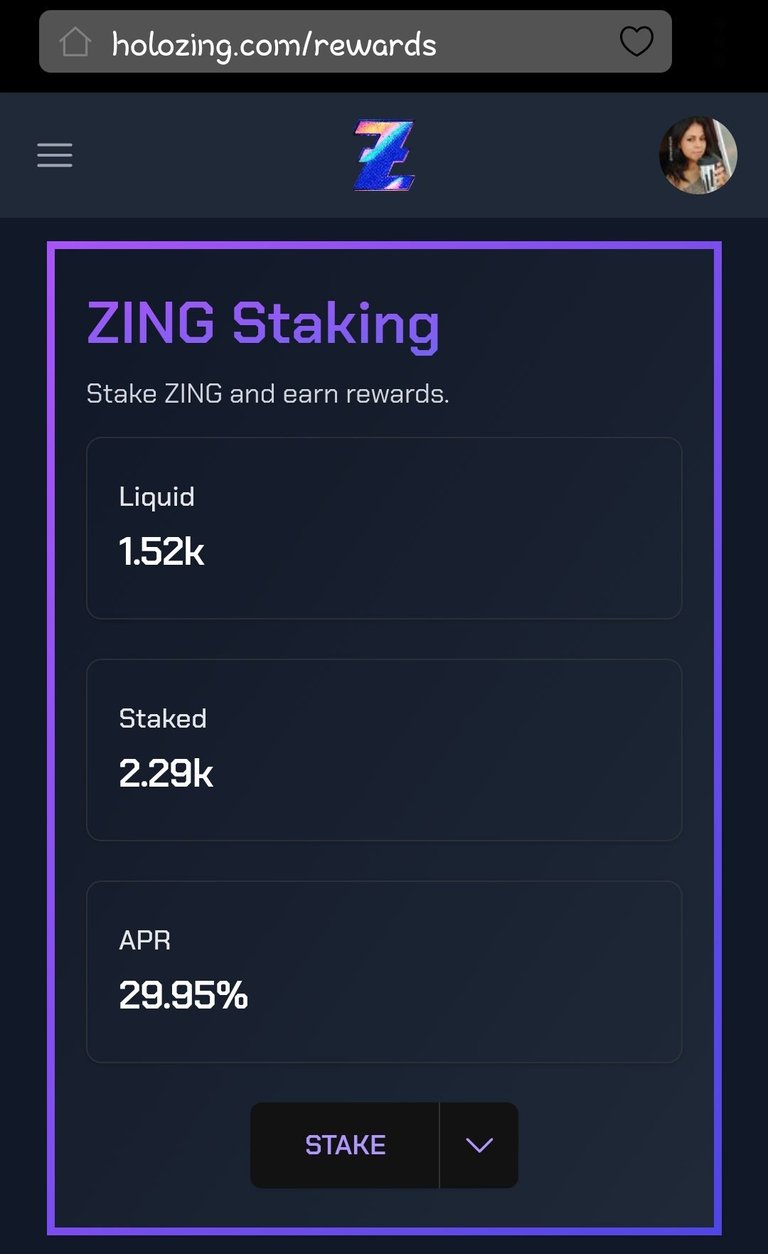
I take this opportunity to show you how my delegation rewards are going. So far I have received more than 3900 Zing .
Actualización de recompensas
Aprovecho para enseñarles como van mis recompesas por delegación. Hasta el momento he recibido más de 3900 Zing.
 |  |
|---|
I hope you like this project that I have made with a lot of love. If you are not part of this project I invite you to join here. See you next time. Bye!
Espero que les guste este proyecto que he realizado con mucho cariño. Si no forman parte de este proyecto los invito a sumarse aquí. Nos vemos en una próxima oportunidad. Chao!


Original content by the author.
Resources: App: Canva / Giphy / Inshot
📷 Redmi 10 Smartphone
Translation done with Deepl.com
✿ All Rights Reserved || © @chacald.dcymt 2024✿
💌 Discord: chacald.dcymt#3549
X: @chacald1
Reddit: chacald
_
Contenido original del autor.
Recursos: App: Canva / Giphy / Inshot
📷 Redmi 10 Smartphone
Traducido con Deepl.com
✿ Todos los Derechos Reservados || © @chacald.dcymt 2024✿
💌 Discord: chacald.dcymt#3549
X: @chacald1
Reddit: chacald
Posted Using InLeo Alpha


