
Homework can sometimes be a challenge for parents and parents' representatives, because teachers send them to do things that are sometimes very difficult for children of a certain age to do.
Well, recently my 2nd grade cousin was asked to do a sports-related artwork. She chose baseball as her sport, so she had to think of several decorations for her poster. She thought of balls, gloves, hats and other accessories of a baseball player.
Español
Las tareas escolares a veces suelen ser desafíos para padres y representantes, por los maestros mandan a hacer cosas que, en ocasiones, son muy difíciles de hacer para niños de cierta edad.
Pues bien, hace poco a mi prima de 2do año le mandaron a hacer una lámina relacionada con un deporte. Ella eligió el béisbol como deporte, así que tuvo que pensar en varias decoraciones para su lámina. Pensó en hacer pelotas, guantes, gorras y demás accesorios de un beisbolista.
Step by step
I made this craft with foami, paint, paper and markers, using tools such as a cutter, scissors and pencils.
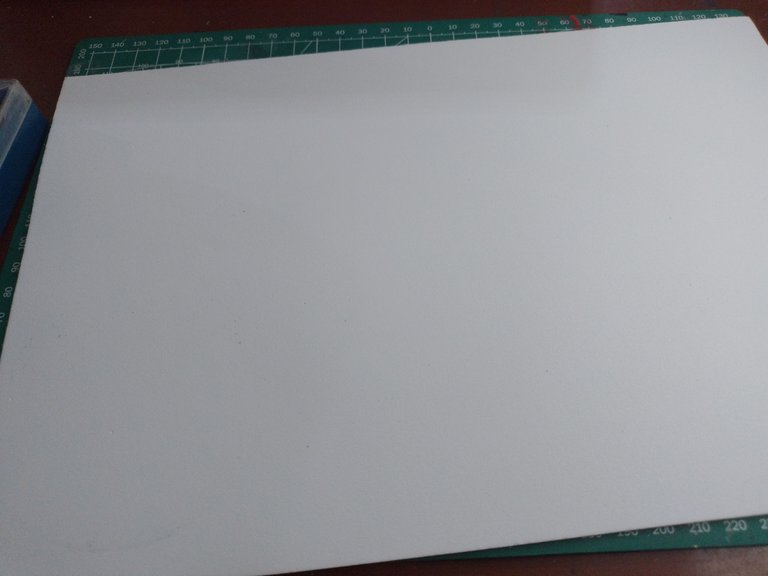
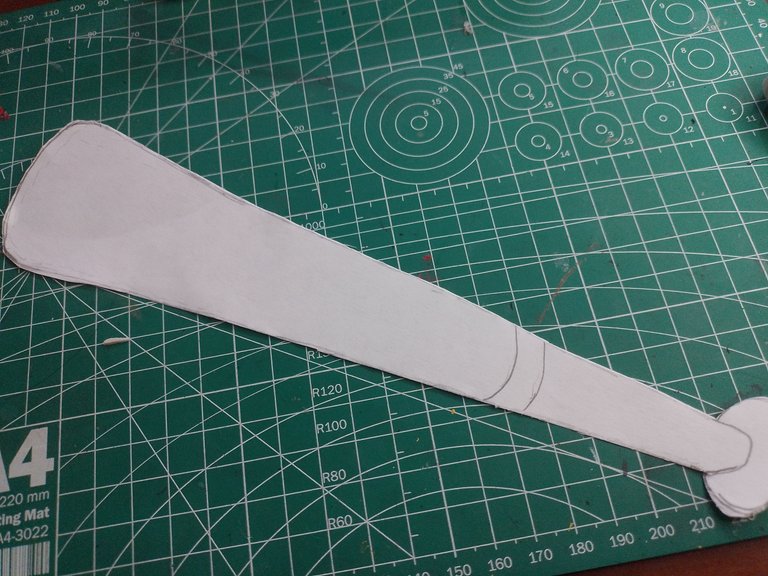
The first thing to do is to prepare the work area. There I took a sheet of paper on which I would draw each of the molds of the things I wanted to make. I used a sheet of paper, as you can see in the image below:
Paso a paso
Esta manualidad la hice con foami, pintura papel y marcadores, usando herramientas como un cutter, tijeras y lápices.
Lo primero es preparar el área de trabajo. Allí llevé una hoja de papel en la que plasmaría cada uno de los moldes de las cosas que deseaba hacer. Usé una hoja de papel, tal como pueden ver en la imagen de abajo:
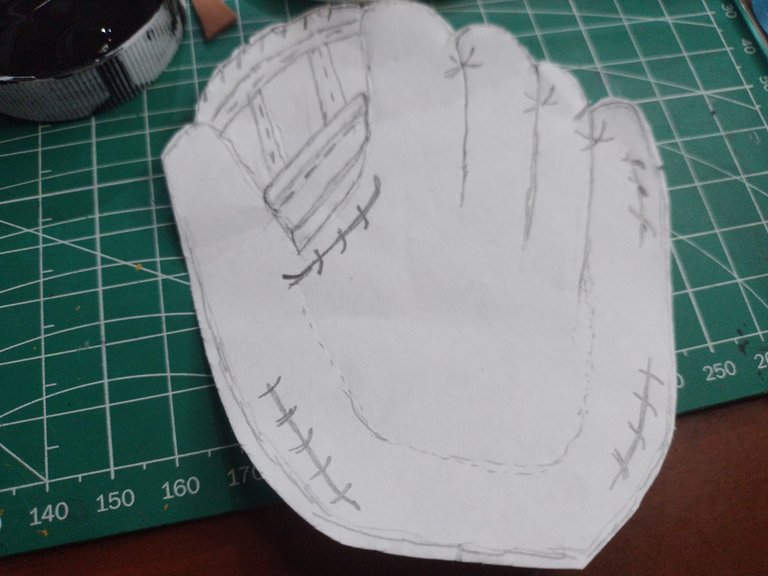
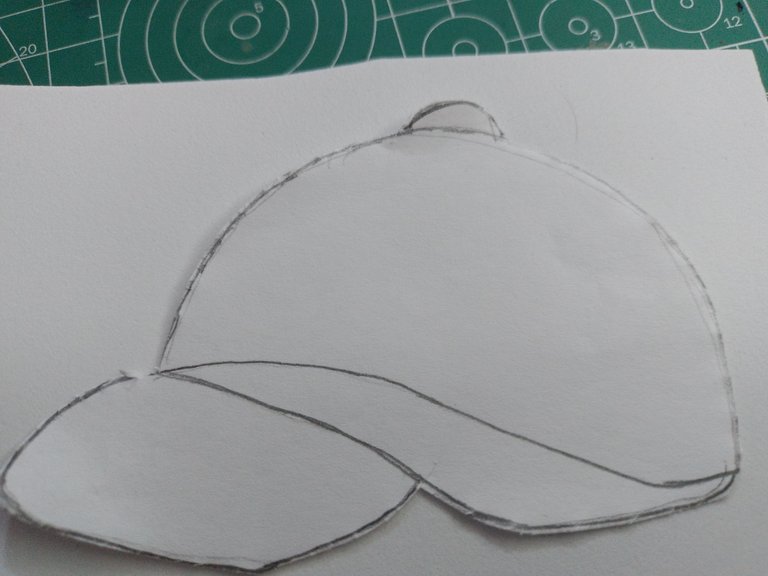
First I drew the pattern on paper and then I cut it, trying to make each shape as close as possible to the accessory I wanted to create. Below you can see all the patterns I drew:
Primero dibujé el patrón en papel y luego lo corté, tratando de que cada forma quedara lo más parecido al accesorio que deseaba plasmar. A continuación pueden ver todos los patrones que dibujé:
 |  |
|---|
Let's go from the easiest to the most difficult to explain how I made all these little pieces. Well, I used foami for this because it is a malleable and very practical material.
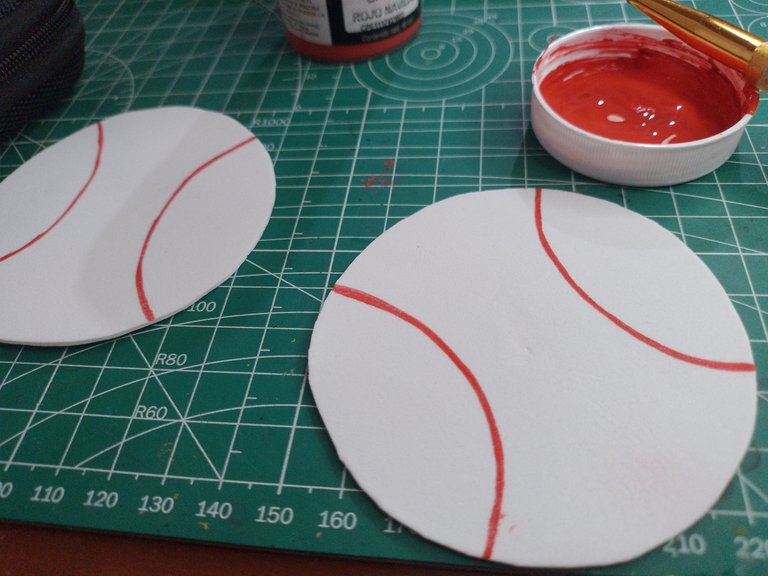
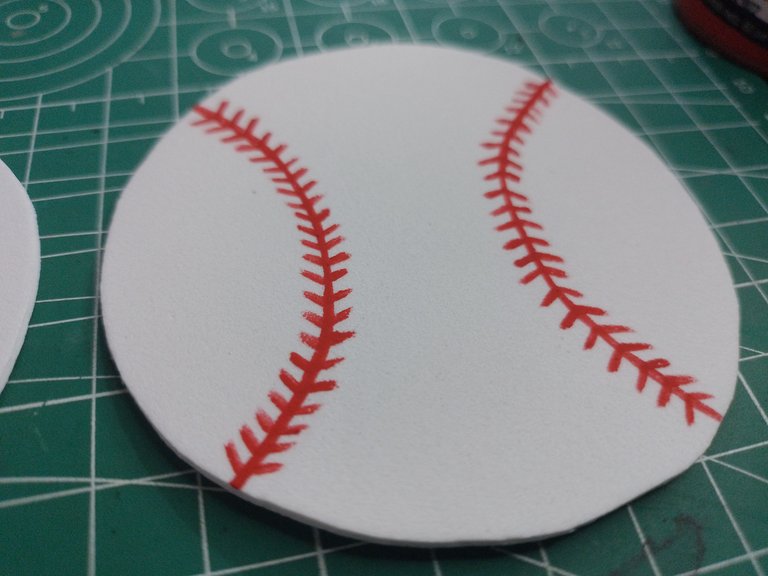
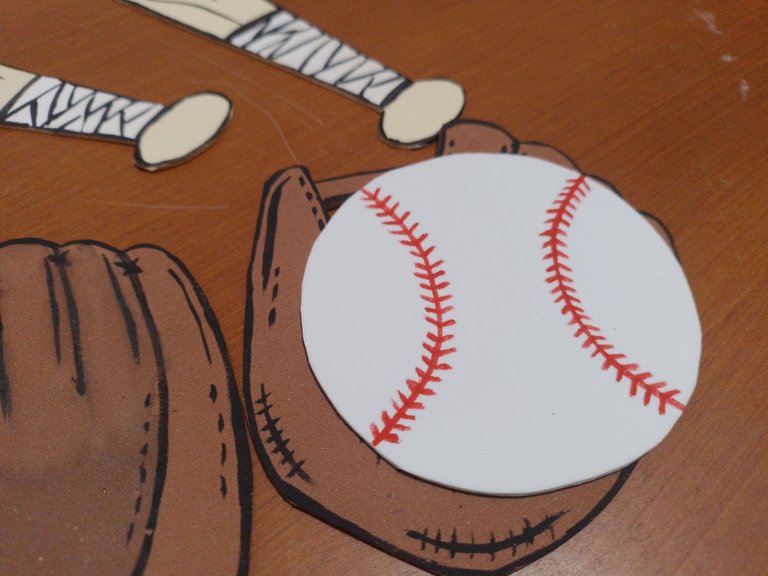
For the baseballs, I simply cut a couple of circles of foami, then I made two curved and parallel lines on each side of the sphere.
Vamos de lo más fácil a lo más difícil para explicarles cómo hice todas estas pequeñas piezas. Bien, usé foami para esto porque es un material maleable y muy práctico.
Para las pelotas de Béisbol, simplemente corté un par se círculos de foami, luego le hice dos líneas curvas y paralelas a cada lado de la esfera.
 |  |
|---|
Then to each curved line I made smaller lines diagonally, as if you were making one arrowhead after another along that curved red line I drew before.
Luego a cada línea curca hice líneas más pequeñas en diagonal, como si hicieras una punta de flecha detrás de otra a lo largo de aquella línea curva de color rojo que dibujé antes.
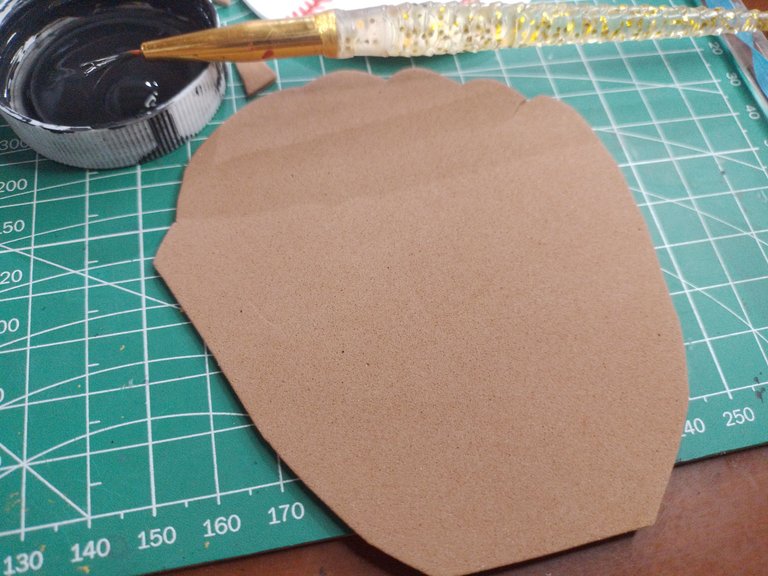
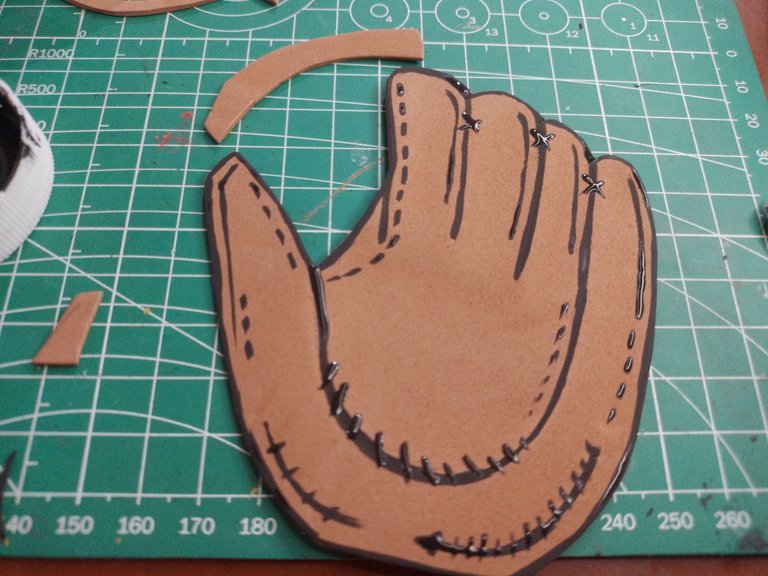
So the baseballs were ready, it was time to make the glove. For this I used the pattern I had made before and used it as a template to cut the foami. With this pattern I started to make the lines with paint, this would help me to make thin lines and easier to control than with a marker.
Así quedó lista las pelotas de béisbol, era hora de hacer el guante. Para ello usé el patrón que había hecho antes y lo usé de plantilla para cortar el foami. Con este patrón comencé a hacer las líneas con pintura, esto me serviría para hacer líneas delgadas y más fáciles de controlar que con un marcador.
 |  |
|---|
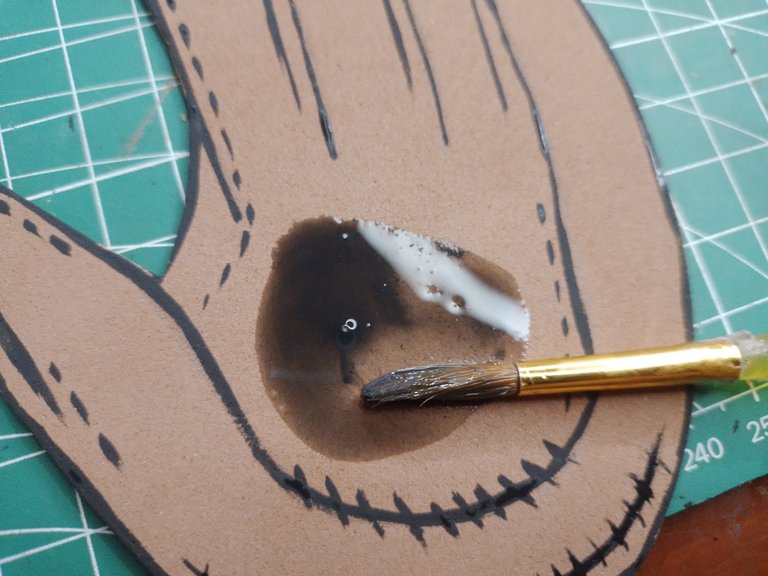
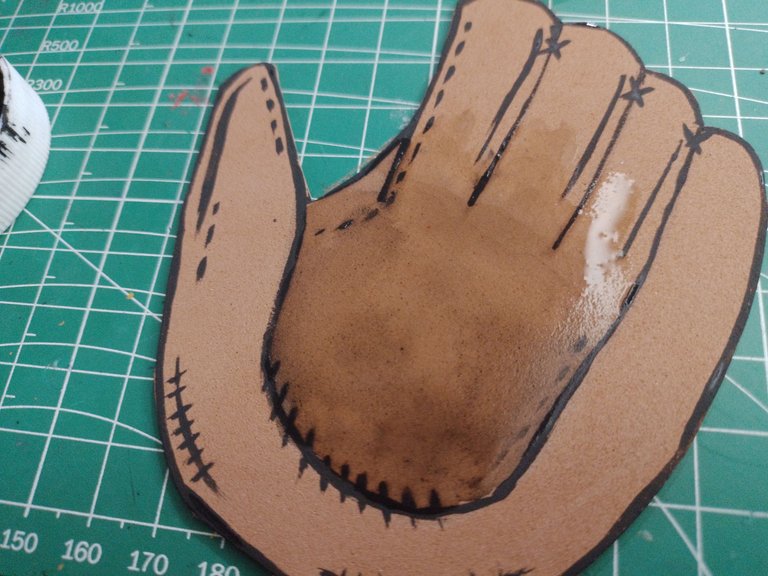
To give the glove a little more depth, I simply took some paint and mixed it with water, just enough to dilute the black paint, but not so much as to make it disappear, since the idea was to darken the bottom of the glove a little.
Para darle un poco más de profundidad al guante, simplemente tomé un poco de pintura y la mezclé con agua, la suficiente para diluir la pintura negra, pero no tanto como para hacerla desaparecer, ya que la idea era oscurecer un poco el fondo del guante.
 |  |
|---|
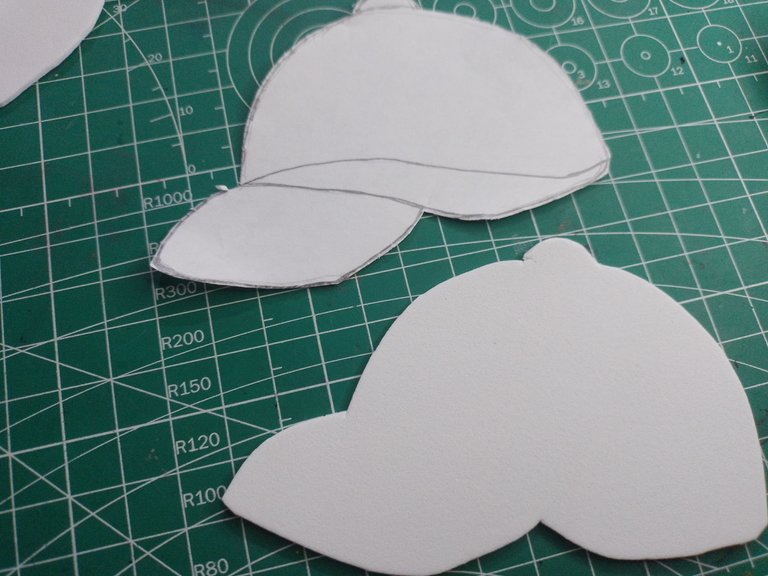
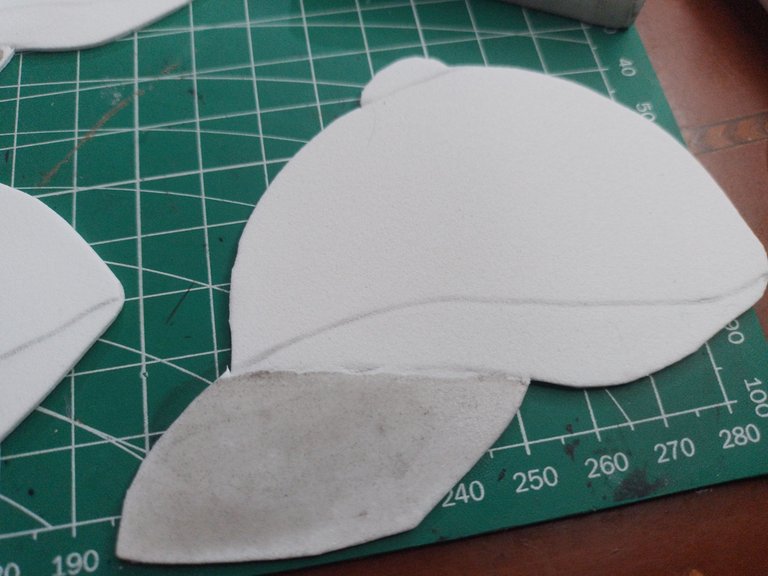
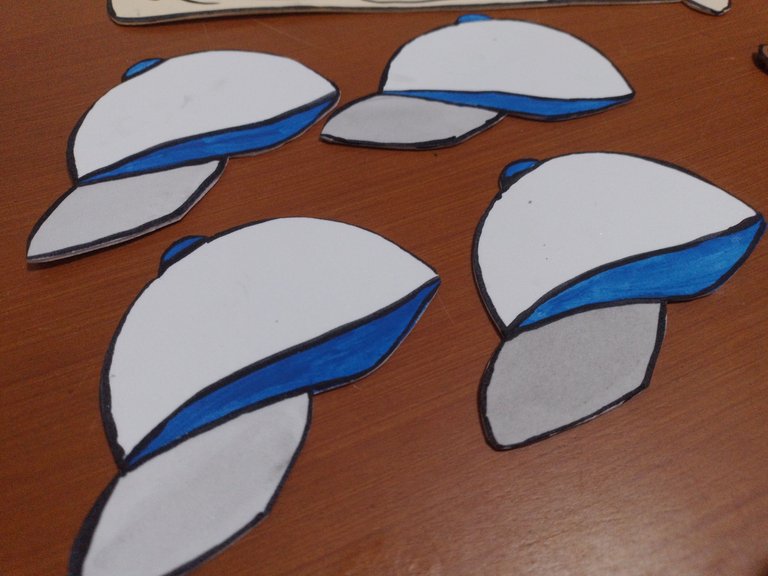
For the cap I did the same thing, I used the paper pattern to shape the shape of the lining in the foami. I used white foami and started painting from the lightest color, which in this case is the gray that serves as a shadow on the visor of the cap.
Para la gorra hice lo mismo, usé el patrón de papel para plasmar la forma de la forra en el foami. Usé foami blanco y comencé a pintar desde el color más claro, que en este caso es el gris que sirve de sombra en la visera de la gorra.
 |  |
|---|
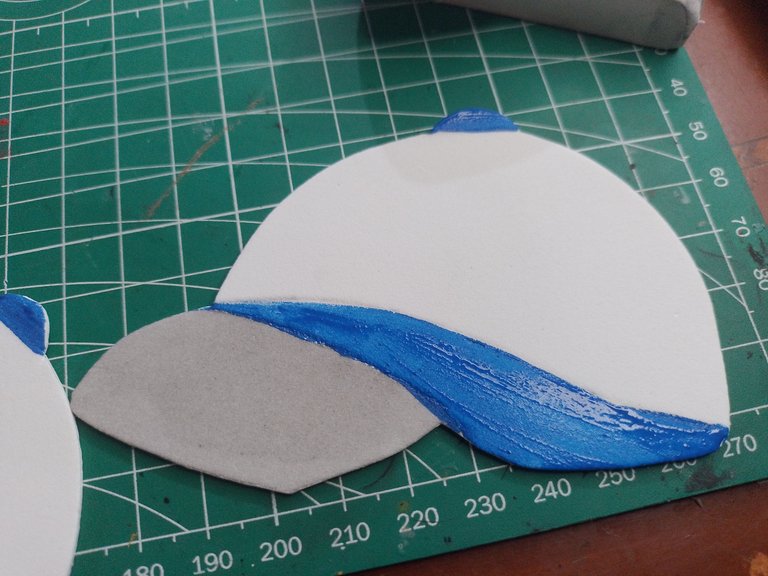
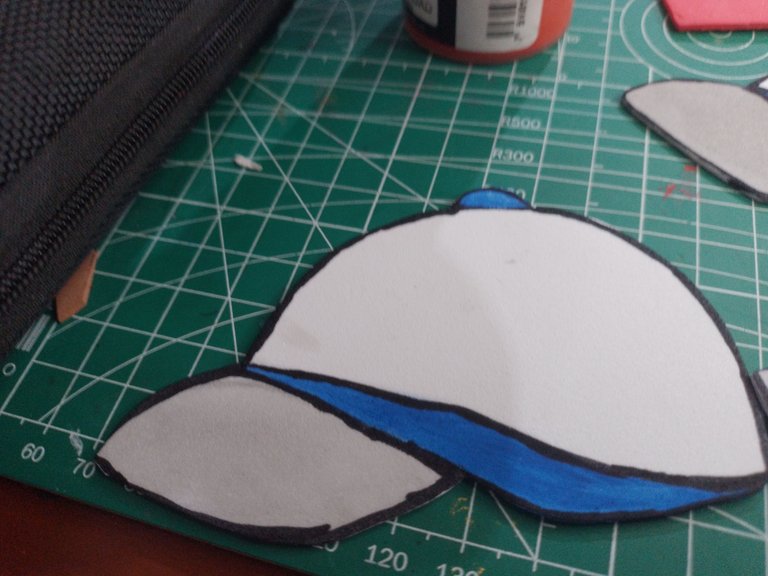
Then I used blue paint to give the cap a strong color. I didn't use black paint for the lines, because I didn't need too much perfection and with the marker I simply made the lines to highlight the difference between one color and the other.
Luego usé pintura azul para darle el color fuerte a la gorra. No usé pintura negra para las líneas, porque no necesitaba demasiada perfección y con el marcador simplemente hice las líneas para remarcar la diferencia entre un color y otro.
 |  |
|---|
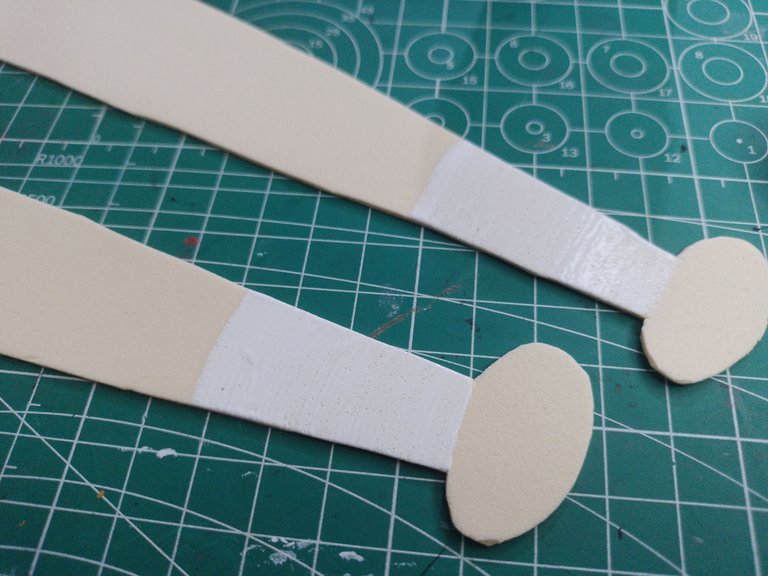
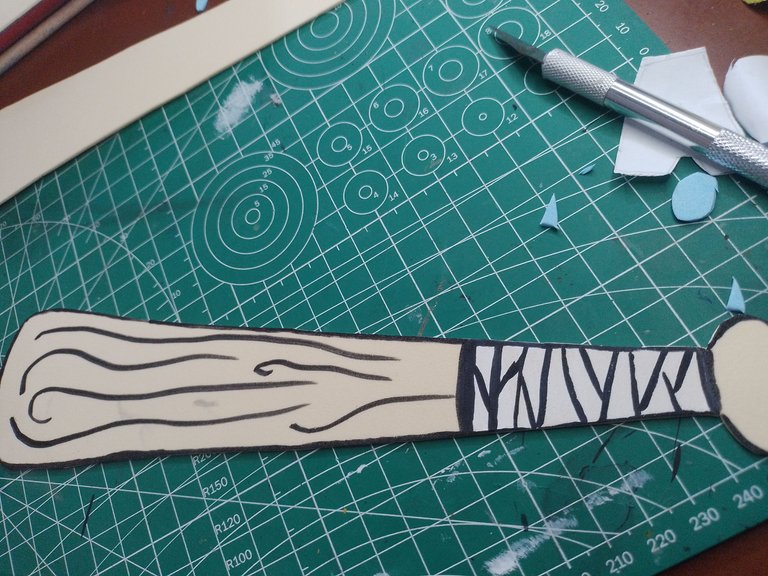
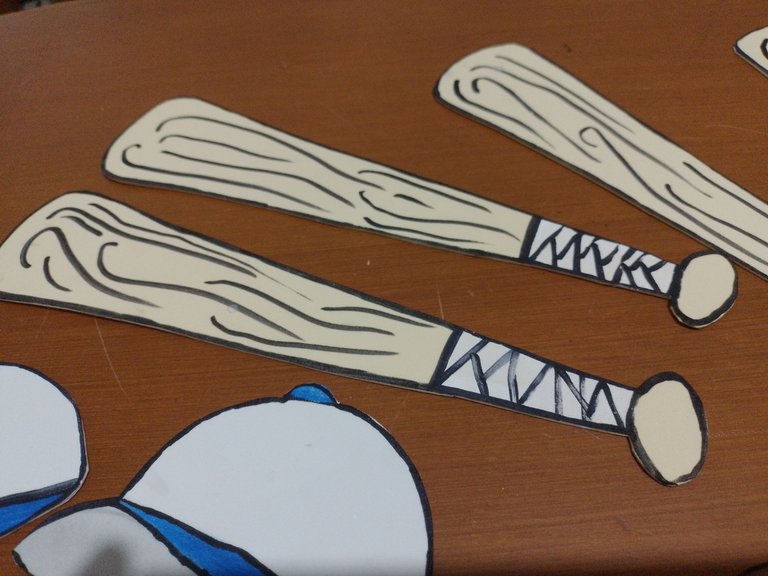
The bat was also easy to make, only this one was more complicated because it requires a good hand when drawing. Notice that I did the same as in the previous cases, I cut the shape of the bat in the foami and painted the handle with white paint.
El bate fue sencillo también de hacer, solo que este fue más complicado porque requiere tener buen pulso a la hora de dibujar. Fíjense que hice lo mismo que en los casos anteriores, corté la forma del bate en el foami y pinté con pintura blanca el mango del mismo.
 |  |
|---|
Once it was dry, I did what I had to do with the marker, paint the edge, the lines of the handle to simulate fabric surrounding it and the characteristic lines of the wood.
A marker was required to do this, although it is not an easy thing to do because if you make a mistake with a marker, you already damaged the piece, but if you do it with paint you can wash the foami, so it depends on what you do best with.
Una vez que se secó, hice lo que debía hacer con el marcador, pintar el borde, las líneas del mango para simular tela rodeándolo y las líneas características de la madera.
Se requería de un marcador para hacer esto, aunque no es algo fácil de hacer porque si te equivocas con un marcador, ya dañaste la pieza, pero si lo haces con pintura puedes lavar el foami, así que depende de con qué te desenvuelvas mejor.
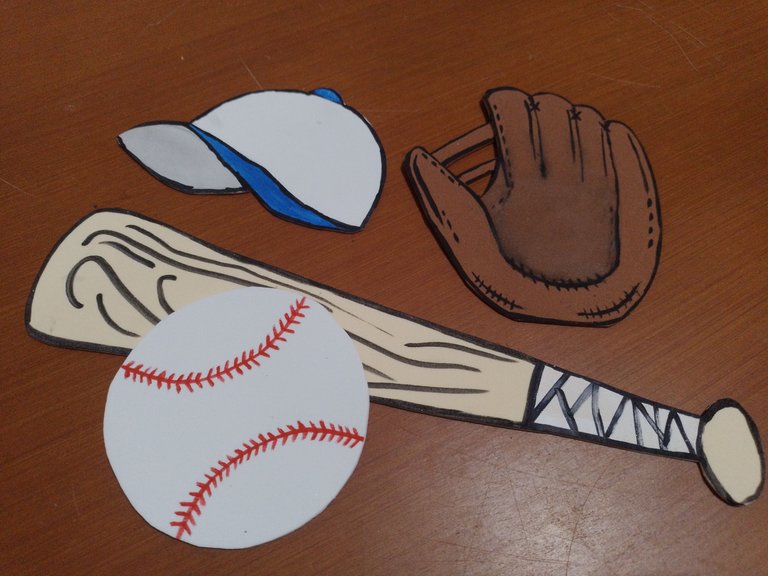
And that's how it was all finished. Here are some pictures of the final result:
Y así quedó terminado todo. A continuación una serie de fotografías del resultado final:

Well friends, that's all for now. I invite you to leave your opinions below in the comments, as always I will be happy to read them. I appreciate you taking the time to visit my publication, without further ado, I'll say goodbye then...
See you next time!
Bien amigos, esto ha sido todo por ahora. Los invito a dejar sus opiniones abajo en los comentarios, como siempre estaré encantado de leerlos. Agradezco que se tomaran el tiempo de visitar mi publicación, sin más que agregar, me despido entonces...
¡Hasta la próxima!


