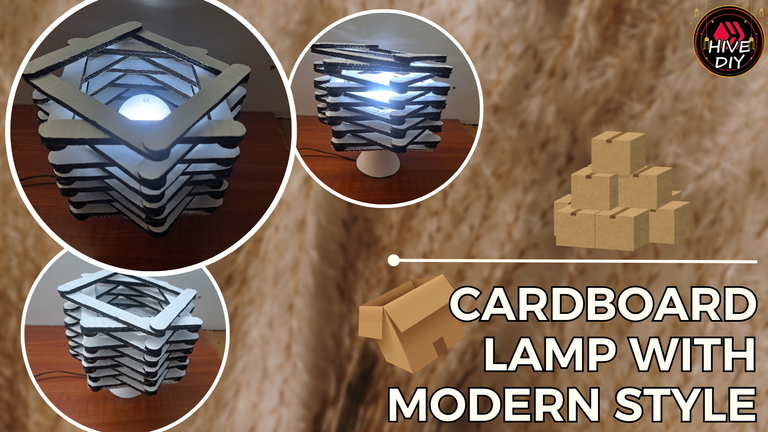
Greetings friends of the Hive DIY community. For me it is a real pleasure to be here again sharing with you another of my crafts. Today I bring you a simple tutorial in which I show you step by step how to make a beautiful cardboard lamp with a modern style. This lamp is 100% functional and is made using recycled cardboard cut into pallets and placed one on top of the other to form a very peculiar geometric structure.
To make the base I used the casing of a damaged LED bulb and by inverting its position I managed to obtain a beautiful base for my lamp. What an irony of life, first it was a bulb and now it is part of a lamp. But well, let's get down to business and start with the tutorial, which I hope you enjoy.
Saludos amigos de la comunidad Hive DIY. Para mí es un verdadero placer estar nuevamente por aquí compartiéndoles otra de mis manualidades. El día de hoy les traigo un tutorial sencillo en el cual les muestro paso a paso cómo confeccionar una hermosa lámpara de cartón con un estilo moderno. Dicha lámpara es 100% funcional y está confeccionada utilizando cartón reciclado cortado en paletas y colocados uno encima de otro para formar una estructura geométrica muy peculiar.
Para elaborar la base utilicé la carcasa de un bombillo LED dañado y al invertir su posición logré obtener una hermosa base para mi lámpara. Qué ironía de la vida, primero fue un bombillo y ahora es parte de una lámpara. Pero bueno, vayamos al grano y empecemos con el tutorial, el cual espero disfruten.

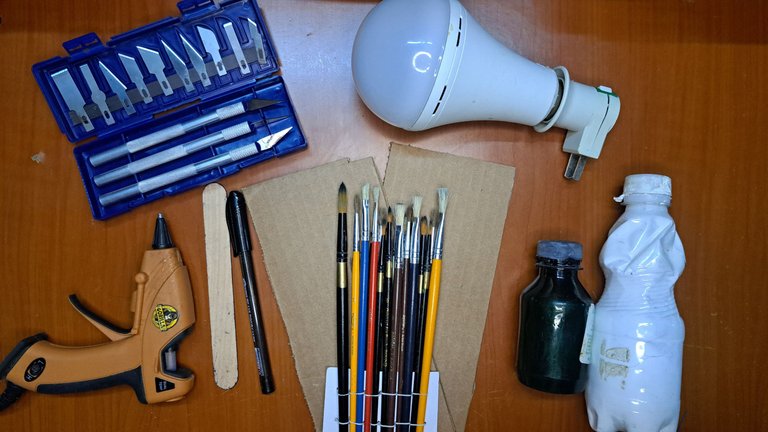
Materials // Materiales
| ✔️ Recycled cardboard | ✔️ Cartón reciclado |
| ✔️ Cutting and Carving Set | ✔️ Set de corte y tallado |
| ✔️ Wooden pallet | ✔️ Paleta de madera |
| ✔️ Black marker | ✔️ Marcador negro |
| ✔️ Damaged LED bulb casing | ✔️ Carcaza de bombillo LED dañado |
| ✔️ Black and white painting | ✔️ Pintura negra y blanca |
| ✔️ Brushes | ✔️ Pinceles |
Step by step // Paso a paso
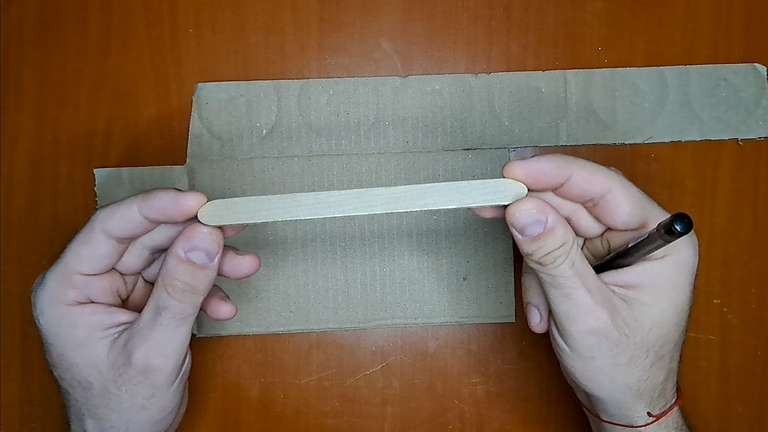
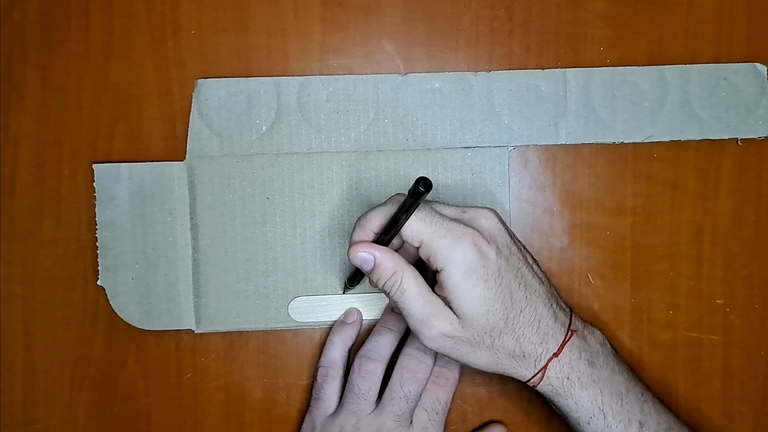
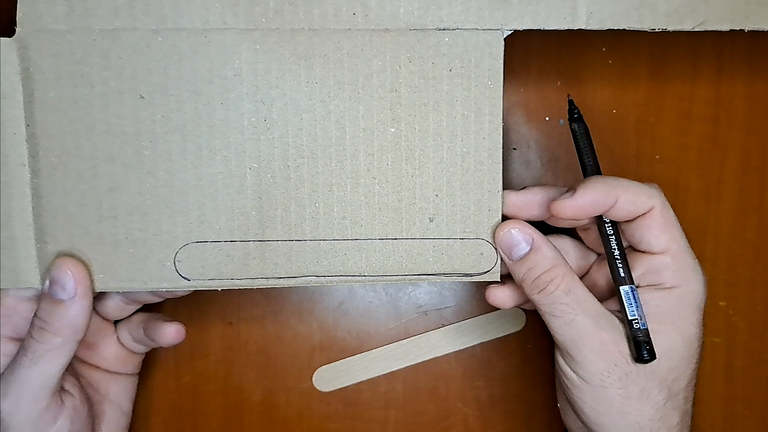
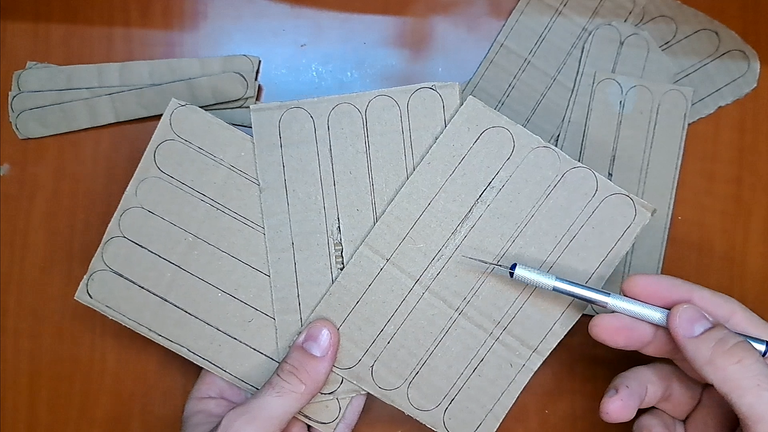
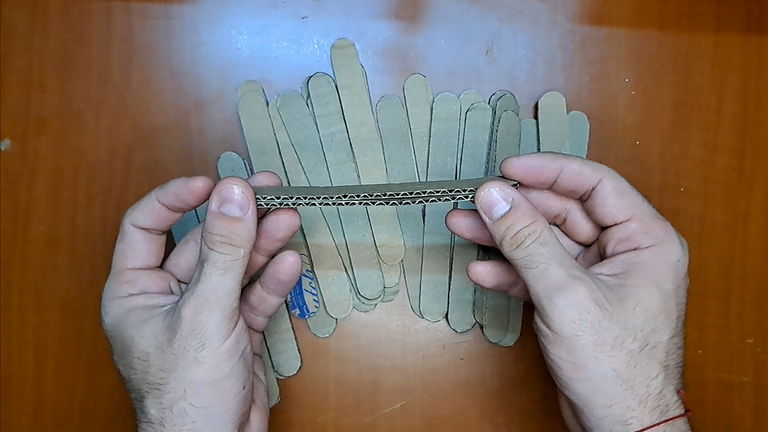
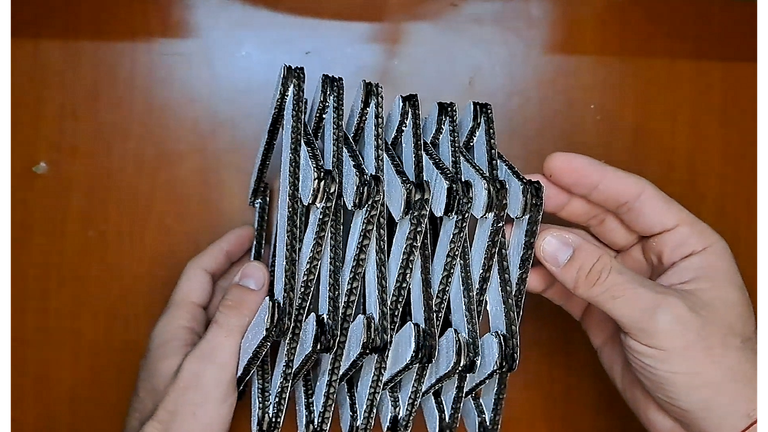
1️⃣ To begin, the first thing I did was to use a wooden pallet to mark and cut out its shape on several pieces of cardboard. Each of these cardboard pallets must be cut out carefully, as they must be the same length and width.
1️⃣ Para empezar, lo primero que hice fue utilizar una paleta de madera para marcar y recortar su forma en varias piezas de cartón. Cada una de estas paletas de cartón debe ser recortada con cuidado, ya que deben tener el mismo largo y ancho.
 |
 |
 |
 |
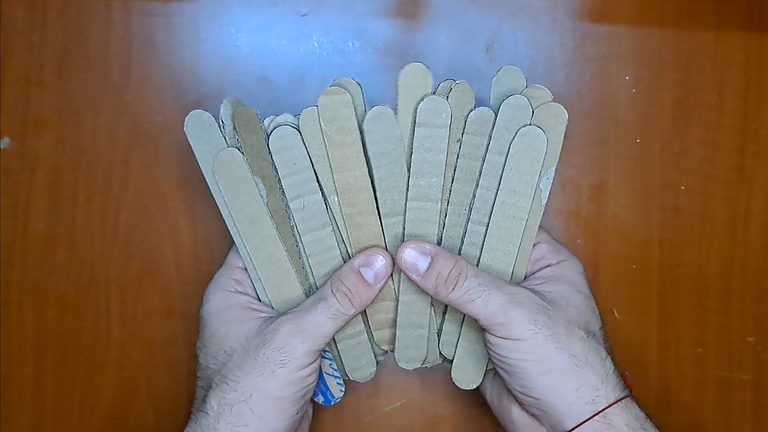 |
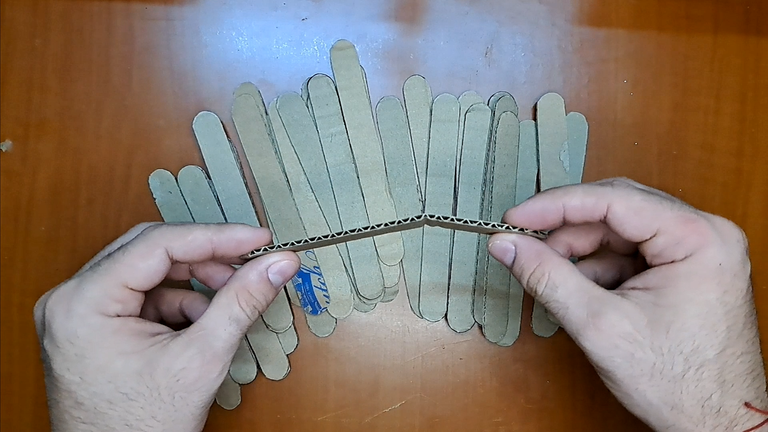
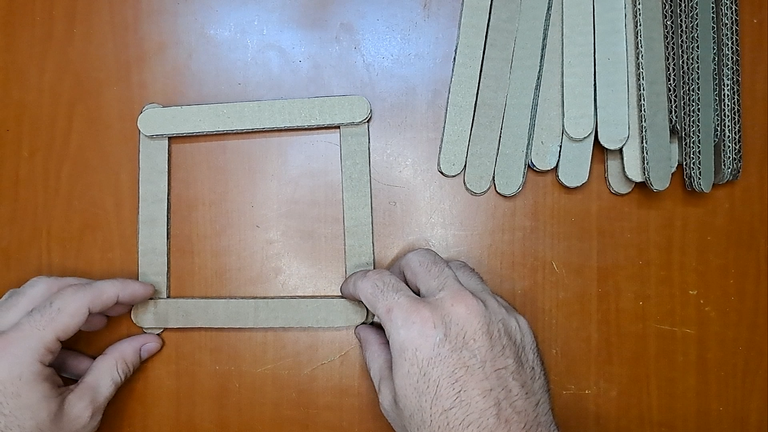
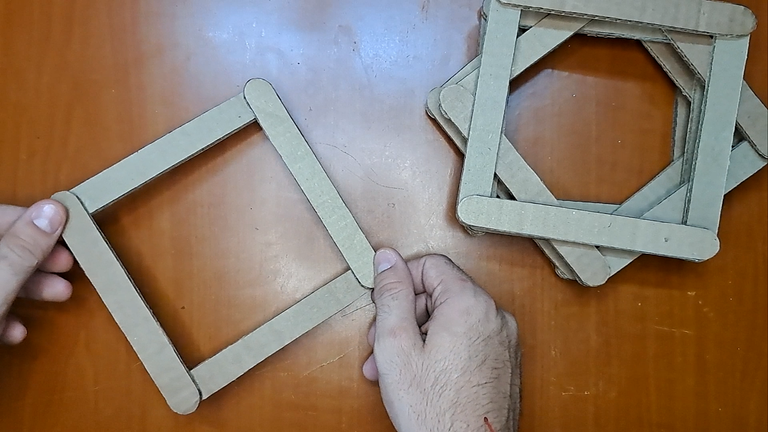
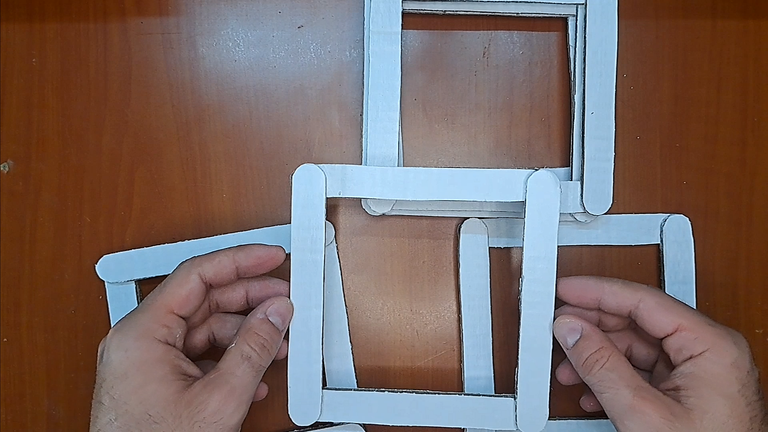
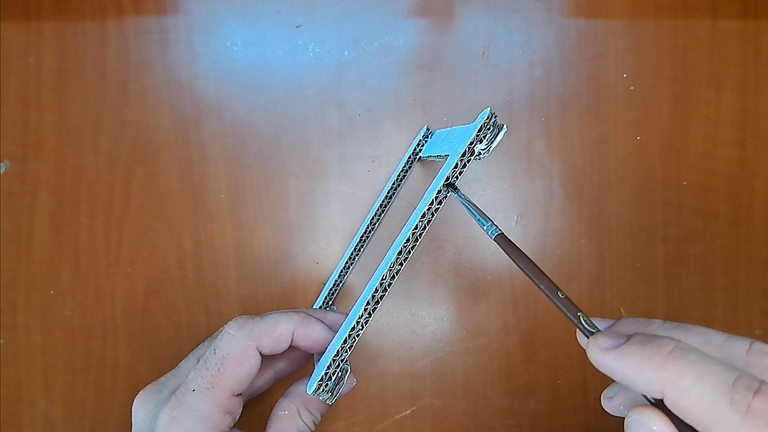
2️⃣ After cutting out the cardboard popsicle sticks, I realized that some were very weak and bent, so I decided to glue them in pairs. By gluing them in pairs, I got bigger but also stronger popsicles. I glued these new popsicle sticks together at the corners to form several squares.
2️⃣ Luego de recortar las paletas de cartón, me di cuenta de que algunas eran muy débiles y se doblaban, así que decidí pegarlas en parejas. Al pegarlas en parejas, obtuve unas paletas más grandes pero también más fuertes. Estas nuevas paletas las pegué por las esquinas formando varios cuadrados.
 |
 |
 |
 |
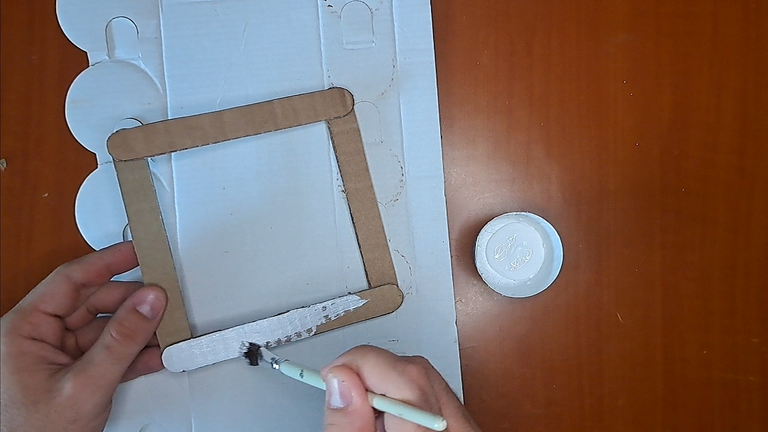
3️⃣ I painted each of the pallet squares white on both sides and then painted their edges black. In case anyone wonders why I didn't paint the pallets first and then glue them together, the answer is simple: if I paint before gluing I run the risk of weakening the bond later.
3️⃣ A cada uno de los cuadrados de paletas los pinté de blanco por ambas caras y luego pinté sus bordes de negro. Por si alguien se pregunta por qué no pinté primero las paletas y luego las pegué, la respuesta es simple: si pinto antes de pegar corro el riesgo de que la unión se debilite luego.
 |
 |
 |
 |
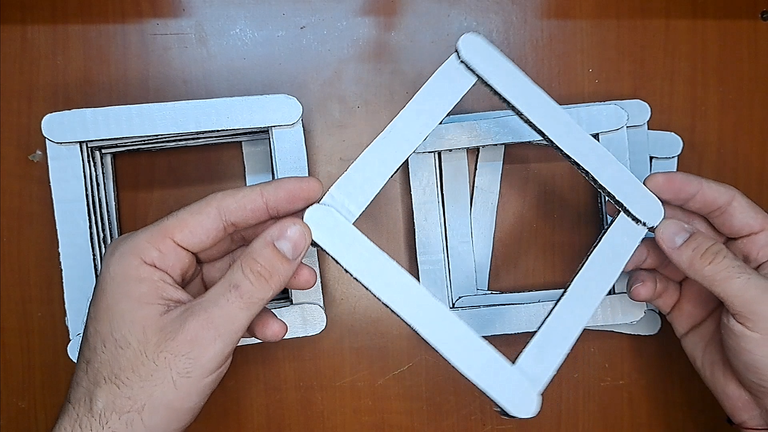
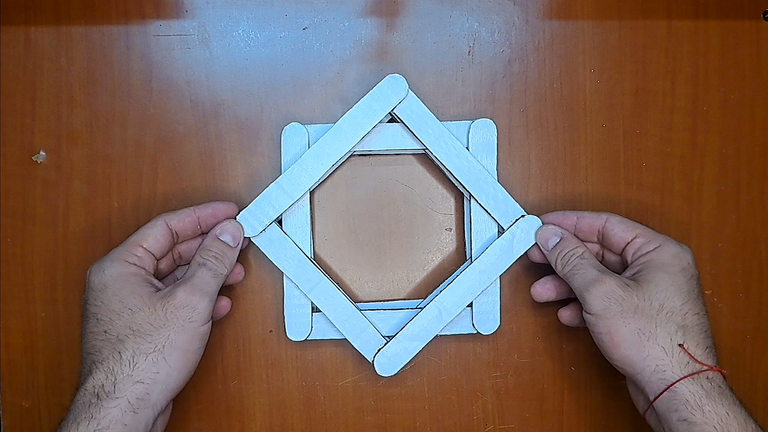
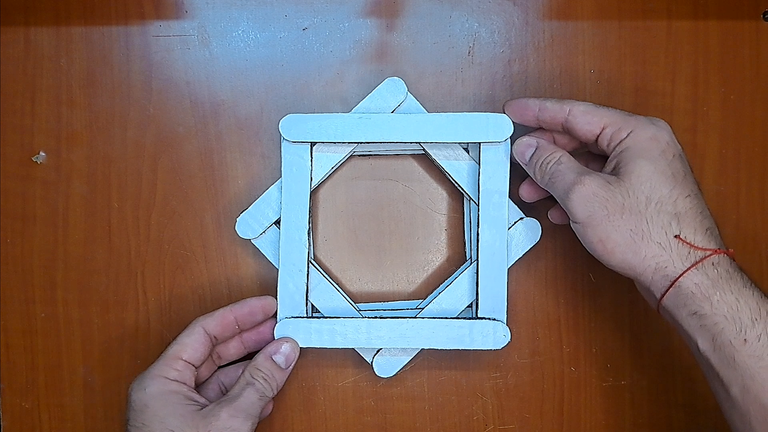
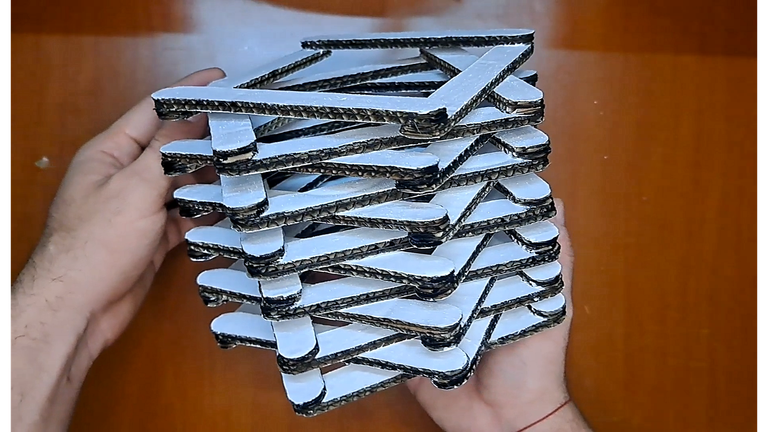
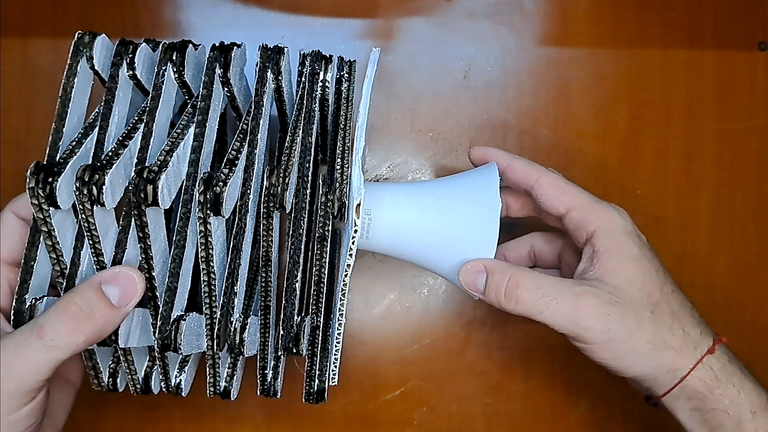
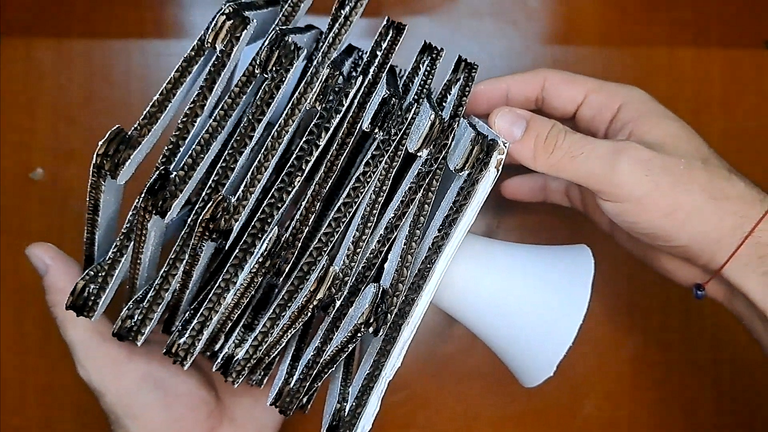
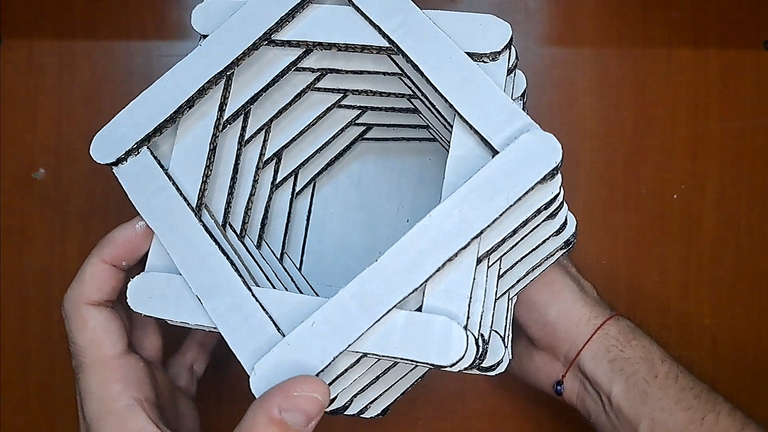
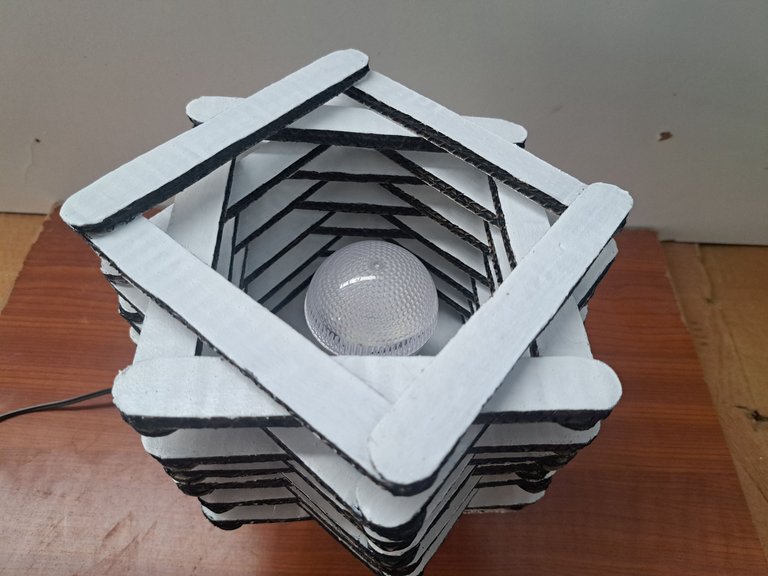
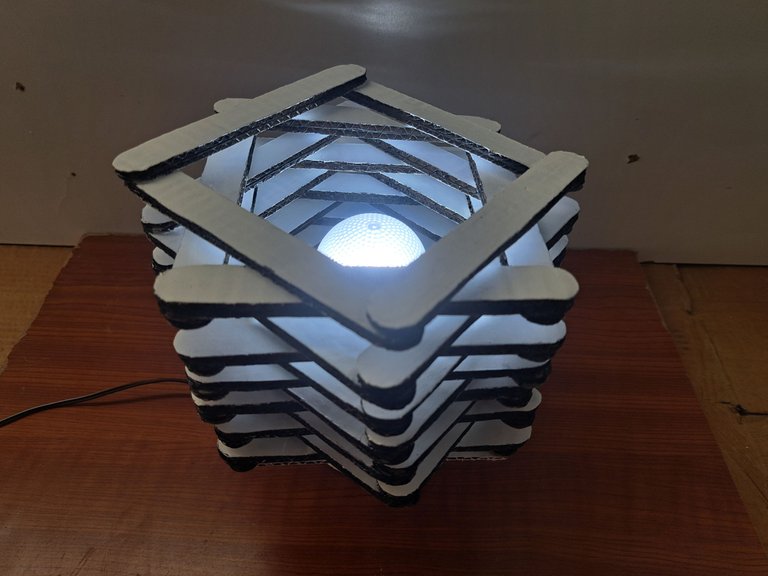
4️⃣ Once the squares were dry, I placed and glued them one on top of the other, but making sure that the position of one did not coincide with the other. In this way I achieved that the top of the lamp obtained this peculiar and beautiful geometric shape.
4️⃣ Una vez que los cuadrados estuvieron secos, los coloqué y pegué uno encima del otro, pero asegurándome de que la posición de uno no coincidiera con el otro. De esta forma logré que la parte superior de la lámpara obtuviera esta forma geométrica tan peculiar y hermosa.
 |
 |
 |
 |
 |
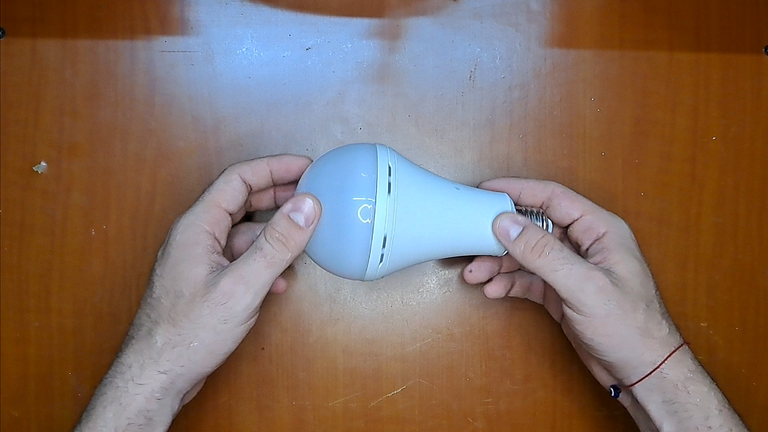
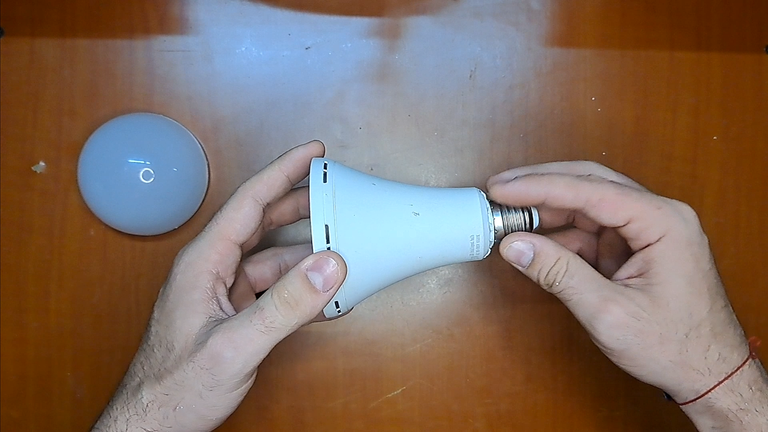
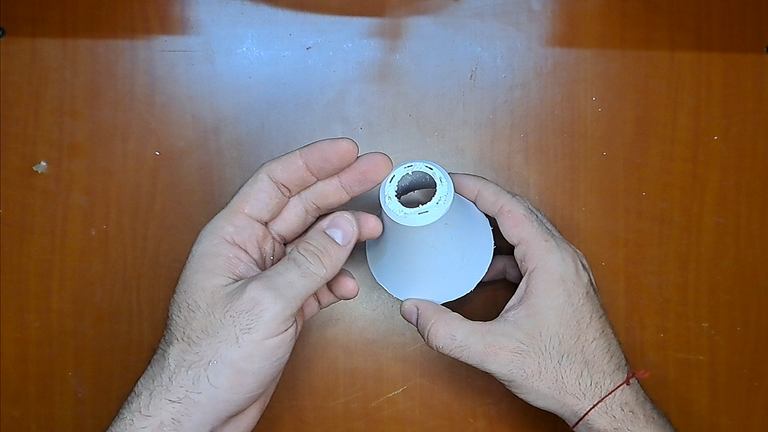
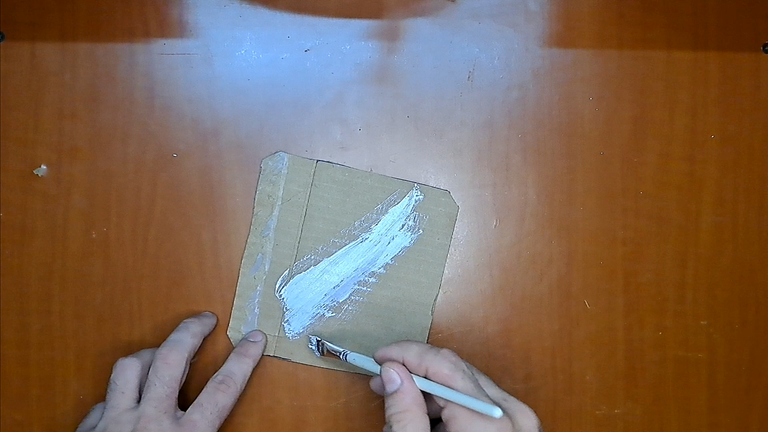
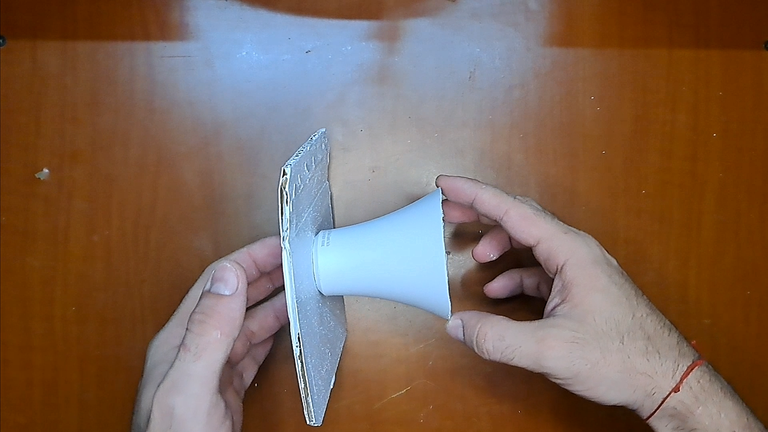
5️⃣ For the base, I disassembled a large LED bulb and kept its housing. From the bulb housing, I removed the socket connection and part of the shade attachment system. I then painted, cut out and attached a piece of cardboard to the bulb housing, thus forming the base for my lamp.
5️⃣ Para la base, desarmé un bombillo LED grande y me quedé con su carcasa. A la carcasa del bombillo le retiré la conexión con el socket y parte del sistema de sujeción de la pantalla. Luego pinté, recorté y uní una pieza de cartón a la carcasa del bombillo, formando así la base para mi lámpara.
 |
 |
 |
 |
 |
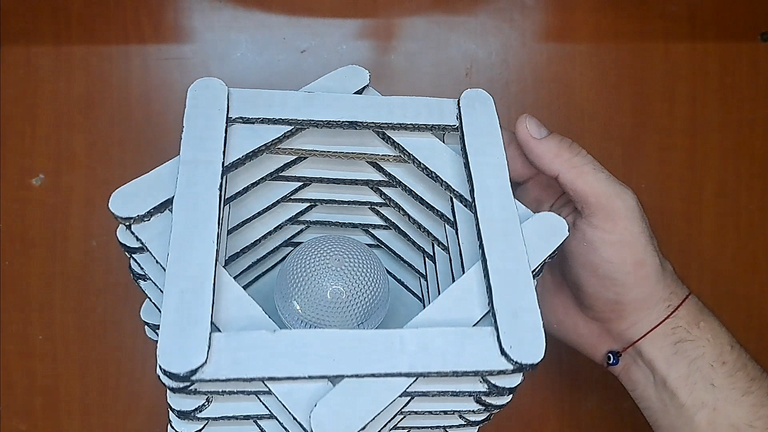
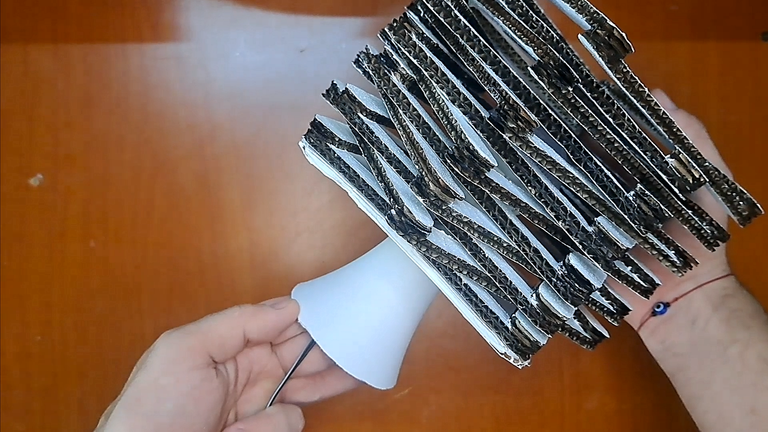
6️⃣ After creating the base of the lamp, I joined it to the rest of the structure. To finish, I drilled the center of the lamp to pass the power cable of the LED bulb that I placed in the center, which would be the light source of the lamp.
6️⃣ Después de crear la base de la lámpara, la uní con el resto de la estructura. Para finalizar, perforé el centro de la lámpara para pasar el cable de alimentación del bombillo LED que coloqué en el centro, el cual sería la fuente de luz de la lámpara.
 |
 |
 |
 |
 |
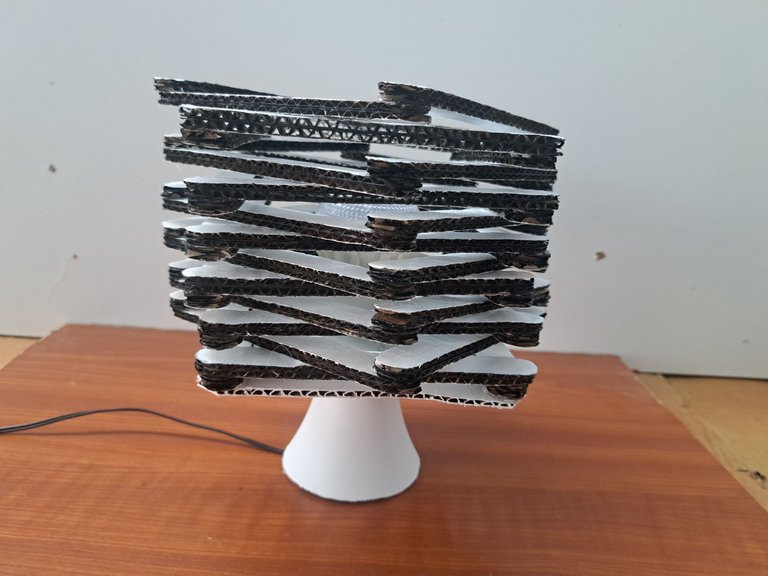
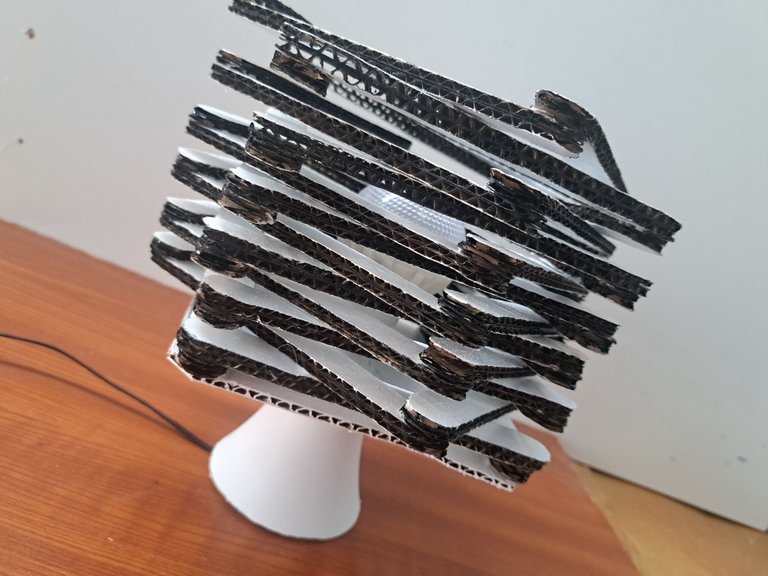
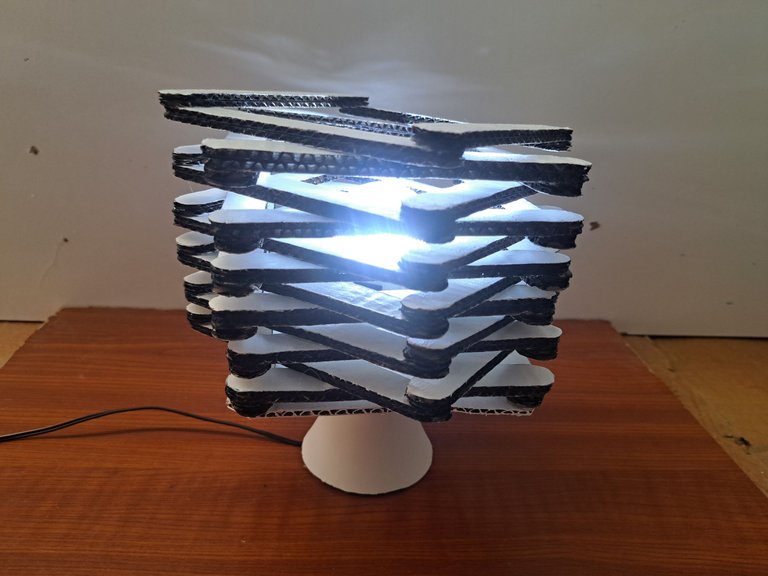
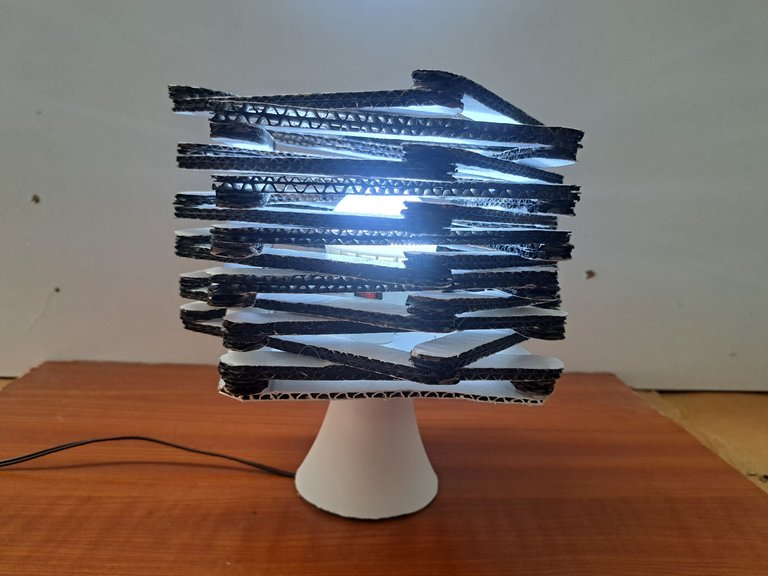
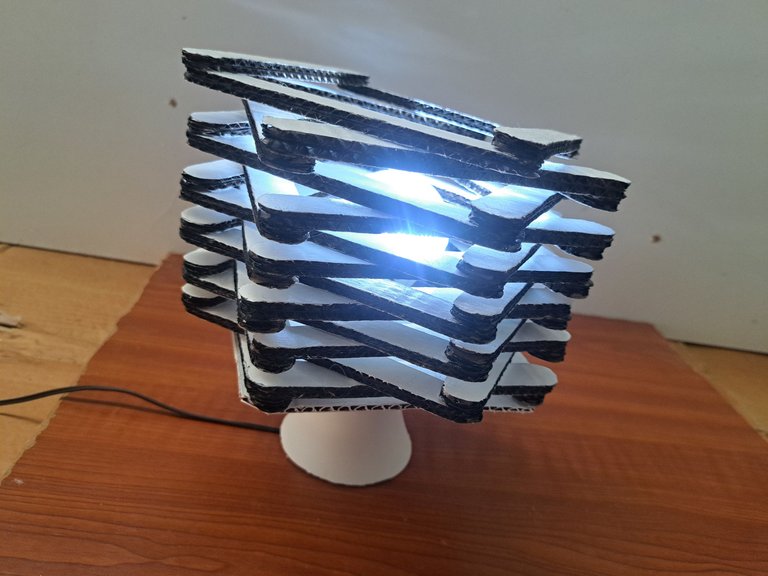
And so much for this tutorial in which I showed you how to make a cardboard lamp in a modern style. I must say that while writing the post I realized that the lamp itself can also be used as an organizer, since the top part also looks like a kind of woven basket. So you know, if you don't want a lamp, at least get an organizer.
And now I say goodbye, but not before reminding you that you can leave me in the comments section any comments or questions regarding the tutorial, as always, I will be happy to answer them. See you next time!
Y hasta aquí este tutorial en el cual les mostré cómo confeccionar una lámpara de cartón con un estilo moderno. Debo decir que mientras redactaba la publicación me di cuenta de que la lámpara en sí también puede ser utilizada como organizador, ya que la parte de arriba también parece una especie de cesto tejido. Así que ya saben, si no quieren una lámpara, al menos obtienen un organizador.
Y ahora sí me despido, no sin antes recordarles que me pueden dejar en la sección de comentarios cualquier comentario o duda respecto al tutorial, ya que como siempre, yo estaré encantado de responderles. ¡Hasta la próxima!
⚜️ Result // Resultado ⚜️
 |
 |
 |
 |
 |
 |
 |

Thank you very much for reading my post. If you liked it, please leave a comment and consider following me so you don't miss my next posts. I'd love to know your opinion and your thoughts about the topic I discussed in this post, see you in the next one!
Credits and Resources // Créditos y Recursos
Cover page created in Canva
Translated by DeepL
Video and images captured with my Samsung Galaxy A53
Edited in Wondershare Filmora 13
Music by Sergii Pavkin from Pixabay


▶️ 3Speak
