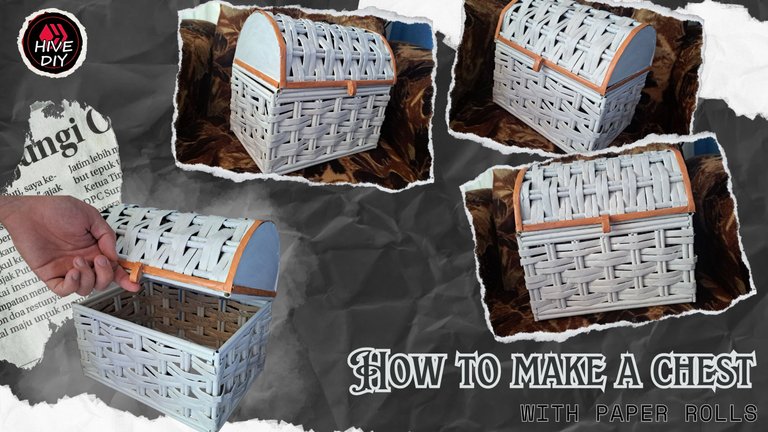
Greetings friends of the crafting community. In past posts I have shown you how you can create and recycle at the same time. In other occasions I have used recycled cardboard as the main material, but today I will take a different approach. Today I bring you a tutorial where I will show you step by step how to create a chest using paper rolls. And if you just read that right, the chest is made almost entirely out of magazine paper rolls. With this craft I achieve two main goals: recycle a bunch of paper and get a new container to store things.
I must admit that at first I was a little worried that the paper rolls might not have the necessary rigidity, but I must admit that I was surprised. As you will see below, the chest is not small at all and yet it shows considerable toughness. So I invite you to join me in this tutorial where we will be creating a chest made with paper rolls.
Saludos amigos de la comunidad de artesanos. En pasadas publicaciones les he mostrado cómo se puede crear y reciclar a la vez. En otras ocasiones he utilizado como material principal el cartón reciclado, pero hoy adoptaré un enfoque diferente. El día de hoy les traigo un tutorial donde les mostraré paso a paso cómo crear un cofre utilizando rollitos de papel. Y si acabas de leer bien, el cofre está elaborado casi en su totalidad con rollitos de papel de revista. Con esta manualidad logro dos objetivos principales: reciclar un montón de papel y obtener un nuevo recipiente para almacenar cosas.
Debo admitir que al principio me preocupó un poco la posibilidad de que los rollos de papel no contaran con la rigidez necesaria, pero debo admitir que me sorprendió. Como verán a continuación, el cofre no es para nada pequeño y aun así muestra una dureza considerable. Así que los invito a acompañarme en este tutorial donde estaremos creando un cofre hecho con rollitos de papel.
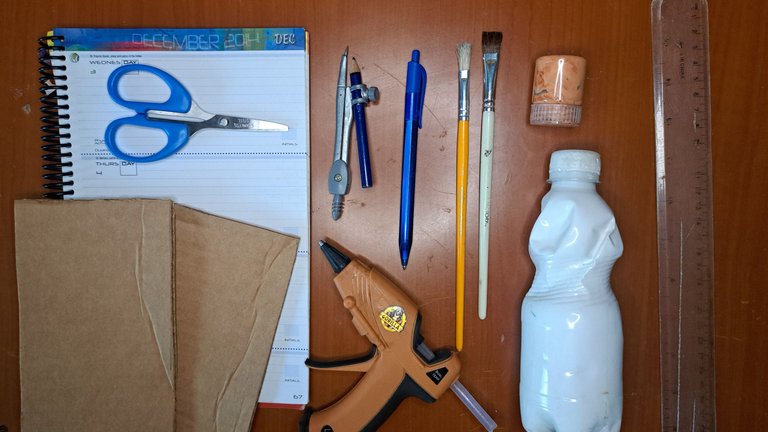
Materials // Materiales
| ✔️ Paper | ✔️ Papel |
| ✔️ Cardboard | ✔️ Cartón |
| ✔️ Ruler, marker and compass | ✔️ Regla, marcador y compás |
| ✔️ Scissors | ✔️ Tijeras |
| ✔️ White paint and light carmelite | ✔️ Pintura blanca y carmelita claro |
| ✔️ Brushes | ✔️ Pinceles |
| ✔️ Silicone gun | ✔️ Pistola de silicona |
Step by step // Paso a paso
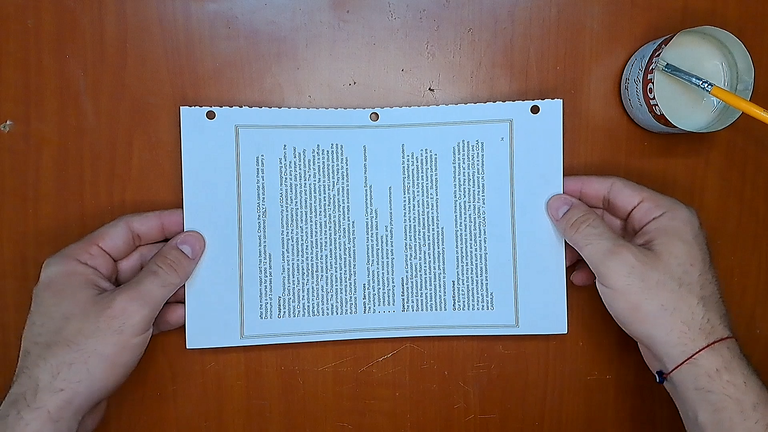
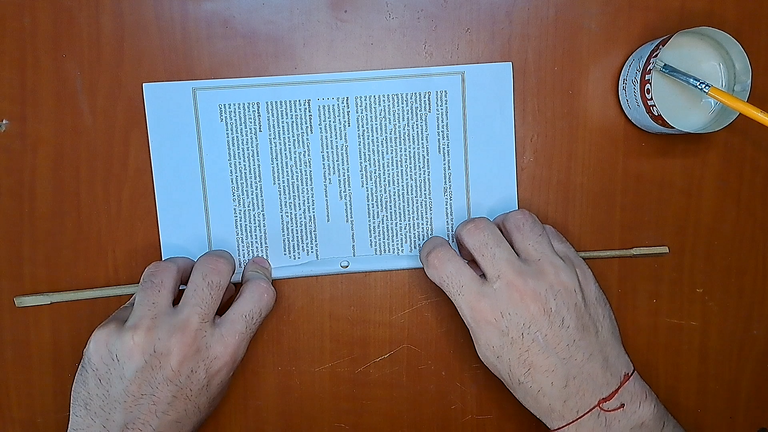
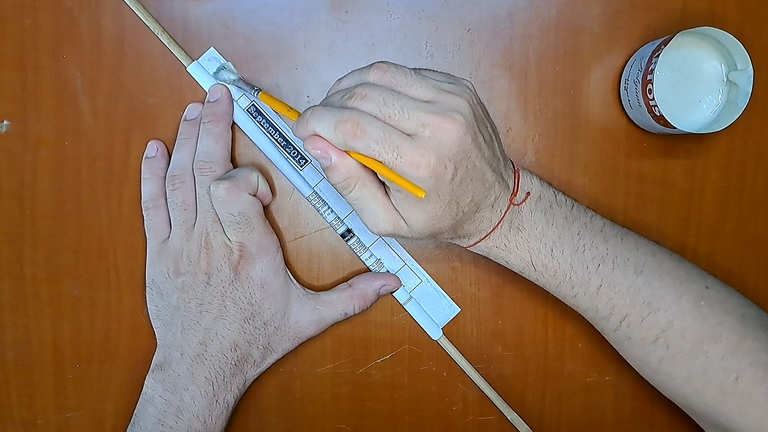
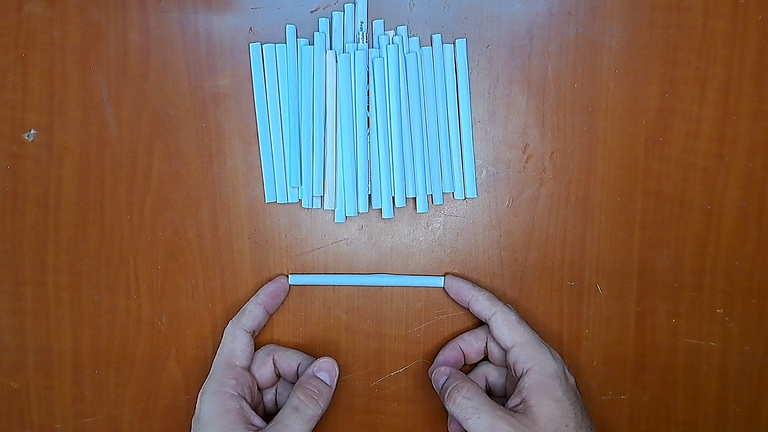
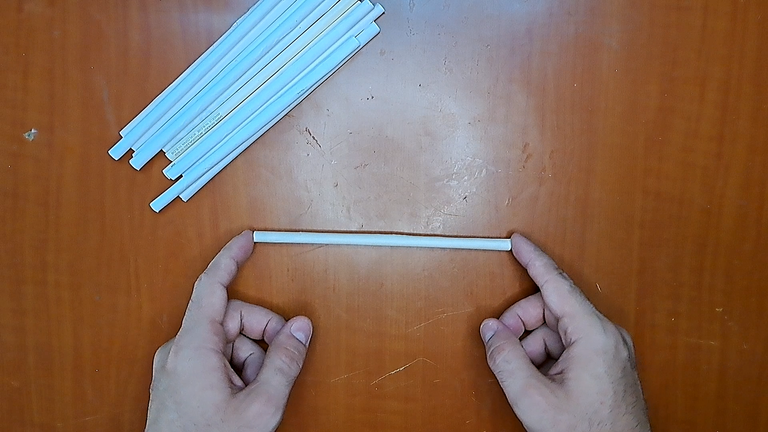
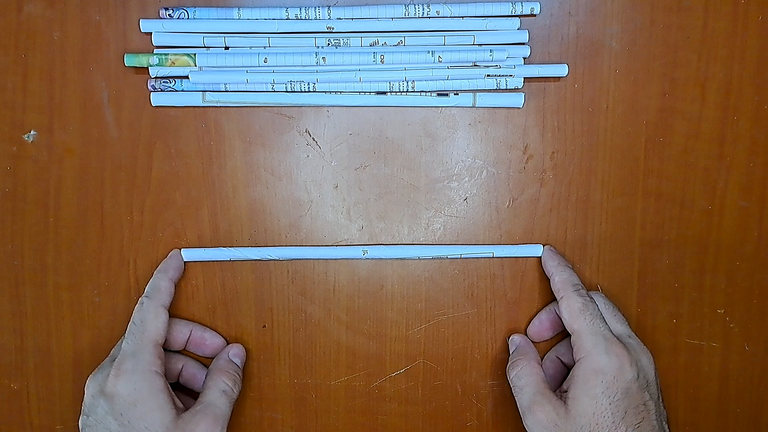
1️⃣ The first thing to do is to take the sheets of paper and wrap them on their longest side to form the paper rolls. To make the paper rolls we can use chopsticks or some other cylindrical tool of at least 6 mm in diameter. Once the rolls are made, cut them into segments of 11 cm, 18 cm and 25 cm.
1️⃣ Lo primero que se debe hacer es tomar las hojas de papel y envolverlas por su lado más largo para formar los rollitos de papel. Para hacer los rollitos de papel podemos utilizar unos palillos chinos o alguna otra herramienta cilíndrica de al menos 6 mm de diámetro. Una vez hechos los rollitos, los cortaremos en segmentos de 11 cm, 18 cm y 25 cm.
 |
 |
 |
 |
 |
 |
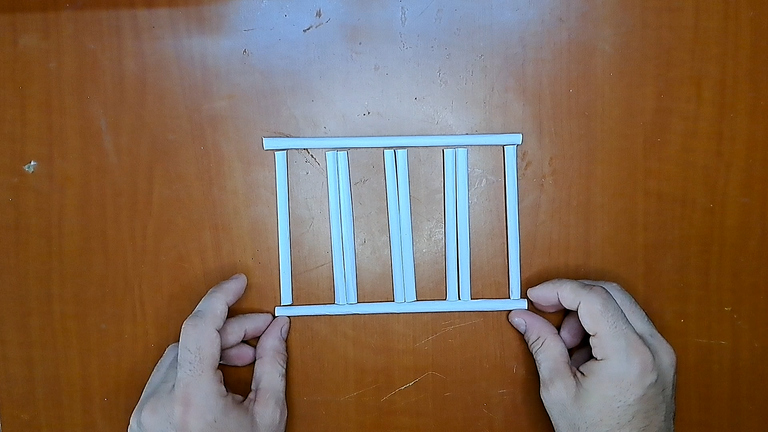
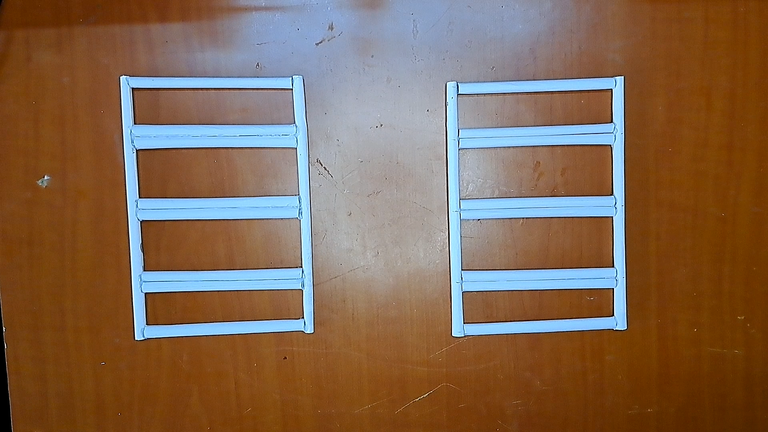
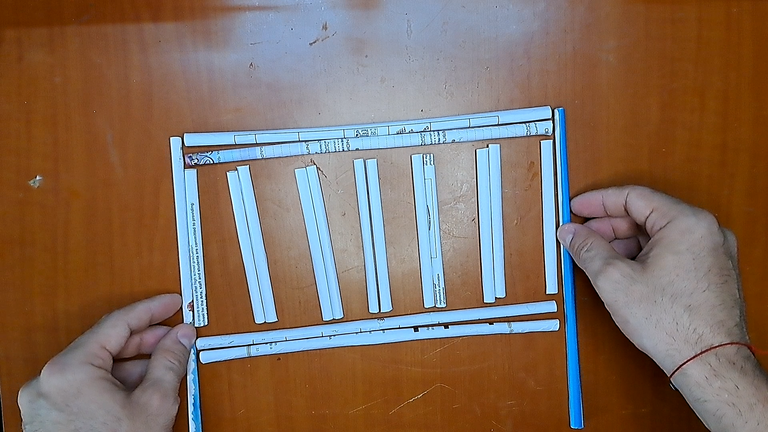
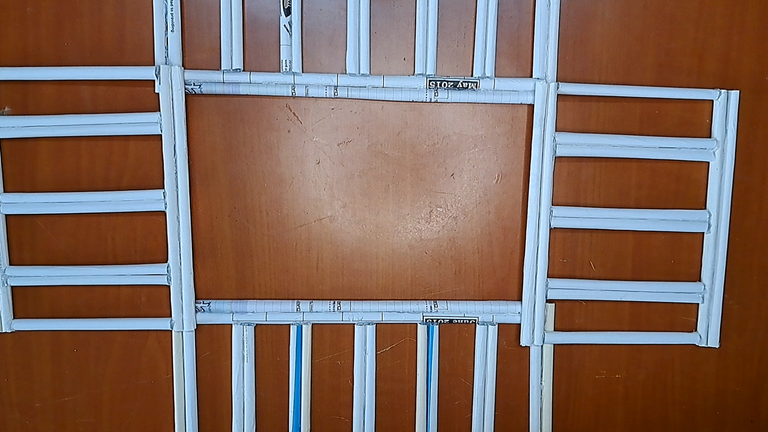
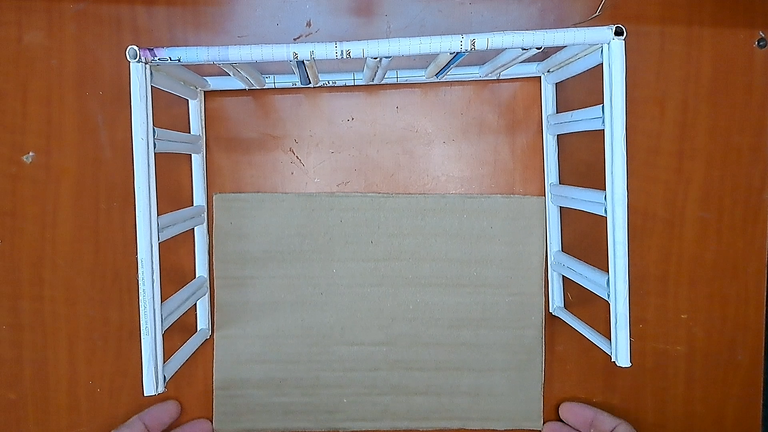
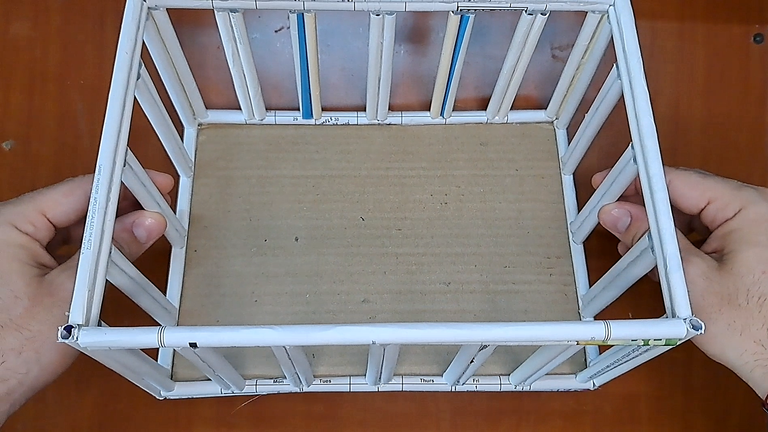
2️⃣ With the segments we will form the grids that make up the sides of the chest. After creating the grids, we will glue them together, but not before putting a 25 cm x 18 cm piece of cardboard at the bottom.
2️⃣ Con los segmentos formaremos las rejillas que componen los laterales del cofre. Luego de creadas las rejillas, las pegaremos entre sí, no sin antes poner en el fondo una pieza de cartón de 25 cm x 18 cm.
 |
 |
 |
 |
 |
 |
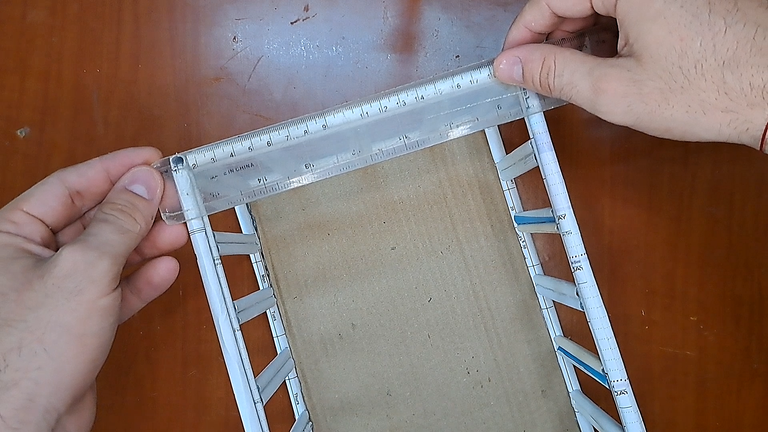
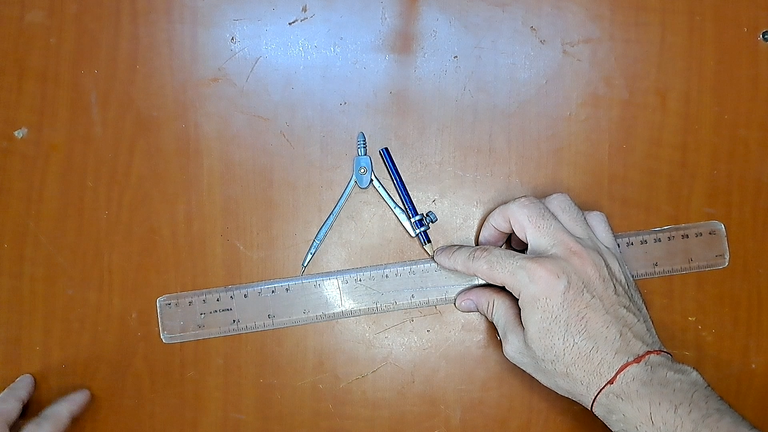
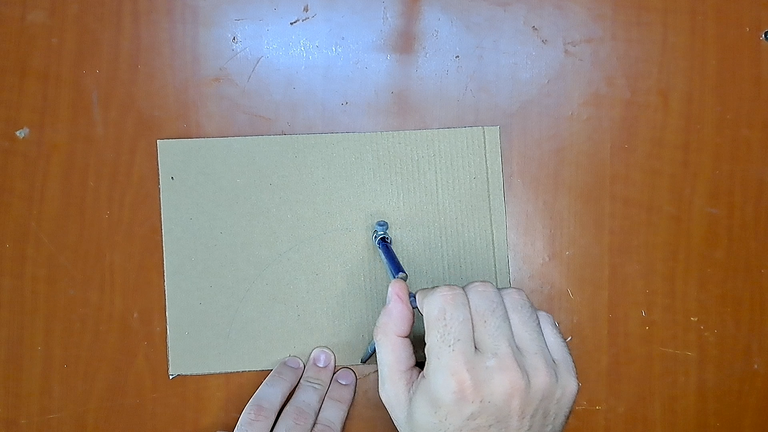
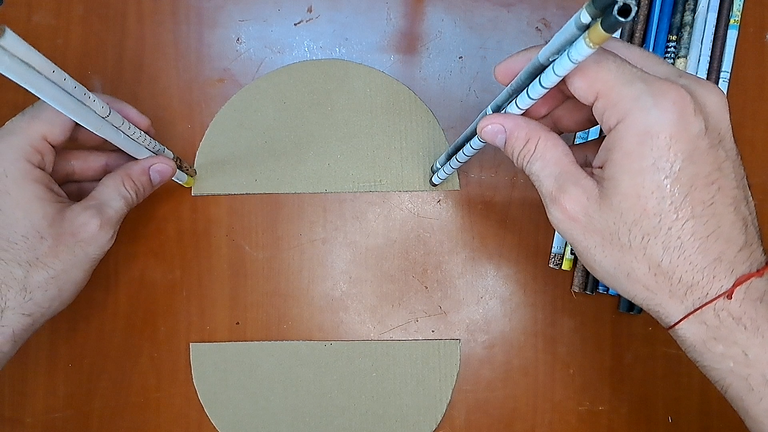
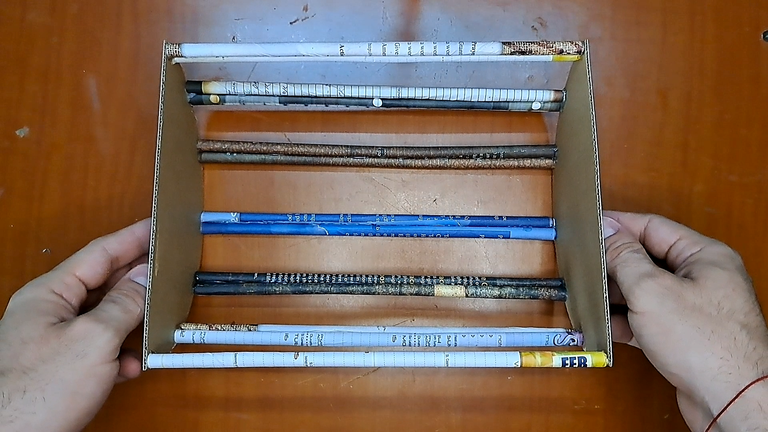
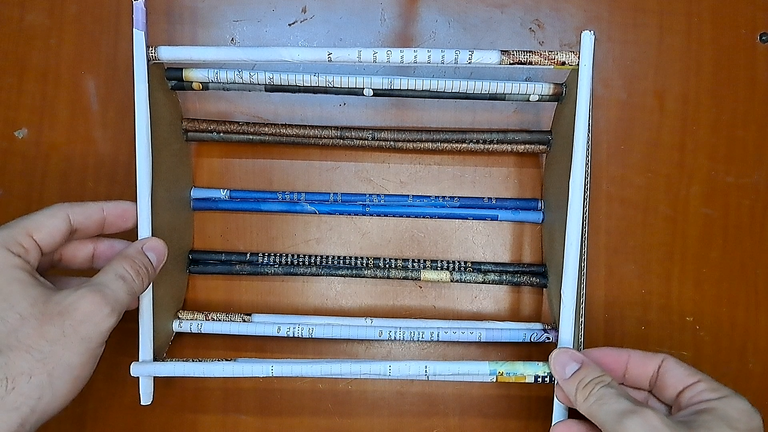
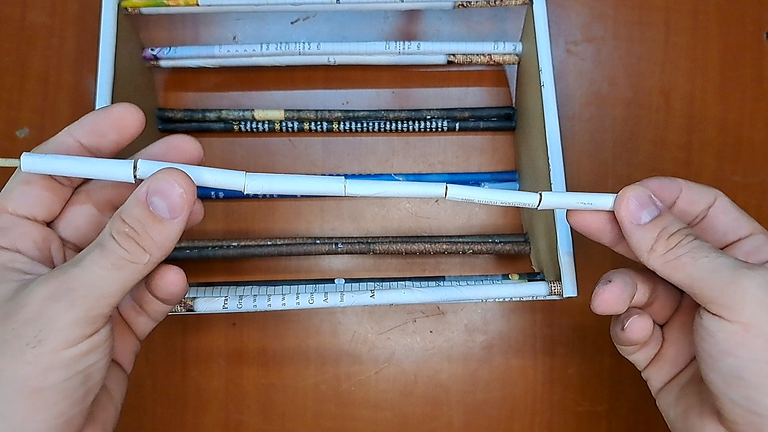
3️⃣ Now we will create the lid of the chest. To do this, we measure the length of the side grids and using a compass we will draw and cut out two semicircles. We will join the semicircles together using the larger paper rolls. Additionally, we will put the frames to the lid and the lock system, which consists of a set of paper rolls, which will be glued to the lid and the chest but in an intercalary way.
3️⃣ Ahora crearemos la tapa del cofre. Para ello, medimos la longitud de las rejillas laterales y utilizando un compás dibujaremos y recortaremos dos semicírculos. A los semicírculos los uniremos entre sí utilizando los rollitos de papel más grandes. Adicionalmente, pondremos los marcos a la tapa y el sistema de cerradura, el cual consiste en un conjunto de rollitos de papel, los cuales irán pegados a la tapa y al cofre pero en forma intercalada.
 |
 |
 |
 |
 |
 |
 |
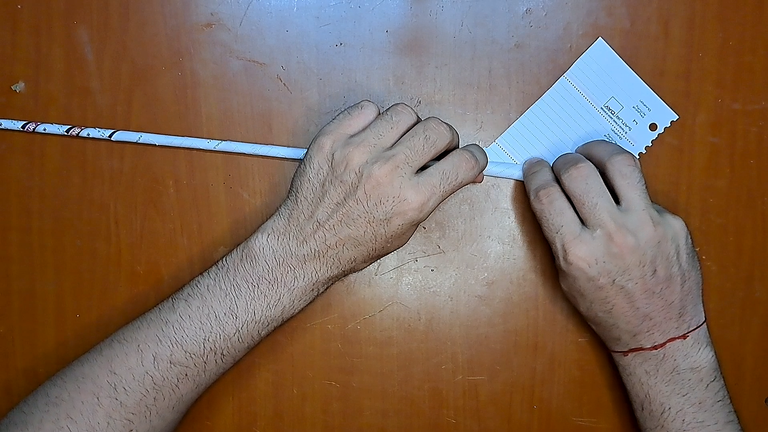
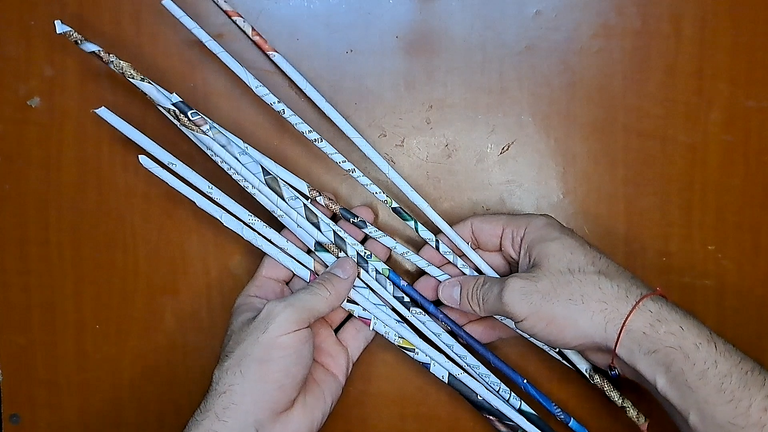
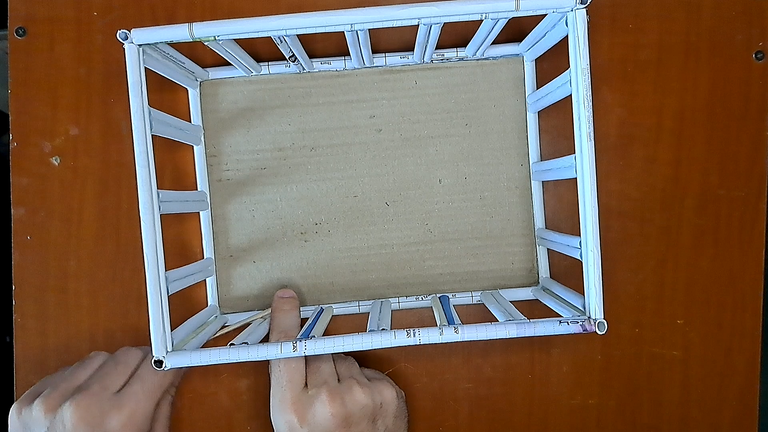
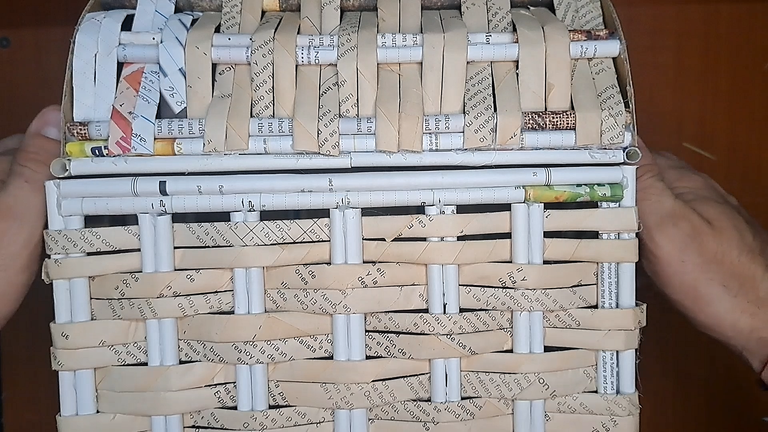
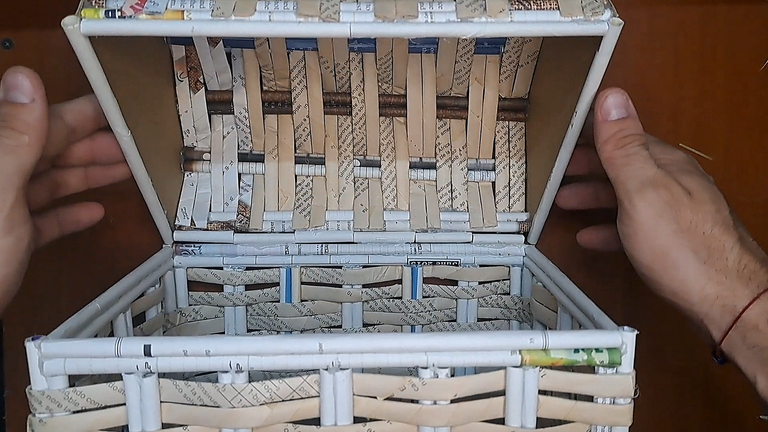
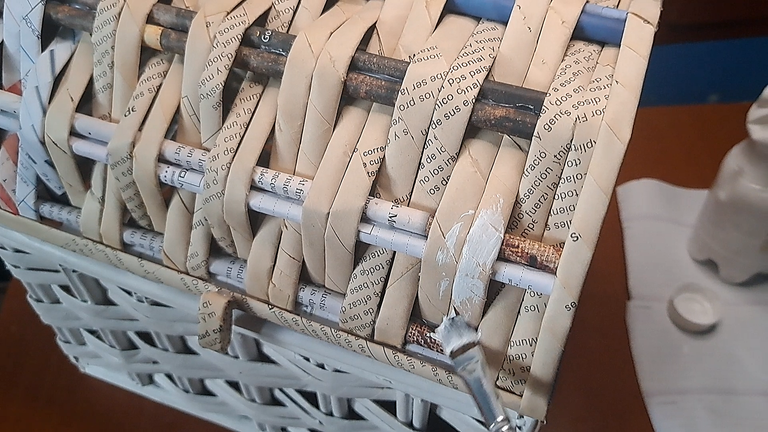
4️⃣ The structure of the chest is ready and now we will create a few more paper rolls, but this time these paper rolls will be much longer than the others. One option is to cut the sheets in half and glue the ends together to make them longer. After creating the rolls, we will flatten them and weave them between the pillars of the grids.
4️⃣ Ya estaría lista la estructura del cofre y ahora pasaremos a crear unos cuantos rollitos de papel más, pero esta vez estos rollitos de papel serán mucho más largos que los otros. Una opción es recortar las hojas a la mita y pegar sus extremos para largar su tamaño. Luego de creados los rollitos, los aplanaremos y entretejeremos entre los pilares de las rejillas.
 |
 |
 |
 |
 |
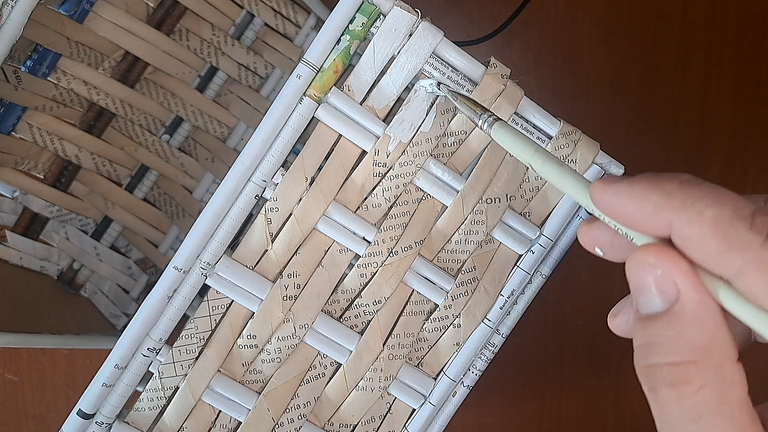
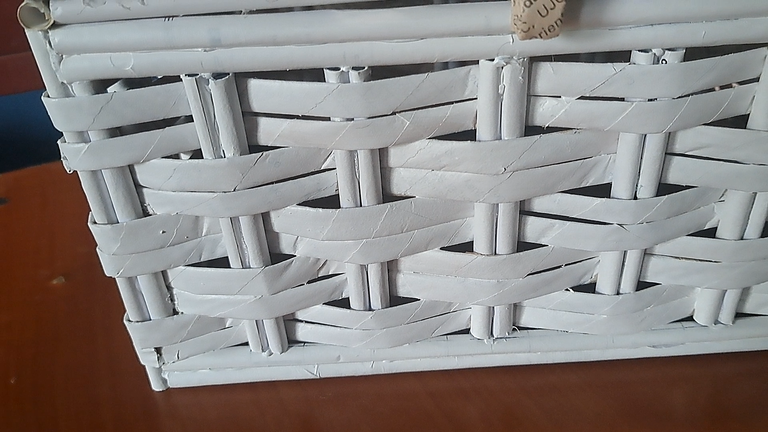
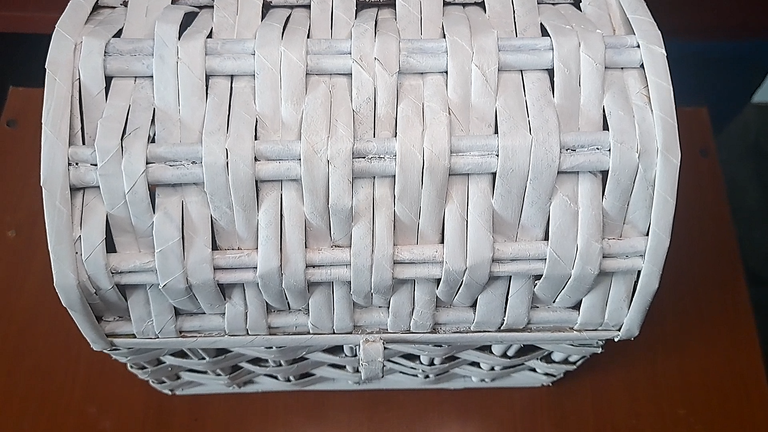
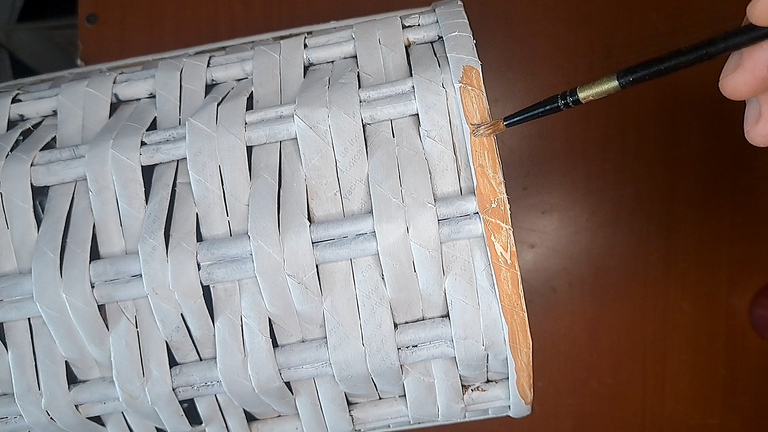
5️⃣ To finish we will apply a coat of white paint to the entire exterior surface of the chest. After the paint has dried, we will paint the lid frames with carmelite.
5️⃣ Para finalizar aplicaremos una capa de pintura blanca a toda la superficie exterior del cofre. Luego de secada la pintura pintaremos de carmelita los marcos de la tapa.
 |
 |
 |
 |
 |
And so we come to the end of the tutorial. I hope you liked it and found it useful. I'll say goodbye for now, but not before remembering that you can leave me your considerations in the comments, because I will be happy to read them.
Y así llegamos al final del tutorial. Espero que fuese de su agrado y le resultase útil. Yo por ahora me despido, pero no si antes recordares que pueden dejarme sus consideraciones en los comentarios, pues estaré encantado de leerlos.
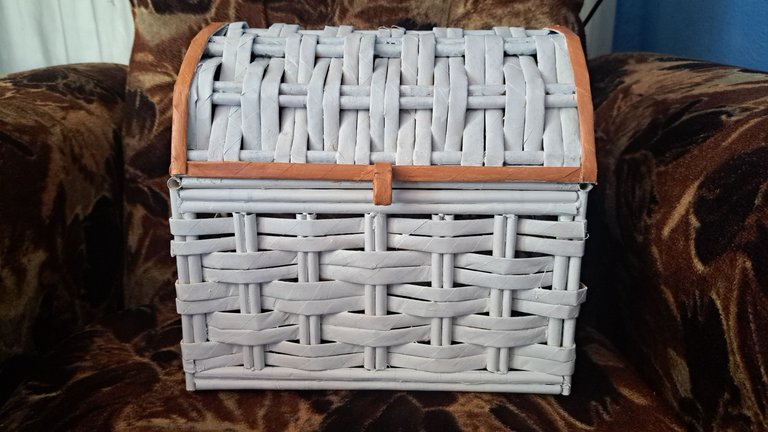
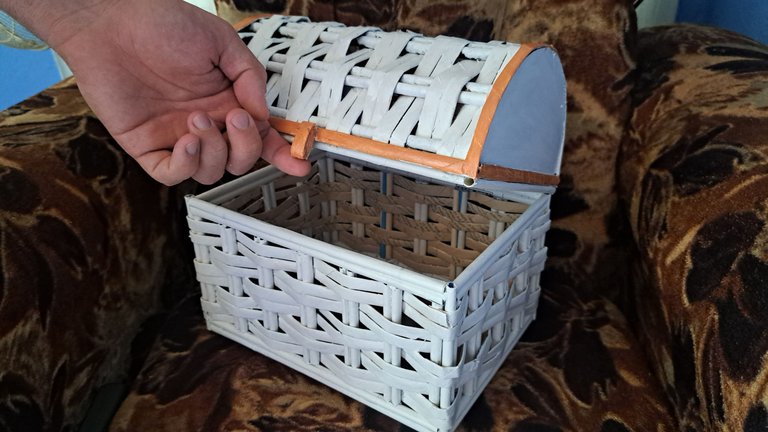
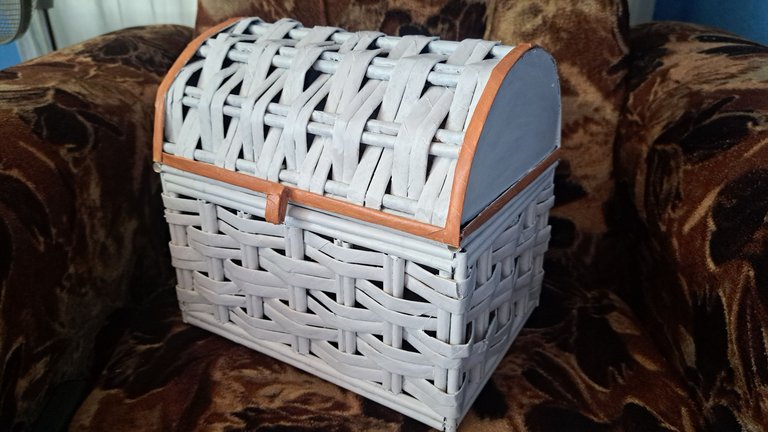
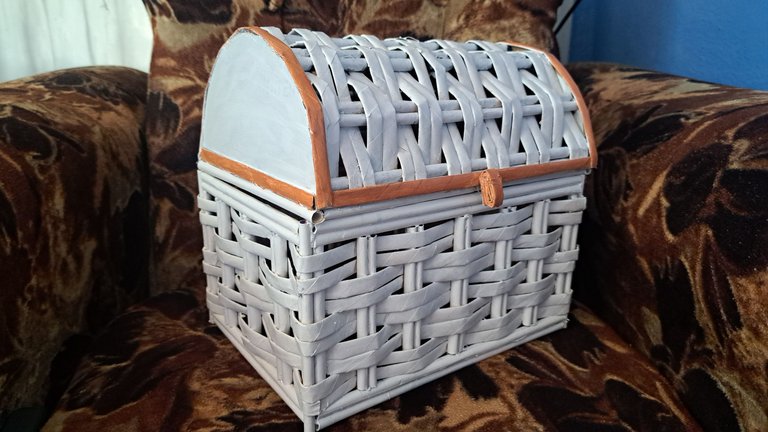
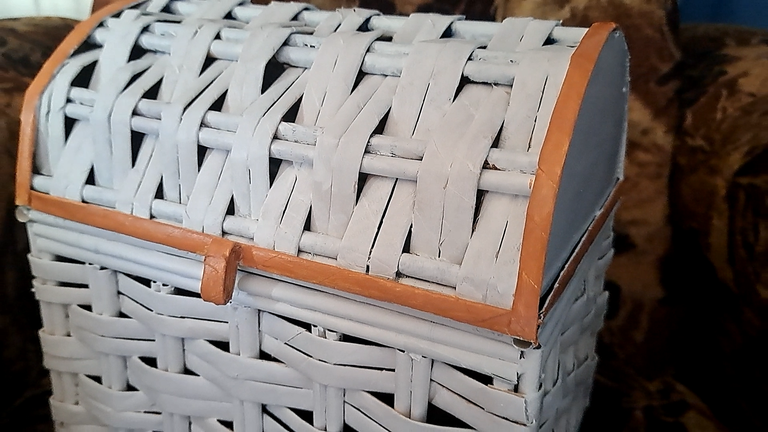
Finished Work // Trabajo Terminado
 |
 |
 |
 |
 |

Thank you very much for reading my post. If you liked it, please leave a comment and consider following me so you don't miss my next posts. I'd love to know your opinion and your thoughts about the topic I discussed in this post, see you in the next one!

Credits and Resources // Créditos y Recursos
Cover page created in Canva Pro
Translated by DeepL
Video and images captured with my Samsung Galaxy A53
Edited in Wondershare Filmora 13
Music by Sergii Pavkin from Pixabay


▶️ 3Speak

