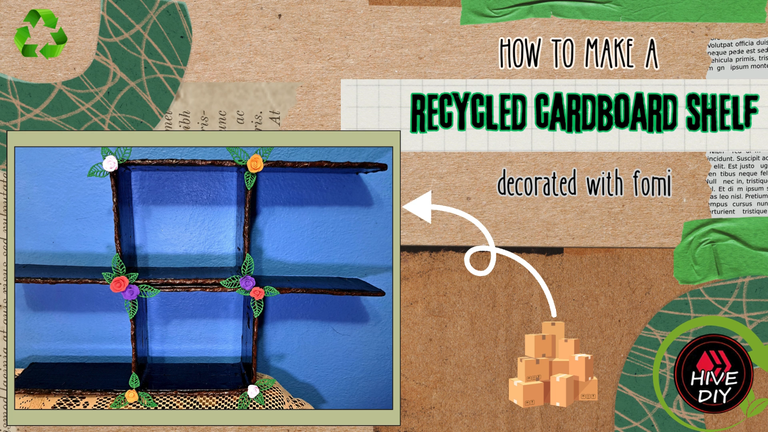
Greetings friends of the community. Even though World Environment Day was last June 5th, I am still focusing my crafts on recycling. No matter how important the date is, every day can be World Environment Day if we somehow do our bit for the environment.
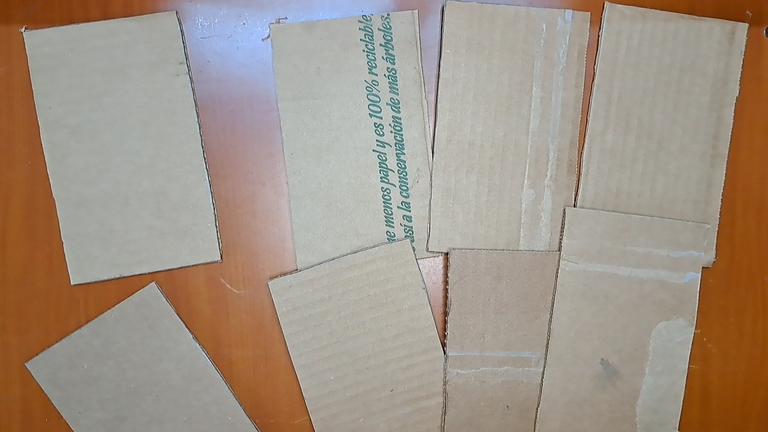
For my part, I have decided to do something with the excess cardboard and papers I have stored, so today I bring you a video tutorial where I will show you how to make some shelves using recycled cardboard and then decorating them with fomi. I must say that this craft not only contributes to recycling, but also helps me to organize a little my work station and will allow me in the future to have some tools at hand but with easy access.
But well, without further ado, let's start with the tutorial, which I hope you like. Remember that the exact measurements are in the video, as well as a more detailed explanation.
! [Spanish Version Here]
Saludos amigos de la comunidad. A pesar de que el día mundial del medio ambiente fue el pasado 5 de junio, todavía sigo enfocando mis manualidades en el reciclaje. No importa qué tan importante sea la fecha que haya pasado, todos los días pueden ser el día del medio ambiente si de alguna manera aportamos nuestro granito de arena en su cuidado.Por mi parte, he decidido hacer algo con el exceso de cartón y papeles que tengo almacenados, así que hoy les traigo un videotutorial donde les mostraré cómo hacer unas repisas utilizando cartón reciclado y posteriormente adornándolas con fomi. Debo decir que esta manualidad no solo aporta al reciclaje, sino que también me ayuda a organizar un poco mi puesto de trabajo y me permitirá en el futuro tener algunas herramientas a mano pero con fácil acceso.
Pero bueno, sin más dilaciones, empecemos con el tutorial, el cual espero que sea de su agrado. Recuerden que las medidas exactas están en el video, así como una explicación más detallada.
Materials // Materiales
| ✔️ Recycled cardboard | ✔️ Cartón reciclado |
| ✔️ Cutting and carving tools | ✔️ Herramientas de corte y troqueles |
| ✔️ Silicone gun | ✔️ Pistola de silicona |
| ✔️ Adhesive with a flour base | ✔️ Pegamento con base de harina |
| ✔️ Scissors, ruler, and pencil | ✔️ Tijeras, regla y lápiz |
| ✔️ Moldable Fomi and green Fomi sheet | ✔️ Fomi moldeable y lámina de fomi verde |
| ✔️ Magazine paper and kitchen paper | ✔️ Papel de revista y papel de cocina |
| ✔️ Carmelite paint and black acetite paint | ✔️ Pintura carmelita y pintura de acetite negra |
| ✔️ Brush set | ✔️ Set de pinceles |

⚜️ Summary of the Tutorial // Resumen del Tutorial ⚜️
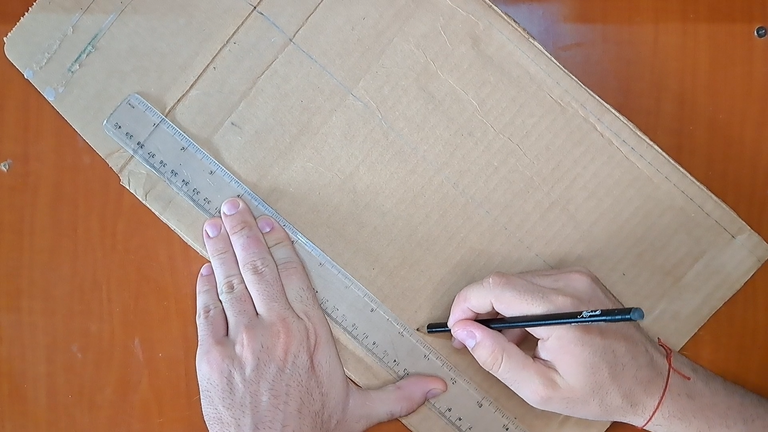
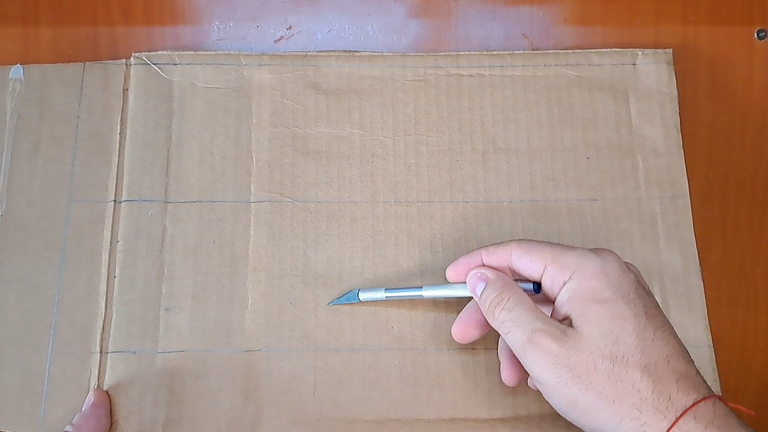
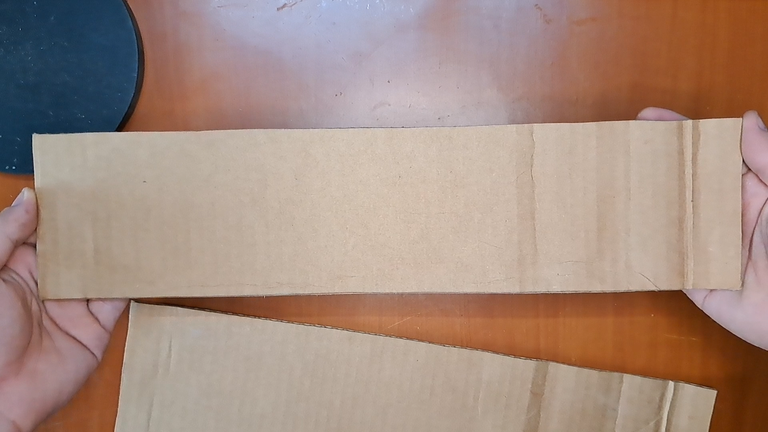
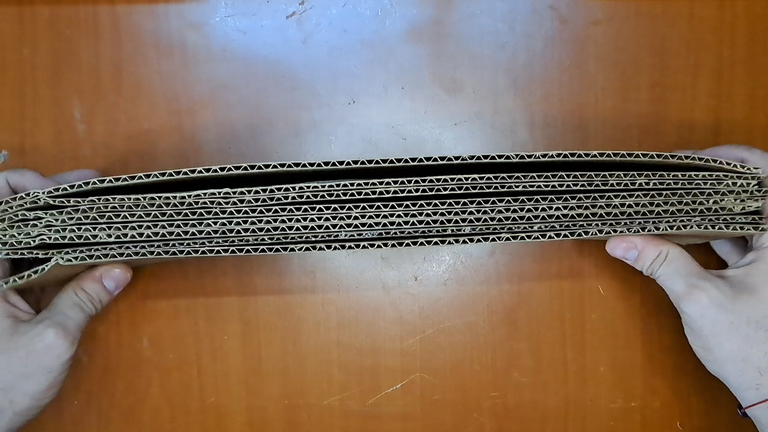
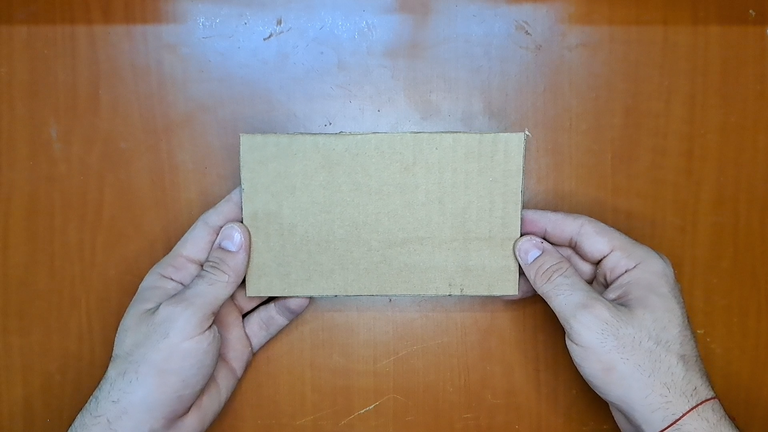
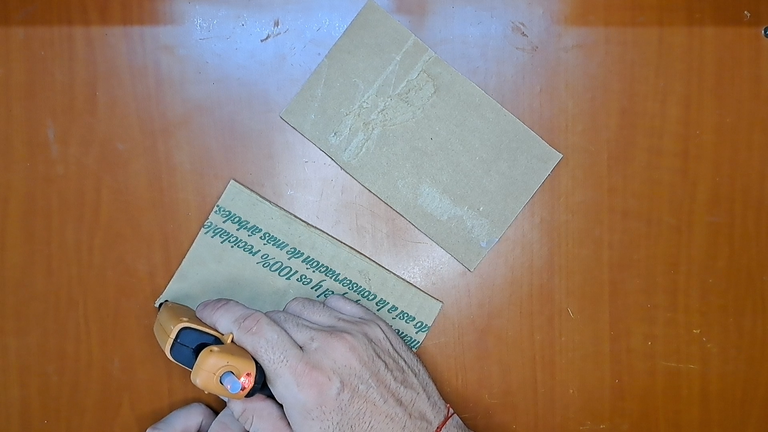
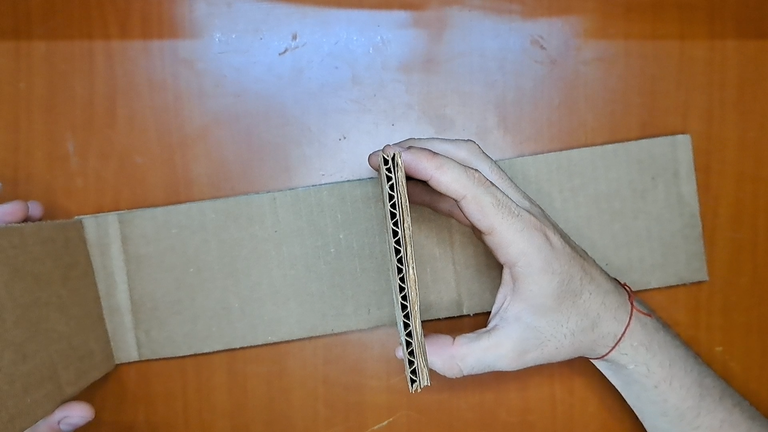
1️⃣ To begin, mark and cut out 8 cardboard strips of 40 cm x 10 cm, which we will glue in pairs to form four wider strips. To facilitate fastening and gluing, use toothpicks.
! [Spanish Version Here]
1️⃣ Para empezar, se deben marcar y recortar 8 listones de cartón de 40 cm x 10 cm, los cuales pegaremos en parejas para formar cuatro listones más anchos. Para facilitar la sujeción y el pegado, emplea palillos de tenderas.
 |
 |
 |
 |
 |
 |
2️⃣ Next, repeat the process of the previous step, but this time the measurements will be 20 cm x 10 cm. This way the divisions are ready.
! [Spanish Version Here]
2️⃣ A continuación, se repite el proceso del paso anterior, pero esta vez las medidas serán 20 cm x 10 cm. De esta forma quedarían listas las divisiones.
 |
 |
 |
 |
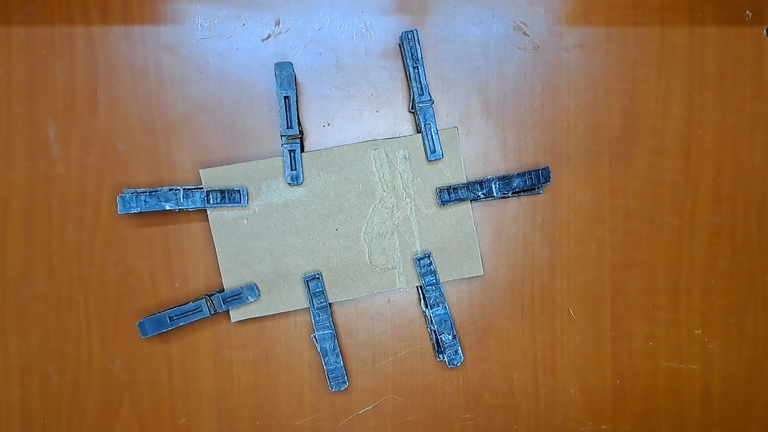 |
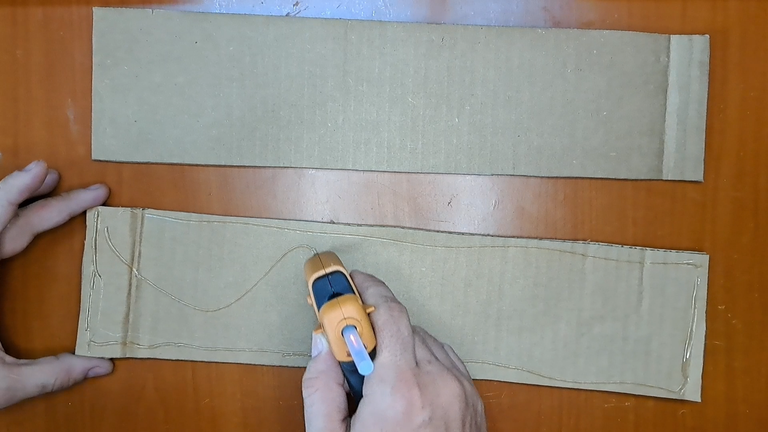
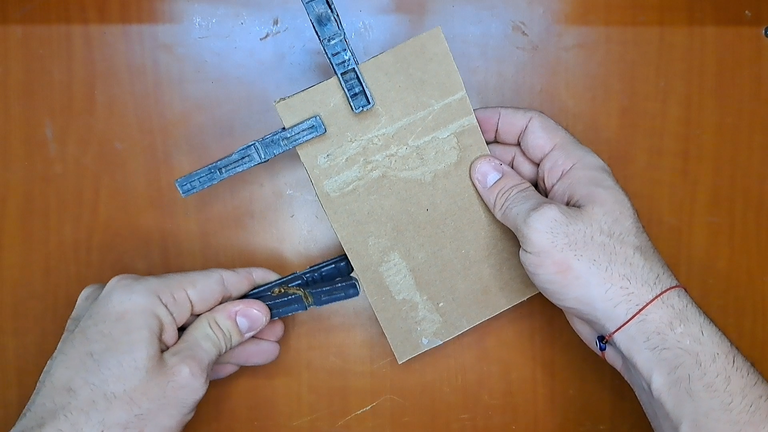
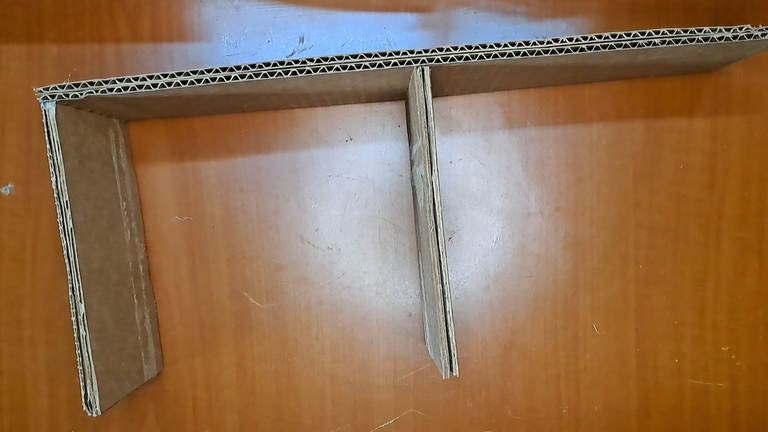
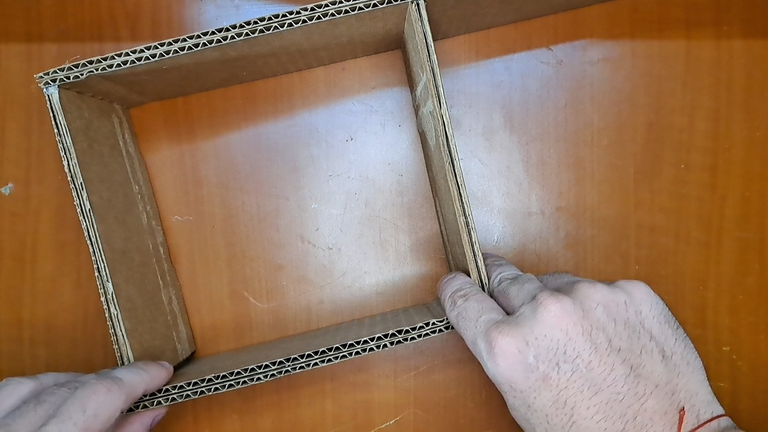
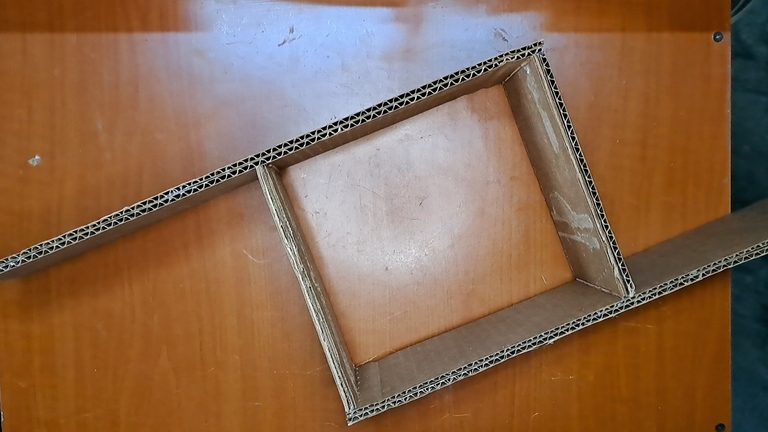
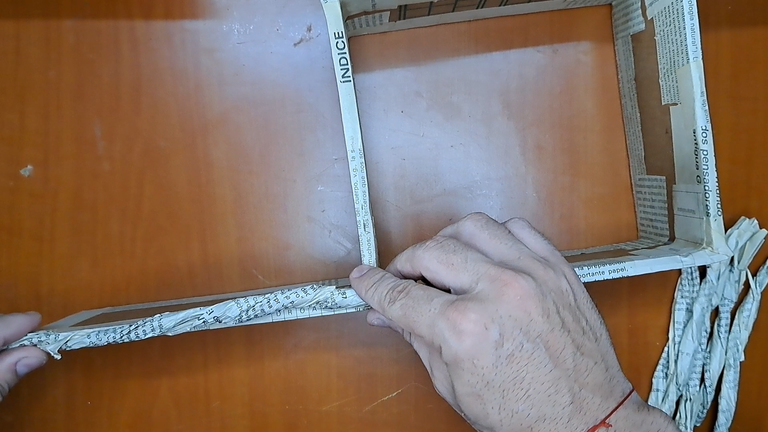
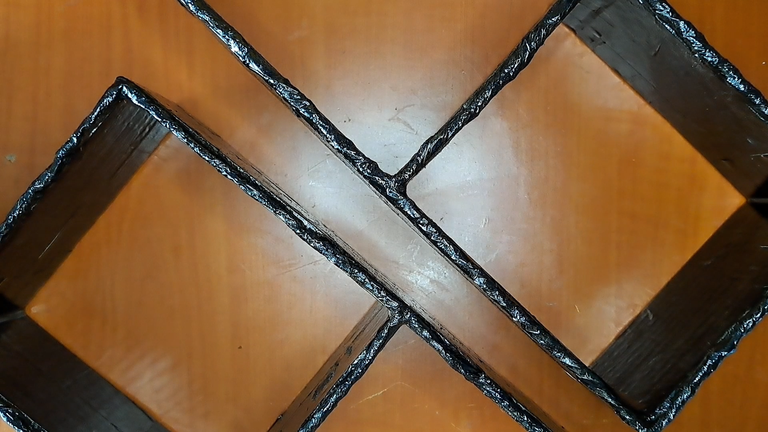
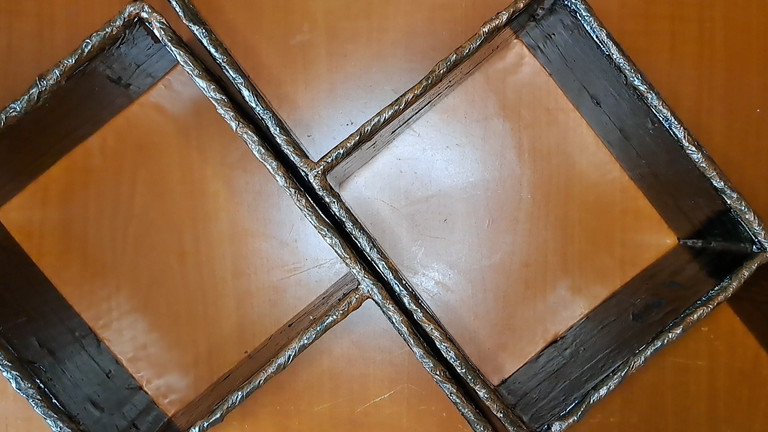
3️⃣ To create the main structure, mark the middle of the large slats and then glue two small slats perpendicularly. One slat will be glued in the middle and the other at one end.
! [Spanish Version Here]
3️⃣ Para crear la estructura principal se debe marcar la mitad de los listones grandes y luego pegar perpendicularmente dos listones pequeños. Un listón irá pegado en el medio y el otro en uno de sus extremos.
 |
 |
 |
 |
 |
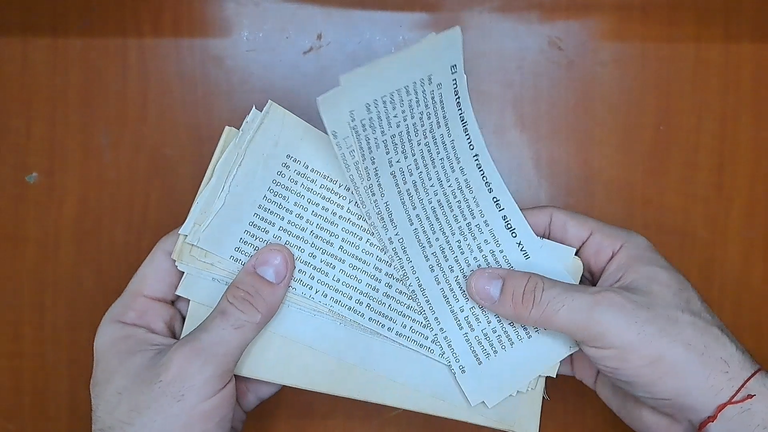
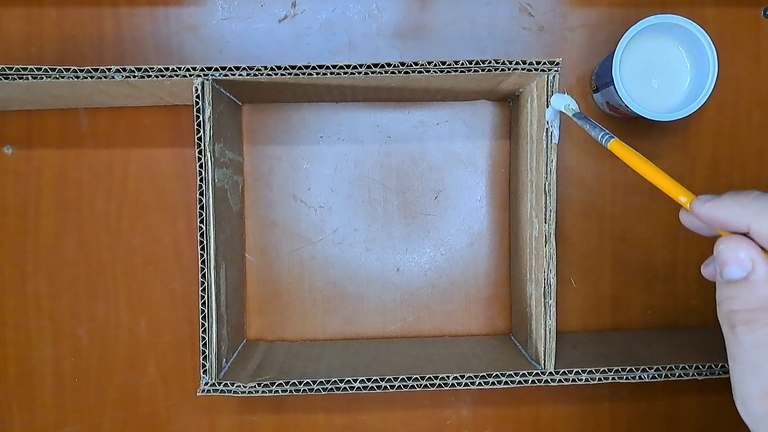
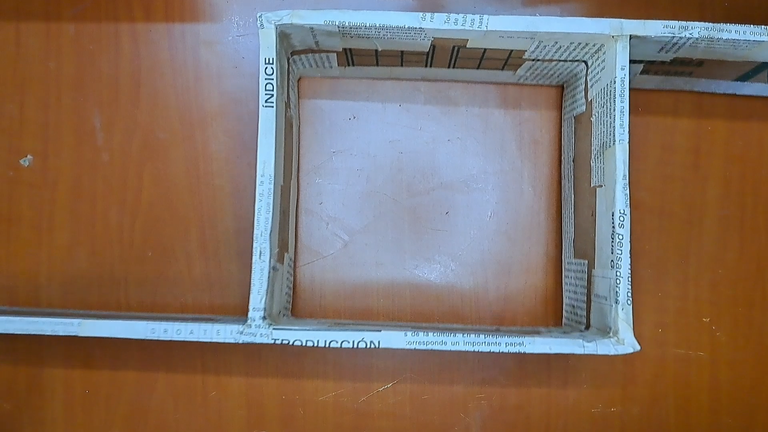
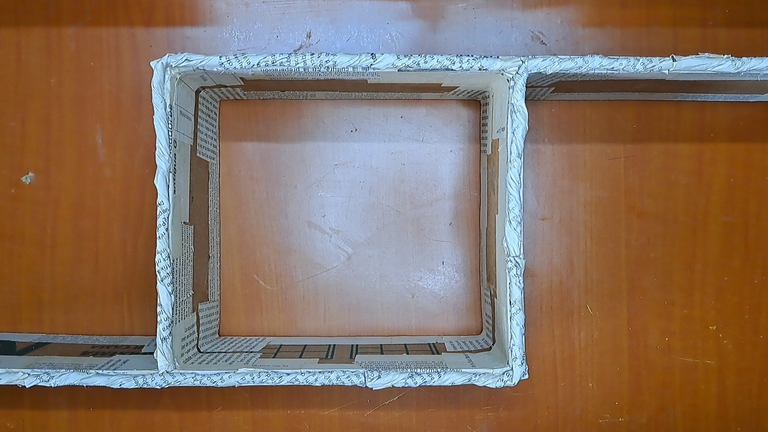
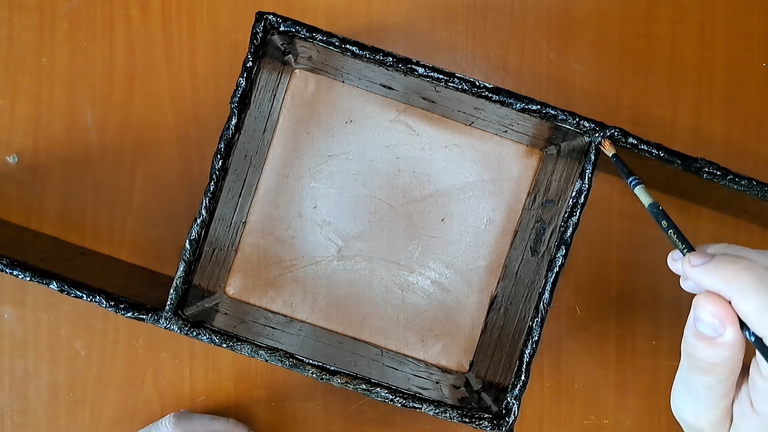
4️⃣ Once the structure is created, proceed to cut out magazine or newspaper, which will be glued around the entire edge of the structure using flour-based glue. Once it is dry, make rolls of magazine paper and glue them with silicone on one side of the structure to simulate the relief of a wooden branch.
! [Spanish Version Here]
4️⃣ Una vez creada la estructura, procede a recortar papel de revista o periódico, el cual se pegará alrededor de todo el borde de la estructura utilizando pegamento con base de harina. Una vez que esté seco, haz rollos de papel de revista y pégalos con silicona en una de las caras de la estructura para simular el relieve de una rama de madera.
 |
 |
 |
 |
 |
 |
 |
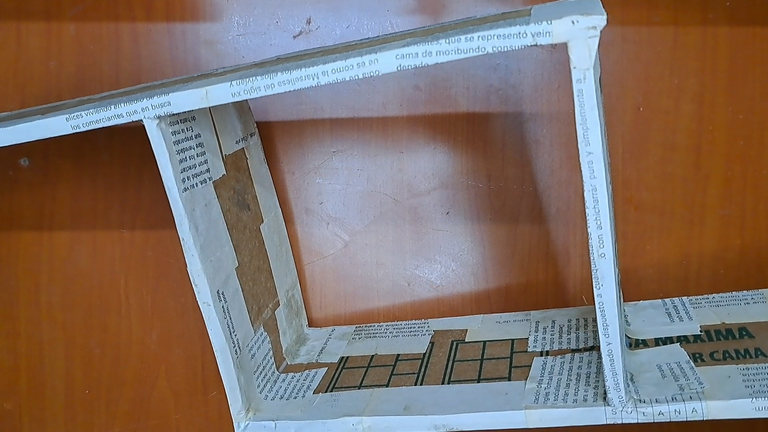
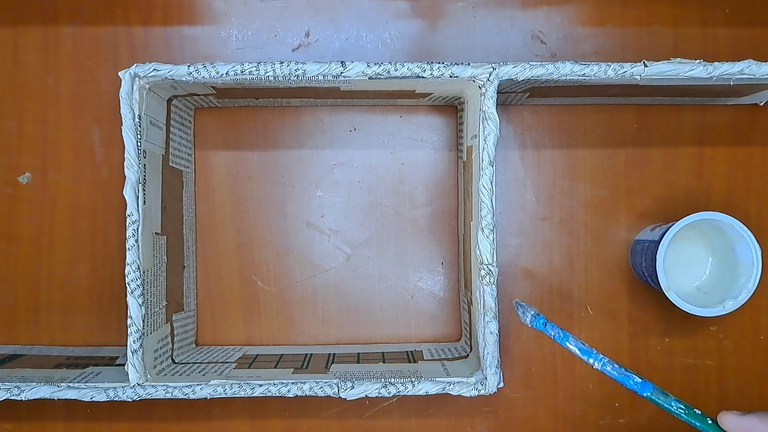
5️⃣ After gluing the paper rolls to the structure, cover them with paper towels and glue to integrate everything and seal the separations.
! [Spanish Version Here]
5️⃣ Luego de pegar los rollos de papel en la estructura, se procede a cubrirlos con papel de cocina y pegamento para integrarlo todo y sellar las separaciones.
 |
 |
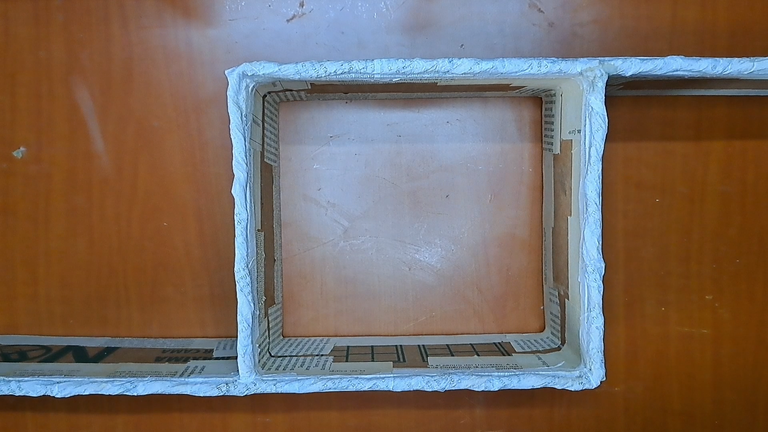 |
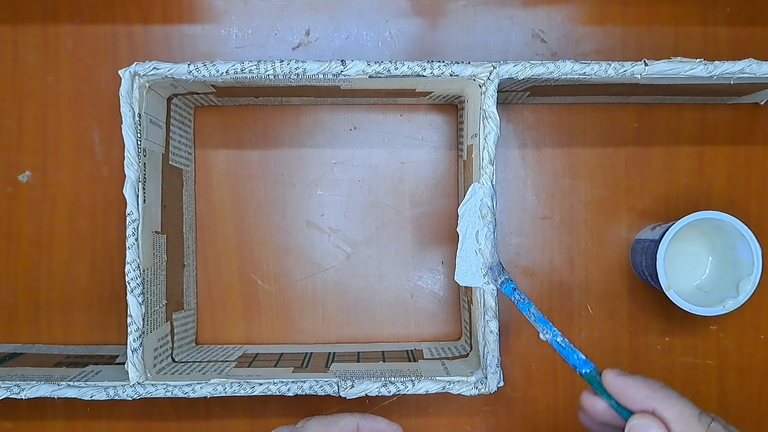
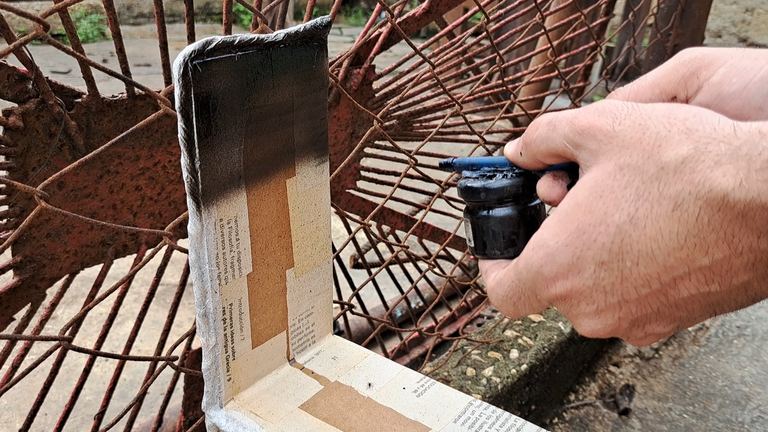
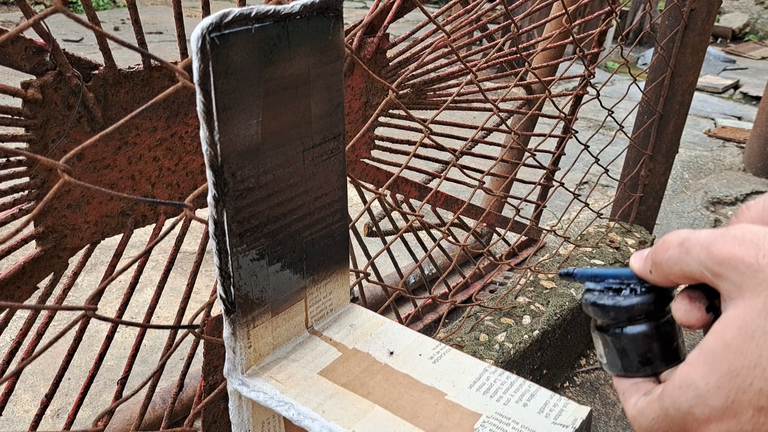
6️⃣ When everything is dry, apply a coat of black paint. I chose to use oil paint, as this ensures that the shelf is resistant to moisture. After drying for a while, a coat of carmelite paint is applied around the edge to color the faux wood branch.
! [Spanish Version Here]
6️⃣ Cuando todo esté seco, se aplica una capa de pintura negra. Yo escogí utilizar pintura de aceite, pues así garantizo que la repisa sea resistente a la humedad. Luego de secar por un tiempo, se aplica una capa de pintura carmelita por el borde para darle color a la rama de madera falsa.
 |
 |
 |
 |
 |
 |
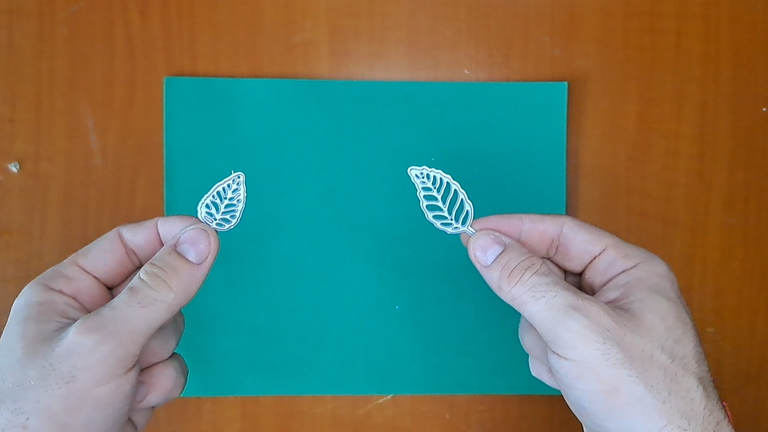
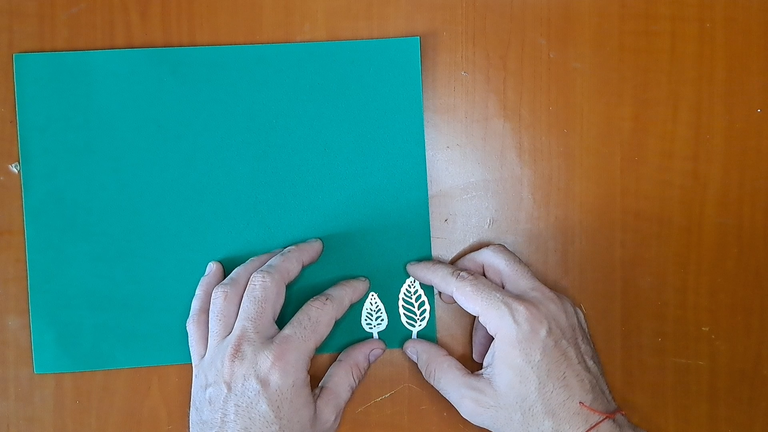
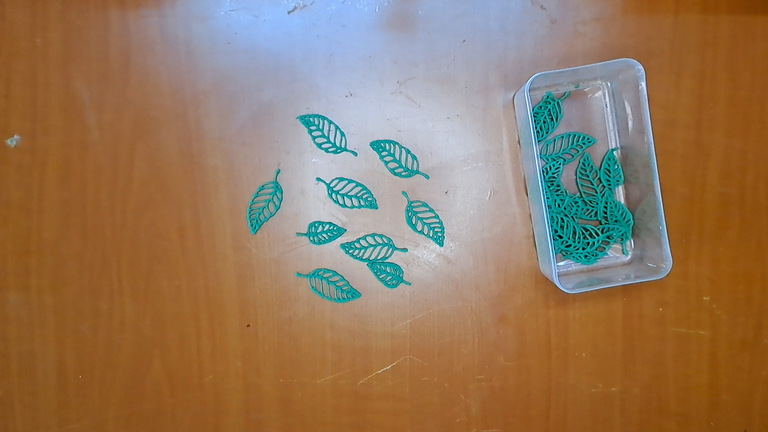
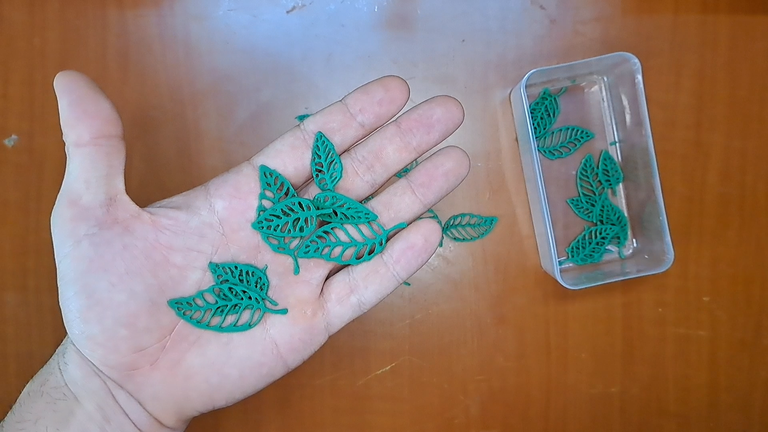
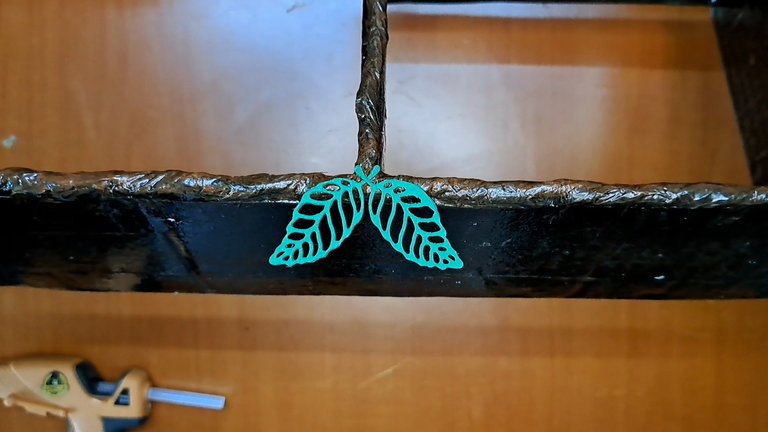
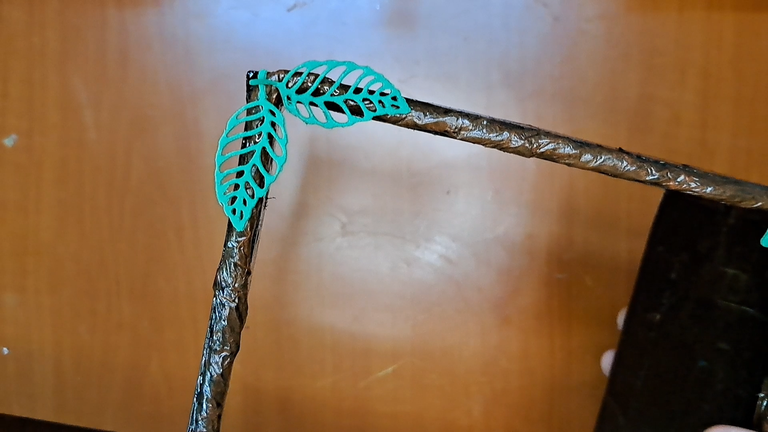
7️⃣ Next, cut out some leaves using a sheet of plain green fomi. These leaves will be glued to the corners of the structure and on top of the fake branch. For the leaves, I used die cuts, but you can also draw and cut them out by hand.
! [Spanish Version Here]
7️⃣ A continuación, se recortan unas hojas utilizando una lámina de fomi verde liso. Estas hojas se pegarán en las esquinas de la estructura y encima de la falsa rama. Para las hojas, he utilizado unos troqueles, pero también se pueden dibujar y recortar a mano.
 |
 |
 |
 |
 |
 |
 |
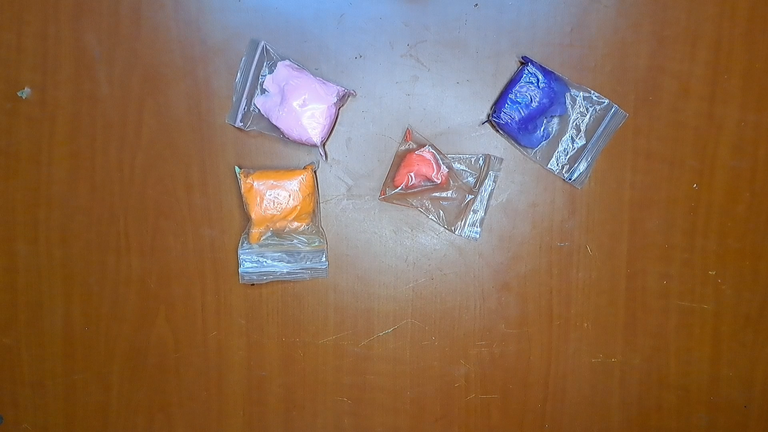
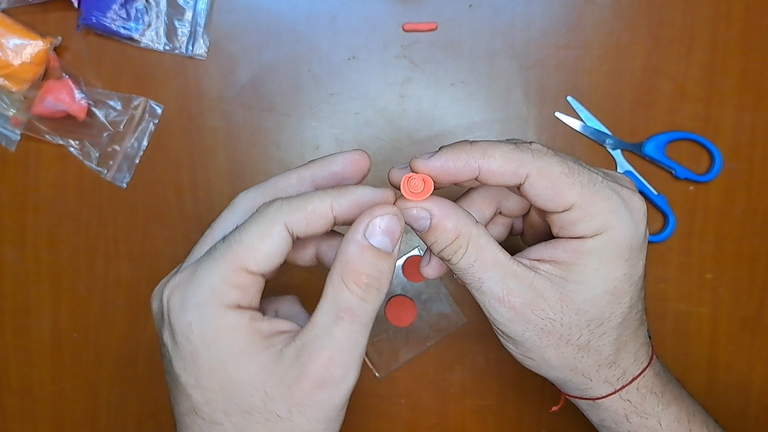
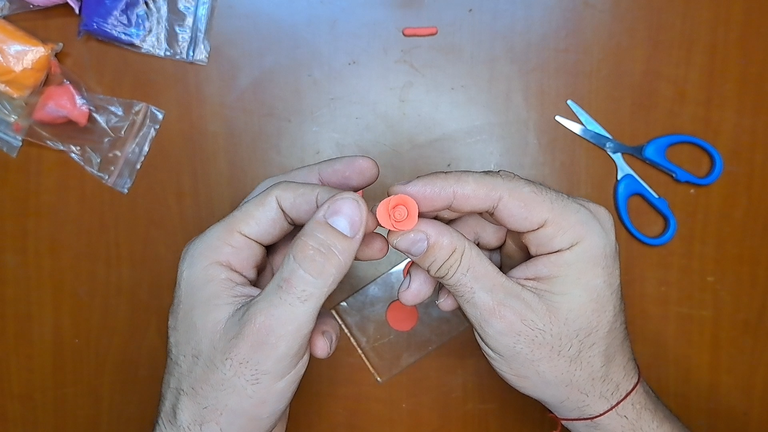
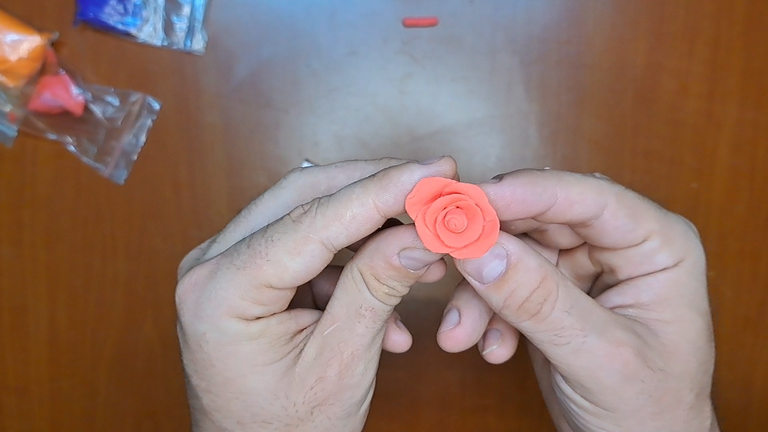
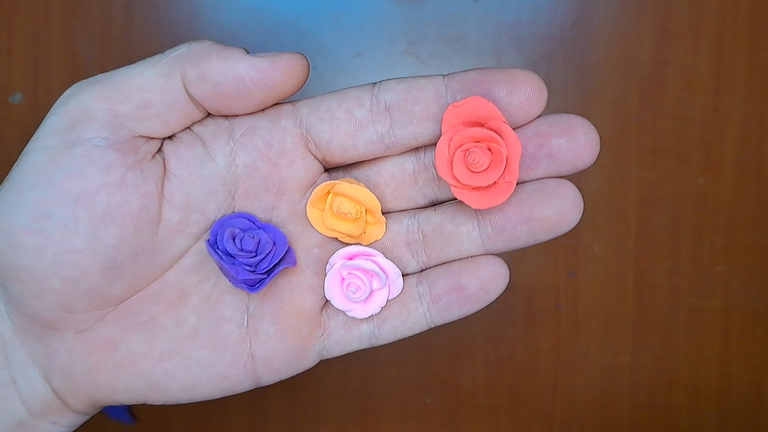
8️⃣ Then, using moldable fomi, 5 flowers of different colors will be created. These are made by flattening small balls of fomi to make the petals.
! [Spanish Version Here]
8️⃣ Luego, utilizando fomi moldeable, se crearán 5 flores de distintos colores. Estas se realizan aplanando bolitas de fomi para hacer los pétalos.
 |
 |
 |
 |
 |
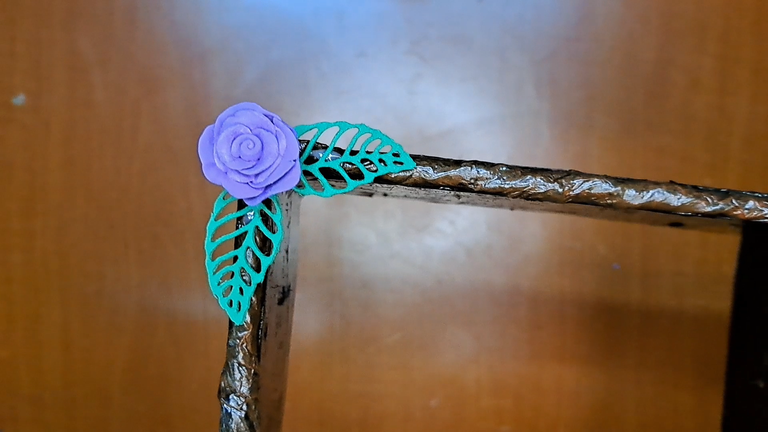
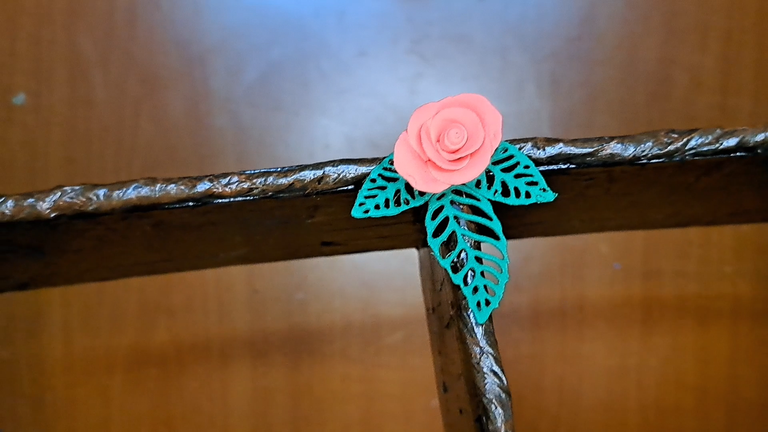
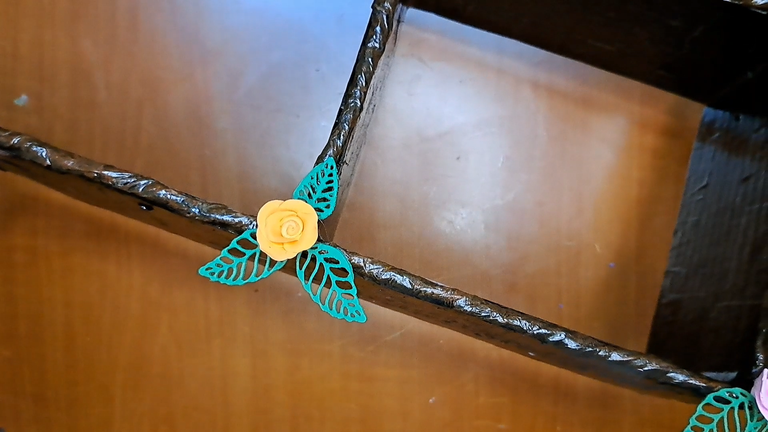
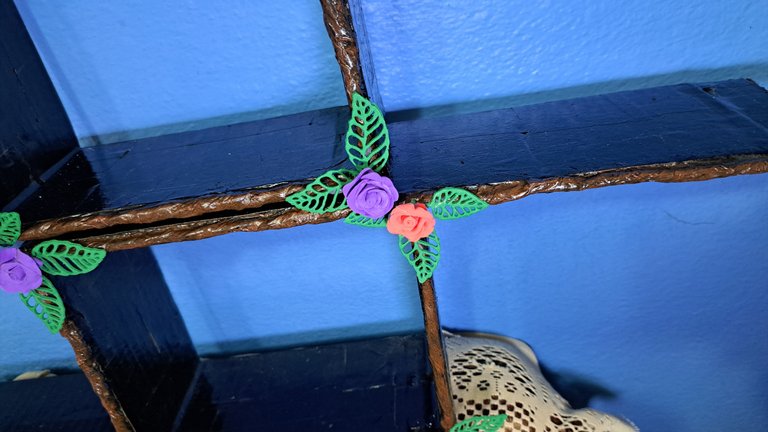
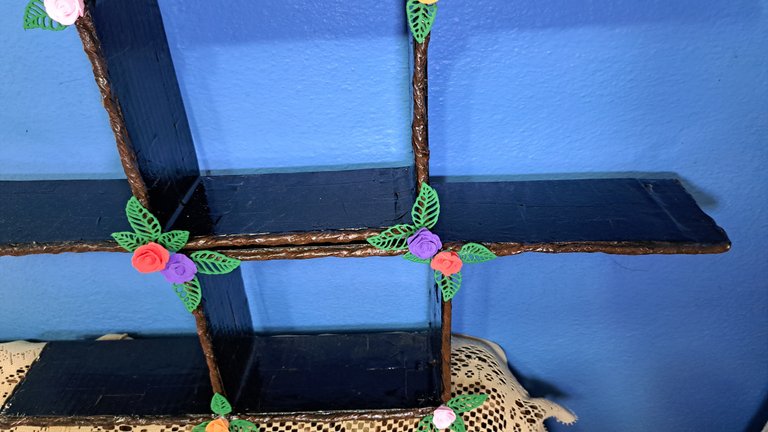
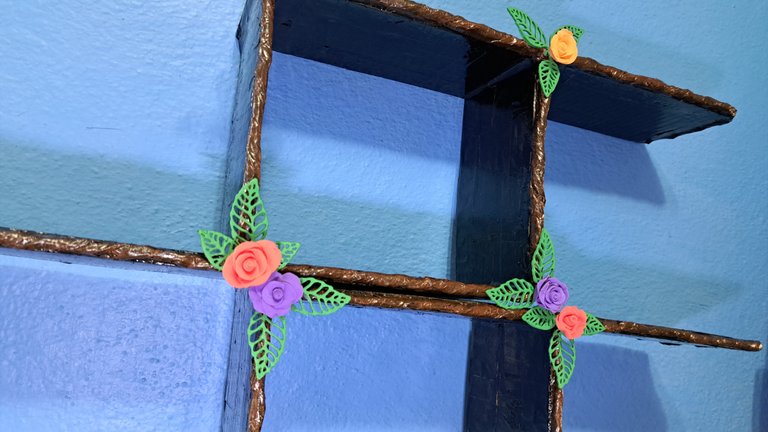
9️⃣ Finally, each of the flowers will be glued to the corners of the structure in such a way that they cover the joints of the leaves.
! [Spanish Version Here]
9️⃣ Para finalizar, cada una de las flores se pegará en las esquinas de la estructura de forma tal que cubran las uniones de las hojas.
 |  |
 | 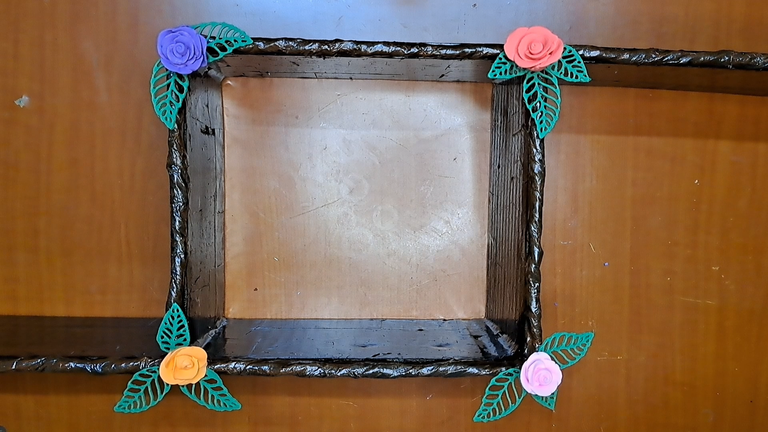 | 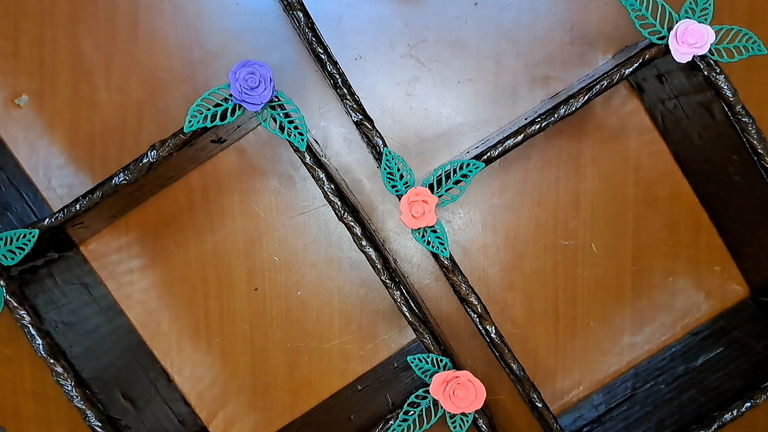 |
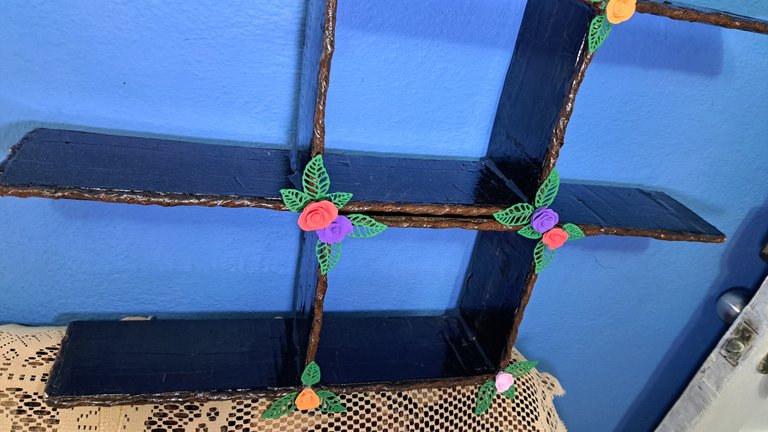
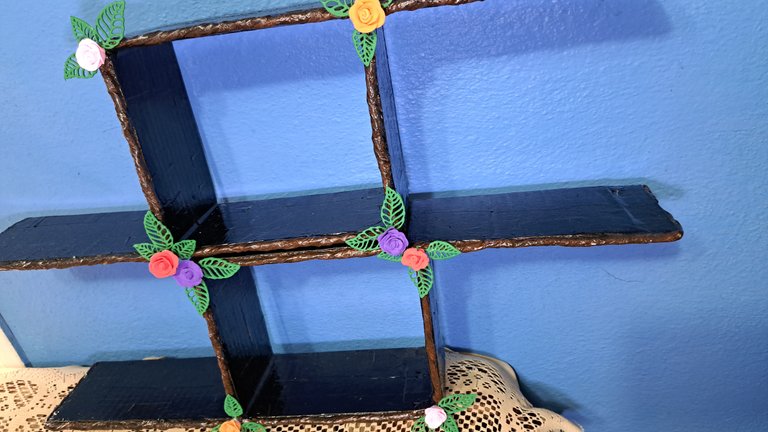
And this is the end of the tutorial. I remind you that each of the steps must be applied to the two shelves. Although they are separated, they actually form a single piece, which allows us to play with the distribution and the final shape.
! [Spanish Version Here]
Y de esta forma termina el tutorial. Les recuerdo que cada uno de los pasos debe ser aplicado a las dos repisas. Aunque están separadas, en realidad forman una sola pieza, lo que al estar separadas nos permite jugar con la distribución y la forma final.
⚜️ Finished Work // Trabajo Terminado ⚜️
 |  |
 |  |  |

Thank you very much for reading my post. If you liked it, please leave a comment and consider following me so you don't miss my next posts. I'd love to know your opinion and your thoughts about the topic I discussed in this post, see you in the next one!
Credits and Resources // Créditos y Recursos
Cover page created in Canva
Translated by DeepL
Video and images captured with my Samsung Galaxy A53 5G
Edited in Wondershare Filmora 13
Music by Melodigne M from Pixabay


▶️ 3Speak


