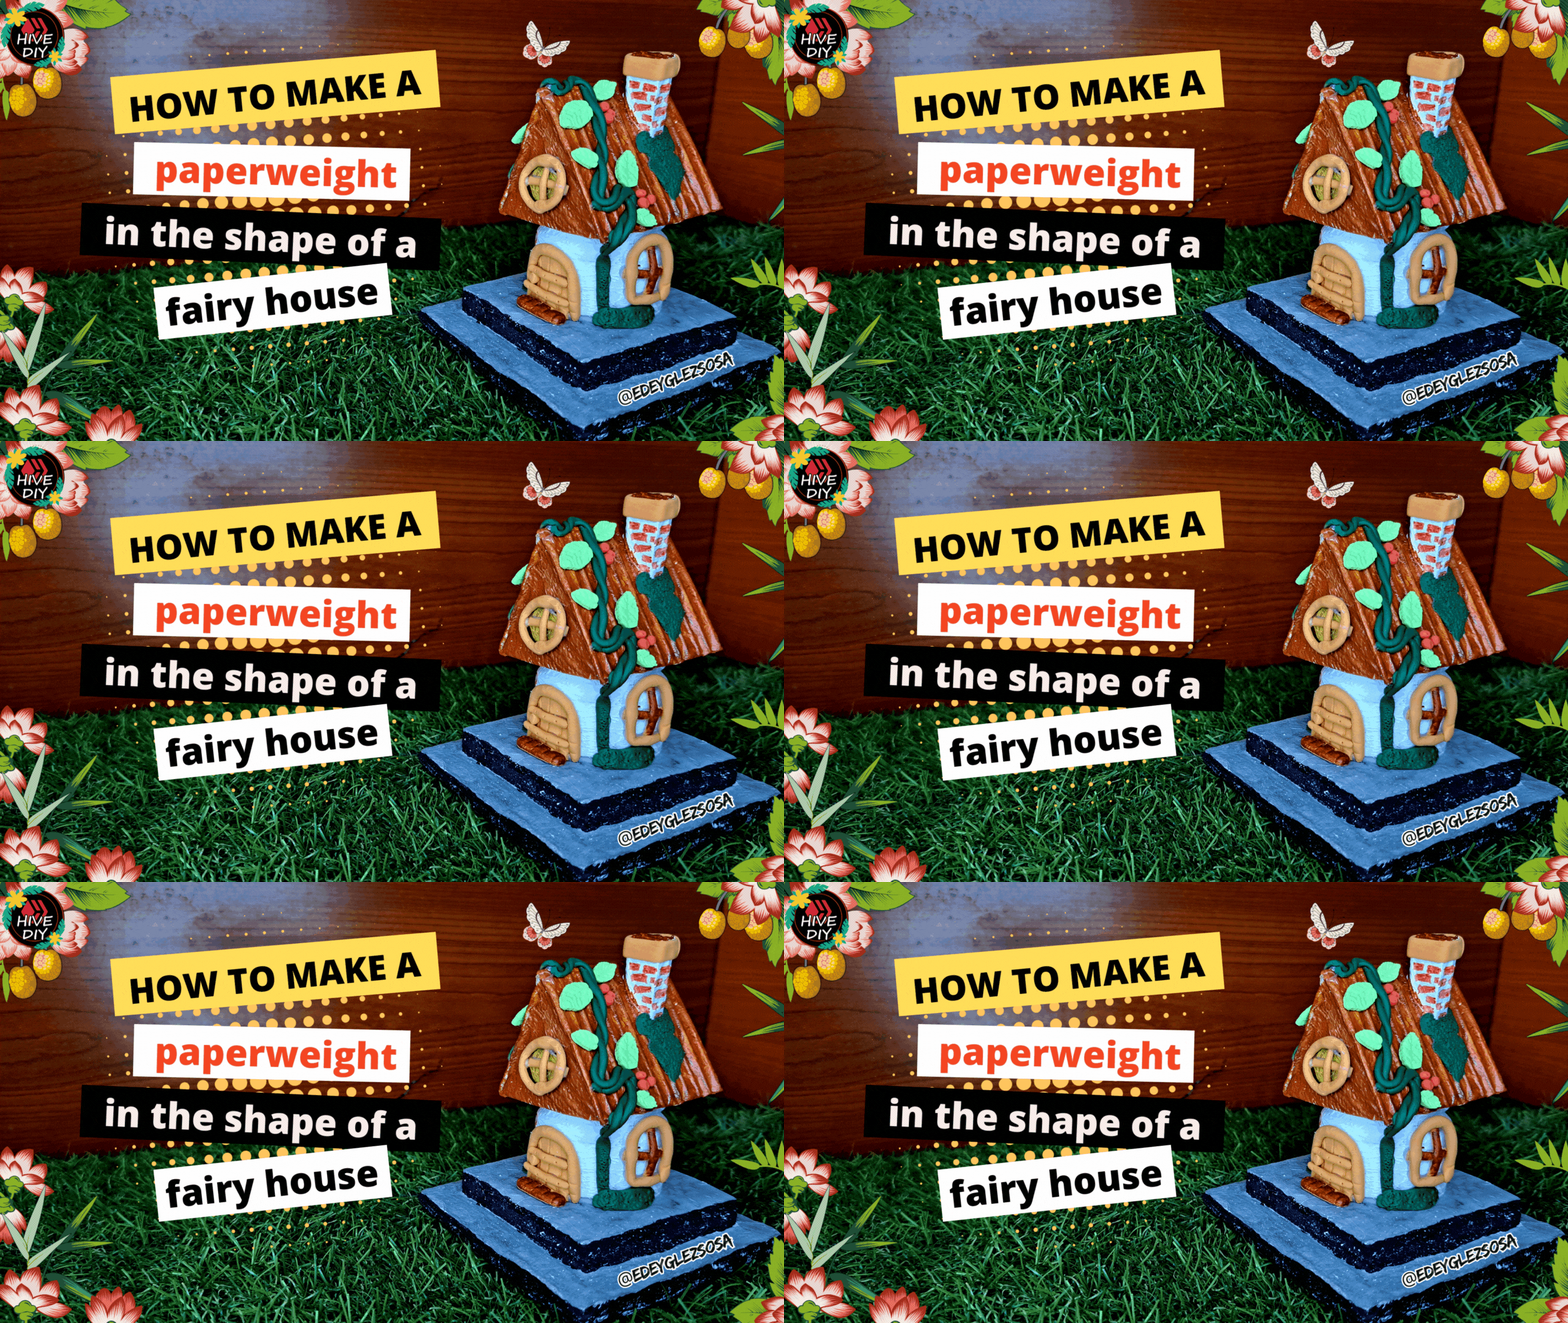
The paperweights are very useful objects created in the years of the Industrial Revolution and used, as their name suggests, to keep papers organized in one place. This object gained a lot of popularity in those times, becoming indispensable in an office. Over time, they became more of a decorative object, but they can still be found.
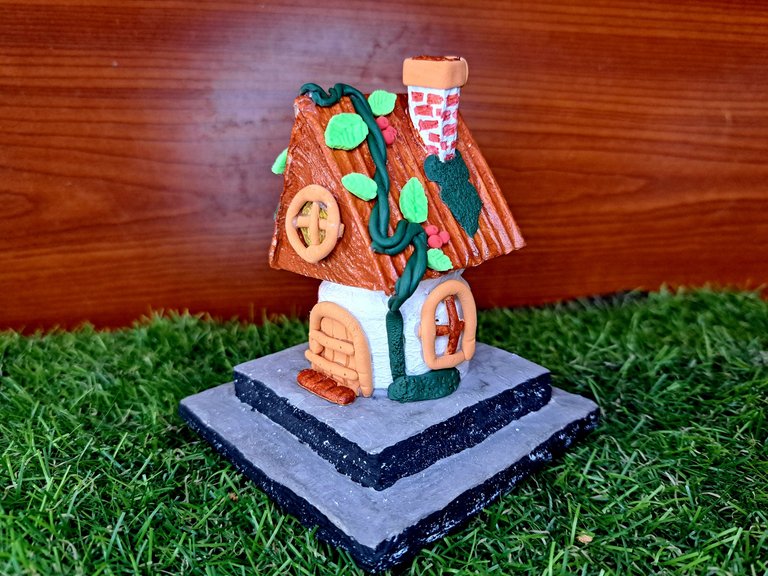
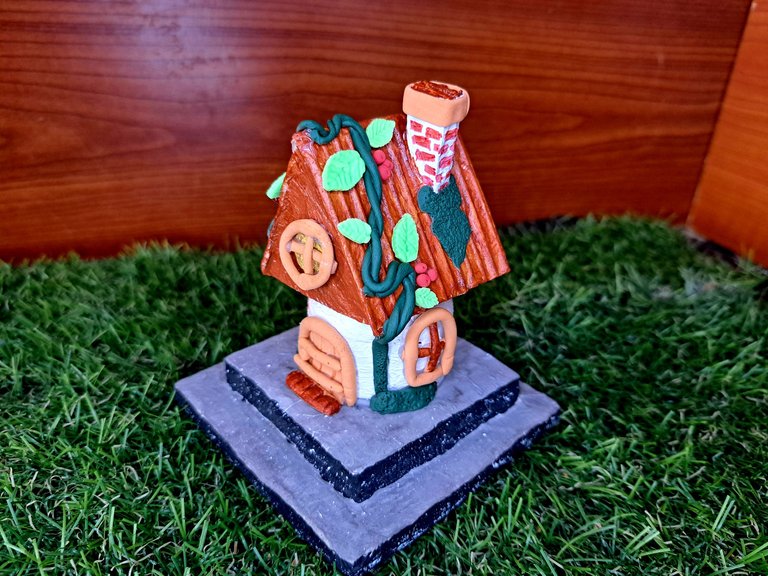
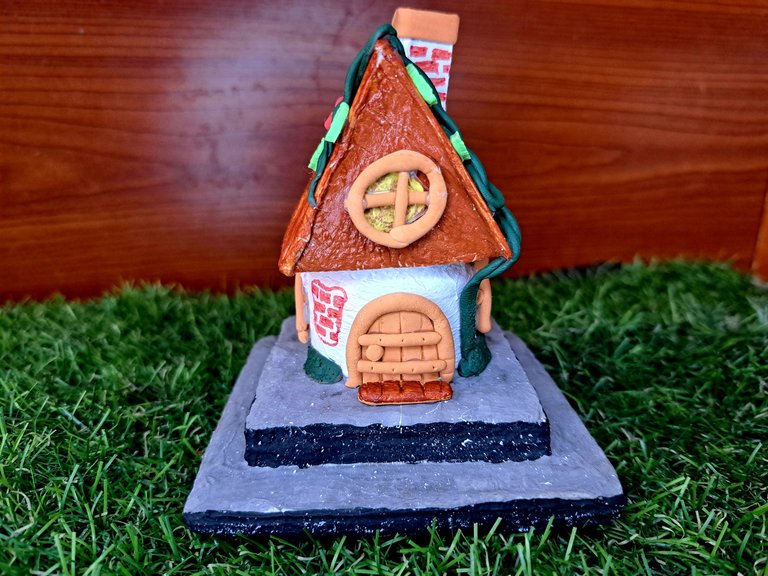
With this in mind, I came up with the idea of creating an ornament that would not only be decorative, but could also be used as a paperweight, looking for a balance between cute and useful. The difference is that my paperweight has something special, and that is that since it is shaped like a little house, the office fairy can move into it and organize all the paperwork for us at night.
So, if you work in an office, have a lot of clutter and need a fairy organizer, I invite you to watch the following tutorial where I will show you how to create a paperweight in the shape of a fairy house. Who knows, maybe a fairy organizer will move into your office? Let's get started!
Los pisapapeles son objetos muy útiles creados en los años de la Revolución Industrial y utilizados, como bien su nombre indica, para mantener los papeles organizados en un lugar. Este objeto ganó mucha popularidad en aquellos tiempos, llegando a convertirse en algo indispensable en una oficina. Con el tiempo, pasaron a ser más un objeto decorativo, pero aún se pueden encontrar.
Teniendo esto en cuenta, se me ocurrió la idea de crear un adorno que no solo fuese decorativo, sino que también pueda ser utilizado como pisapapeles, buscando el equilibrio entre lo lindo y lo útil. La diferencia es que mi pisapapeles tiene algo especial, y es que al tener forma de casita, puede ser que el hada de las oficinas se mude a ella y por las noches organice todo el papeleo para nosotros.
Así que, si trabajas en una oficina, tienes mucho desorden y te hace falta un hada organizadora, te invito a ver el siguiente tutorial donde enseñaré a crear un pisapapeles con forma de casita de hada. ¿Quién sabe, tal vez se mude una hada organizadora a tu oficina? ¡Comencemos!
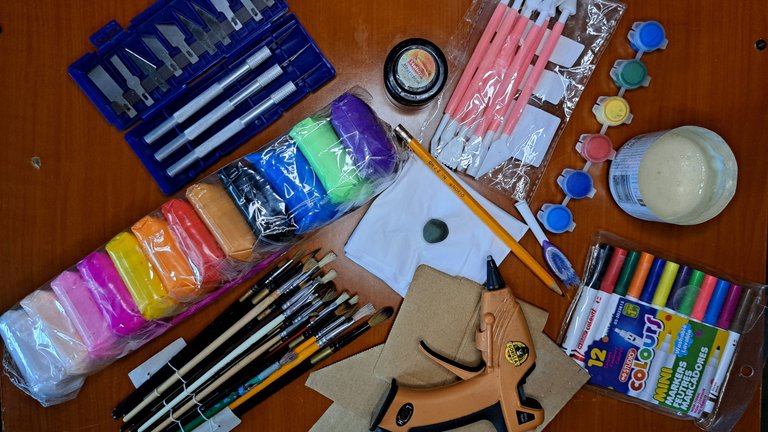
Tools and Materials // Herramientas y Materiales
| ✔️ Glass container with lid | ✔️ Recipiente de cristal con tapa |
| ✔️ Recycled cardboard | ✔️ Cartón reciclado |
| ✔️ Moldable foam | ✔️ Fomi moldeable |
| ✔️ Plastiline | ✔️ Plastilina |
| ✔️ Kitchen paper | ✔️ Papel de cocina |
| ✔️ Flour-based glue | ✔️ Pegamento con base de harina |
| ✔️ White, carmelite, gray, black, yellow and green paint. | ✔️ Pintura blanca, carmelita, gris, negra, amarilla y verde |
| ✔️ Set of brushes | ✔️ Set de pinceles |
| ✔️ Cutting and milling tool set | ✔️ Set de herramientas de corte y tallado |
| ✔️ Pencil and markers | ✔️ Lápiz y marcadores |
| ✔️ Hot silicone | ✔️ Silicona caliente |
Summary // Resumen
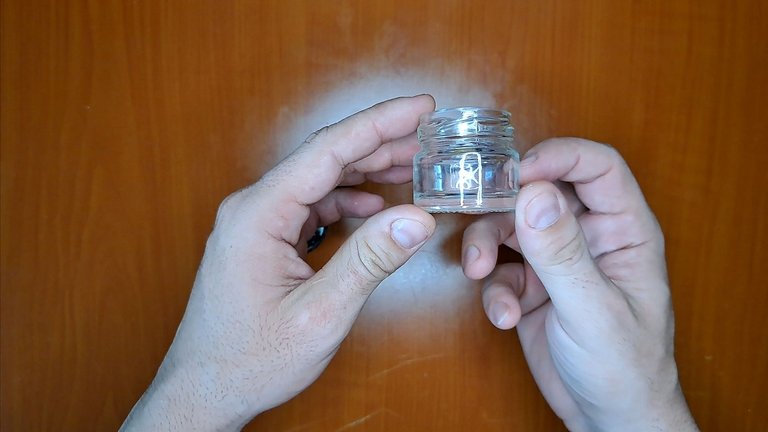
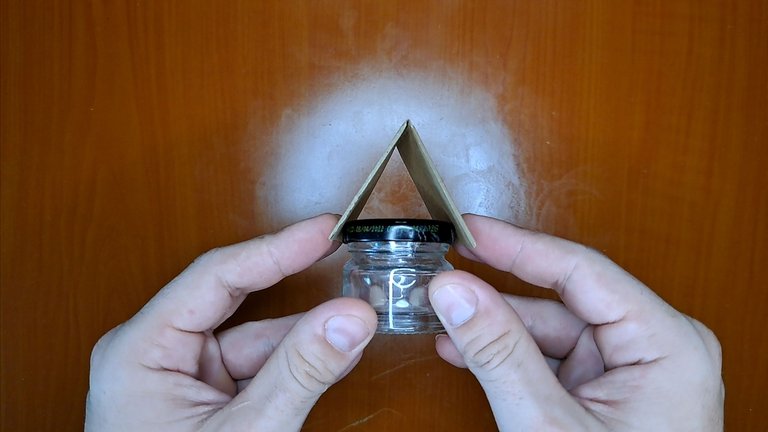
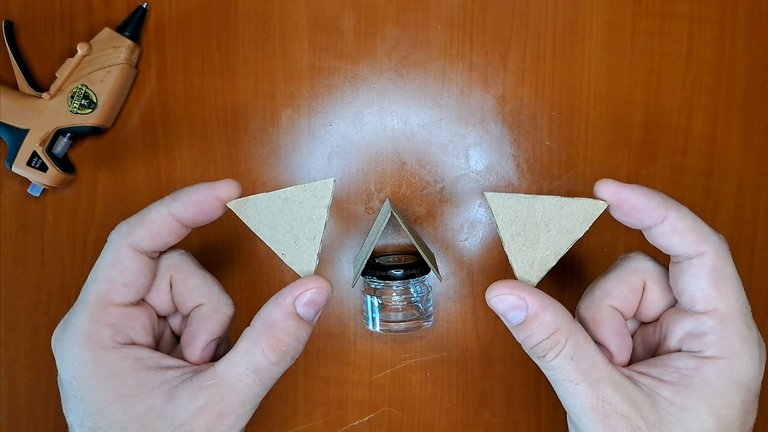
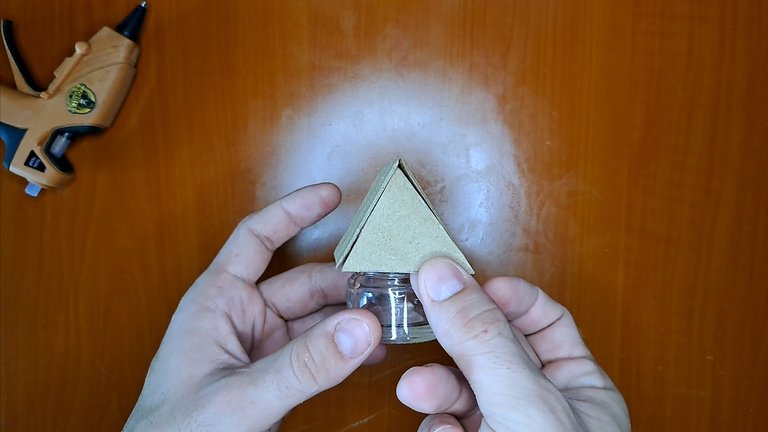
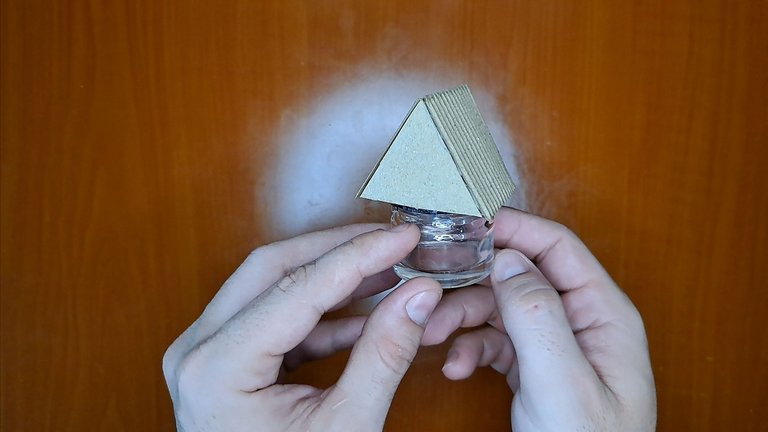
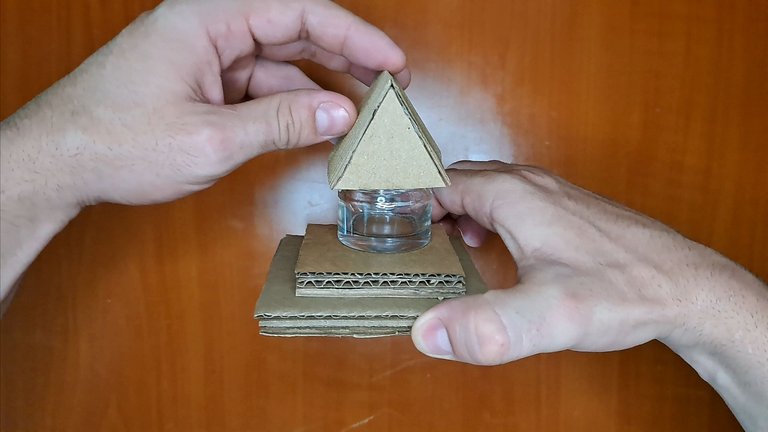
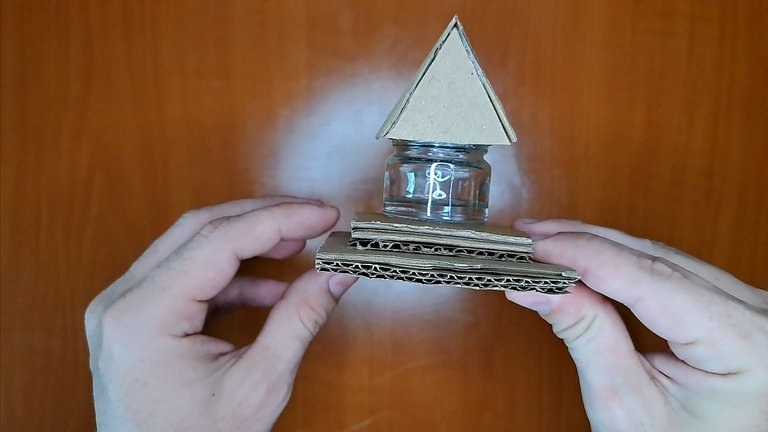
1️⃣ To begin, the first thing to do is to create the base structure. To do this, a small glass knob will be used, to which pieces of cardboard will be placed on the lid, which will be the roof of the house (measurements in the video).
Para empezar, lo primero que se debe hacer es crear la estructura base. Para ello, se utilizará un pequeño pomo de cristal, al cual se le colocará en la tapa trozos de cartón, los cuales serán el techo de la casita. (Medidas en el video)
 |
 |
 |
 |
 |
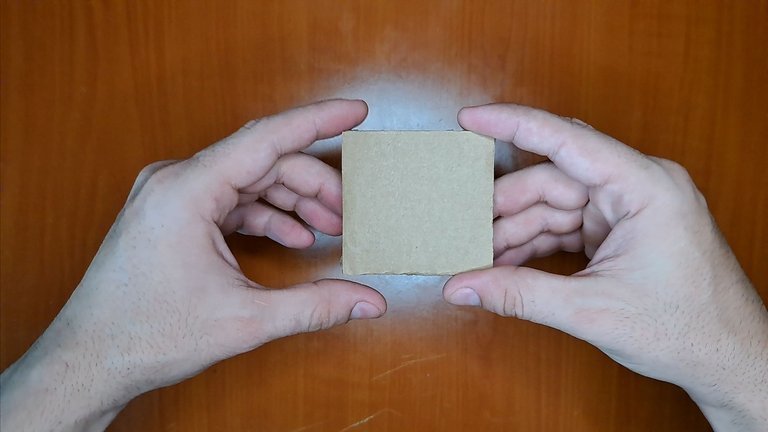
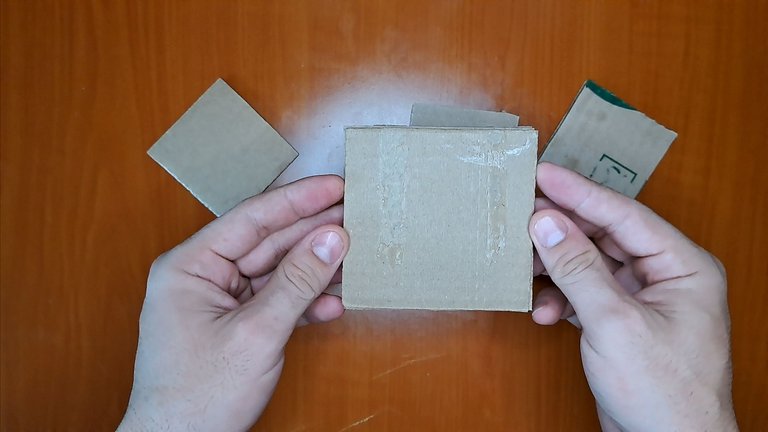
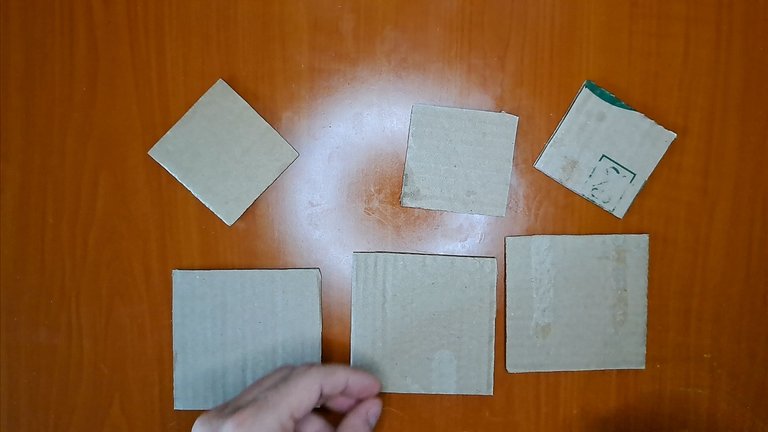
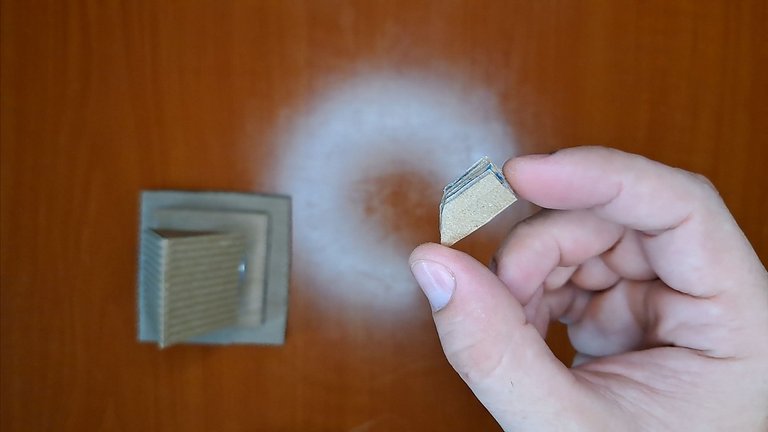
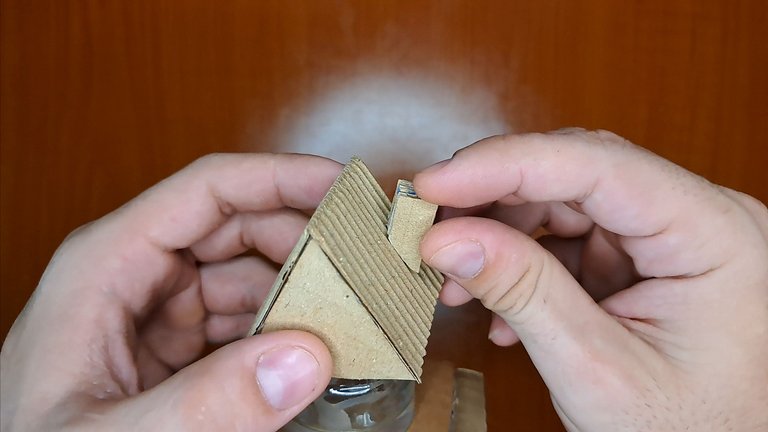
2️⃣ Next, cut out three small and three larger cardboard squares and glue them to the bottom of the knob. Then, cardboard squares will be placed on the roof with one of their ends cut diagonally to form the chimney (see measurements in the video).
A continuación, se recortarán tres cuadrados de cartón pequeños y tres más grandes, los cuales se pegarán en la parte inferior del pomo. Luego se colocarán en el techo unos cuadrados de cartón con uno de sus extremos cortados en diagonal para formar la chimenea. (Medidas en el video)
 |
 |
 |
 |
 |
 |
 |
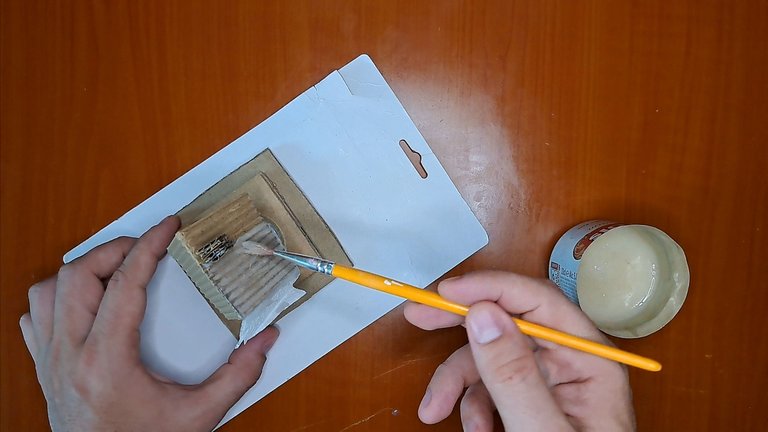
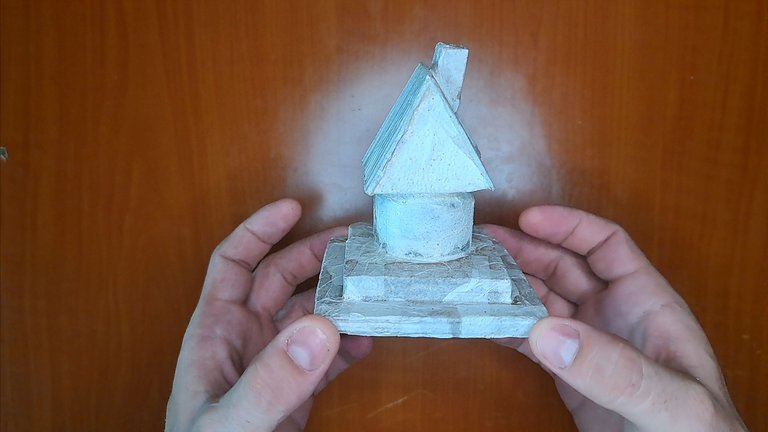
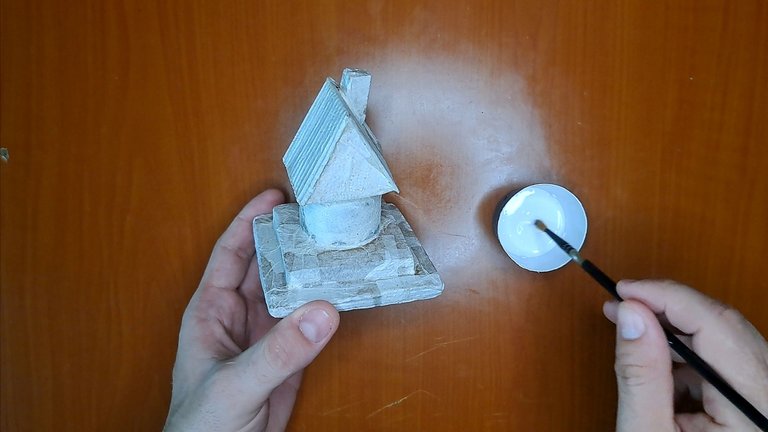
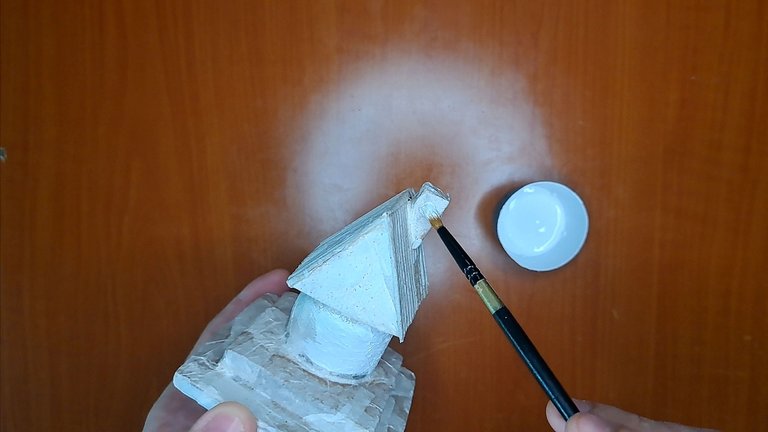
3️⃣ Once the base structure of the house is ready, it will be completely covered with a layer of kitchen paper and flour-based glue. Then the walls and the chimney will be painted white.
Una vez esté lista la estructura base de la casa, se cubrirá por completo con una capa de papel de cocina y pegamento a base de harina. Luego se pintarán las paredes y la chimenea de blanco.
 |
 |
 |
 |
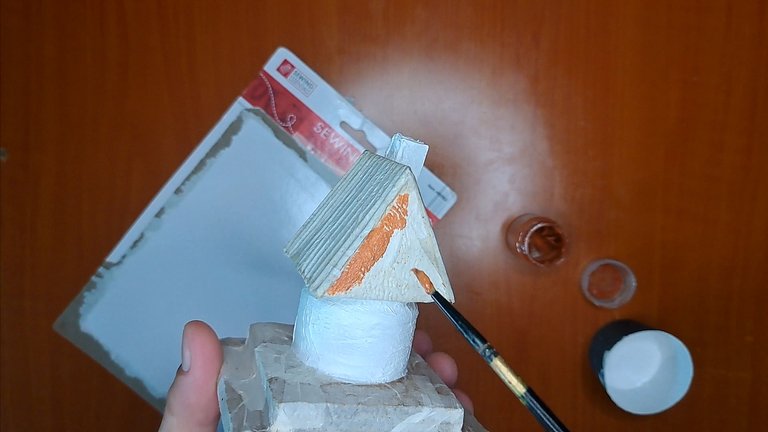
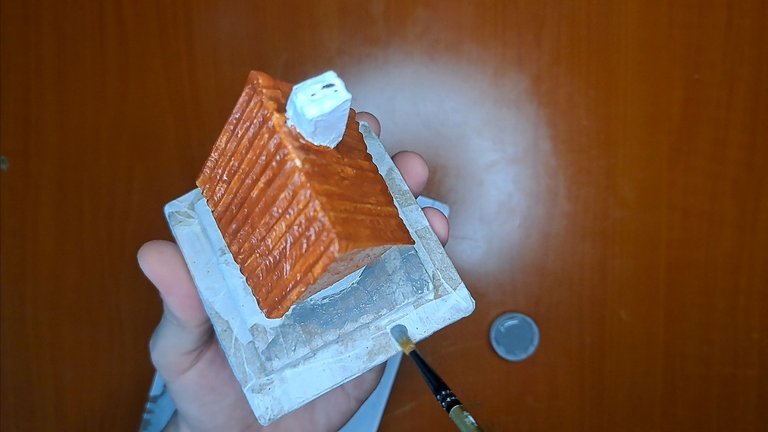
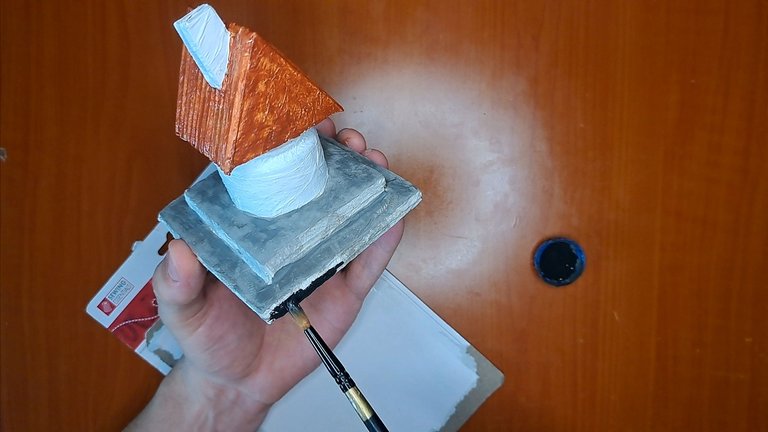
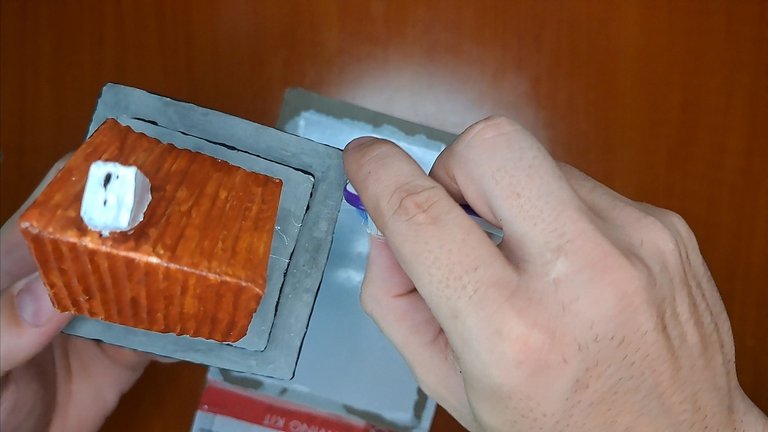
4️⃣ Next, the entire roof will be painted in carmelite color, including the fronts. The top of the base will also be painted gray and the edges black. To add a pebbled finish, white paint will be splattered with an old brush.
Seguidamente, se pintará todo el techo de color carmelita, incluyendo los frontales. También se pintará la parte superior de la base de color gris y los bordes de color negro. Para agregar un acabado de piedras, se salpicará pintura blanca con la ayuda de un cepillo viejo.
 |
 |
 |
 |
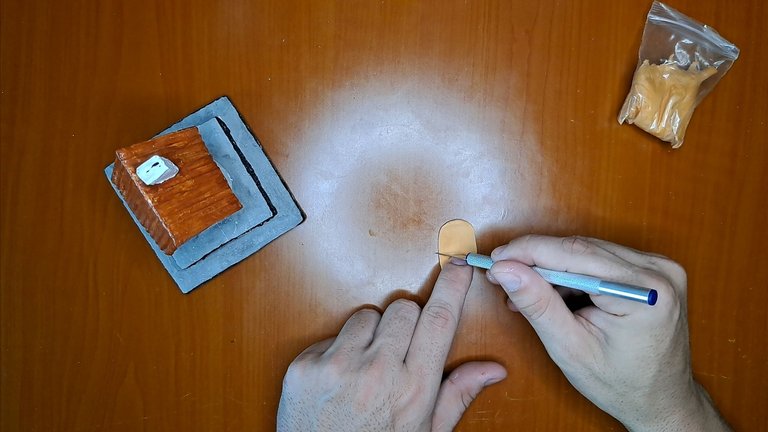
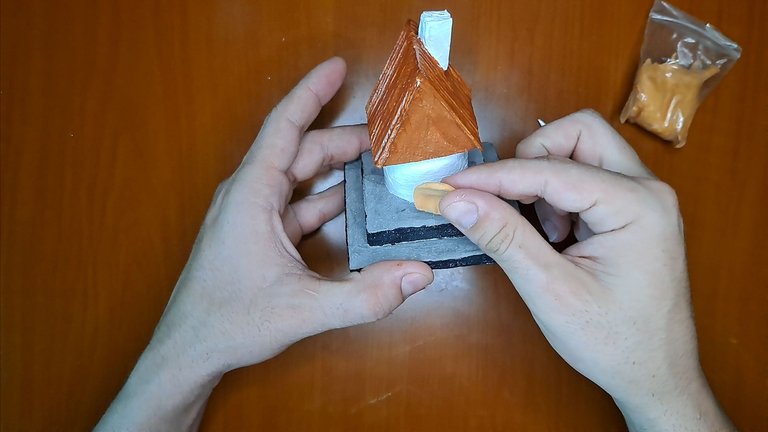
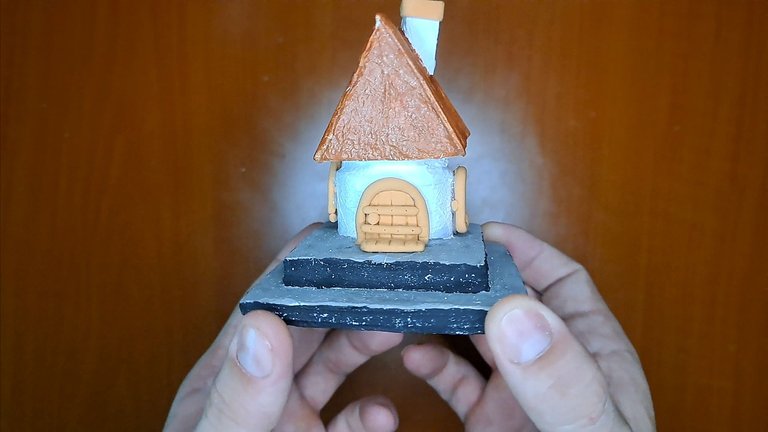
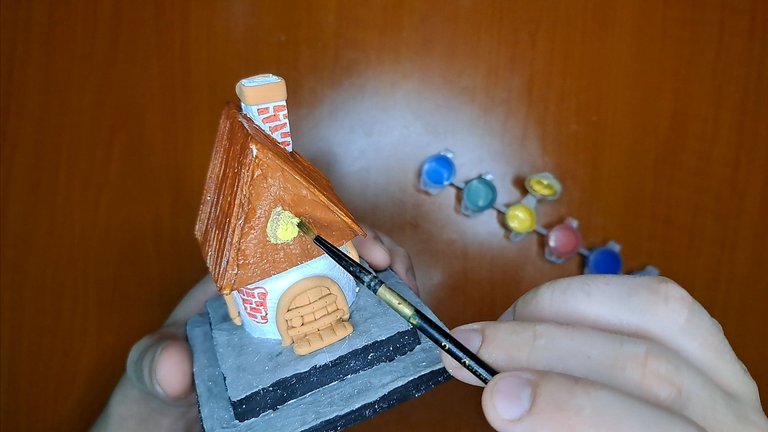
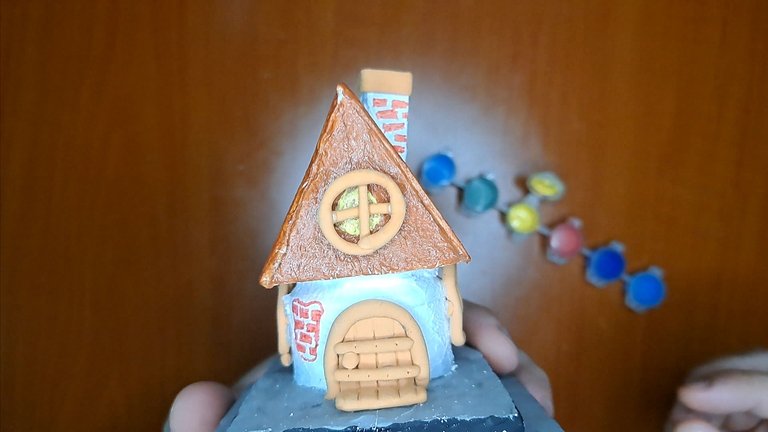
5️⃣ Using fomi, the doors and windows will be made. A foot wiper will also be added at the entrance and the edge of the chimney. Before placing the front window, a yellow circle will be painted to make it look like there is a light on inside.
Utilizando fomi se elaborarán las puertas y ventanas. También se agregará un limpiapiés en la entrada y el borde de la chimenea. Antes de colocar la ventana frontal, se pintará un círculo amarillo para que parezca que hay una luz encendida en el interior.
 |
 |
 |
 |
 |
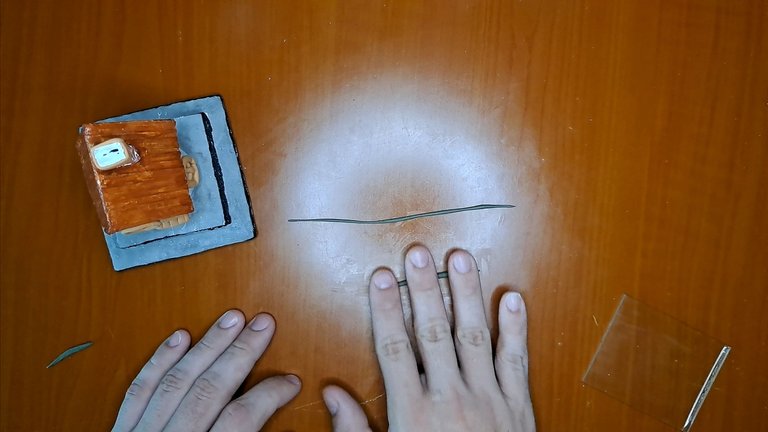
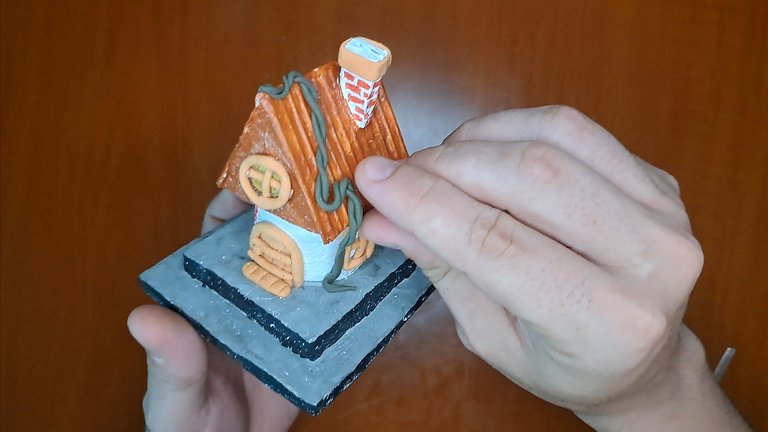
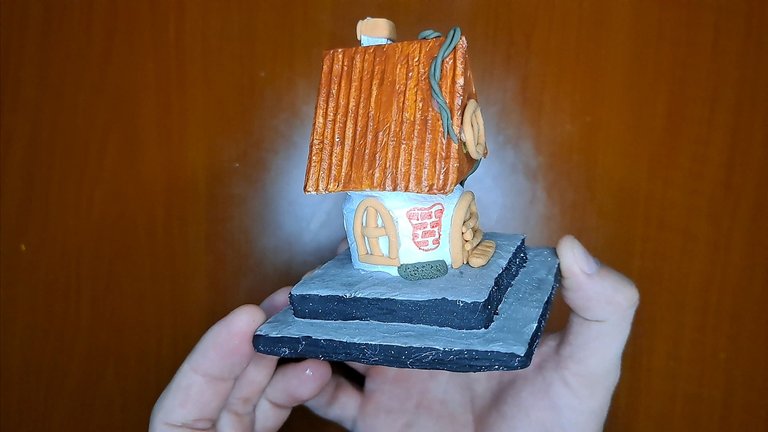
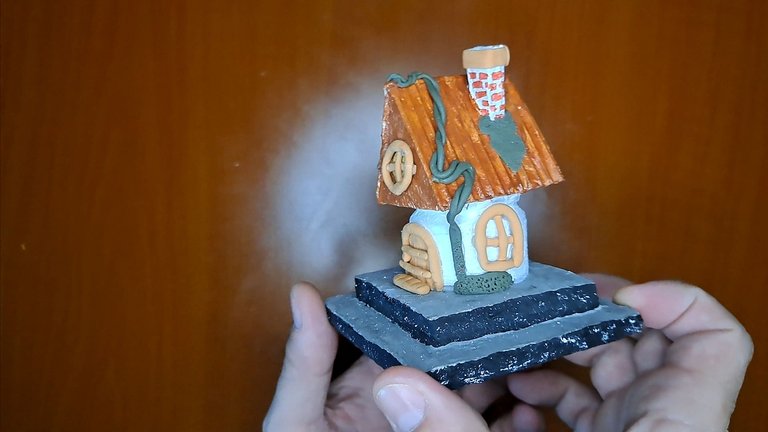
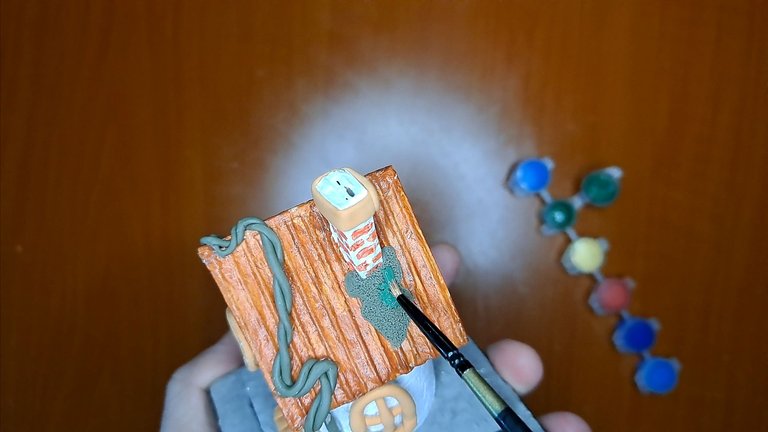
6️⃣ After the windows and doors are created, bricks will be painted, on the chimney and on the side of the house using a red marker. Additionally, plasticine will be used to create a vine and some bushes that surround the house and cover the base of the chimney on the roof. Everything molded with plasticine will be painted green.
Luego de creadas las ventanas y puertas, se pintarán ladrillos, en la chimenea y a un costado de la casa utilizando un marcador rojo. Adicionalmente, se empleará plastilina para crear una enredadera y algunos arbustos que rodean la casa y cubren la base de la chimenea en el techo. Todo lo moldeado con plastilina se pintará de verde.
 |
 |
 |
 |
 |
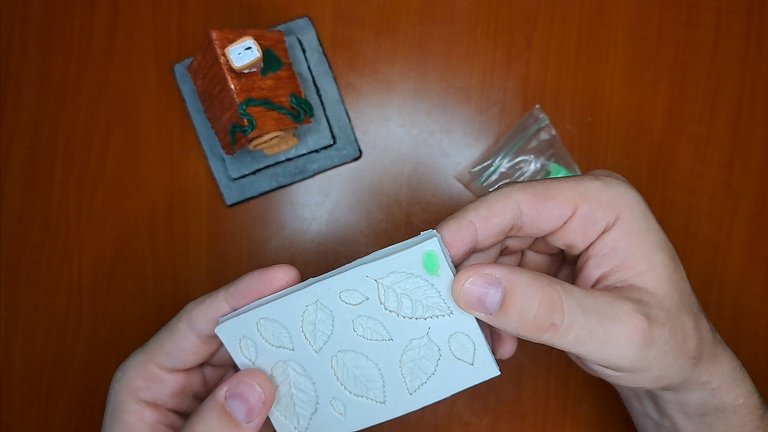
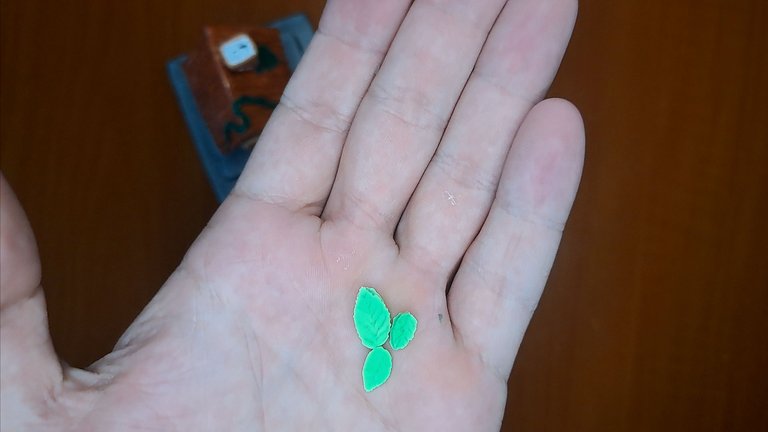
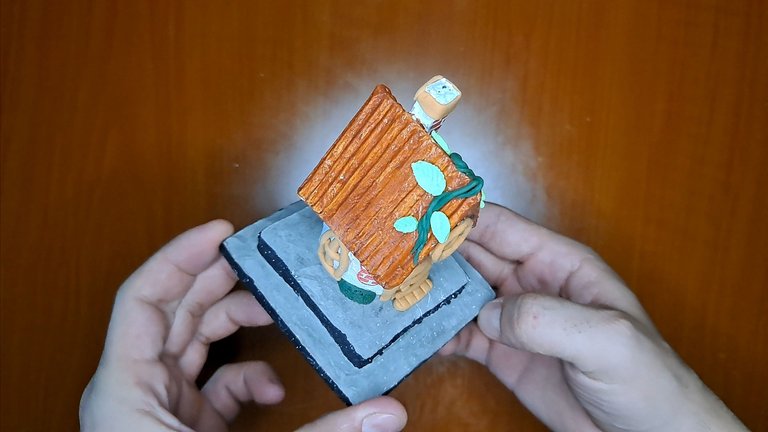
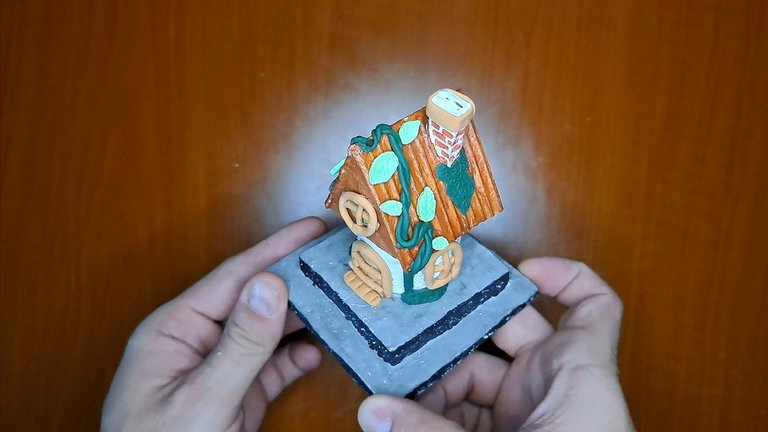
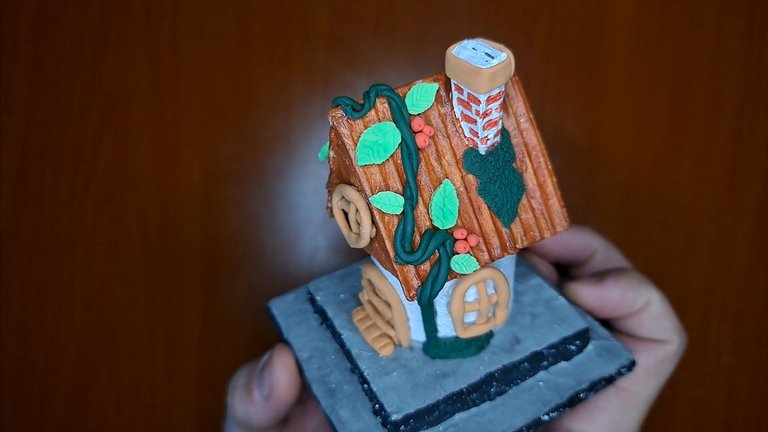
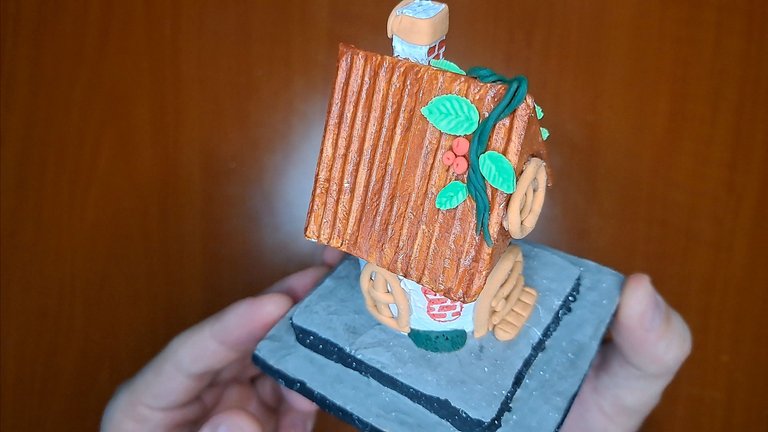
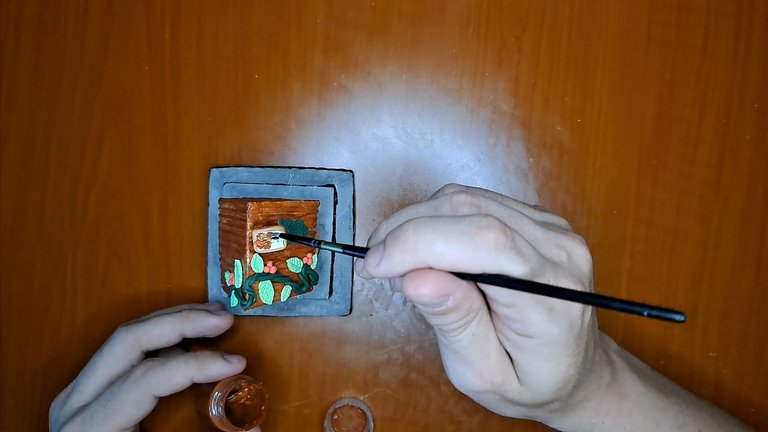
7️⃣ Using a silicone mold and green fomi, create the leaves, which will decorate the vine along with some fruits created with red fomi. Finally, the mouth of the chimney and the window bars will be painted.
Utilizando un molde de silicona y fomi verde, se crearán las hojas, las cuales adornarán la enredadera junto con algunos frutos creados con fomi rojo. Para finalizar, se pintará la boca de la chimenea y las rejas de las ventanas.
 |
 |
 |
 |
 |
 |
 |
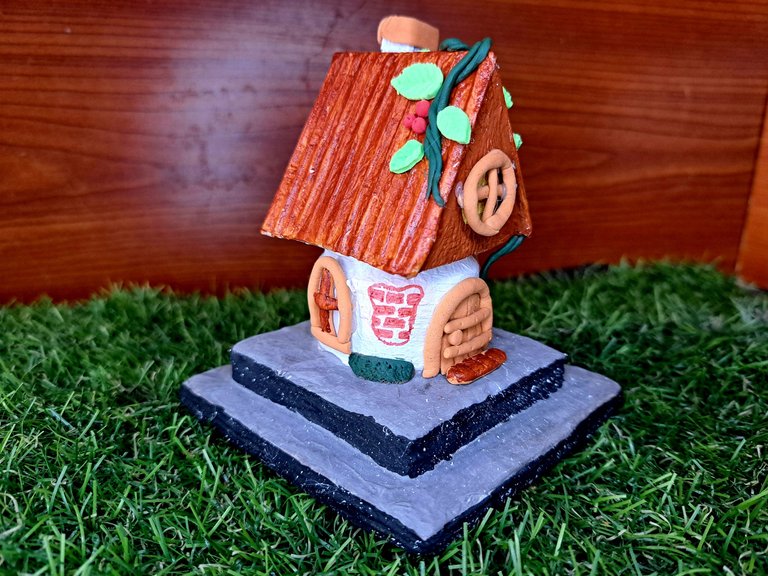
And so our paperweight in the shape of a fairy house is ready. I hope you liked it and I encourage you to create your own, I'm sure it will be beautiful. I'll say goodbye for now, but not before wishing you lots of happiness in life. Bye!
Y así ya estaría listo nuestro pisapapeles con forma de casita de hadas. Espero que les haya gustado y se animen a crear el suyo propio, estoy seguro de que les quedará hermoso. Me despido por ahora, no sin antes desearles mucha felicidad en la vida. ¡Chao!
Final Result // Resultado Final
 |
 |
 |
 |

Thank you very much for reading my post. If you liked it, please leave a comment and consider following me so you don't miss my next posts. I'd love to know your opinion and your thoughts about the topic I discussed in this post, see you in the next one!

Credits and Resources // Créditos y Recursos
Cover page created in Canva
Translated by DeepL
Video and images captured with my Samsung Galaxy A53 5G
Edited in Wondershare Filmora 13
Music by Thomas Mwangi from Pixabay


▶️ 3Speak
