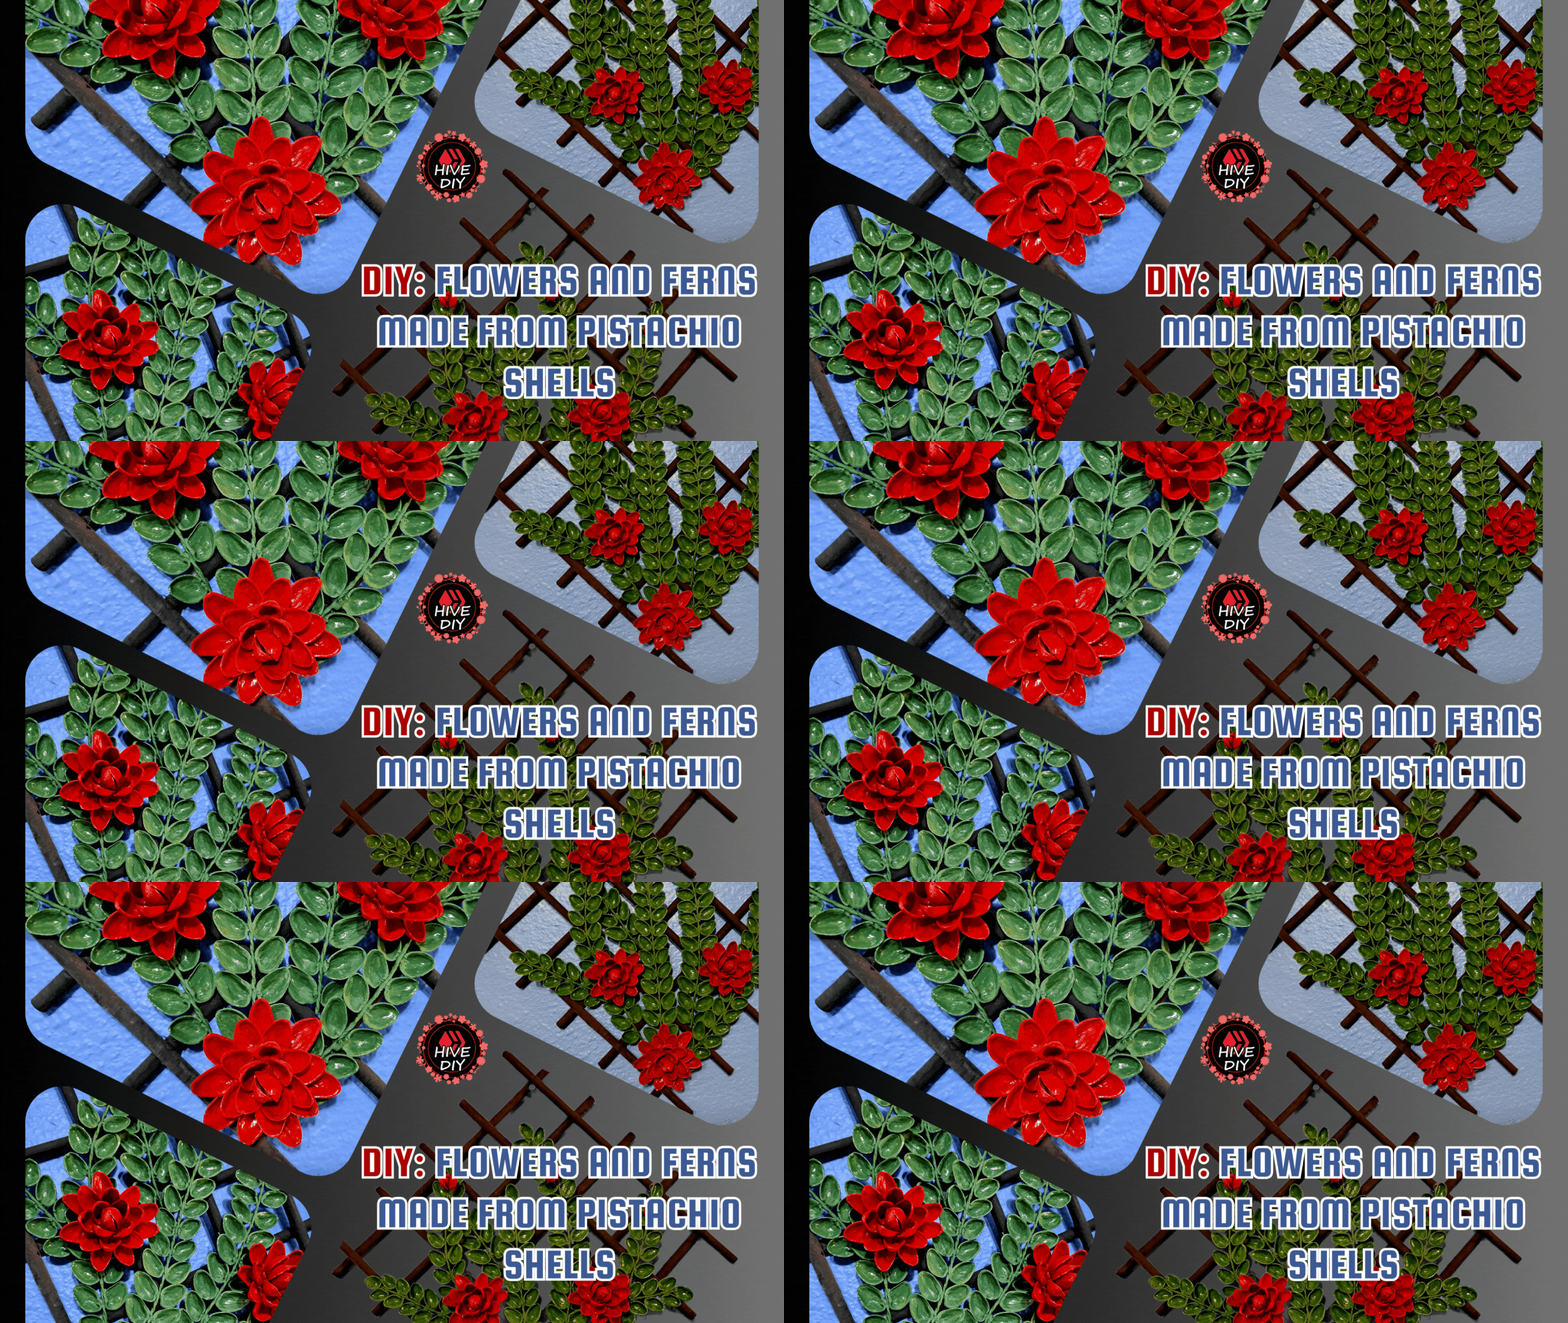
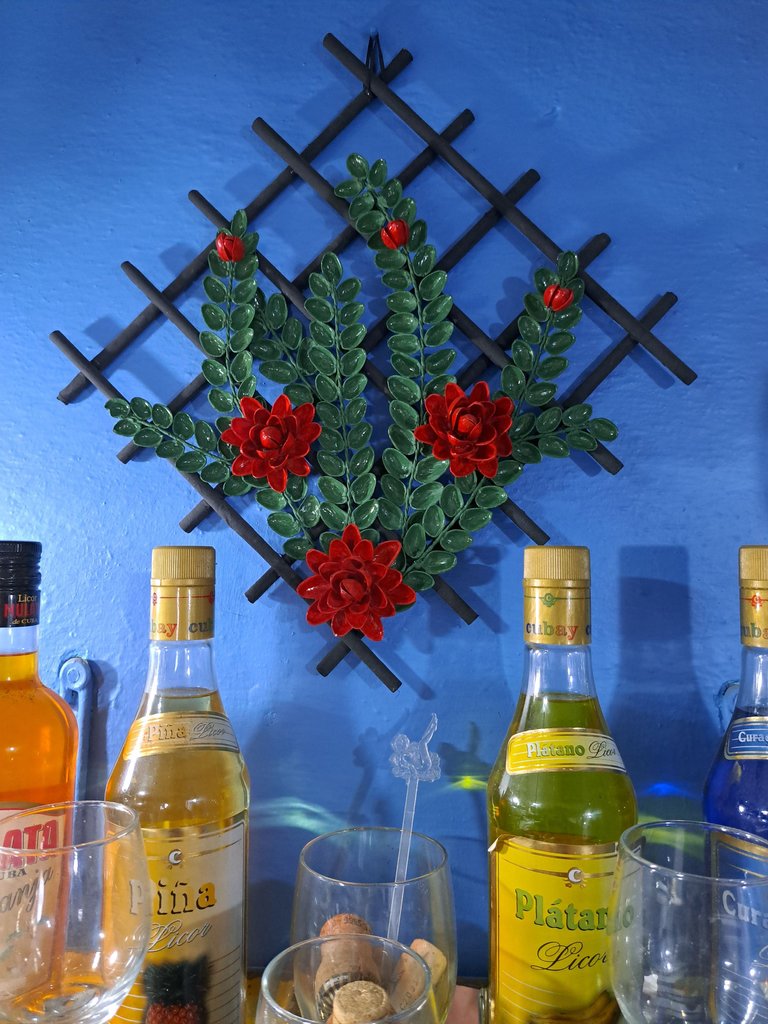
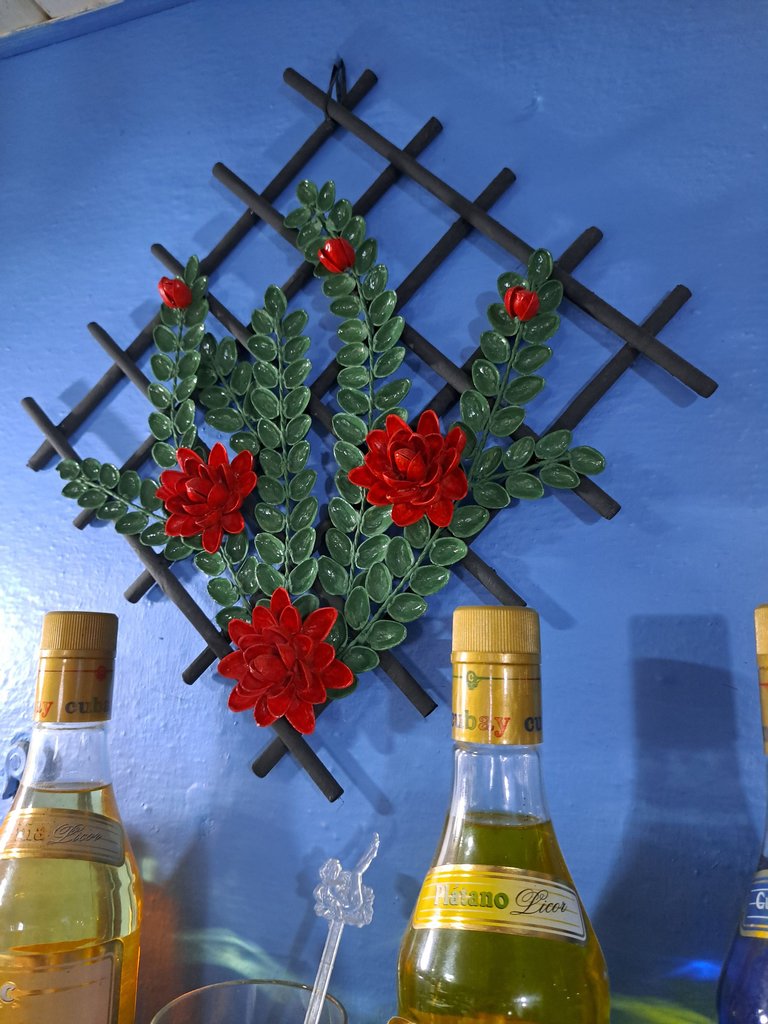
May is approaching and with it a very important date in which each and every one of us proudly celebrate Mother's Day. Taking advantage of such a significant event, I decided to take up again some techniques that I had left a little behind. It had been some time since I had worked with nut shells and specifically with pistachios, but I think the date deserves it. Although it is a very easy material to work with, the truth is that it also consumes a considerable amount of silicone. But still I wanted to vary and get out of the fomi routine, so today I want to show you how to make a floral ornament composed of flowers and ferns made entirely of pistachio shells.
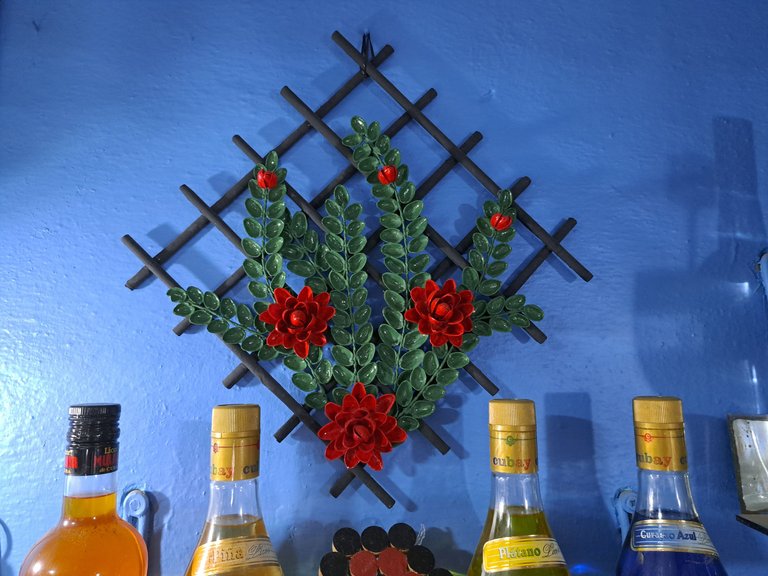
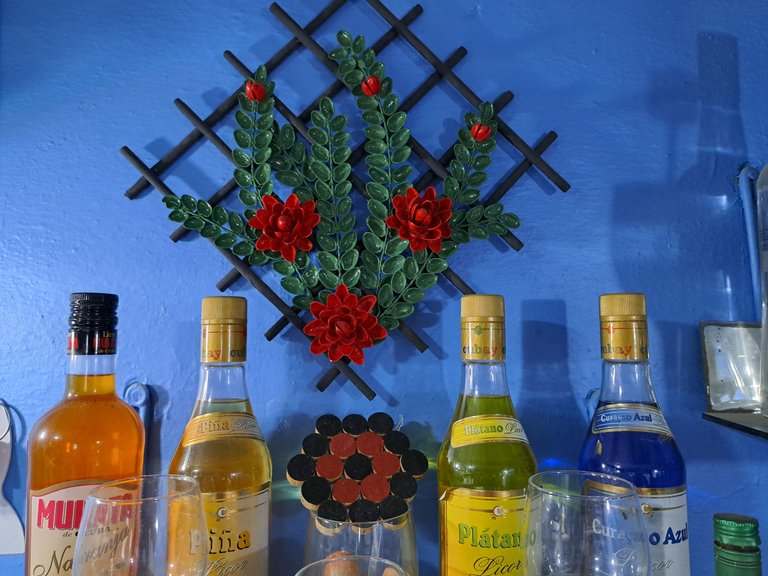
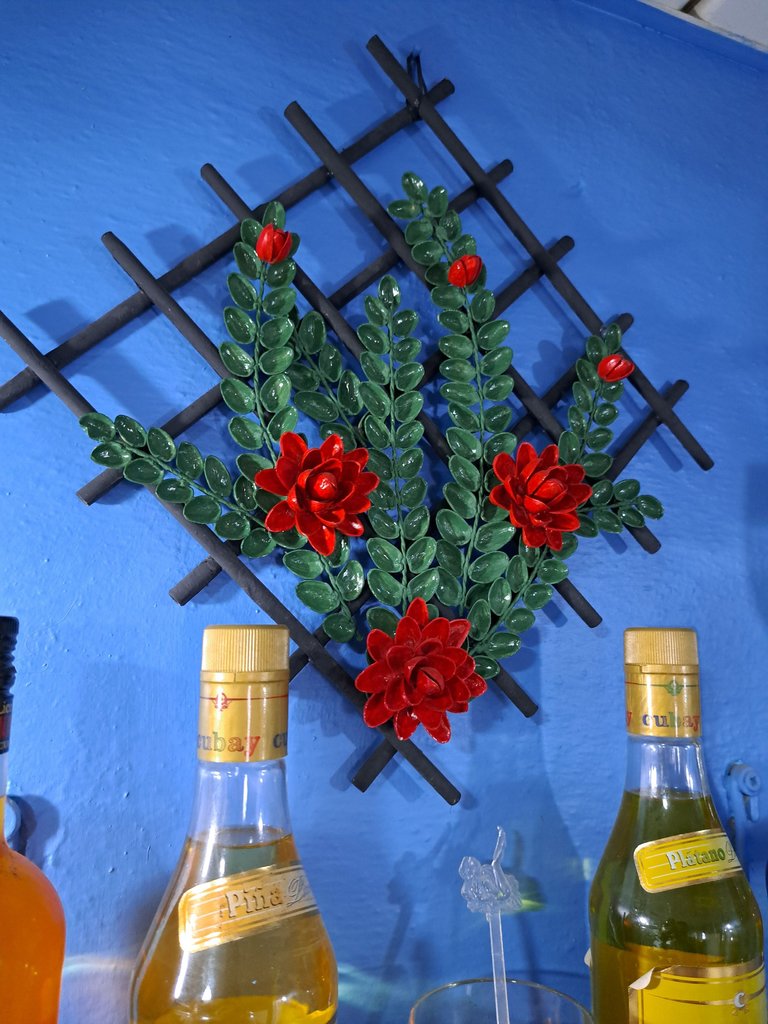
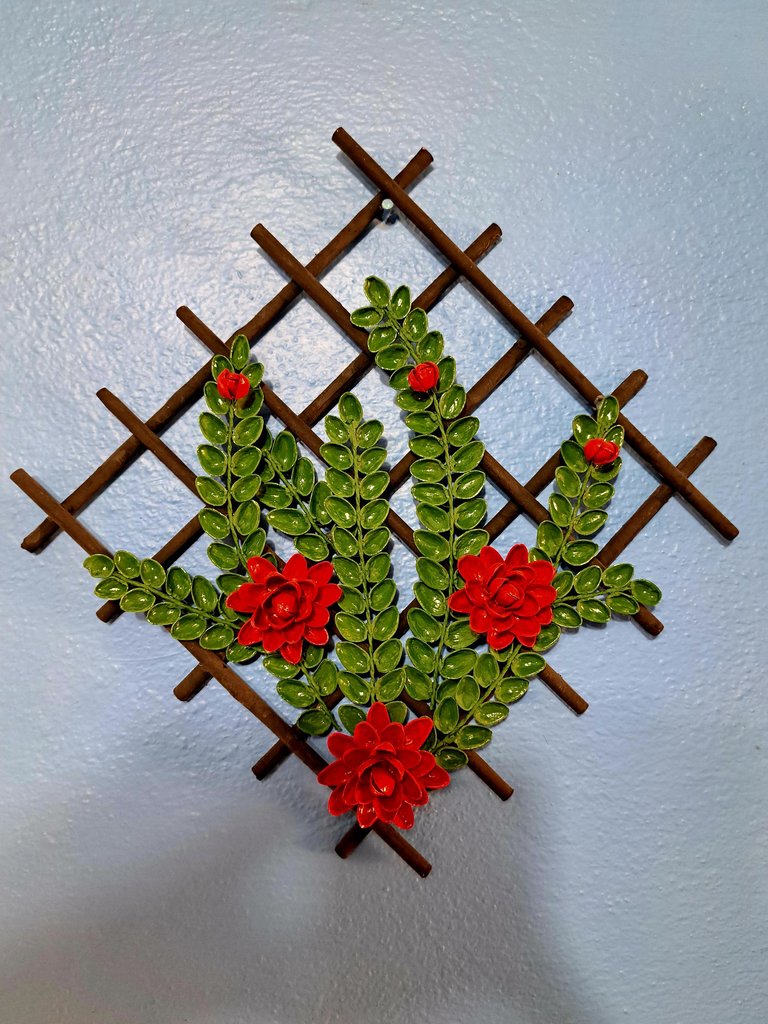
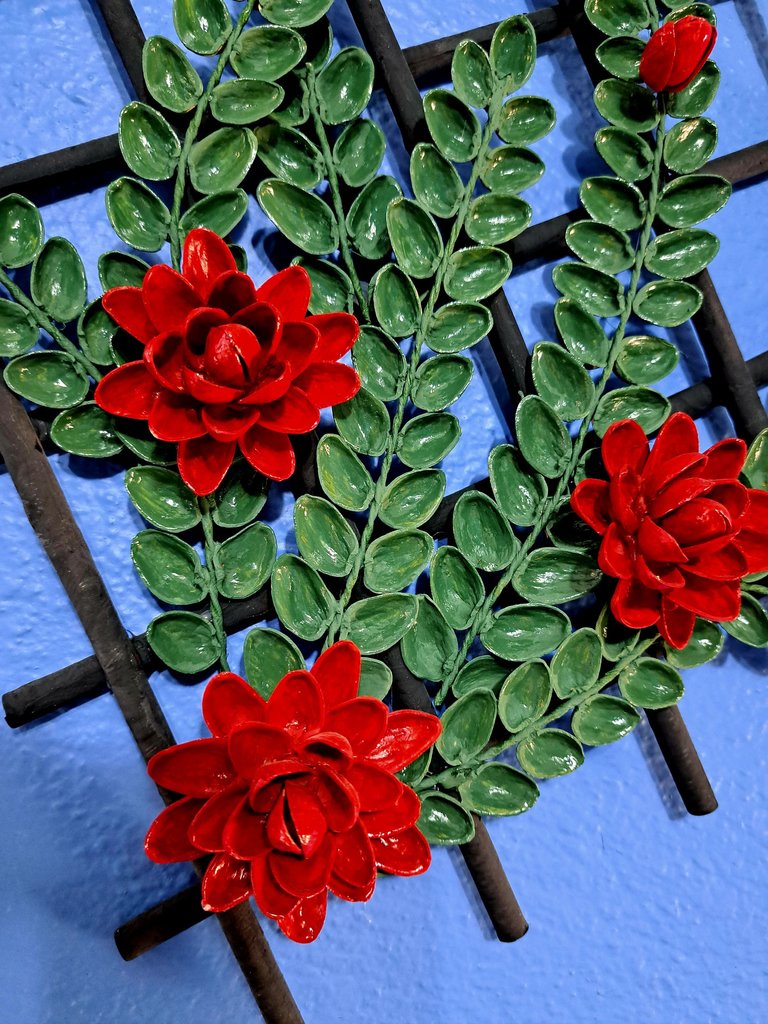
The ornament in question is free for consideration, since at first glance you can either see flowers with their leaves or ferns adorned with flowers. I am one of those who see the second option. If not, don't worry, since the design can vary, because the beauty of crafts is that it doesn't matter if what you are doing already exists, since you can give it your personal touch and the result will be a totally new craft. So I invite you to join me in this tutorial where I will show you how to make what could be a beautiful gift for mom.
Se acerca el mes de mayo y con ella una fecha muy importante en la cual todos y cana uno de nosotros celebramos con orgullo el día de las madres. Aprovechando tan importante acontecimiento decidí retomar algunas técnicas que había dejado un poco atrás. Ya hacía algún tiempo que no trabajaba con cáscaras de frutos secos y específicamente con pistachos, pero creo que la fecha lo amerita. Si bien es un material muy fácil de trabajar la verdad es que también consume una cantidad de silicona considerable. Pero aun así he querido variar y salir un poco de la rutina del fomi así que el día de hoy quiero enseñarte como hacer un adorno floral compuesto por flores y helechos hechas enteramente de cáscaras de pistachos.
El adorno en cuestión está libre a consideración ya que a simple vista puedes o bien ver unas flores con sus hojas o unos helechos adornados con flores. Yo soy de los que ve la segunda opción. Sino es así no te preocupes ya que de igual forma el diseño puede variar pues lo hermoso de las manualidades es que no importa si lo que estas haciendo ya existe puesto que puedes darle tu toque personal y así el resultado será una manualidad totalmente nueva. Así que te invito a que me acompañes en este tutorial donde te enseñare a confeccionar lo que bien podría ser un hermoso regalo para mamá.
 |
 |
 |
 |
 |
Materials // Materiales
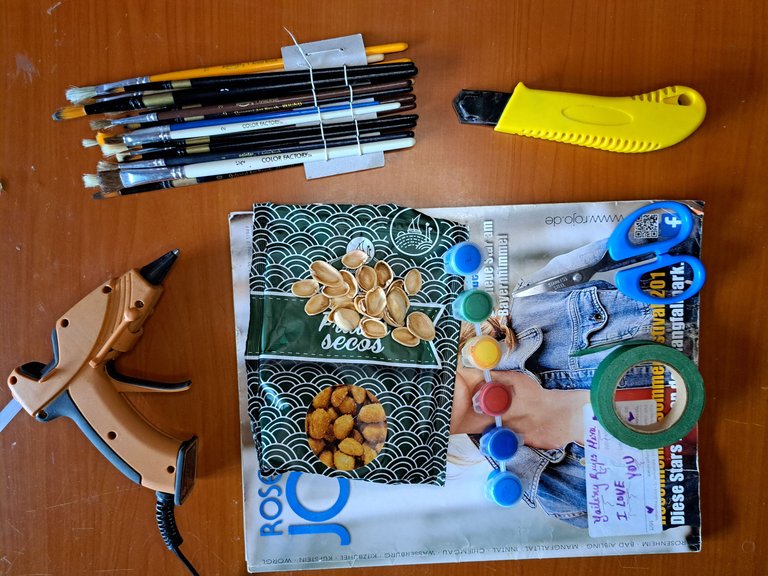
| ✔️ Magazine sheets | ✔️ Hojas de revistas |
| ✔️ Nutshells (Pistachios) | ✔️ Cáscaras de frutos Secos (Pistachos) |
| ✔️ Silicone gun | ✔️ Pistola de silicona |
| ✔️ Scissors and Cutter | ✔️ Tijeras y Cúter |
| ✔️ Floral ribbon | ✔️ Cinta floral |
| ✔️ Brushes | ✔️ Pinceles |
| ✔️ Painting of black, green, and red color | ✔️ Pintura de color negro, verde y rojo |
Step by step // Paso a paso
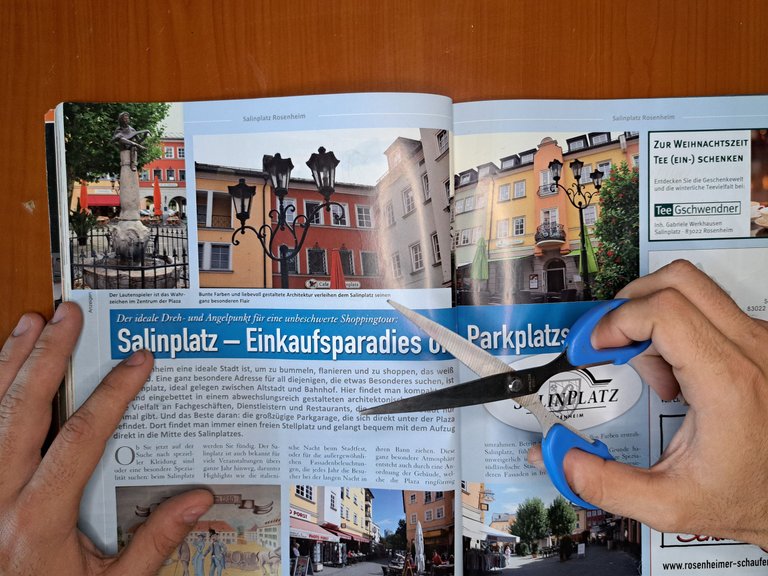
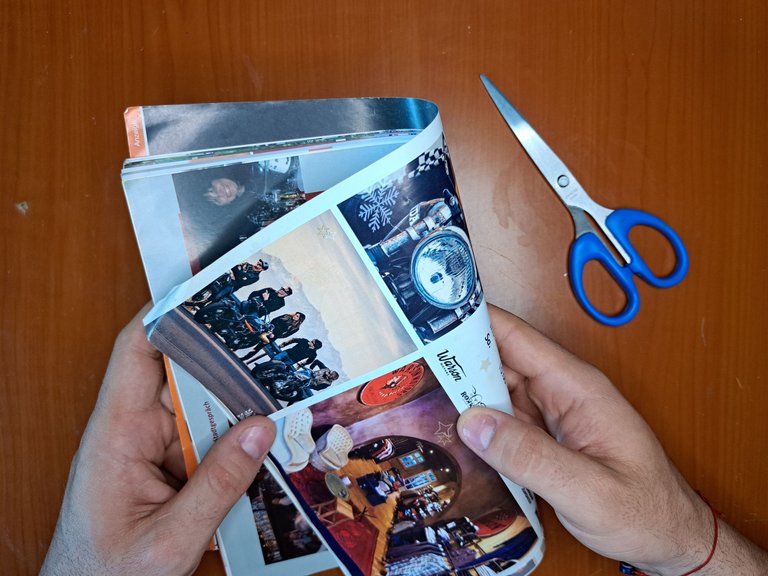
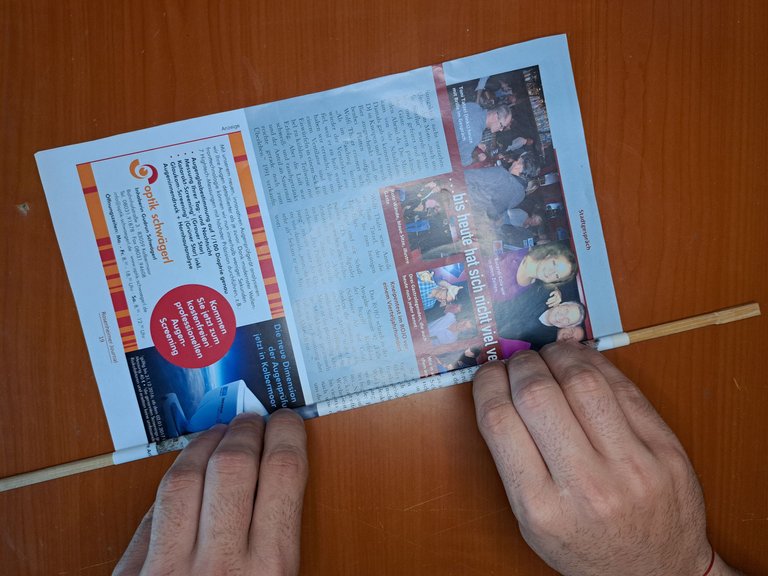
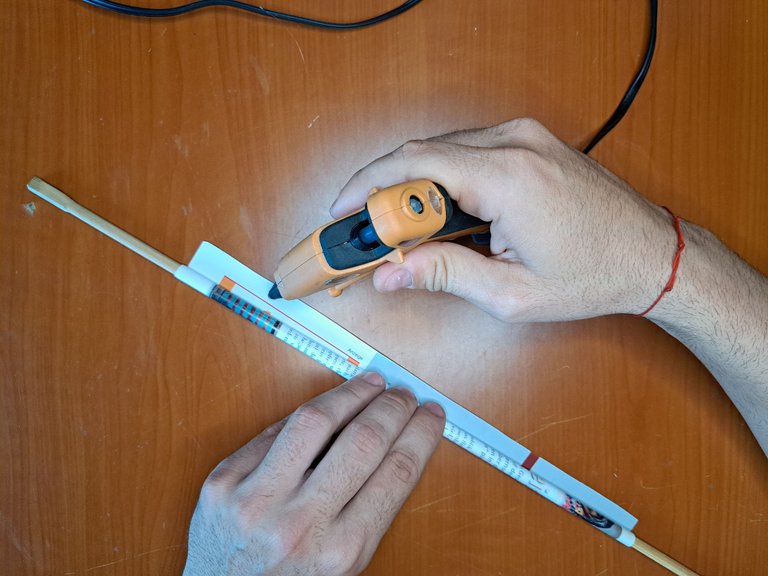
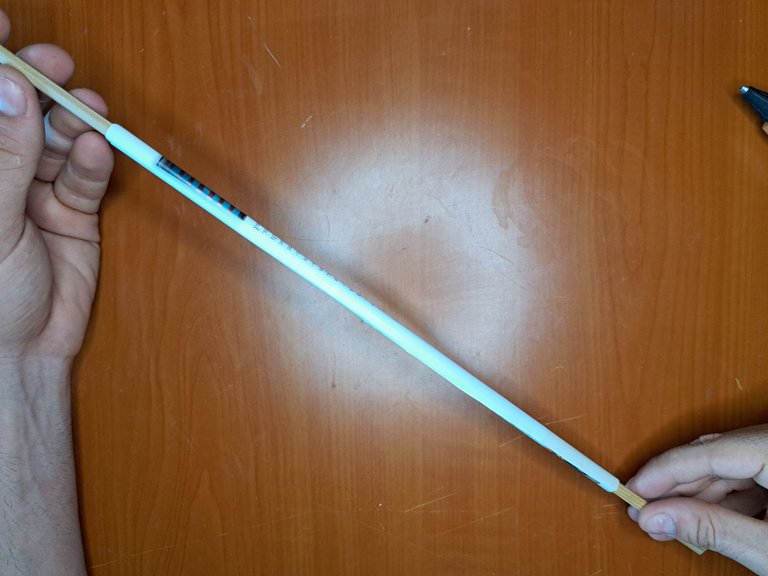
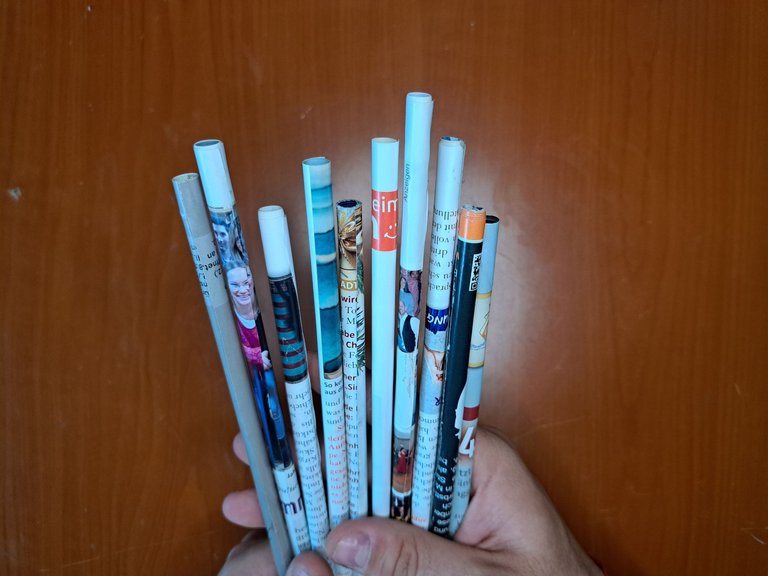
1️⃣ To start, you need to cut out 10 sheets from a magazine. Keep in mind that the length of the leaves will define the size of the overall ornament. After cutting out the leaves, wrap them around a pencil or toothpick to form thin tubes. You must glue the edge of the leaves so that they do not unravel and remember that there are 10 tubes in total.
1️⃣ Para empezar, debes recortar 10 hojas de una revista. Ten en cuenta que la longitud de las hojas definirá el tamaño del adorno en general. Luego de recortar las hojas debes envolverla alrededor de un lápiz o palillo para formar unos tubos finos. Debes pegar el borde de las hojas para que no se deshagan y recuerda que son 10 tubos en total.
 |
 |
 |
 |
 |
 |
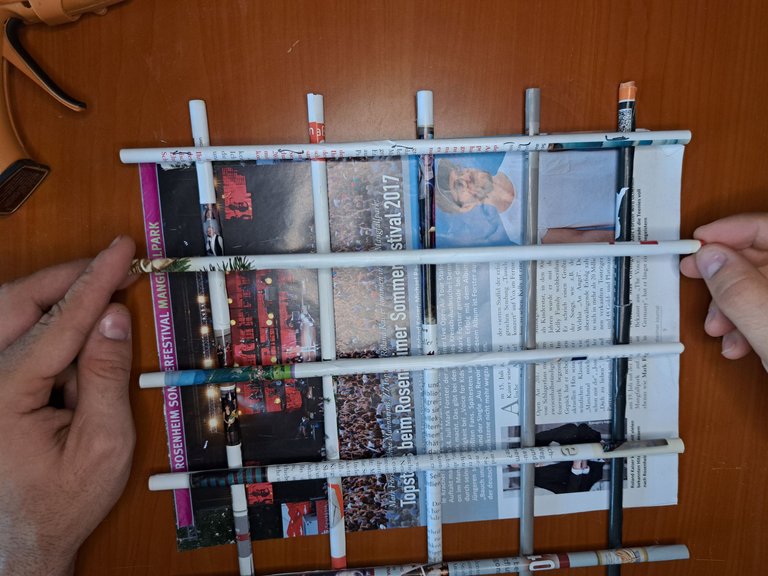
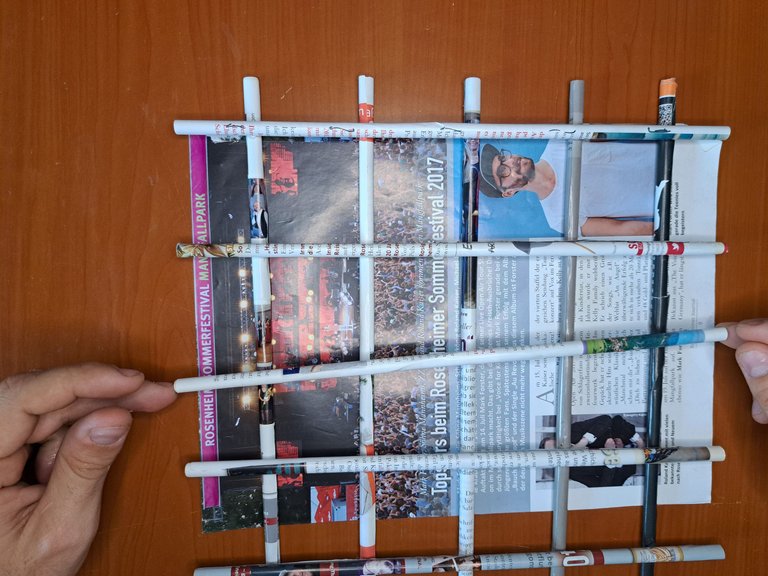
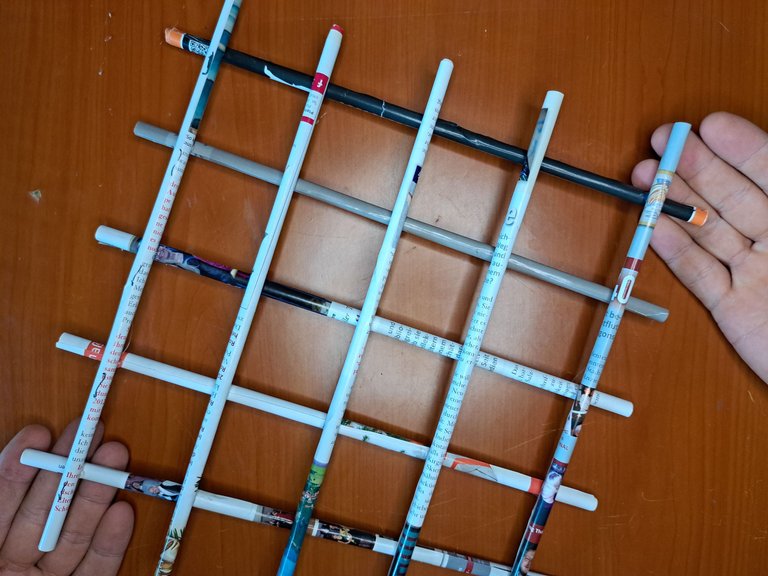
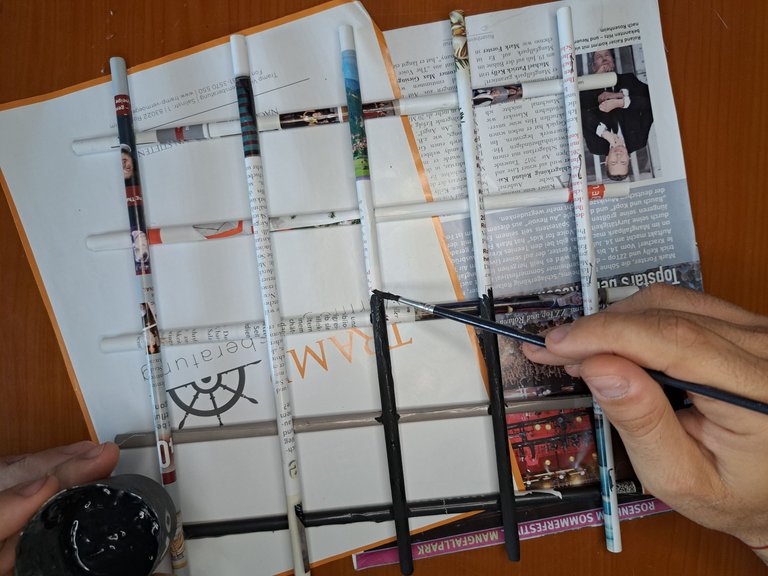
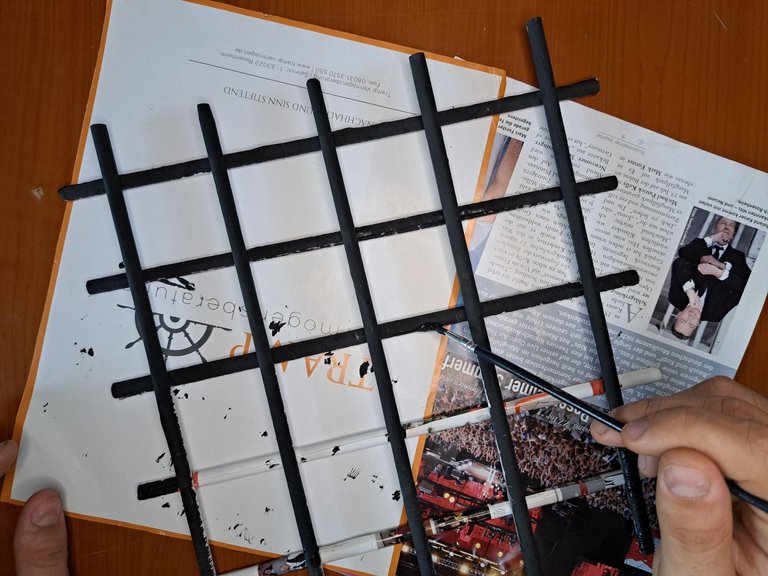
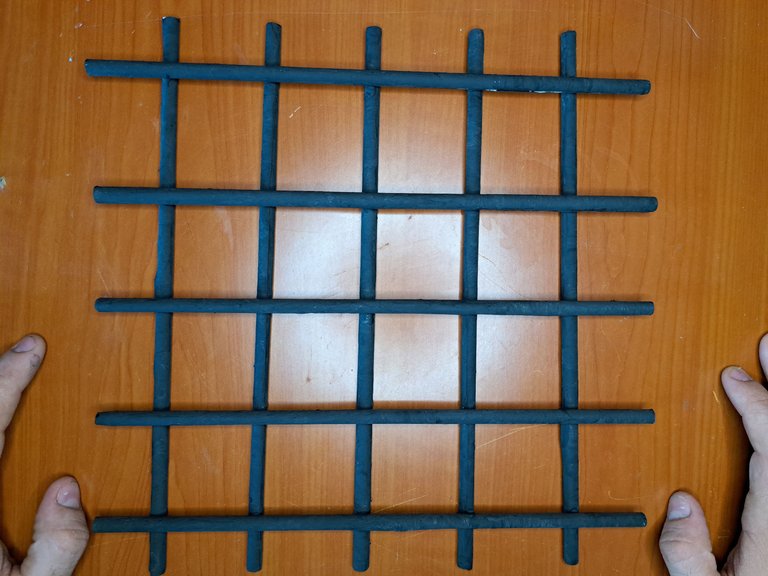
2️⃣ Next, you must place 5 of the tubes perpendicularly and at the same distance. Then place the remaining 5 on top of the first 5, but perpendicular to them to form a grid. Glue, reinforce and paint black the whole structure both front and back. Let it dry properly and move on to the next step.
2️⃣ A continuación, debes colocar 5 de los tubos perpendicularmente y a la misma distancia. Luego colocarás los 5 restantes encima de los 5 primeros, pero perpendicularmente a estos para formar una rejilla. Pega, refuerza y pinta de negro toda la estructura tanto por delante como por detrás. Deja secar apropiadamente y pasa al siguiente paso.
 |
 |
 |
 |
 |
 |
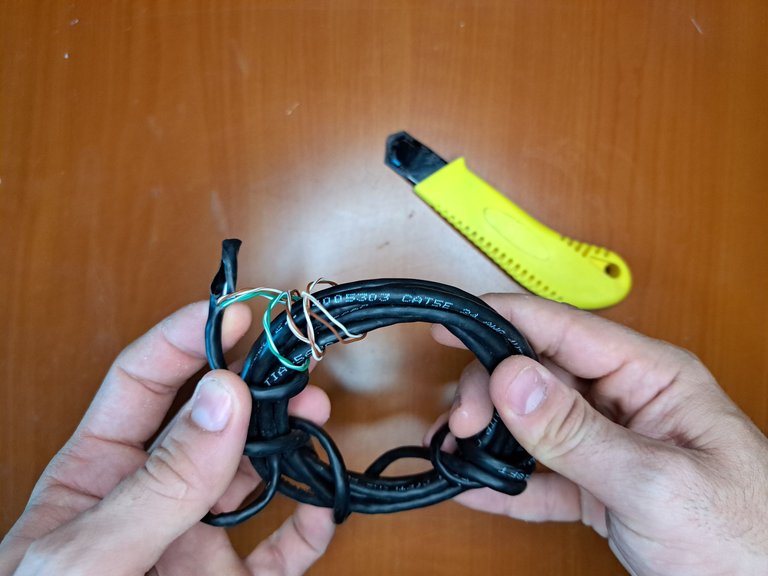
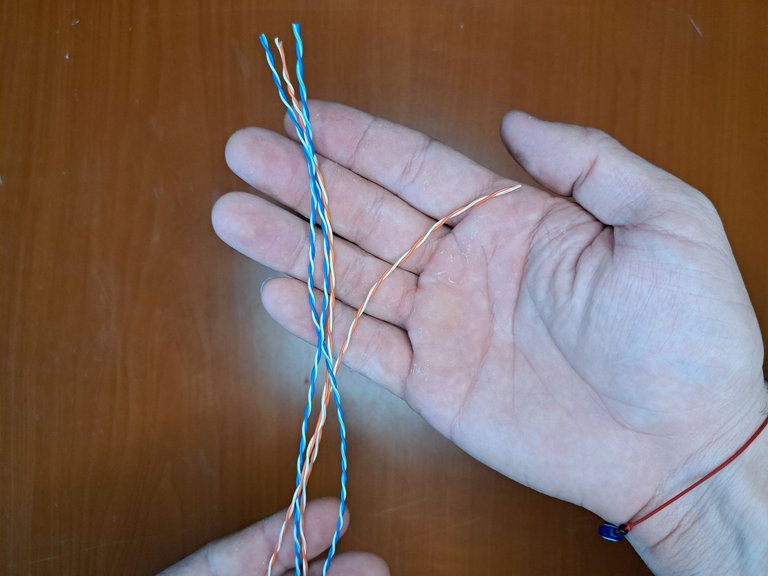
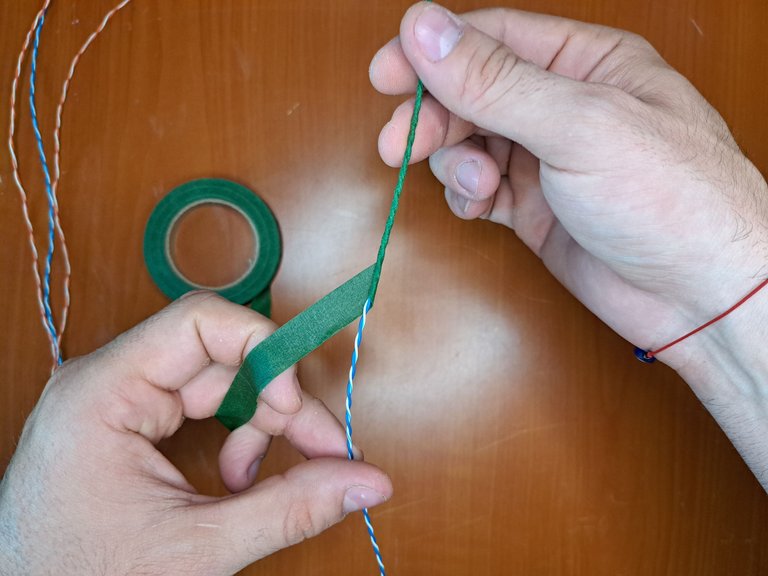
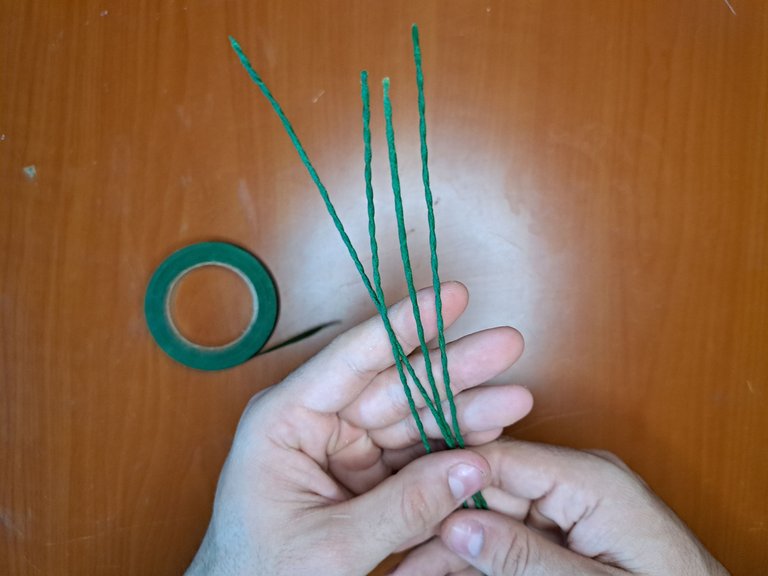
3️⃣ Now you will start working on the facts, but for this you must first cut out several segments of wire, which you will wrap with floral tape to form the stem of the ferns. The use of wire is not mandatory, as you can replace it with some kind of hard vegetable fiber such as sticks of coconut leaves. I personally prefer to use the wire that comes inside the network cable (RJ45) because they are very easy to obtain and provide both rigidity and flexibility to the stems.
3️⃣ Ahora comenzarás a trabajar en los hechos, pero para ello primero debes recortar varios segmentos de alambre, los cuales envolverás con cinta floral para formar el tallo de los helechos. Ele cho de usar el alambre no es obligatorio, ya que puedes reemplazarlo con algún tipo de fibra vegetal dura como puede ser los palillos de las hojas de coco. Yo en lo personal prefiero utilizar el alambre que viene dentro del cable de red (RJ45) debido a que se me es muy fácil obtenerlos y aportan tanto rigidez como flexibilidad a los tallos.
 |
 |
 |
 |
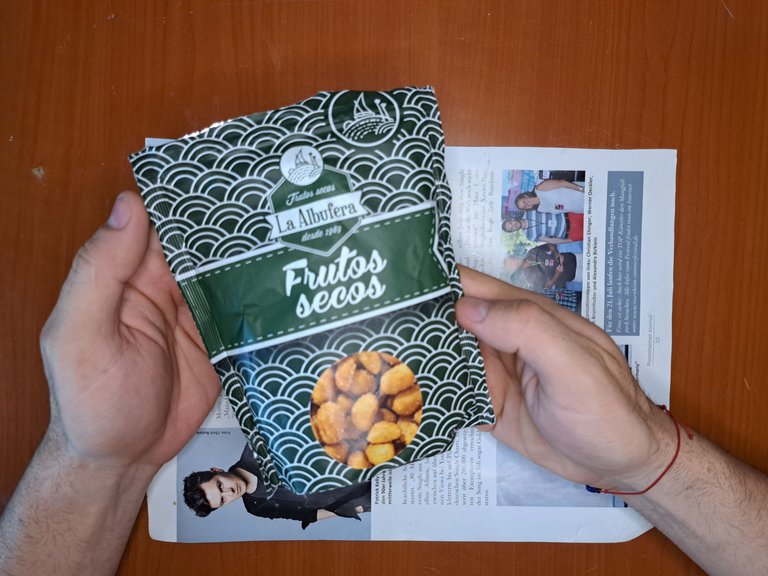
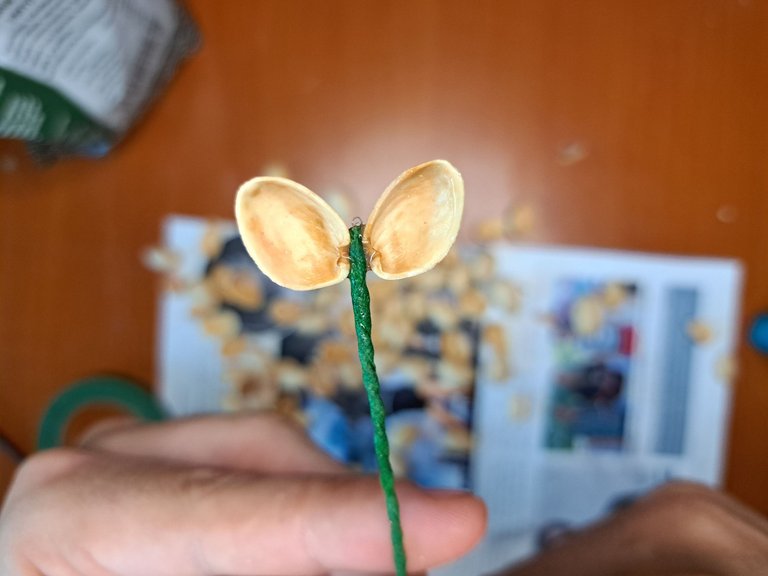
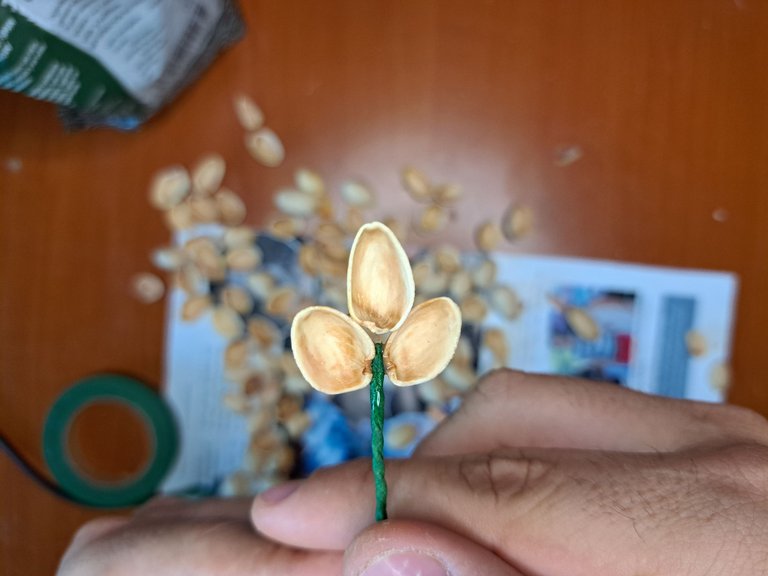
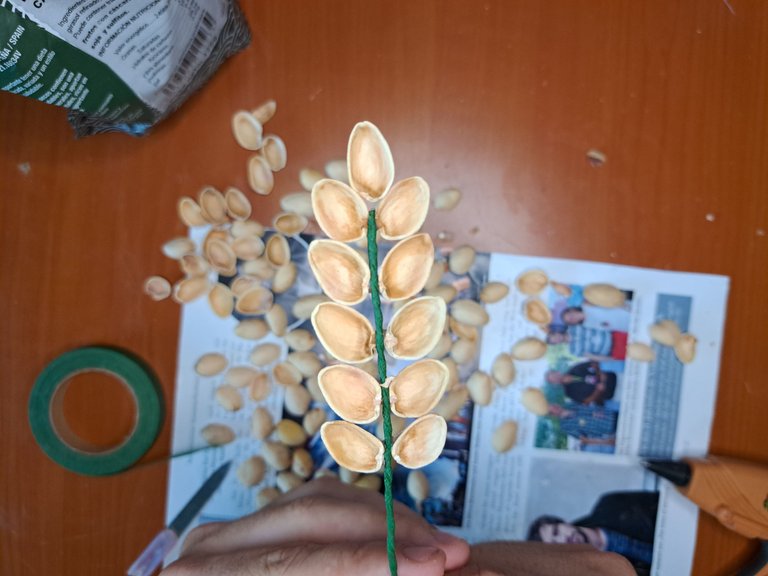
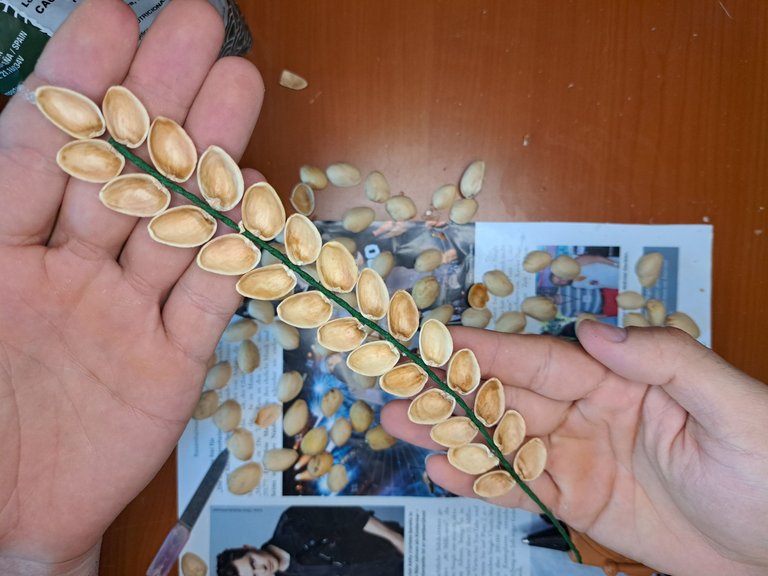
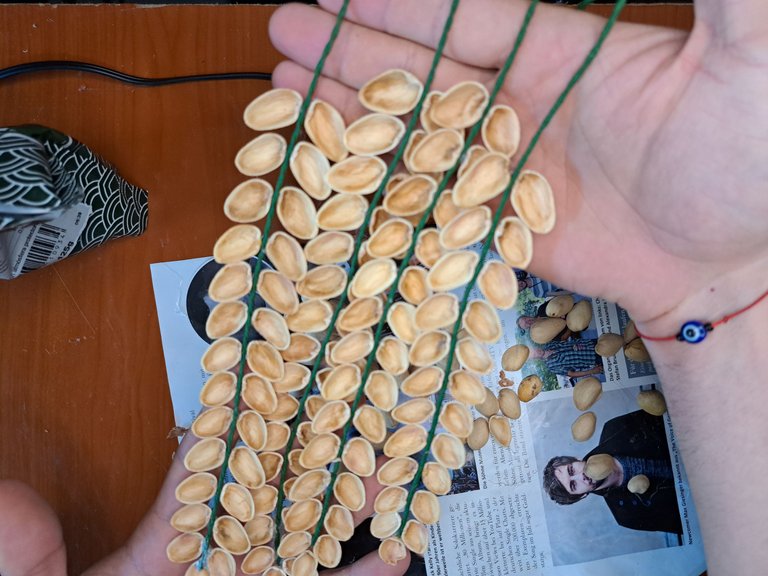
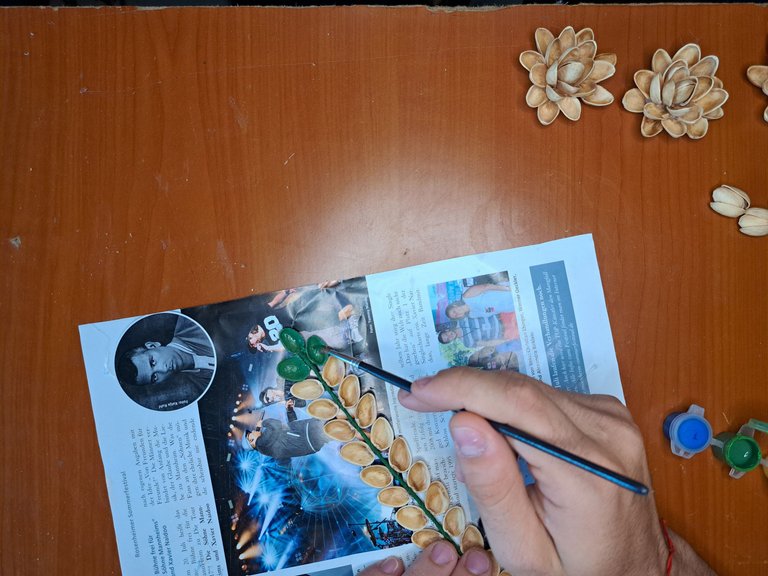
4️⃣ After the stems are ready, you should separate the pistachio shells by size and start placing them from smallest to largest all along the side of the stems. At the tip there will always be a very small shell. You should also leave the end of the stem without shells, as this will be bent so that you can put them to dry. Remember to make ferns of different sizes and varying lengths.
4️⃣ Luego de que los tallos estén listos, deberás separar las cáscaras de pistacho por tamaños y empezarás a colocarlas de menor a mayor por todo el lado de los tallos. En la punta siempre irá una cáscara muy pequeña. También debes dejar el extremo del tallo sin cáscaras, ya que este se doblará para que puedas ponerlos a secar. Recuerda que debes hacer helechos de distintos tamaños y de longitud variable.
 |
 |
 |
 |
 |
 |
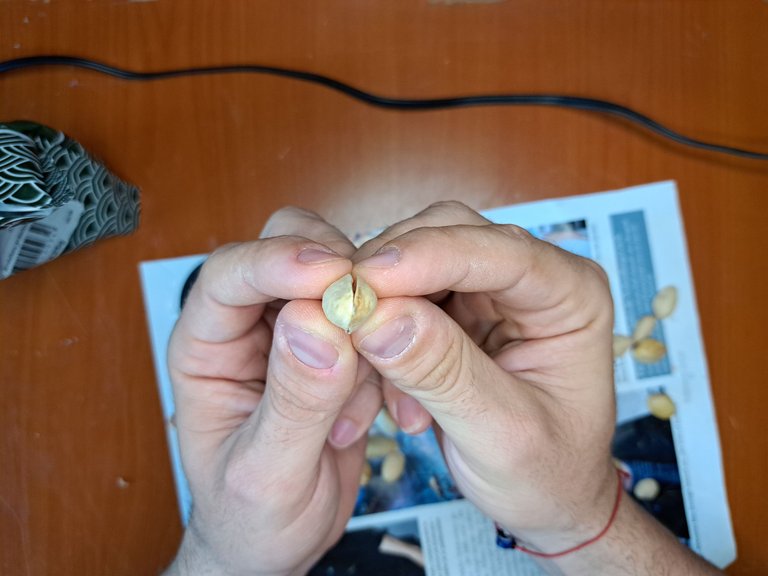
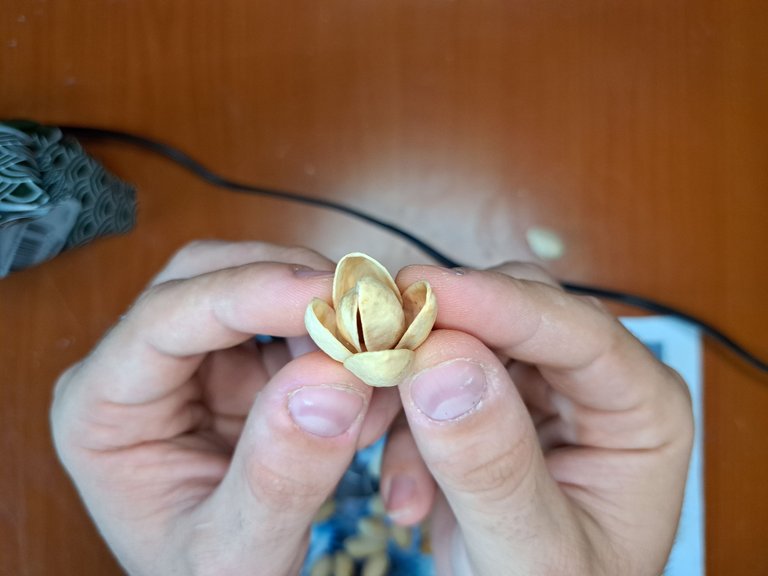
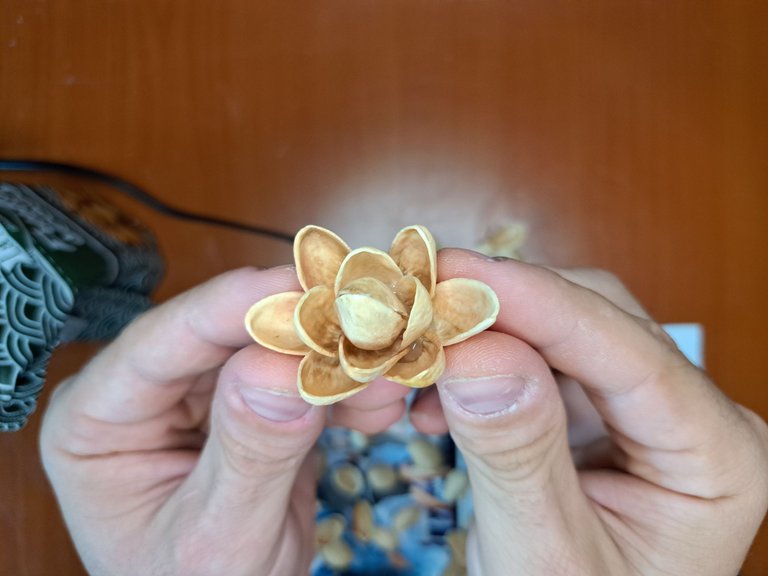
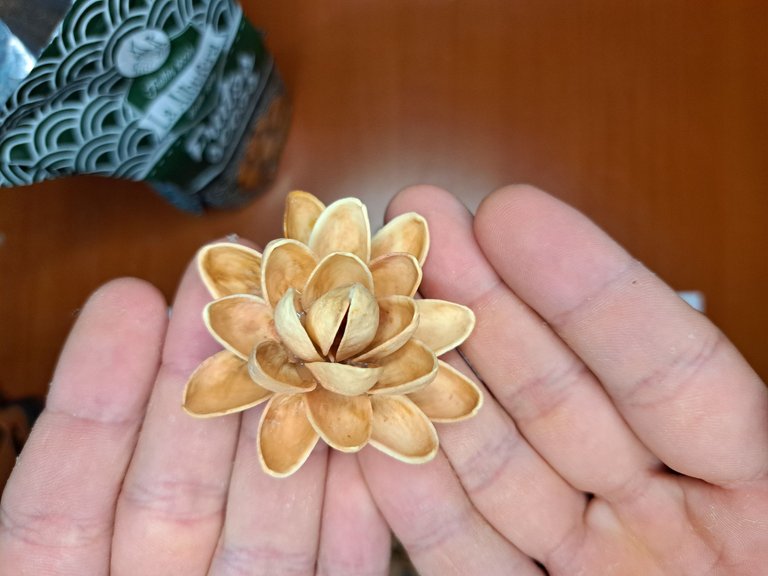
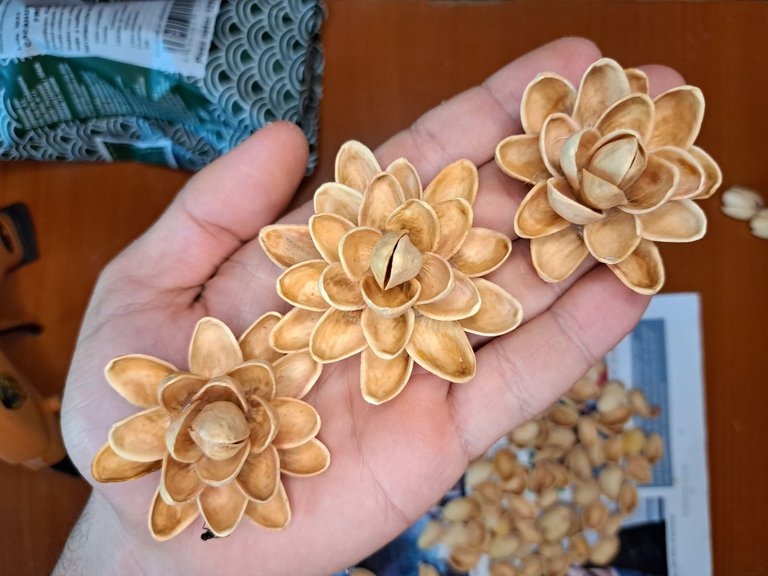
5️⃣ Once the ferns are ready you will move on to the flowers. To make the flowers you will have to join two pistachios of similar sizes and around them you will glue the rest of the pistachios. Each flower has about three or four layers of pistachios. Keep this in mind so you can determine the width you want for your flowers. Additionally you should also make 3 flower buds which follow the same principle as the large flowers, but are made with only four pistachio shells.
5️⃣ Una vez los helechos estén listos, pasarás a las flores. Para hacer las flores deberás unir dos pistachos de tamaños semejantes y alrededor de ellos iras pegando intercaladamente los demás pistachos. Cada flor posee alrededor de tres o cuatro capas de pistachos. Ten en cuanta esto para que puedas determinar el ancho que quieres para tus flores. Adicionalmente, también debes hacer 3 botones de flores, las cuales siguen el mismo principio que las flores grandes, pero se elaboran con solo cuatro cáscaras de pistacho.
 |
 |
 |
 |
 |
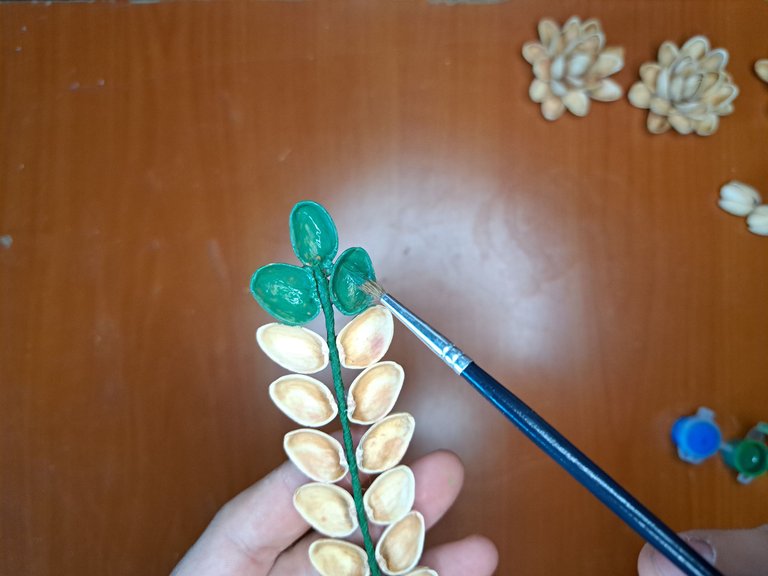
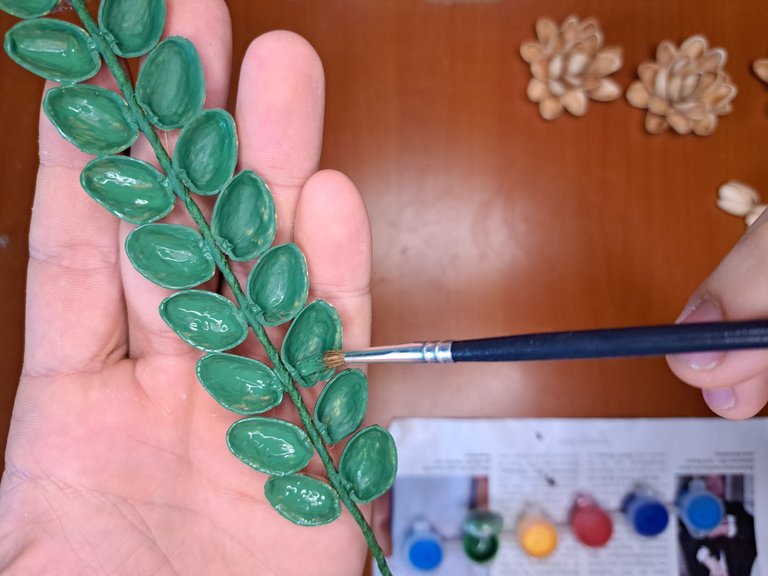
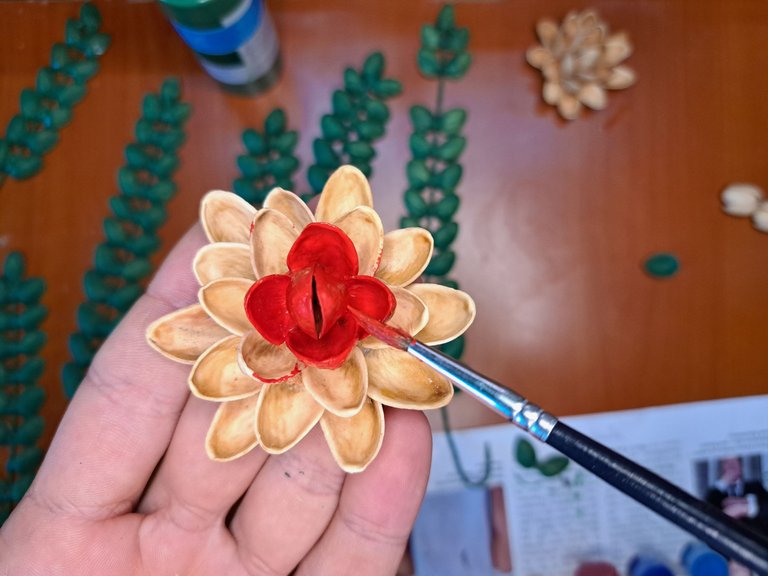
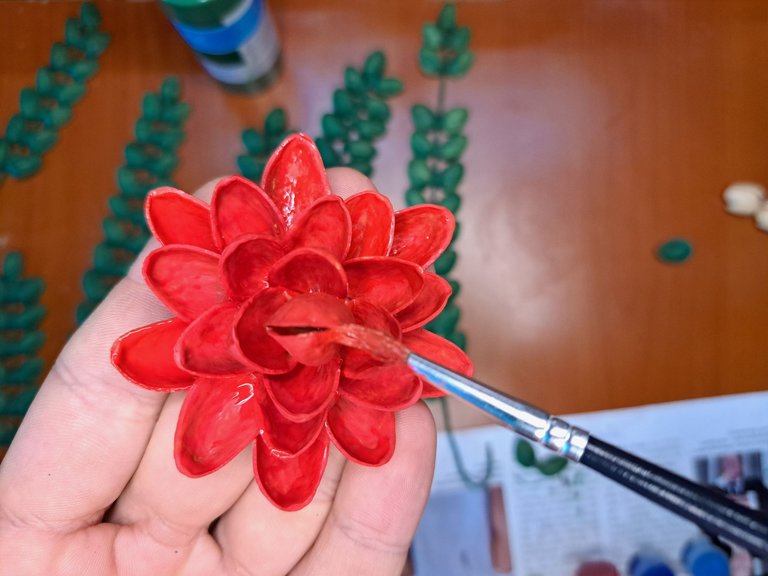
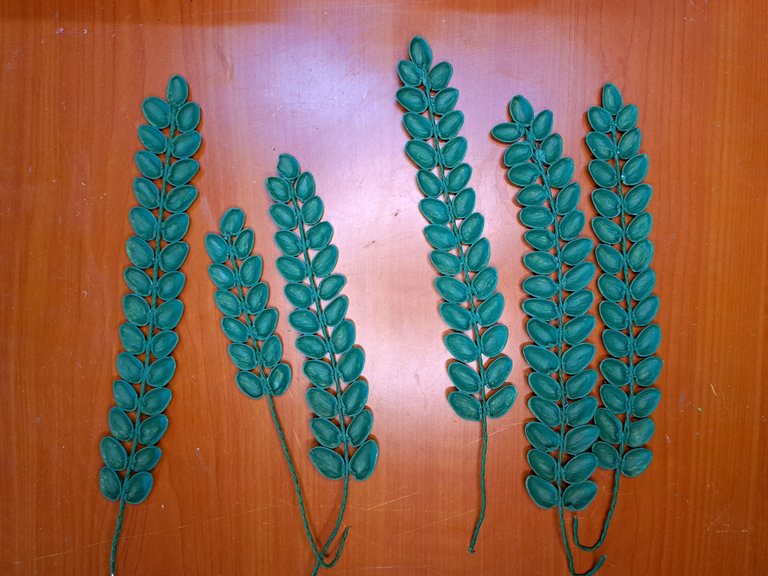
6️⃣ For the next step you should paint both the ferns and the flowers with their buds. The ferns should be painted green and go over everything with a second coat if necessary. In the case of the flowers you must be very careful when painting them so that no space is left, since when painting them in red if any place is left unpainted it will stand out a lot. You can dry the flowers upside down so that only the tips of the petals make contact with the surface and the ferns you can hang them by the end of the stem that I previously told you that you had to leave free.
6️⃣ Para el siguiente paso debes pintar tanto los helechos como las flores con sus botones. Los helechos debes pintarlos de verde y repasar todo con una segunda capa en caso de ser necesario. En el caso de las flores debes tener mucho cuidado al pintarlas para que no quede ningún espacio, ya que al pintarlas de rojo si queda algún lugar sin pintar resaltará mucho. Las flores las puedes poner a secar boca abajo para que solo haga contacto las puntas de los pétalos con la superficie y los helechos puedes colgarlos por el extremo del tallo que anteriormente te dije que tenías que dejar libre.
 |
 |
 |
 |
 |
 |
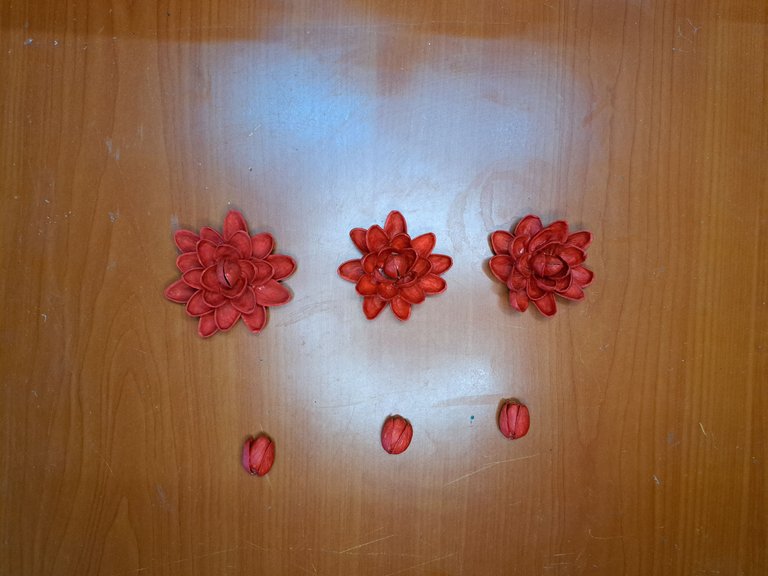 |
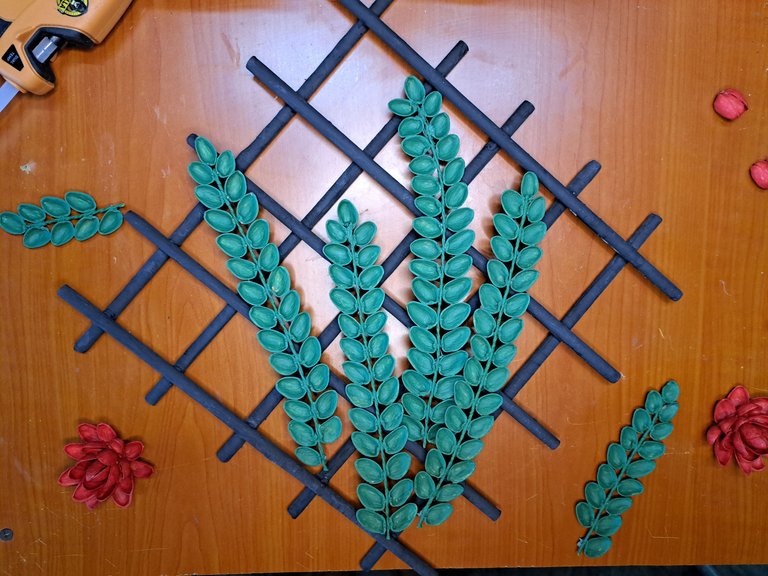
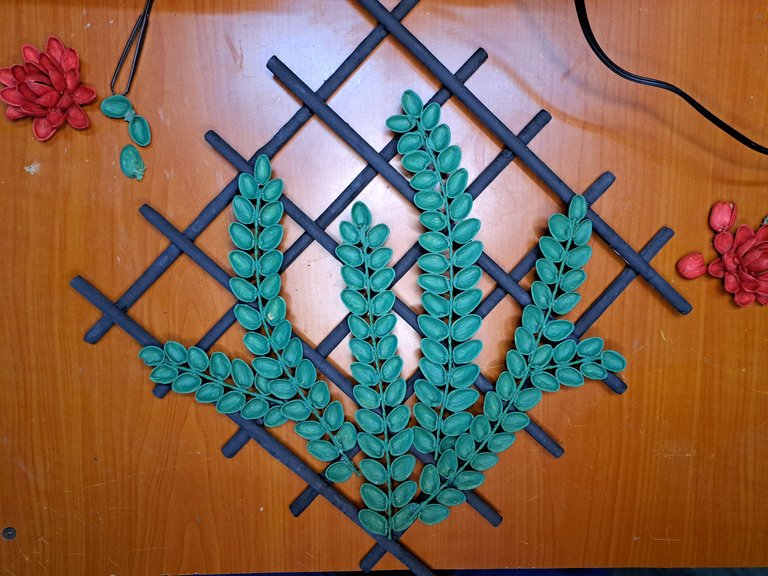
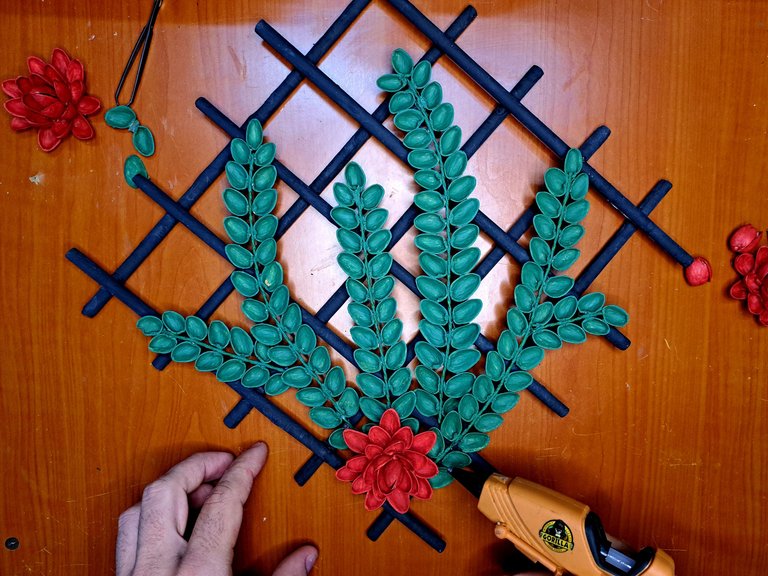
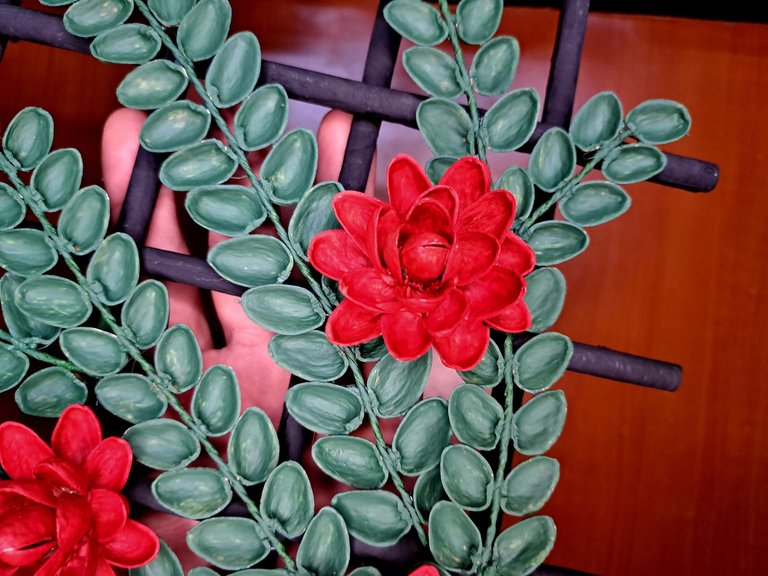
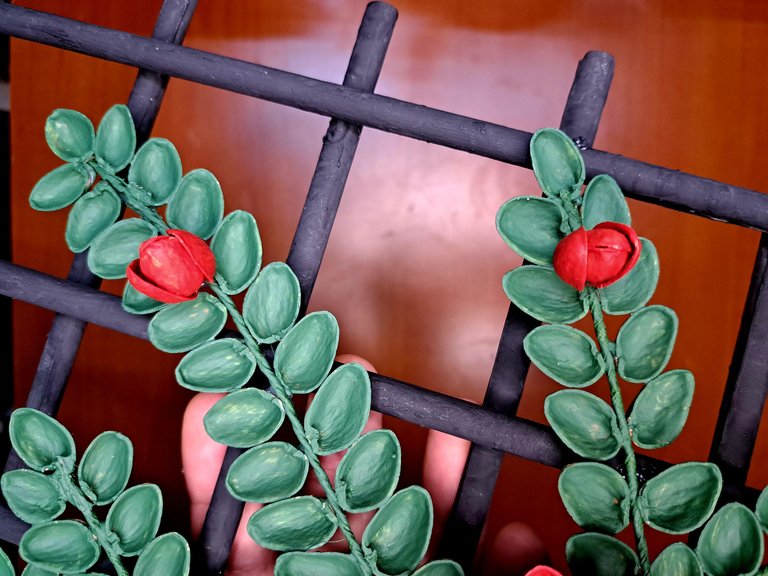
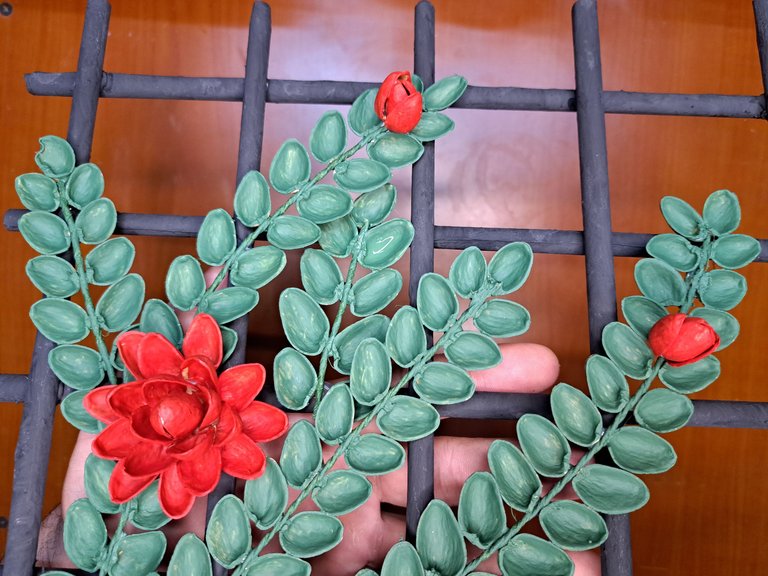
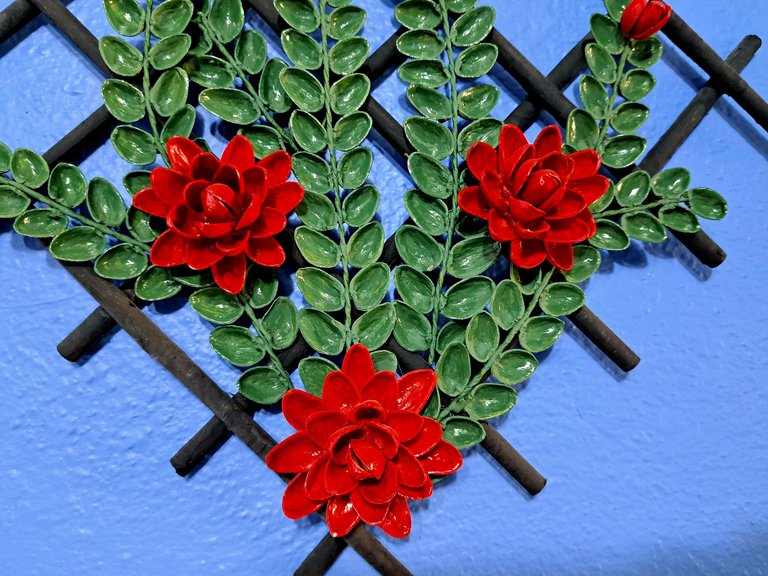
7️⃣ When all the pieces are dry, you are ready to start gluing them together. First, place the ferns on top of the black grid so you can determine their position and size. You will almost certainly have to chop them up, so be very careful when doing so, as each fern must make contact with the grid at several points to ensure that it doesn't come loose or get hung up. Once the ferns are glued together start gluing the flowers, starting from the bottom corner up and finishing by gluing the three red buttons on the top ends of the larger ferns.
7️⃣ Cuando todas las piezas estén secas, estarás listo para comenzar a pegarlas. Primeramente, coloca los helechos encima de la rejilla negra para que puedas determinar la posición y el tamaño que tendrá. Es casi seguro que debas picarlos, así que ten mucho cuidado a la hora de hacerlo, ya que cada helecho debe hacer contacto con la rejilla en varios puntos para garantizar que no se desprenda o quede colgado. Una vez estén pegados los helechos comienza a pegar las flores, empezando por la esquina inferior hacia arriba y terminando por pegar los tres botones rojos en los extremos superiores de los helechos más grandes.
 |
 |
 |
 |
 |
 |
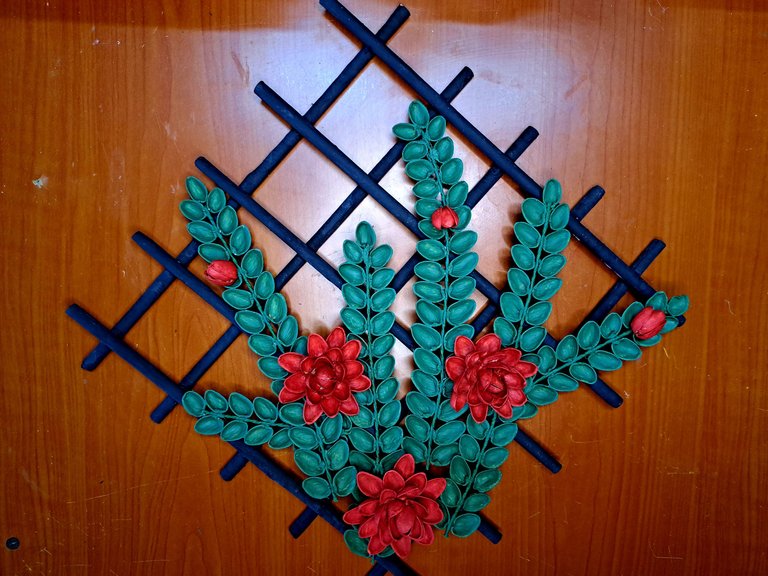 |
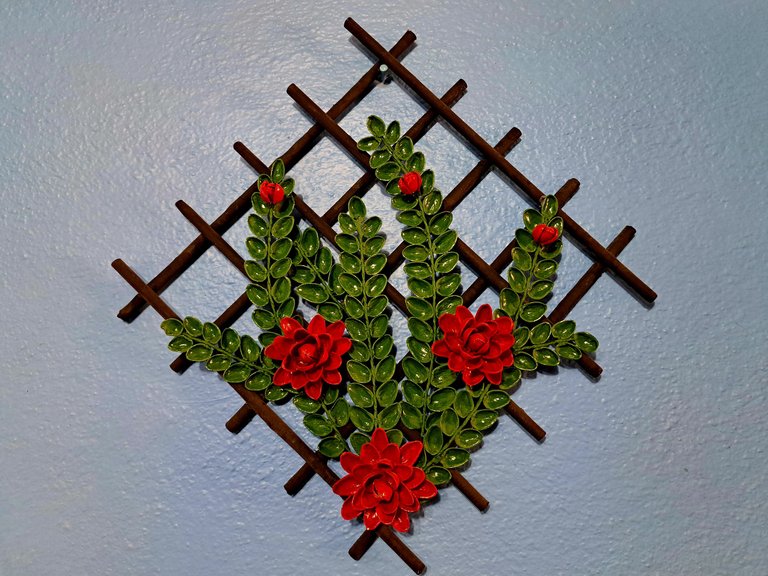
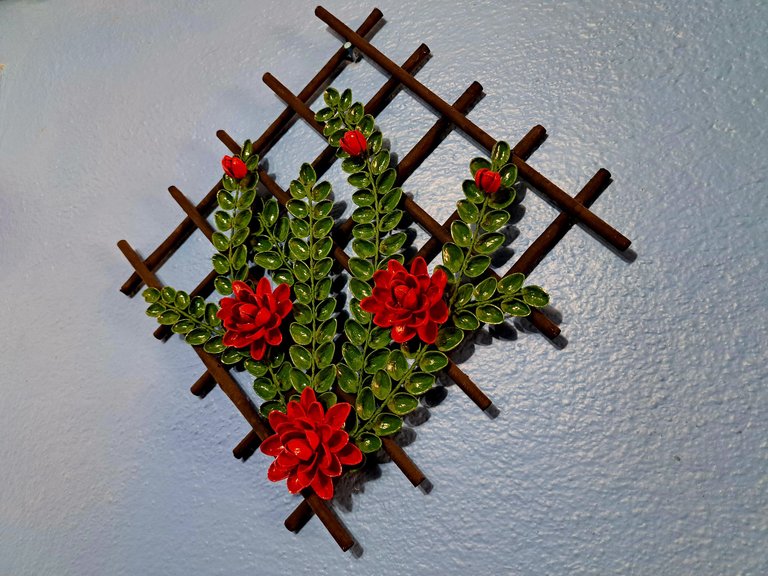
And so this beautiful floral ornament composed of flowers and ferns made with pistachio shells would be ready. I hope you found the tutorial useful and that you are encouraged to do it to give it to someone special, because as I said at the beginning a very important date is approaching. Without more to say I say goodbye, but not before inviting you to visit my publications where soon I will be sharing with you another piece of my creative world.
Y así ya estaría listo este hermoso adorno floral compuesto por flores y helechos confeccionados con cáscaras de pistachos. Espero que te haya sido útil el tutorial y que te animes a hacerlo para regalárselo a alguien especial, ya que como dije al inicio se acerca una fecha muy importante. Sin más que decir me despido, no sin antes invitarte a visitar mis publicaciones donde próximamente estaré compartiendo contigo otro pedacito de mi mundo creativo.
Final Result // Resultado Final
 |
 |
 |
 |
 |

Thank you very much for reading my post. If you liked it, please leave a comment and consider following me so you don't miss my next posts. I'd love to know your opinion and your thoughts about the topic I discussed in this post, see you in the next one!
Muchas gracias por leer mi post. Si te gustó, por favor deja un comentario y considera seguirme para no perderte mis próximas publicaciones. Me encantaría saber tu opinión y tus ideas sobre el tema que traté en este post. ¡Nos vemos en el próximo!

Cover page created in Canva Pro
Translated by DeepL


