Greetings friends who love handmade arts! Welcome once again to my workshop @bricolajedc where we let our imagination fly to achieve beautiful creations. This time we are going to make a protective braid for crib edges. Join me as I show you this simple creative process.
¡Saludos amigos amantes de las artes manuales! Sean bienvenidos una vez más a mi taller @bricolajedc donde hacemos volar la imaginación para lograr bellas creaciones. En esta oportunidad vamos a elaborar una trenza protectora para bordes de cuna. Acompáñenme y les muestro este sencillo proceso creativo.

Materials:
For this project we will use:
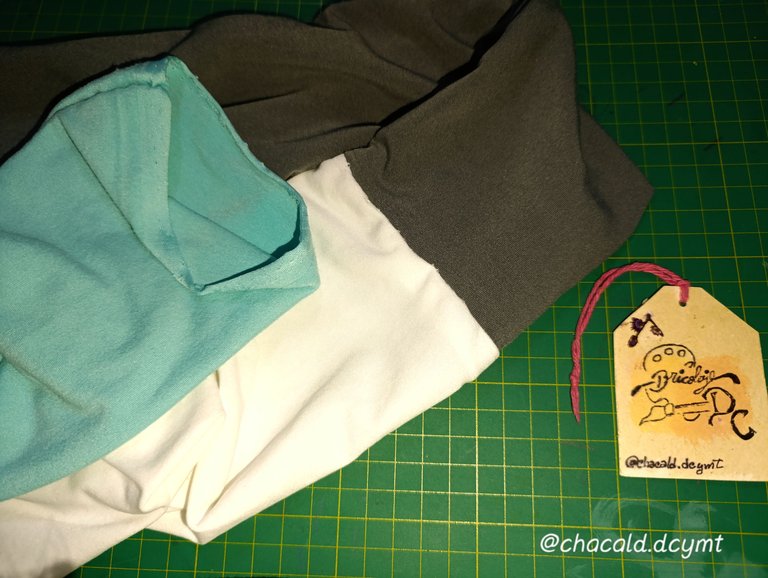
- 1 meter of peach skin fabric of 2
meters long, I used 3 colors because I think it can be combined with other sheets. I selected the aqua green color as the central color since the sheets and pillowcases are of the same color. The gray and white to go with it.
The unicolor peach skin fabric is priced at 2$ per meter, total of 6$ for the 3 colors.
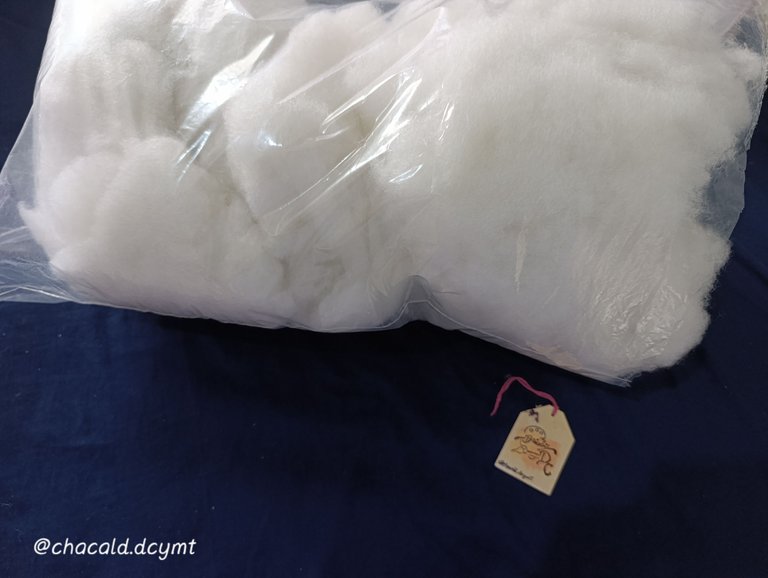
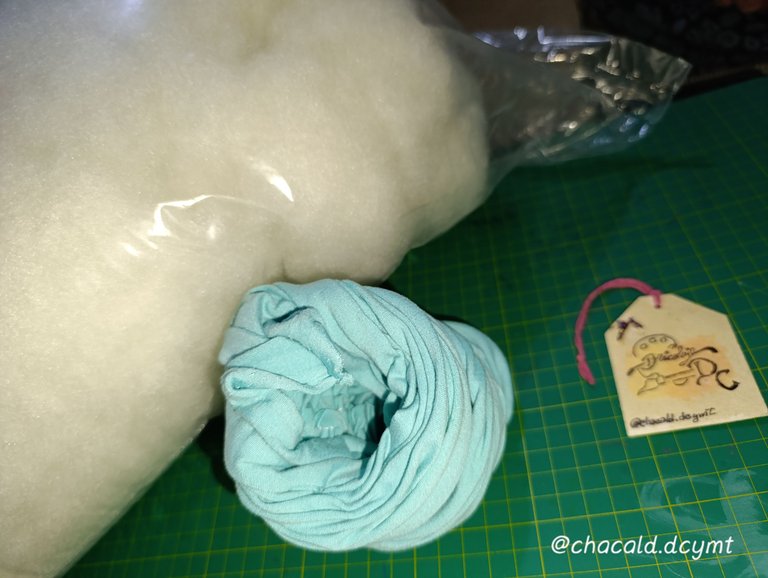
- Anti-allergic synthetic filling 1 kilo.
I got a kilo bag of this stuffing for 3$.
Materiales:
Para este proyecto vamos a utilizar:
- 1 metro de tela piel de durazno de 2
metros de largo, yo utilicé 3 colores porque me parece que puede combinar con otras sábanas. Seleccioné el color verde agua como color central ya que las sábanas y fundas de las almohadas son de este mismo color. El color gris y blanco para acompañar.La tela piel de durazno unicolor tiene precio de 2$ el metro, total de 6$ los 3 colores.
- Relleno sintético antialérgico 1 kilo.
Conseguí una bolsa de kilo de este relleno por 3$.
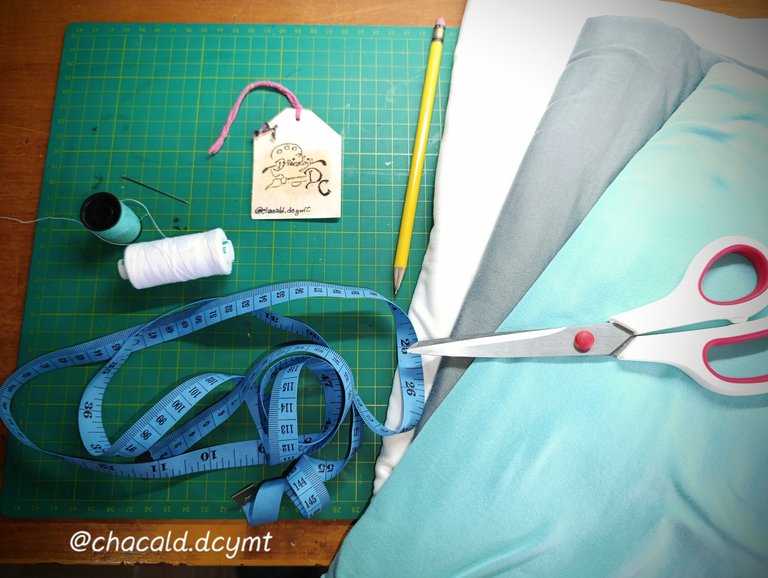
- Thread and needle
I don't have a sewing machine, so I do my sewing projects by hand. Not having a sewing machine has never been a hindrance to my work. The tube of thread and package of needles costs $1.00.
- Tape measure, scissors, pencil.
- Hilo y aguja
No tengo máquina de coser, por lo que hago mis proyectos de costura a mano. El nontener una máquina de coser nunca ha sido un impedimento para mis trabajos. El tubo de hilo y el paquete de agujas tiene un costo de 1$.
- Cinta métrica, tijera, lápiz
Total project cost: $10
Average cost of braid in stores: 50$.
Costo total del proyecto: 10$
Costo promedio de la trenza en las tiendas: 50$

Process of elaboration:
We start by cutting the fabric into strips of 1/2 meter each color. That is to say, we cut each of the fabric colors in half.
Proceso de elaboración:
Comenzamos cortando la tela en franjas de 1/2 metro cada color. Es decir cortamos cada uno de los colores de tela a la mitad.
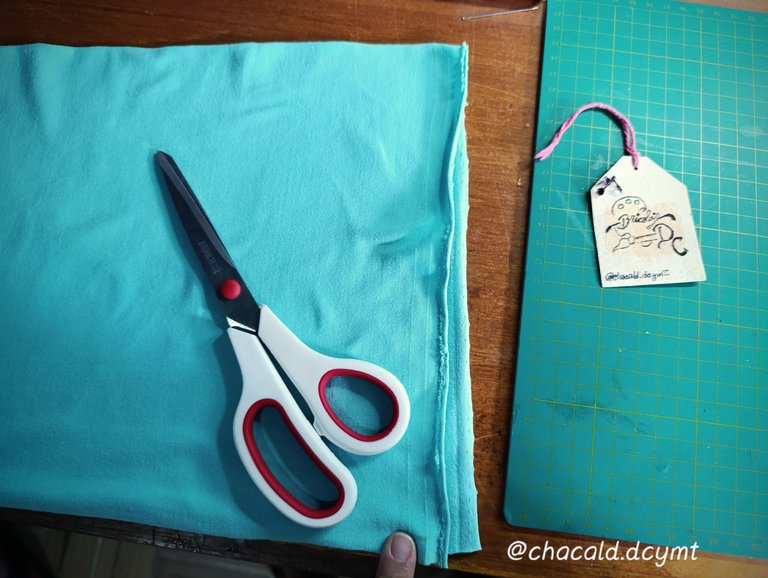
This way we will have 2 stripes of each color. We are going to make 2 braids to cover the edge of the whole cradle.
We are going to join 2 stripes of 2 different colors that will be the edges of the braid.
Así tendremos 2 franjas de cada color. Vamos a hacer 2 trenzas para cubrir el borde de toda la cuna.
Vamos a unir 2 franjas de 2 colores diferentes que serán los bordes de la tranza.
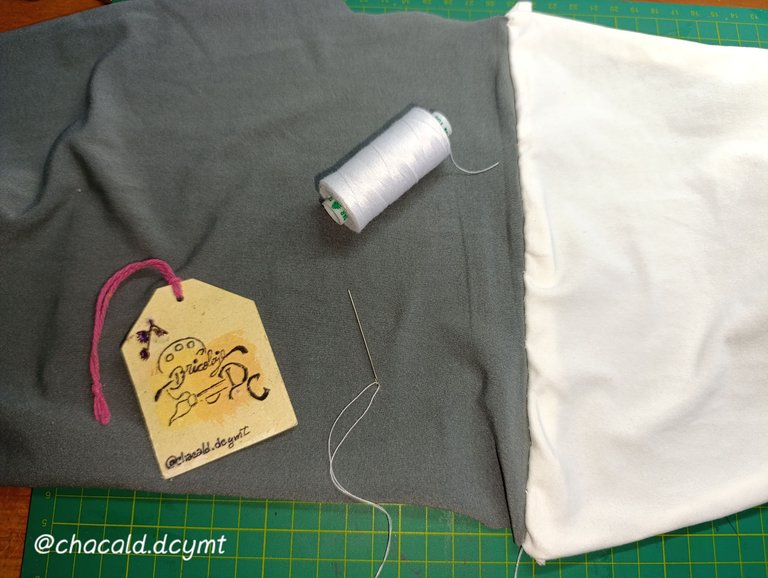
We are going to pass a seam all along the edge of the 2-color stripe facing right sides together.
Vamos a pasar una costura por todo el borde de la franja de 2 colores enfrentando los derechos.

After having the strip together, we are going to join the strip that remains loose. This will be the center of the braid.
We turn the stripes so that the seam is on the inside.
Luego de tener la franja unida, vamos a unir la franja que nos queda suelta. Esta Será el centro de la trenza.
Giramos las franjas para que l costura quede del lado de adentro.
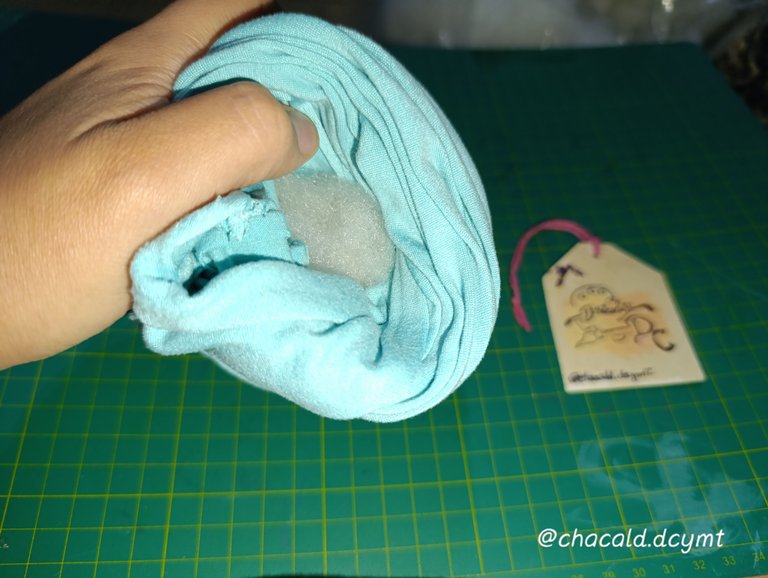
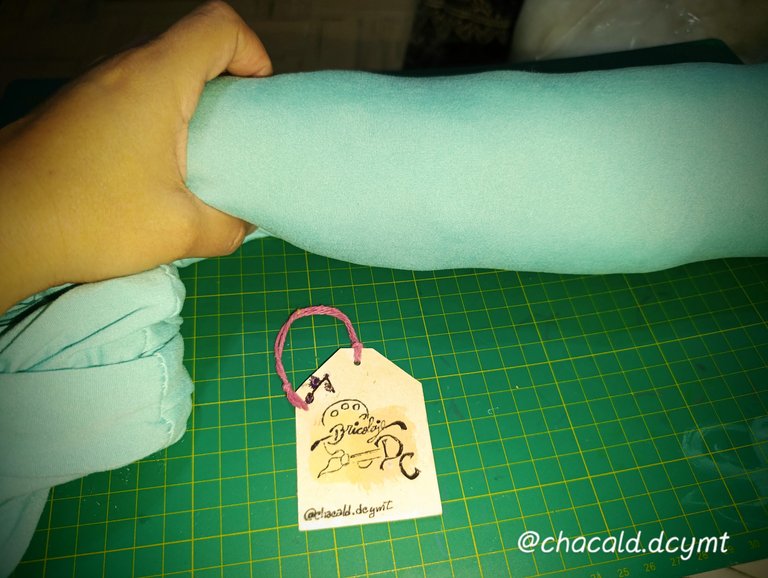
Now we take the filling and try to stretch it. While we take the strip and pick it up to make it easier to fill it.
Ahora toamamos el relleno y tratamos de estirarlo. Mientras que tomamos la franja y la recogemos para que sea mas fácil de rellenar.
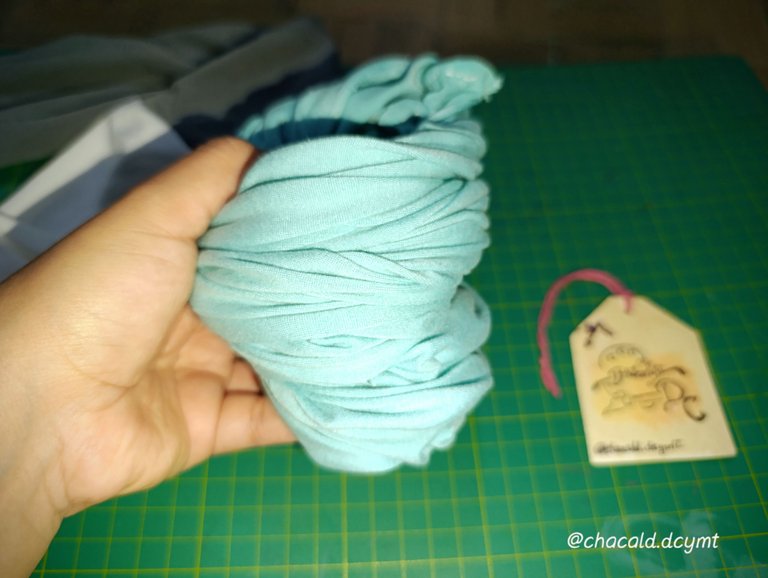
As we fill, we stretch the strip to allow the filling to accumulate.
A medida que vamos rellenando, vamos estirando la franja para que el relleno se acumule.
 |  |
|---|
We do this with the 3 stripes.
Hacemos esto con las 3 franjas.
 |  |
|---|
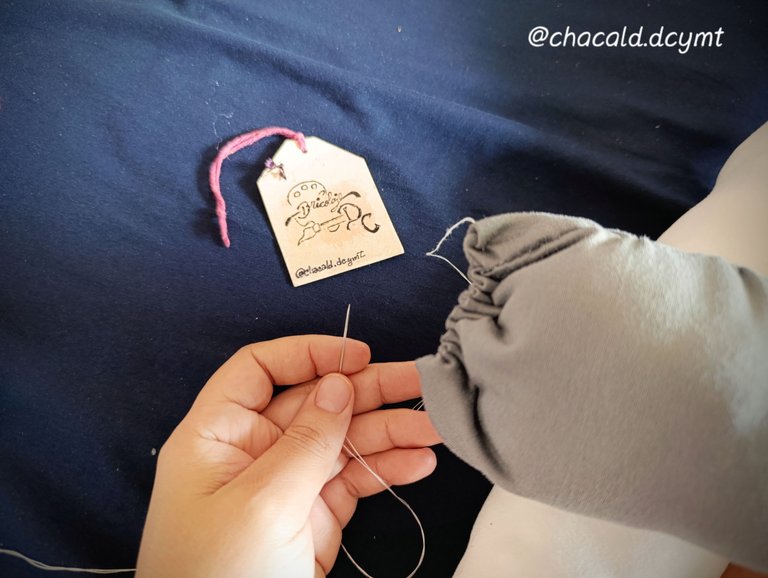
With a tight seam, we are going to close the ends of the stripes. This will prevent the stuffing from coming out.
Con una costura apretada, vamos a cerrar las puntas de las franjas. Así evitamos que se salga el relleno.
Then we are going to arrange the stripes. The ones that are together will go at the ends and in the center the single stripe.
Luego vamos a acomodar las franjas. Las que están juntas irán por los extremos y en el centro la franja sola.
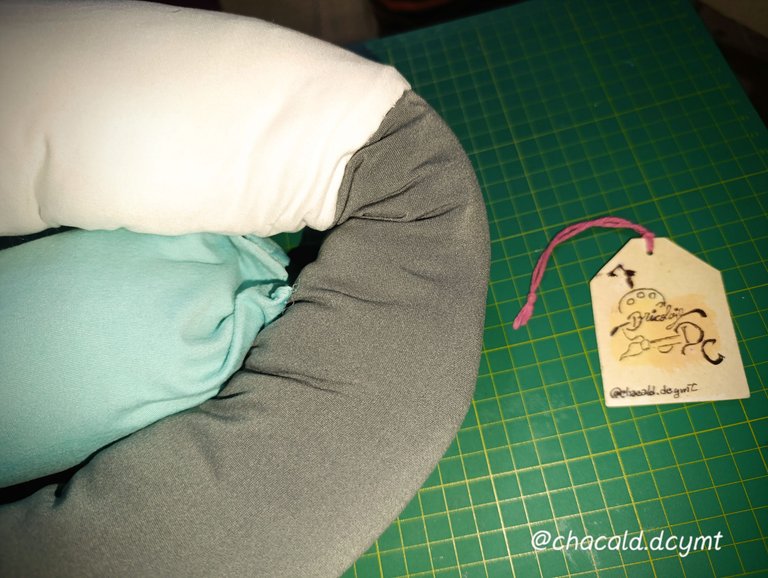
We are going to join the center stripe with an invisible seam in the center of the edge strips. We start braiding leaving enough space for the stuffing to form the braid.
Vamos a unir la franja del centro con una costura invisible en el centro de las franjas de los bordes. Comenzamos a trenzar dejando suficiente espacio para que el relleno forme la trenza.
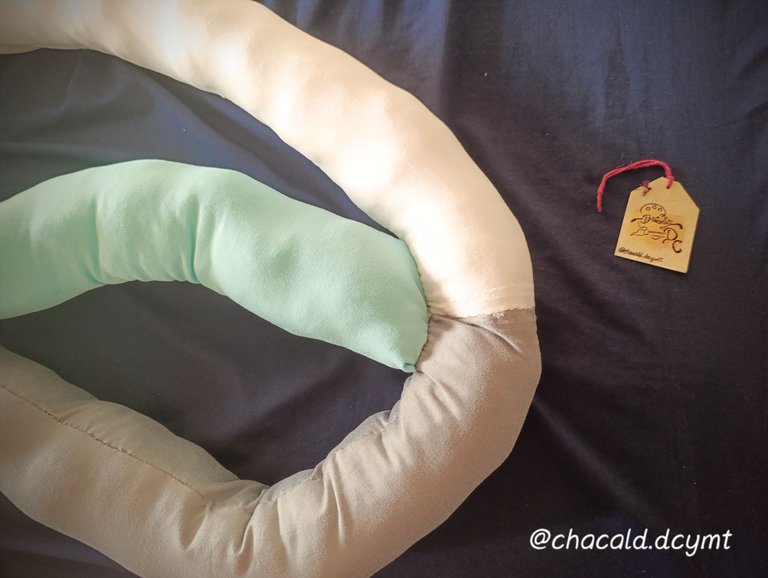
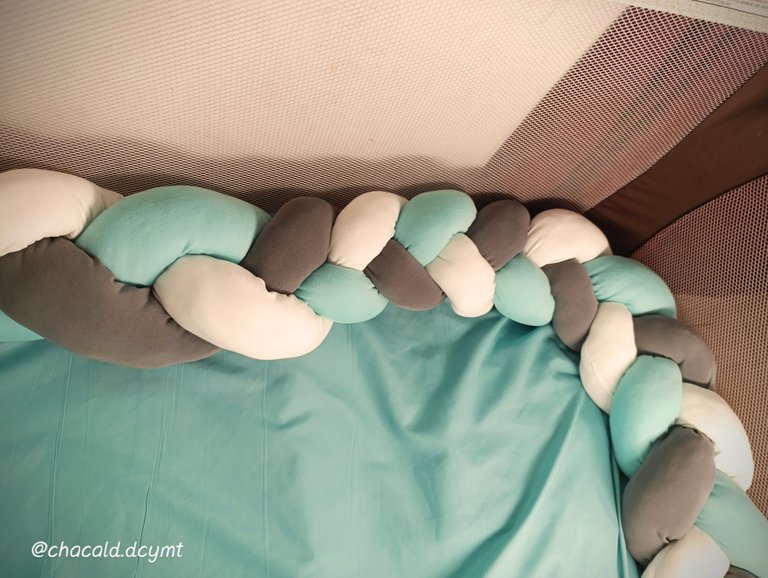
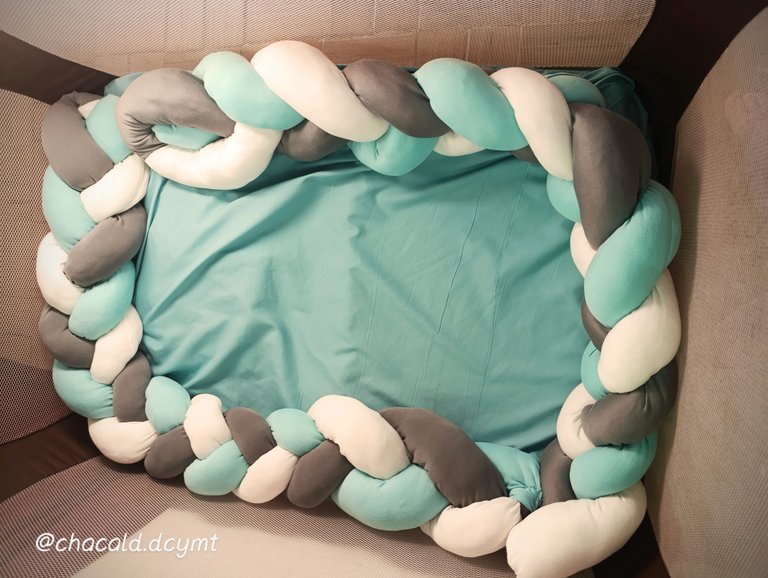
And this is how our braids would look like. We are going to place one on each side of the cradle.
Y así es como quedarían nuestras trenzas. Vamos a colocar una por cada lado de la cuna.
I hope you like this simple tutorial, I encourage you to make this project at home, with which we will save approximately $ 40. See you next time. Bye!
Espero que les guste este sencillo tutorial, se animen a realizar este proyecto en casa, con el que nos vamos a ahorrar aproximadamente 40$. Nos vemos en una próxima oportunidad. Chao!!

Original content by the author.
Resources: App: Canva / Giphy / Inshot
📷 Redmi 13 note pro Smartphone
Translated with Deepl.com
✿ All Rights Reserved || © @chacald.dcymt 2025✿
💌 Discord: chacald.dcymt#3549
X: @chacald1
Reddit: chacald
Follow us on Instagram
_
Contenido original del autor.
Recursos: App: Canva / Giphy / Inshot
📷 Redmi 13 note pro Smartphone
Traducido con Deepl.com
✿ Todos los Derechos Reservados || © @chacald.dcymt 2025✿
💌 Discord: chacald.dcymt#3549
X: @chacald1
Reddit: chacald
Tienda virtual @bricolajedc
Síguenos en Instagram
Posted Using INLEO