ENG (Deutsche Version weiter unten)
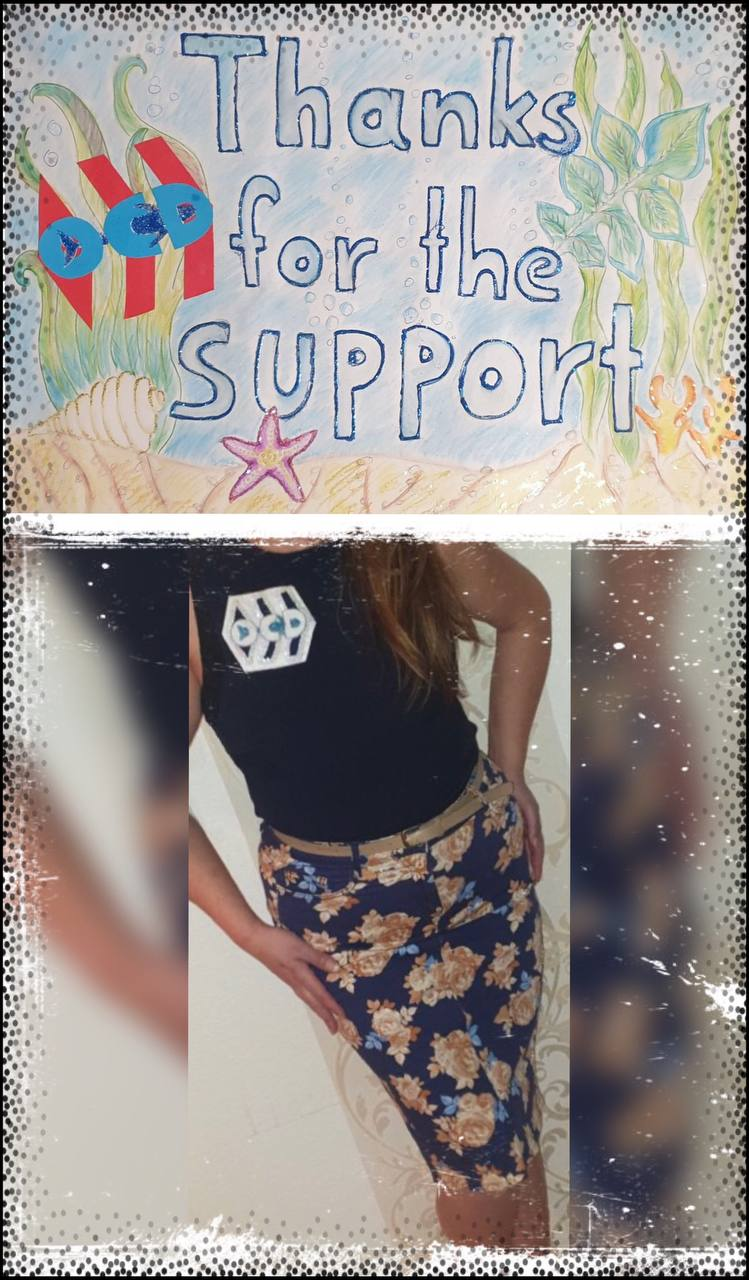
@OCD left incredible support for my works at #NeedleWorkMonday and so I want to express my gratitude.
This support for me, as a new blockchainer, was really a great gesture. It immediately made me feel much more welcome on the Blockchain.
Thank you for this dear OCD team
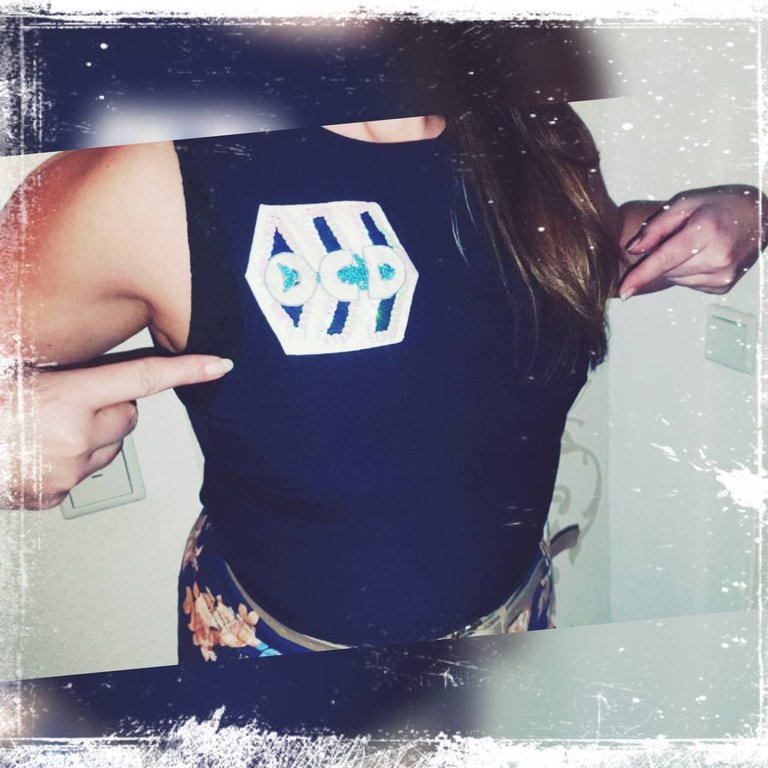
With that in mind, I came up with an OCD design that consists of a variable combination of top, and alternating skirt and dress options.
The skirt with floral pattern was previously pants and the long dress with blue and white pattern was already available, that was not sewn by myself, have nevertheless seen that it goes wonderfully with the top to combine. So I have the opportunity to wear the OCD top to several pieces of clothing.
Work steps:
OCD Logo
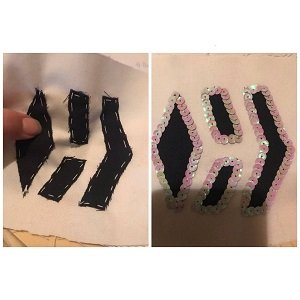
First of all, however, the cut for the logo had to be designed: Started by drawing the logo on paper to also get a rough idea of the proportions. When the logo was to my satisfaction, it was time to move on...
After that, the created patterns had to be cut into fabric, which was the most delicate part of the work, because here with just one wrong cut everything can turn into shit.
After everything was cut out to my satisfaction, the fabric application, which for the time being consisted mainly of the Hive logo, had to be tacked onto the background. To round off the whole thing and because I often freestyle when it comes to decoration, I embroidered the hive logo all around with sequins.
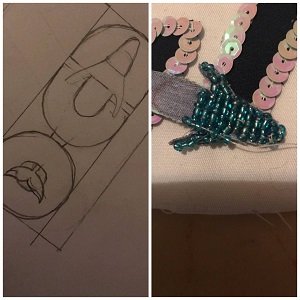
When I looked at the OCD whale it seemed very plain to me. "...there still has to be glitter on it!" I thought to myself. So in order to be able to embroider the whale with beads, it had to be reinforced beforehand to prevent fraying.
In order to make the finished logo look "as if from one cast", I connected the letters (the O, the C and the D) to the whale with small basting stitches. This way I made sure that the seam is not visible.
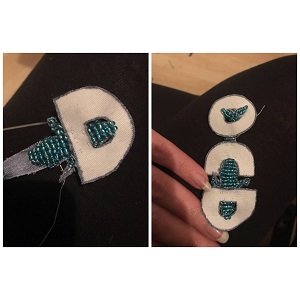
With this, the most fiddly part was done. The whole thing now only had to be applied to the hive logo application. The logo was finished. But something was still missing...
It also has to get applied on the top am I right? I sewed it on there by hand, of course. Who would I be if I had taken a hot glue gun?
The story of the skirt with floral pattern that was previously pants
Sometimes it's a real feat to find the right fabric for your pieces. But every now and then the fabric you need is processed in something else. It was the same with this skirt. I wanted a floral pattern that had larger patterns instead of the more subtle floral patterns you usually find in any fabric store.
But as fate would have it, a pair of pants crossed my path. Equipped with the perfect pattern and ready to become something much better (and especially still dirt cheap) it was virtually predetermined that these pants should become my new skirt.
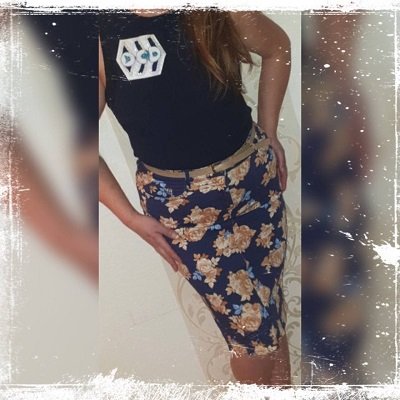
However, to turn the pants into a skirt, a few important steps were needed:
First, the inner leg seams had to be unraveled in order to pin them together in the front, as well as in the back, topstitching and straightening.
Usually you still have a crotch fabric corner that sticks out. This was cut off and serged.
Last but not least, leave the walking slit free for as much legroom as possible, topstitch the edges and FINISHED!!!
Unfortunately, I didn't document the steps pictorially, since I already tailored the skirt before I even considered the OCD logo project. But mostly the finished pieces are much more interesting to see in dressed form...
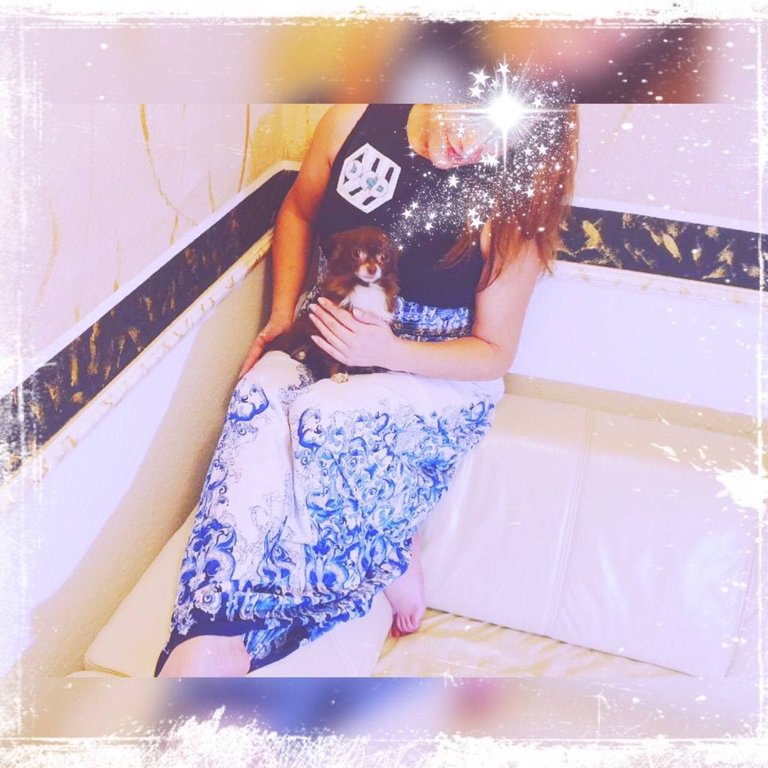
So I hope that you also liked my contribution this Monday to #NeedleWorkMonday and hope for you all a smooth start of the week.
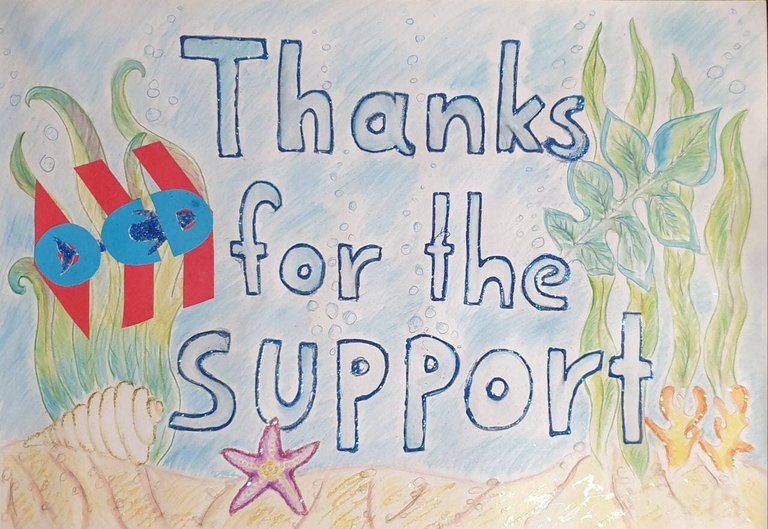
P.S.: The sign, which I also drew myself, should actually be in the photos. "We forgot the sign" - "What sign?" Laughter is healthy. The main thing is not to forget completely.
And so I thank you for reading my post up to here (hopefully) and wish you another smooth #NeedleWorkMonday.
GER
Wahnsinnige Unterstützung ließ @OCD meinen Werken bei #NeedleWorkMonday zukommen und so möchte ich meinen Dank dafür zum Ausdruck bringen.
Diese Unterstützung für mich, als neue Blockchainerin, war wirklich eine tolle Geste. So hat man sich gleich viel Willkommener gefühlt auf der Blockchain.
Danke dafür liebes OCD Team
In diesem Sinne habe ich mir einen OCD Entwurf einfallen lassen, der aus einer variablen Kombination aus Oberteil, und wechselnden Rock und Kleid Möglichkeiten besteht.
Der Rock mit floralem Muster war vorher eine Hose und das lange Kleid mit blau-weißem Muster war schon vorhanden, das wurde von mir nicht selbst genäht, habe dennoch gesehen, dass es wunderbar mit dem Oberteil zu kombinieren geht. So habe ich die Möglichkeit das OCD Oberteil zu mehren Kleindungstücken zu tragen.
Arbeitsschritte:
OCD Logo

Zuallererst musste jedoch der Schnitt für das Logo entworfen werden: Angefangen damit, das Logo auf Papier abzumalen um auch eine grobe Vorstellung von den Proportionen zu bekommen. Als das Logo meiner Zufriedenheit entsprach ging es weiter…
Danach mussten die erstellten Schnittmuster in Stoff zugeschnitten werden, was den delikatesten Teil der Arbeit darstellte, da hier mit nur einem falschen Schnitt alles verbullshitet werden kann.
Nachdem alles zu meiner Zufriedenheit ausgeschnitten wurde, musste die Stoffapplikation, welche vorerst hauptsächlich aus dem Hive Logo bestand, auf den Untergrund geheftet werden. Um das ganze abzurunden und weil ich oft, was Dekoration angeht, freestyle, habe ich das Hivelogo rundum noch mit Pailletten bestickt.

Als ich den OCD Wal betrachtete kam er mir sehr schlicht vor. „…da muss noch Glitzer drauf!“ dachte ich mir. Um den Wal also mit Perlen besticken zu können musste dieser vorher noch verstärkt werden um ein Ausfransen zu verhindern.
Um das fertige Logo nachher „wie aus einem Guss“ aussehen zu lassen, habe ich die Buchstaben (Also das O, das C und das D) mit kleinen Heftstichen mit dem Wal verbunden. So habe ich dafür gesorgt, dass man die Naht nicht sieht.

Damit war der fummeligste Part vollbracht. Das ganze musste jetzt nur noch auf die Hive Logo Applikation aufgebracht werden. Fertig war das Logo. Doch irgendwas fehl noch…
Auf das Oberteil muss es auch noch nicht wahr? Natürlich habe ich es da dann von Hand noch drauf genäht. Wer wär ich denn, wenn ich eine Heißklebepistole genommen hätte?

Die Geschichte vom Rock mit florallem Muster, der vorher eine Hose war
Manchmal ist es echt eine Heldentat den passenden Stoff für seine Stücke zu finden. Aber ab und zu ist der Stoff, den man braucht in etwas anderem verarbeitet. So auch wie bei dem Rock. Ich wollte ein florales Muster welches größere Muster aufwies anstatt dieser eher feingehaltenen floralen Muster die man üblicherweise in jedem Stoffgeschäft findet.
Doch wie es das Schicksal so wollte kreuzte eine Hose meinen Weg. Mit dem perfekten Muster ausgestattet und bereit zu etwas viel besserem zu werden (und zumal noch spottbillig) war es quasi vorbestimmt, dass diese Hose zu meinem neuen Rock werden sollte.

Zu guter Letzt noch den Gehschlitz für möglichst viel Beinfreiheit frei lassen, Kanten absteppen und FERTIG!!!
Leider habe ich die Arbeitsschritte nicht bildlich dokumentiert, da ich den Rock schon geschneidert habe, bevor ich das OCD Logo Projekt überhaupt in Erwägung zog. Aber meist sind doch die fertigen Stücke in angezogener Form zu sehen viel interessanter…

Also hoffe ich, dass euch auch diesen Montag mein Beitrag zum #NeedleWorkMonday gefallen hat und hoffe für euch alle auf einen geschmeidigen Wochenstart.
P.S.: Das Schild, welches ich auch selber gezeichnet habe, sollte eigentlich mit auf die Fotos. „Wir haben das Schild vergessen“ – „Was fürn Schild?“ Lachen ist gesund. Hauptsache nicht ganz vergessen.
Und somit bedanke ich mich, dass du meinen Beitrag bis hierhin gelesen hast (hoffentlich) und wünsche dir noch nen geschmeidigen #NeedleWorkMonday.


