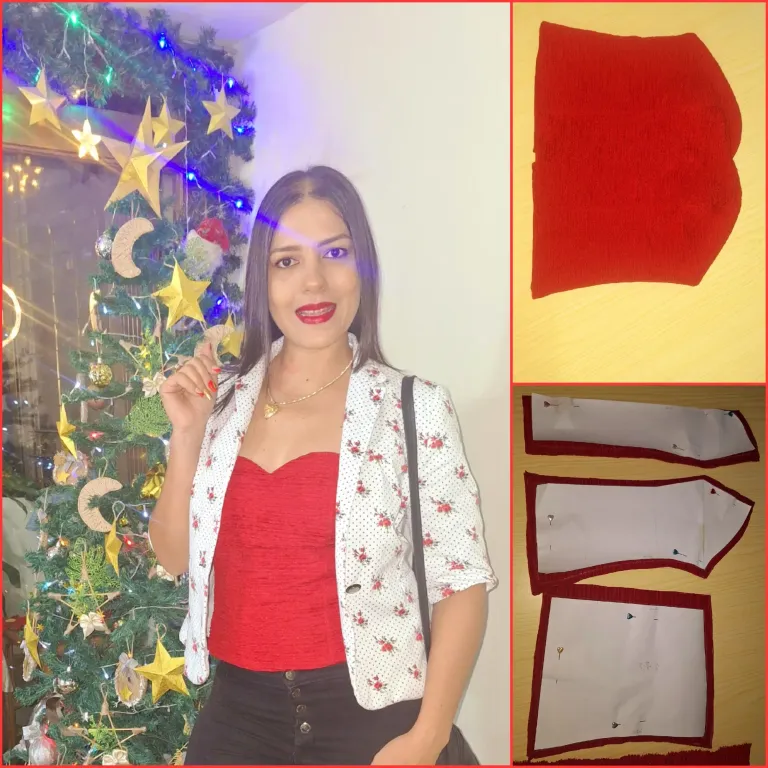
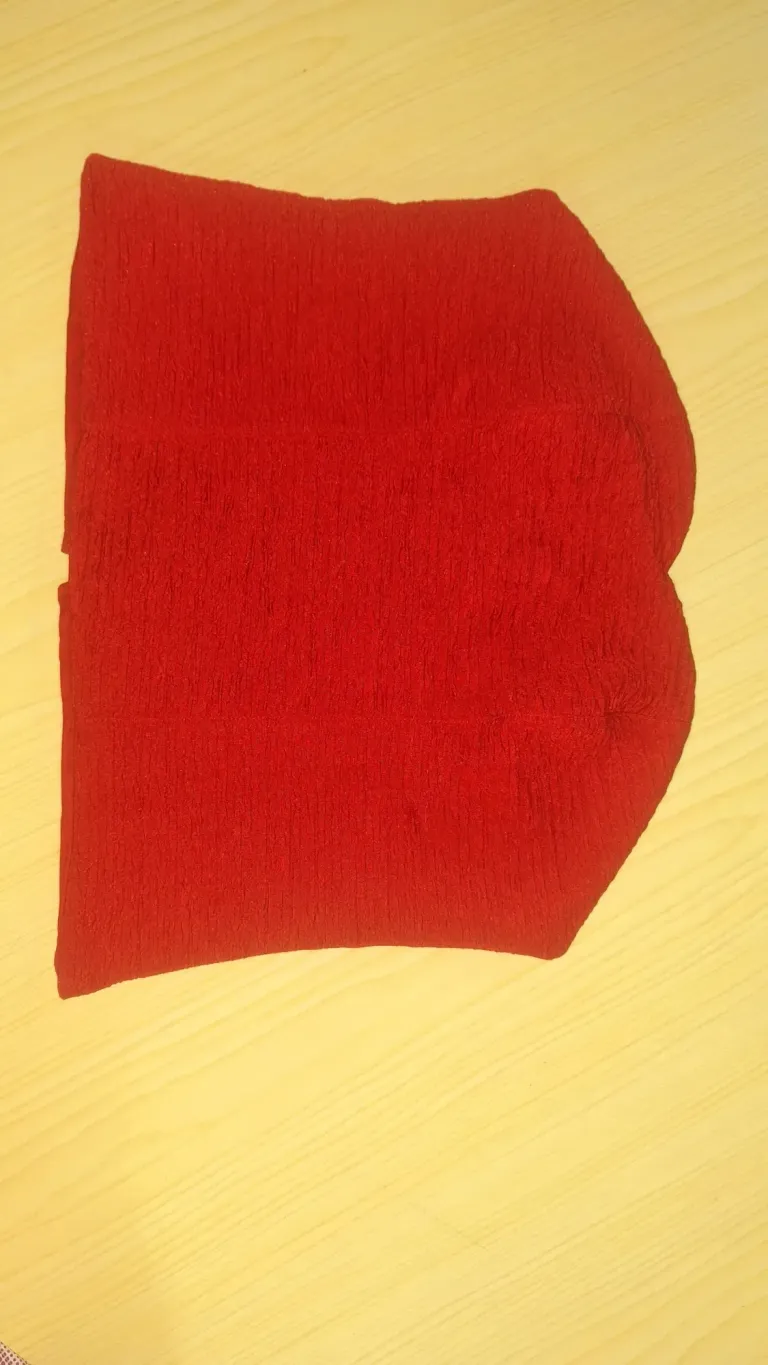
Saludos y bendiciones, mis queridos amigos de @needleworkmonday, es un gusto visitarlos en este lunes de costura cuando estamos en víspera de la Navidad. Hoy les quiero compartir estas fotografías de un top que me estuve realizando hace días en color rojo, un color que me gusta mucho, aunque tengo pocas prendas de este color, justamente muy característico de la Navidad.
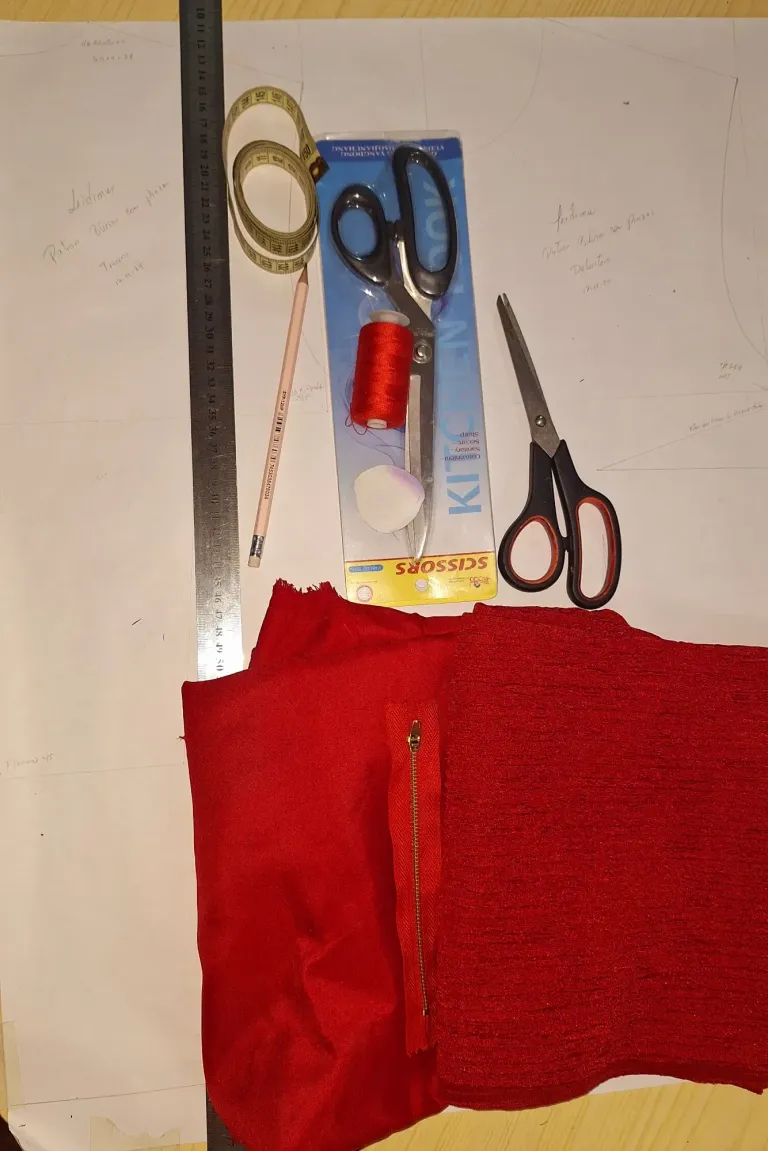
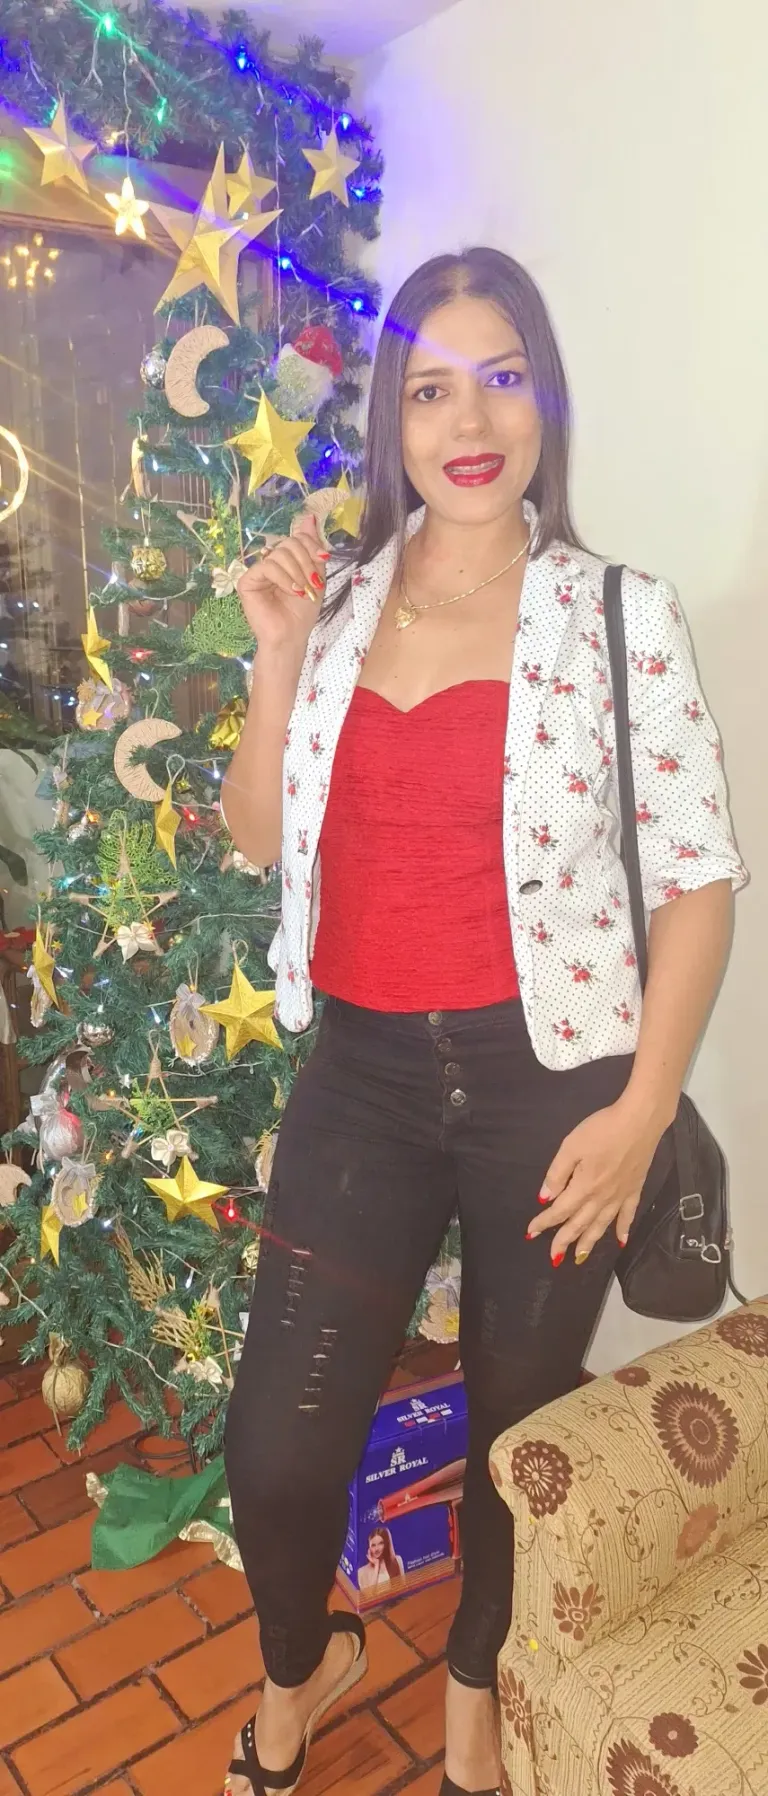
Hace días tenía un compartir con mis amigos de la oficina en donde trabajo y quería lucir una chaqueta blanca con estampados y quería armar mi outfit acompañándola con un pantalón negro y una camisa roja, pero no tenía una así tipo top que me combinara, así que fui a comprar las telas que les mostré hace días y me lo hice y ya les muestro cómo.
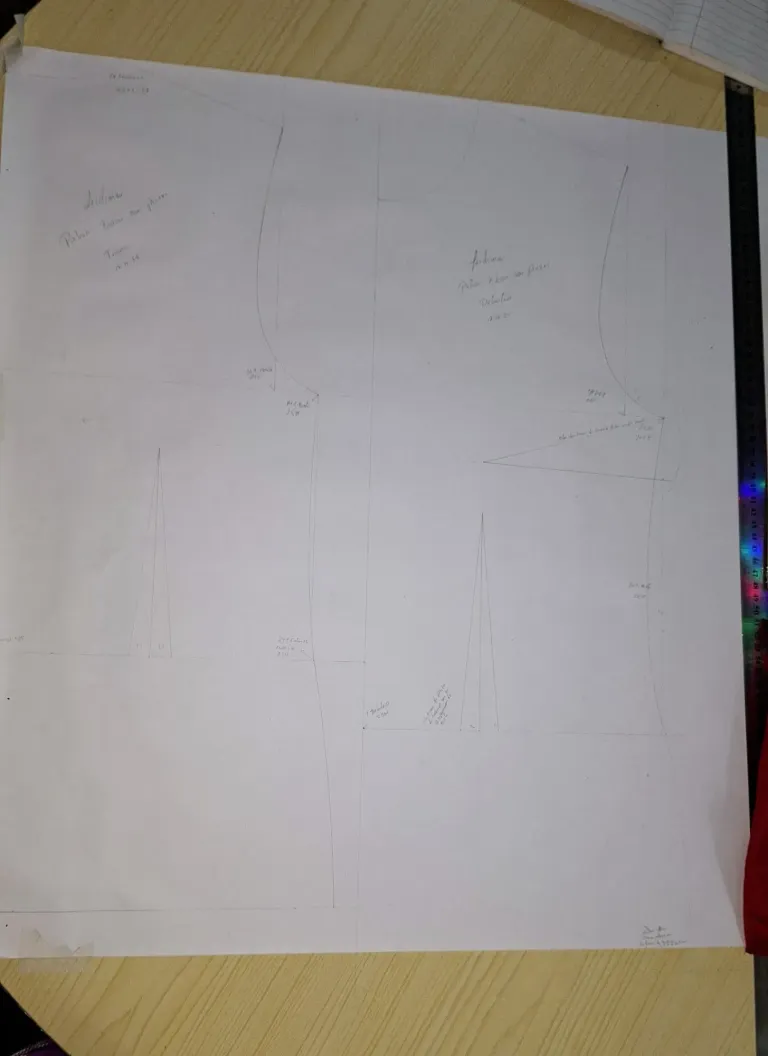
Empecé desde el principio, hice el patrón básico con pinza de blusa para dama con mis medidas que me tomé también ese mismo día, porque ya tenía otros patrones, pero como lo había hecho hace meses, quise ajustarlo y así tenerlo listo para hacer otras modificaciones.
Teniendo el patrón listo, me dispuse a realizar las transformaciones para convertirlo en un top, bustier o brasier como le conozcan, y así me quedará más ajustado el cuerpo. Hacer patronaje es algo que me gusta mucho.
Ya había hecho uno para mi princesa Arianna y me gustó mucho el resultado. Como ya tenía experiencia de cómo hacerlo y estaba a las carreras, decidí hacer este modelo y no complicarme más, ya que, aunque me gusta hacer los patrones, lleva su tiempo y era lo que no tenía.
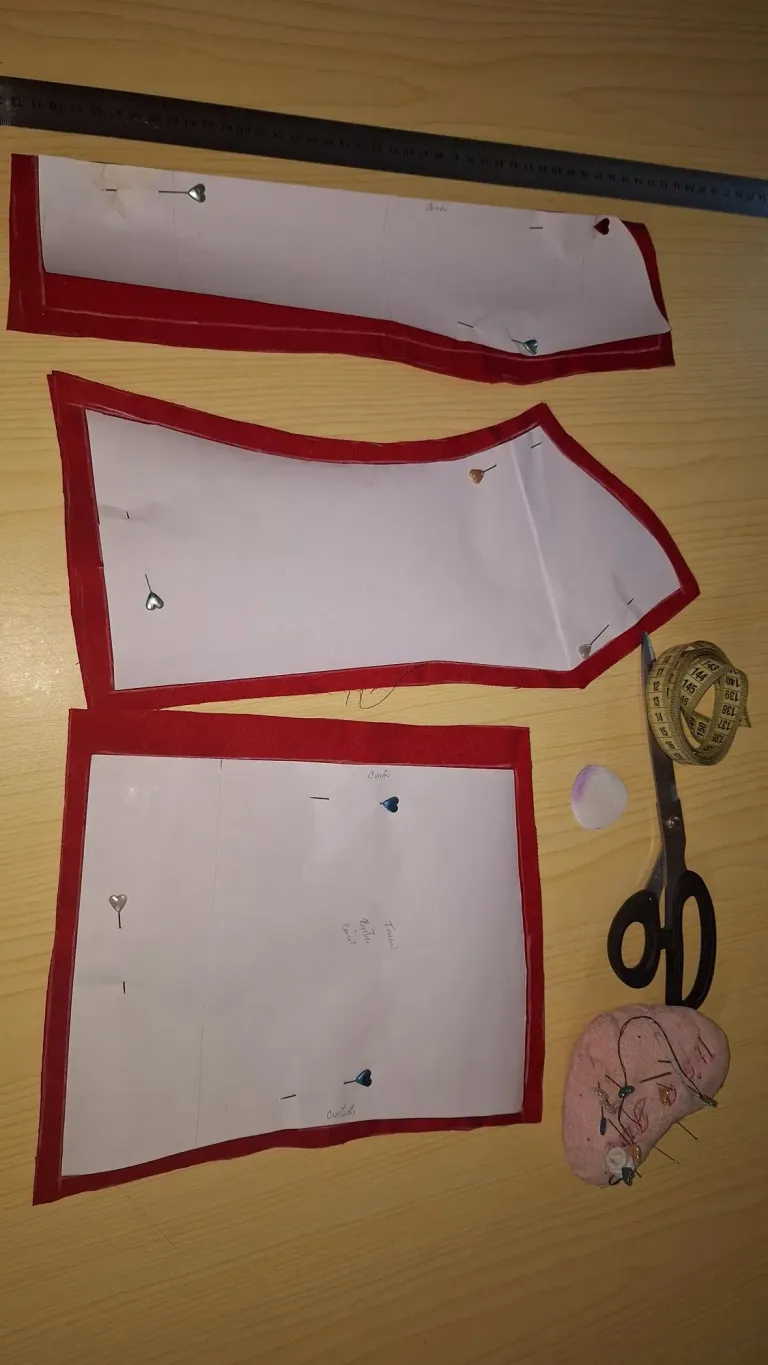
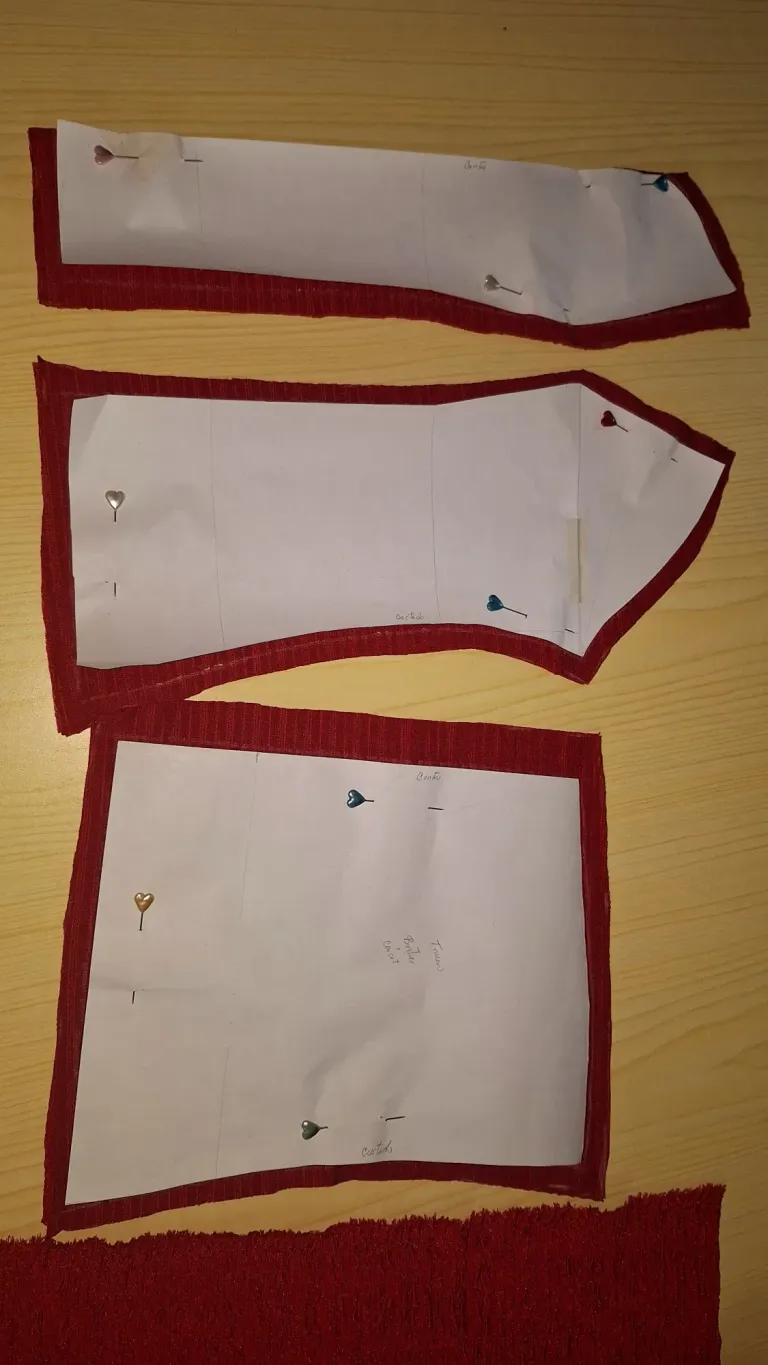
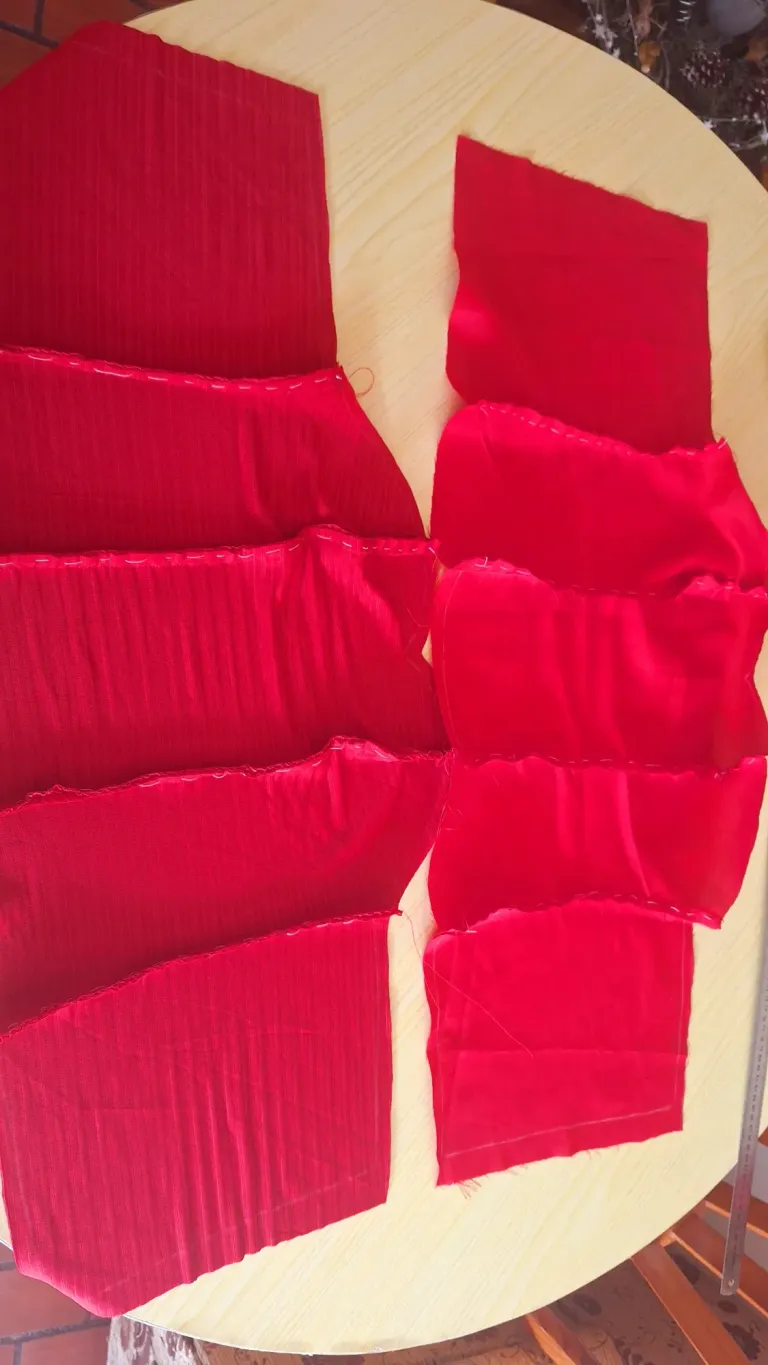
Marqué los patrones en las telas, primero en la de forro en la tela y luego en la tela principal de este proyecto, que es un poco elástica y con una textura que hace ver muy bonita la pieza. Luego vendría el desafío del cierre. Como era una pieza totalmente forrada, no sabía mucho cómo colocar el cierre y estaba apurada, para buscar algún tutorial en línea.
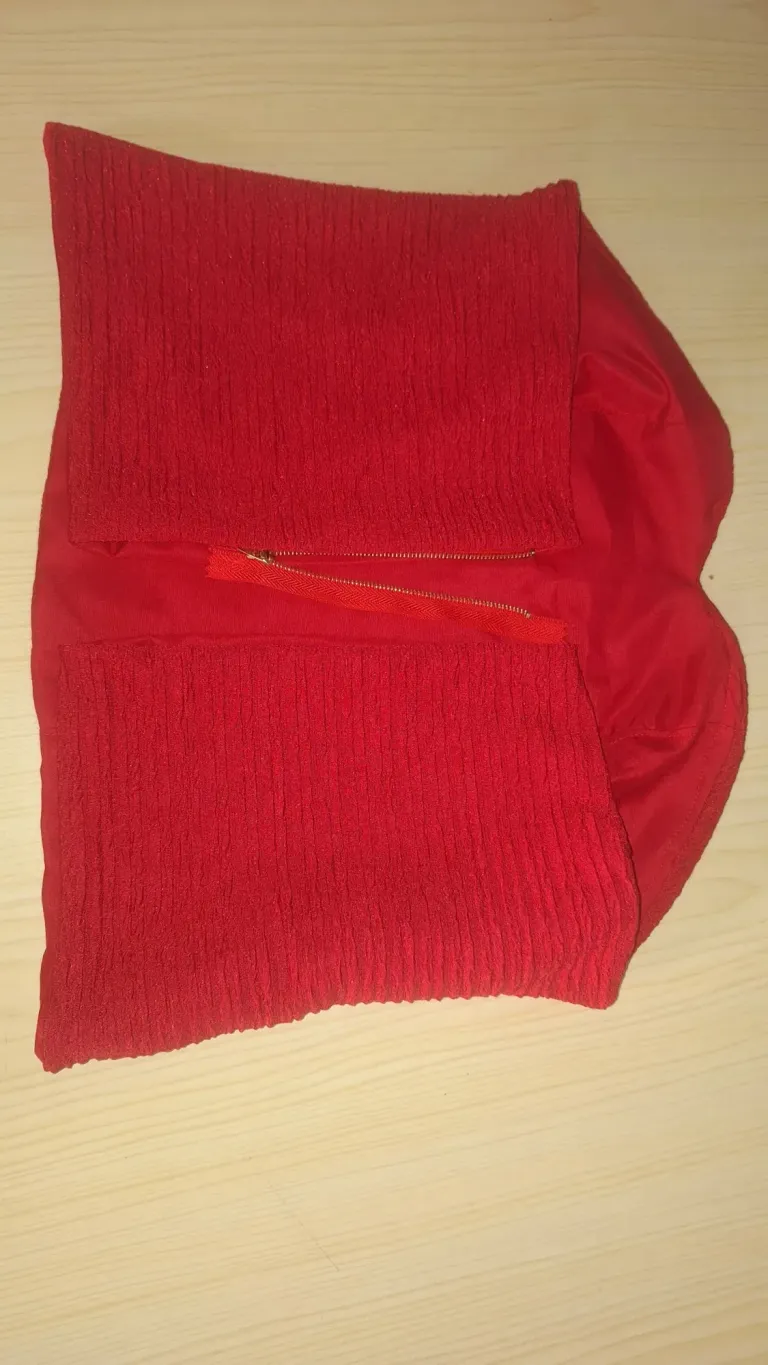
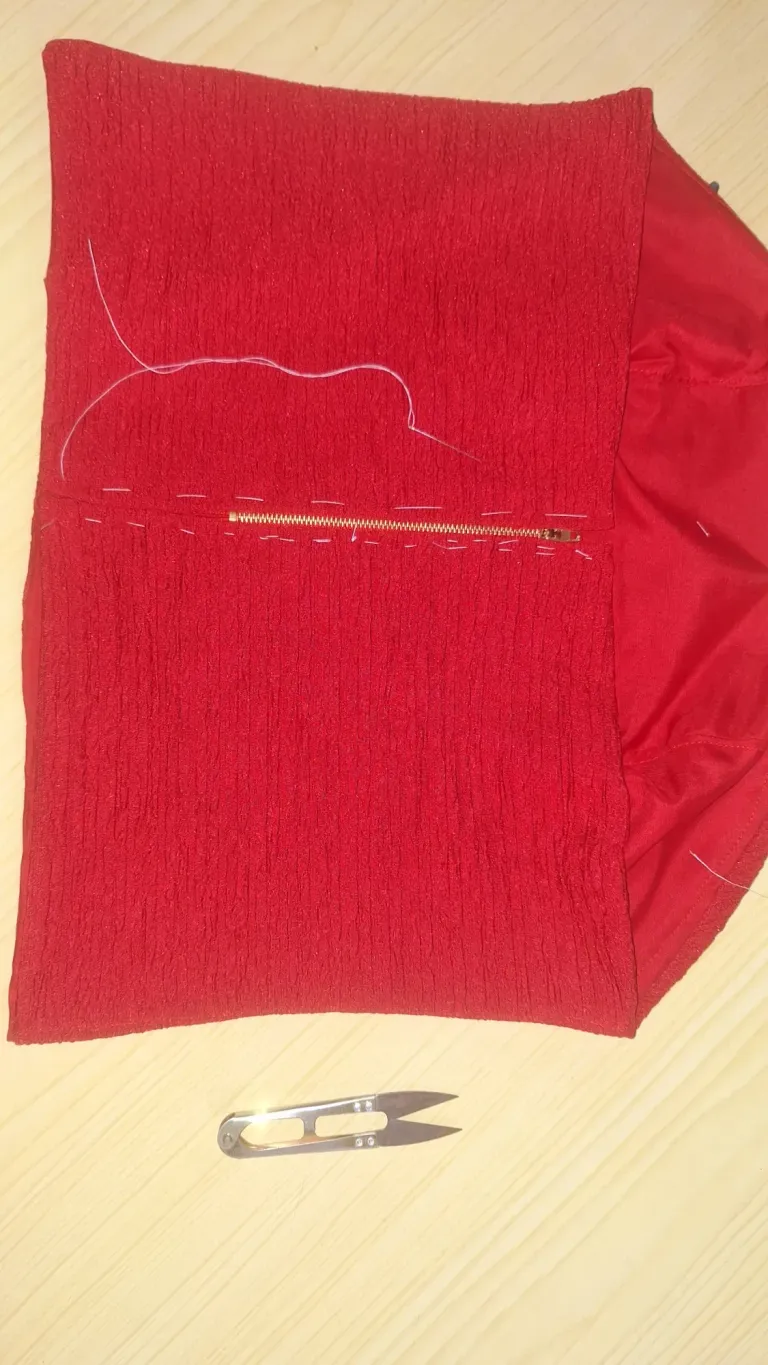
Porque el top lo estaba haciendo en la misma tarde en la que tendría que salir en horas de la noche para el compartir. Así que simplemente doblé los extremos de las telas hacia adentro, introduje el cierre por ambos lados. Le pasé una costura floja a ver qué tal quedaba y cómo me quedaba bien. Así mismo lo cosí y listo, ya tenía el top hecho para lucirlo para mí compartir.
Si les digo que lo hice rápido y fácil les mentiría, me llevó varias horas hacerlo, pero no por lo difícil del proyecto, a decir verdad es fácil, sino que como ustedes ya me conocen siempre tengo mis tropiezos, que si se rompió la aguja, que sí había pegado el cierre y la costura me sale un poco torcida y por supuesto tuve que descoser una y otra vez, al final gracias a Dios todo salió bien.
Aunque debo confesar siento que me quedó un poco flojo, les cuento que cuando me estaba midiendo la ropa sin todavía estar terminado el proyecto, pensaba que me quedaba muy pequeño, entonces estiré un poco más de lo que ya había hecho el patrón para que me quedara un poco más holgado y resulta que cuando ya estaba listo me quedó un poco suelto.
Pero esto lo que hace ver es que el patrón sí estaba perfecto y yo no estaba confiando en el proceso. Para el próximo proyecto simplemente tengo que seguir mi patrón y confiar hasta que ya esté completamente listo.
Y bueno, por ahí pueden ver cómo me quedó mi top. Me quedé perfecto con mi outfit para este lindo compartir que luego les estaré contando más. La pasamos genial, tomé muchas fotos lindas para mostrarles.
Para terminar, les cuento que hoy salí de compras y compré muchas telas para hacernos las ropas del 31 para mí y para mis niños, así que por ahí les tendré más material. Espero que me queden lindas.
Bueno, amigos, esto ha sido todo por hoy, espero que les guste mi publicación y bueno como ya nos veremos el próximo lunes, deseo de antemano una feliz Navidad.


I made myself this cute top
Greetings and blessings, my dear friends of @needleworkmonday, it is a pleasure to visit you on this sewing Monday when we are on the eve of Christmas. Today I want to share with you these pictures of a top that I was making a few days ago in red, a color that I like very much, although I have few garments of this color, just very characteristic of Christmas.
A few days ago I had to share with my friends at the office where I work and I wanted to wear a white jacket with prints and I wanted to put together my outfit with a pair of black pants and a red shirt, but I didn't have a top like this that matched me, so I went to buy the fabrics that I showed you a few days ago and I made it and now I show you how.
I started from the beginning, I made the basic pattern with a ladies blouse with my measurements that I took that same day, because I already had other patterns, but as I had done it months ago, I wanted to adjust it and have it ready to make other modifications.
Having the pattern ready, I set out to make the transformations to turn it into a top, bustier or bra as it is known, and so it will fit my body better. Pattern making is something I really enjoy.
I had already made one for my princess Arianna and I really liked the result. Since I already had experience of how to do it and I was on the run, I decided to make this model and not complicate it any more, because, although I like to make patterns, it takes time and that's what I didn't have.
I marked the patterns on the fabrics, first on the lining fabric and then on the main fabric of this project, which is a bit stretchy and with a texture that makes the piece look very pretty. Next would come the challenge of the closure. Since it was a fully lined piece, I didn't know much about how to attach the zipper and was in a hurry, to look up some tutorial online.
Because the top I was making on the same afternoon that I would have to leave in the evening hours for the sharing. So I simply folded the ends of the fabrics inward, inserted the zipper on both sides. I sewed it loosely to see how it looked and how it fit. That's how I sewed it and that was it, I had the top ready to show it off for me to share.
If I tell you that I did it fast and easy I would be lying, it took me several hours to do it, but not because of the difficulty of the project, to tell the truth it is easy, but as you already know me I always have my stumbles, if the needle broke, if I had stuck the zipper and the seam comes out a little crooked and of course I had to unpick again and again, in the end thank God everything went well.
Although I must confess I feel that it was a little loose, I tell you that when I was measuring the clothes without being finished the project, I thought it was too small, so I stretched a little more than I had already made the pattern to make it a little looser and it turns out that when it was ready it was a little loose.
But what this shows is that the pattern was perfect and I wasn't trusting the process. For the next project I just have to follow my pattern and trust it until it is completely ready.
And well, over there you can see how my top turned out. I was perfect with my outfit for this nice sharing that I will be telling you more about later. We had a great time, I took lots of nice pictures to show you.
To finish, I'll tell you that today I went shopping and bought a lot of fabrics to make the clothes for the 31st for me and my kids, so I'll have more material for you. I hope they look nice.
Well, friends, that's all for today, I hope you like my publication and as we will see each other next Monday, I wish you a Merry Christmas in advance.

Mi blog es familiar, de mi día a día, en donde puedo subir fotos de niños u otras personas de mi entorno, NO autorizo a usar mis fotografías sin mi autorización.
My blog is a family blog, of my daily life, where I can upload photos of children or other people around me, I do NOT authorize you to use my photos without my authorization.
Dispositivo | Device | Samsung Galaxy A54
Fotos editadas en: |Photos edited in | CC Express for Picsart / Canva
Separadores hechos en | Separators made in | CC Express for Samsung
Traducción con | Translation with| DeepL
For the best experience view this post on Liketu