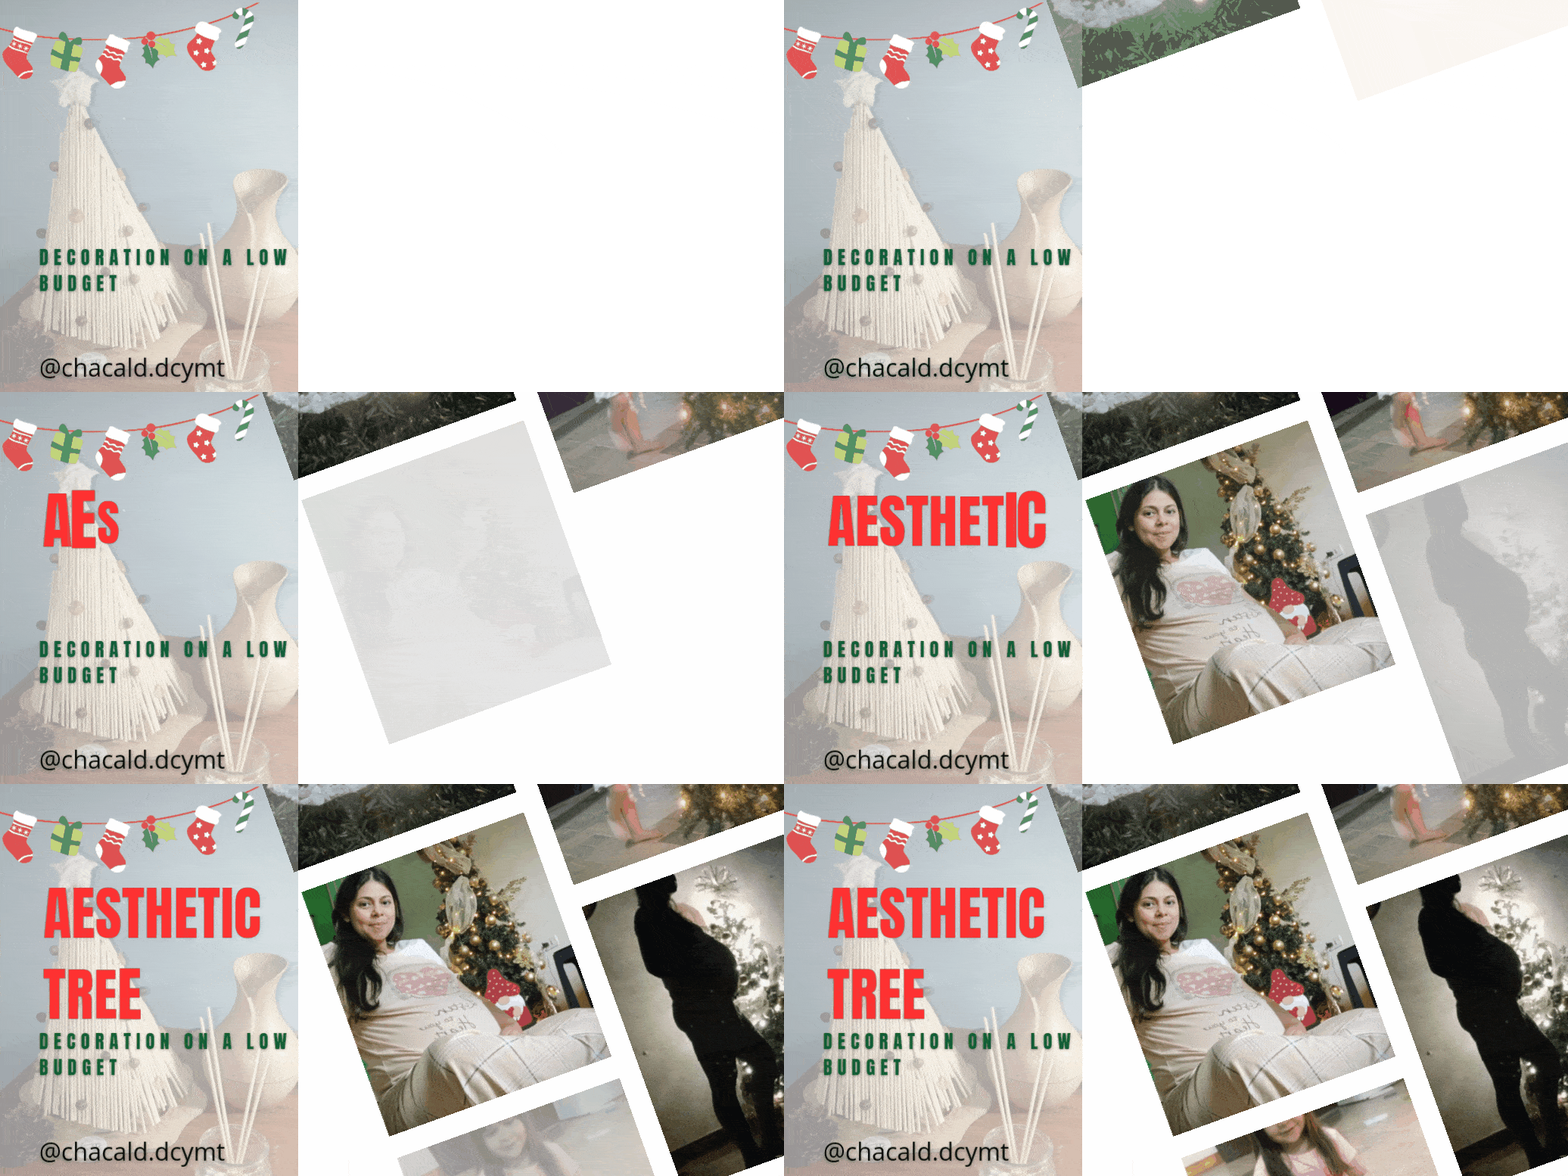
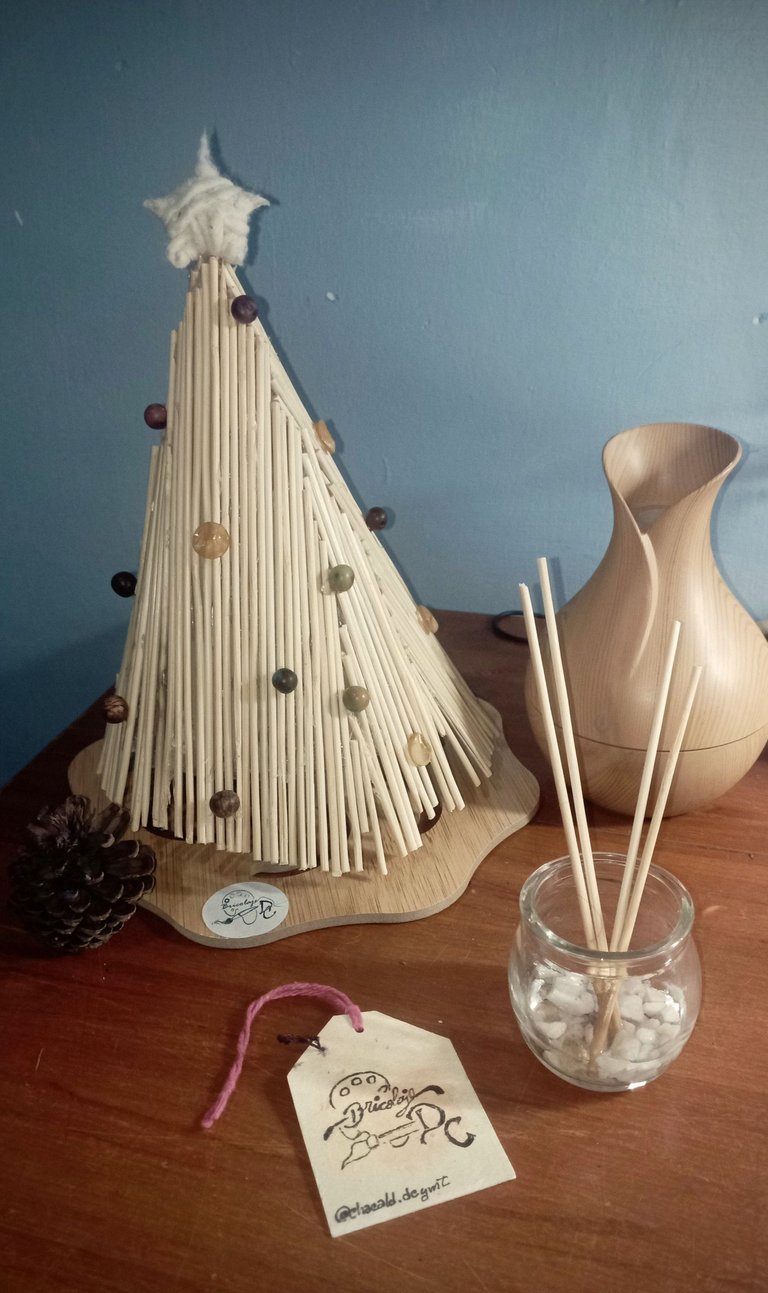
Greetings friends who love handicrafts! Welcome once again to my workshop @bricolajedc. I hope you are having a Christmas season full of love, peace and family togetherness. This time I would like to share with you my Christmas corner, that special place that I have decorated with DIY ornaments and very low budget with a cute little aesthetic tree in wood color. Join me and I'll show you the step by step.
Saludos amigos amantes de las artes manuales! Sean bienvenidos una vez más a mi Taller @bricolajedc. Espero estén pasando una temporada navideña llena de amor, paz y unión familiar. En esta oportunidad me gustaría compartir con ustedes mi rincón navideño, ese lugar especial que he decorado con adornos DIY y muy bajo presupuesto con un lindo y pequeño árbol aesthetic en color madera. Acompáñenme y les enseño el paso a paso.
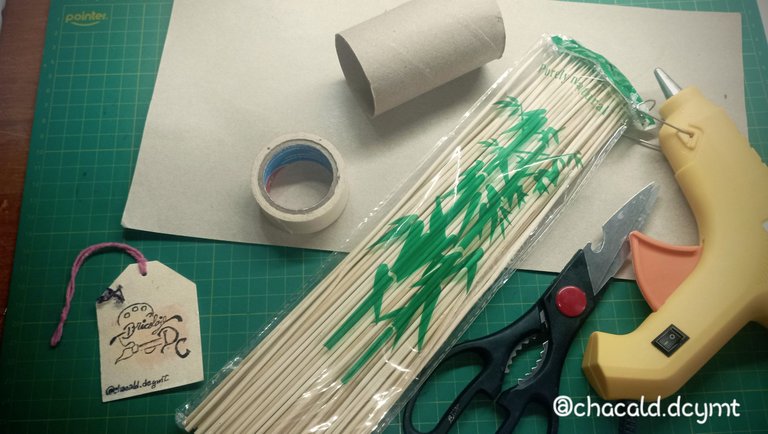
Materials
Soft cardboard (double-sided cardboard)
Sticks for height or skewers
Hot glue
Paper tape
Small cardboard roll
Scissors
Cutting tweezers
Wooden buttons and spheres
Materiales
Cartón blando (cartulina doble faz)
Palitos de altura o para brochetas
Silicón caliente
Cinta adhesiva de papel
Un rollo de cartón pequeño
Tijera
Pinza de corte
Botones y esferas de madera
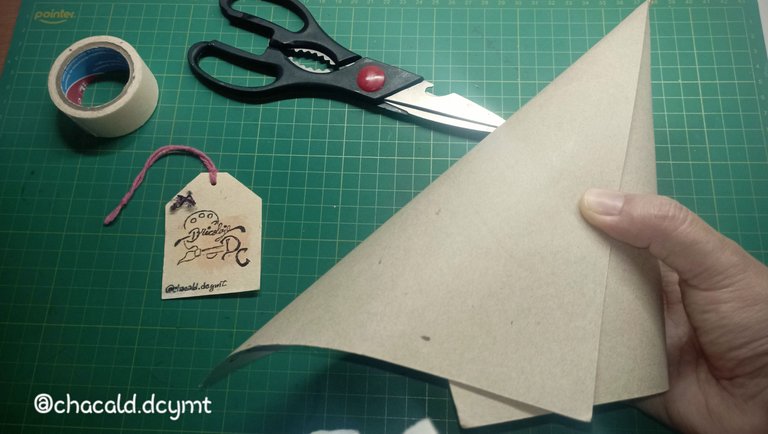
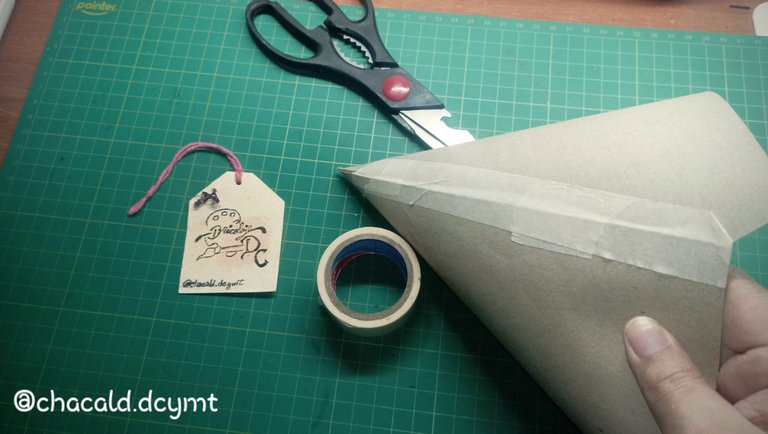
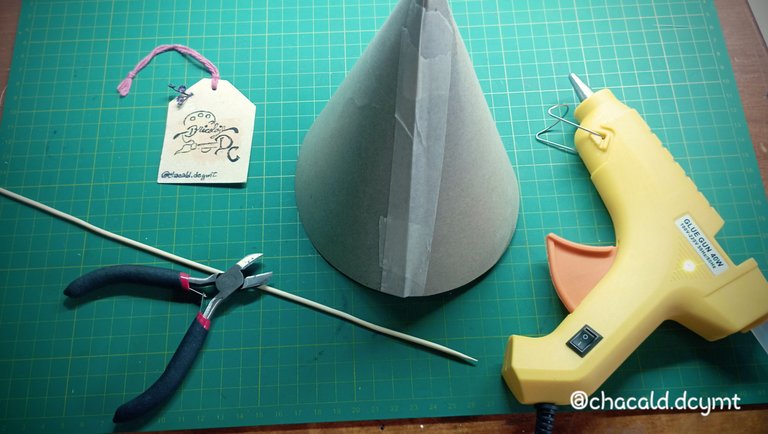
The first thing I made was a cone with the cardboard. I took the tape and glued the ends together to make it sturdy.
Lo primero que hice fue cono con el cartón. Tomé la cinta adhesiva y pegue los extremos para que quedara resistente.
 |  |
|---|
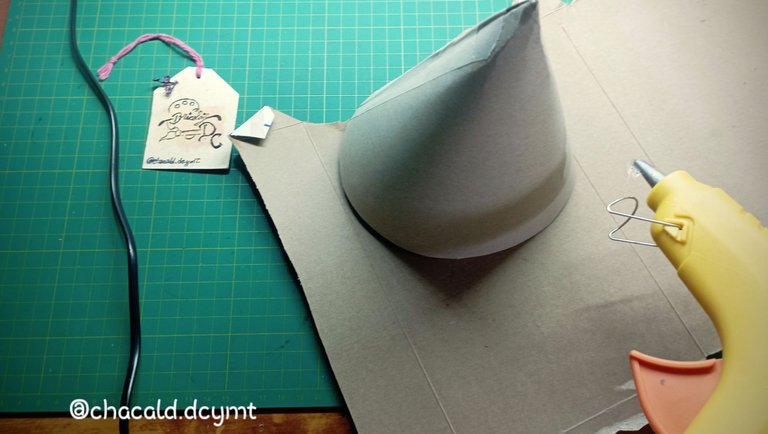
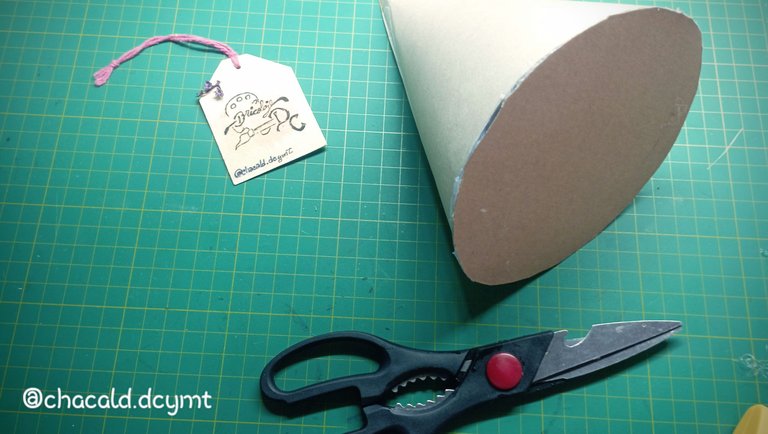
I cut out the excess cardboard to even out the cone. I placed a base of the same cardboard and glued the cone onto it with silicone and then cut it out.
Recorté el excedente de cartón para emparejar el cono. Coloqué una base del mismo cartón y pegué con silicona el cono sobre este y luego recorté.
 |  |  |
|---|
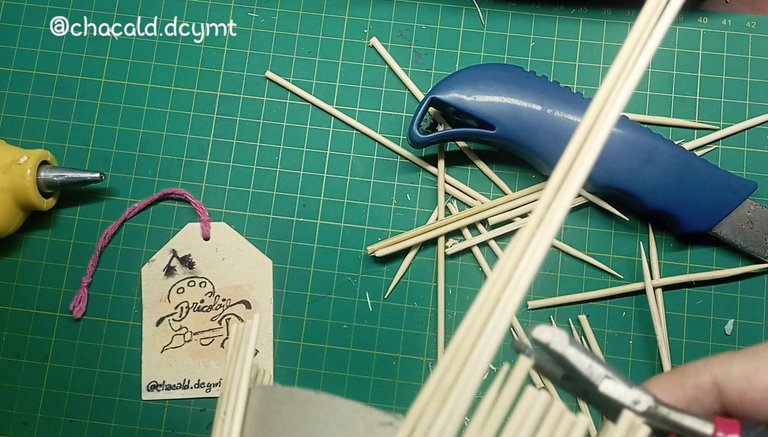
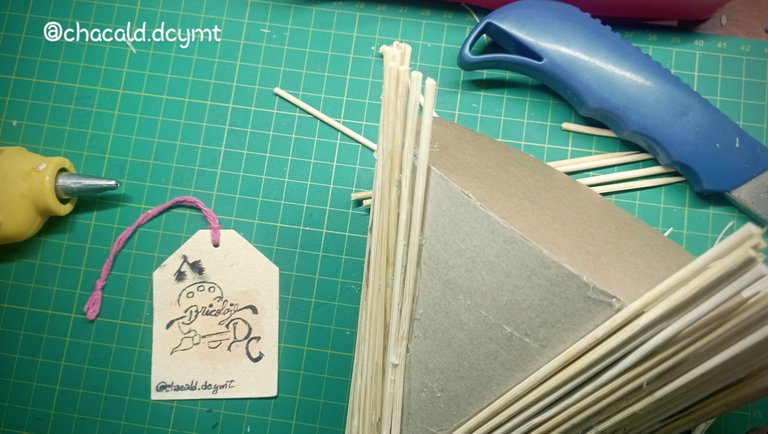
Once I had the base of the tree ready, I began to glue one by one the sticks on the cone, playing with the space between the rows of sticks varied the sizes and positions so that was what gave it its aesthetic touch.
Very carefully, using the cutting pliers, I cut off the excess of each stick to try to get them all at the same height.
Una vez que tenía la base del árbol lista, comencé a pegar uno a uno los palitos sobre el cono, jugando con el espacio entre las filas de palitos variaban los tamaños y las posiciones así que fue lo que le dio su toque aesthetic.
Con mucho cuidado, utilizando la pinza de corte, corté el excedente de cada palito para tratar de que quedaron todos a la misma altura.
 |  |
|---|
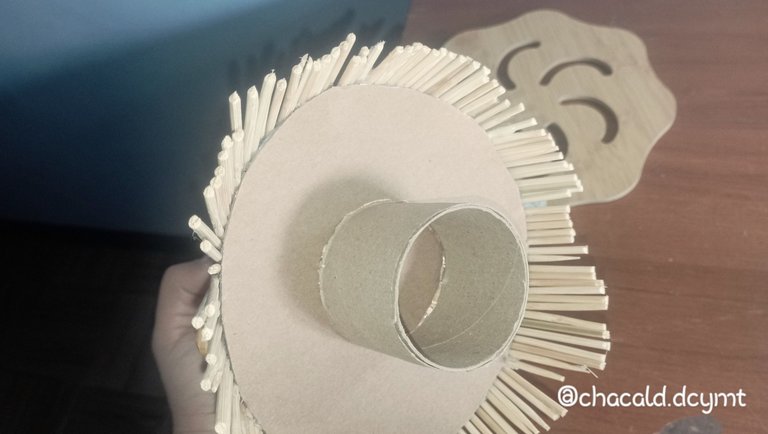
Once the cone is assembled. Small the cardboard roll at the bottom base to give it height.
Ya con el cono armado. Peque el rollo de cartón en la base inferior para darle altura.
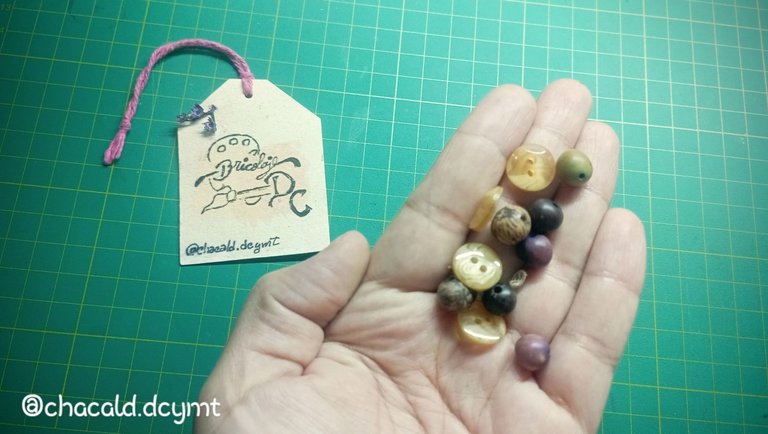
I glued the buttons and spheres all over the cone to simulate tree ornaments.
Pegué los botones y las esferas por todo el el cono para simular los adornos del árbol.
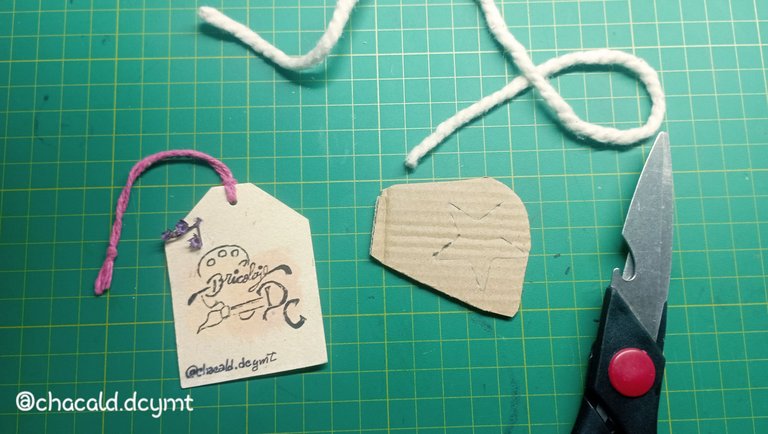
I also made a cardboard star and covered it with cotton thread.
También hice una estrella de cartón y la cubrí con hilo de algodón.
And that's how I decorated my special Christmas corner in the workshop. I love DIY ornaments.
Y así fue como decoré mi rincón especial de navidad en el taller. Me encantan los adornos DIY.
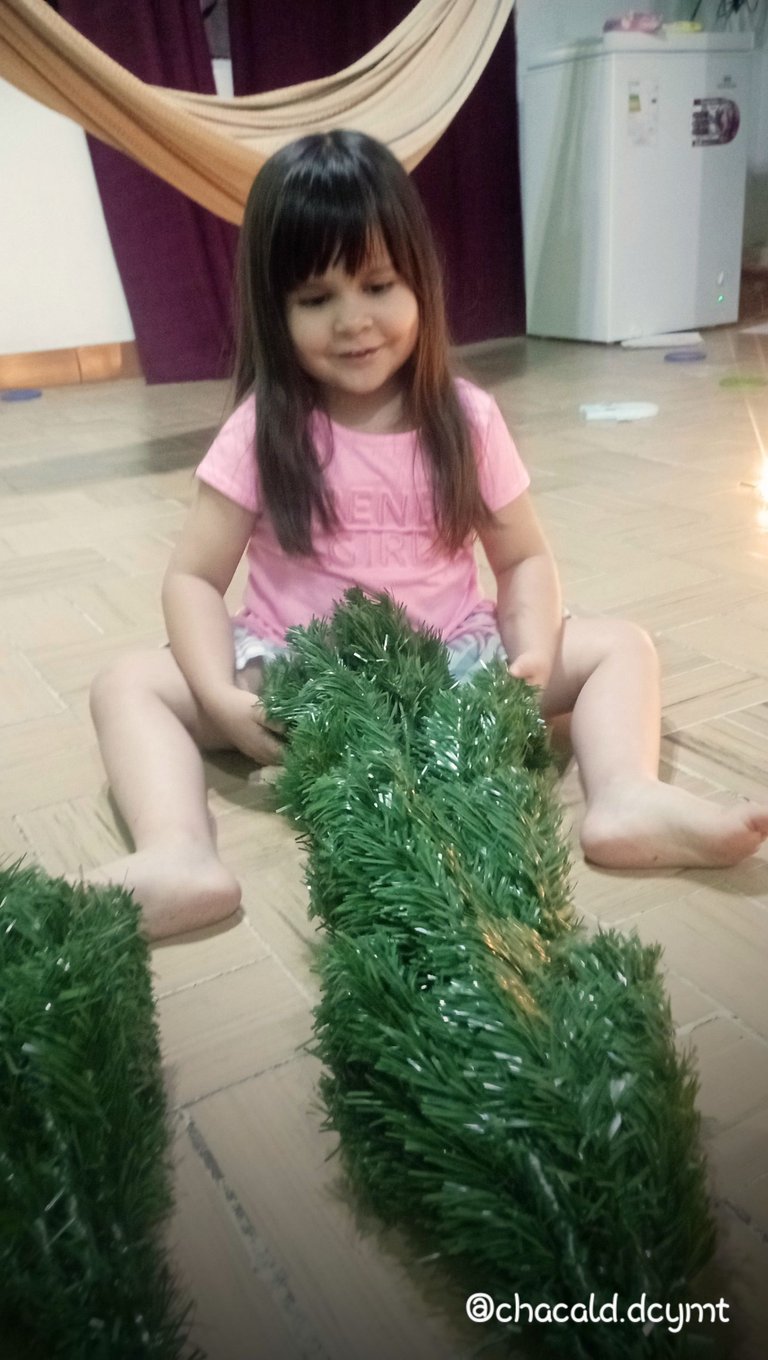
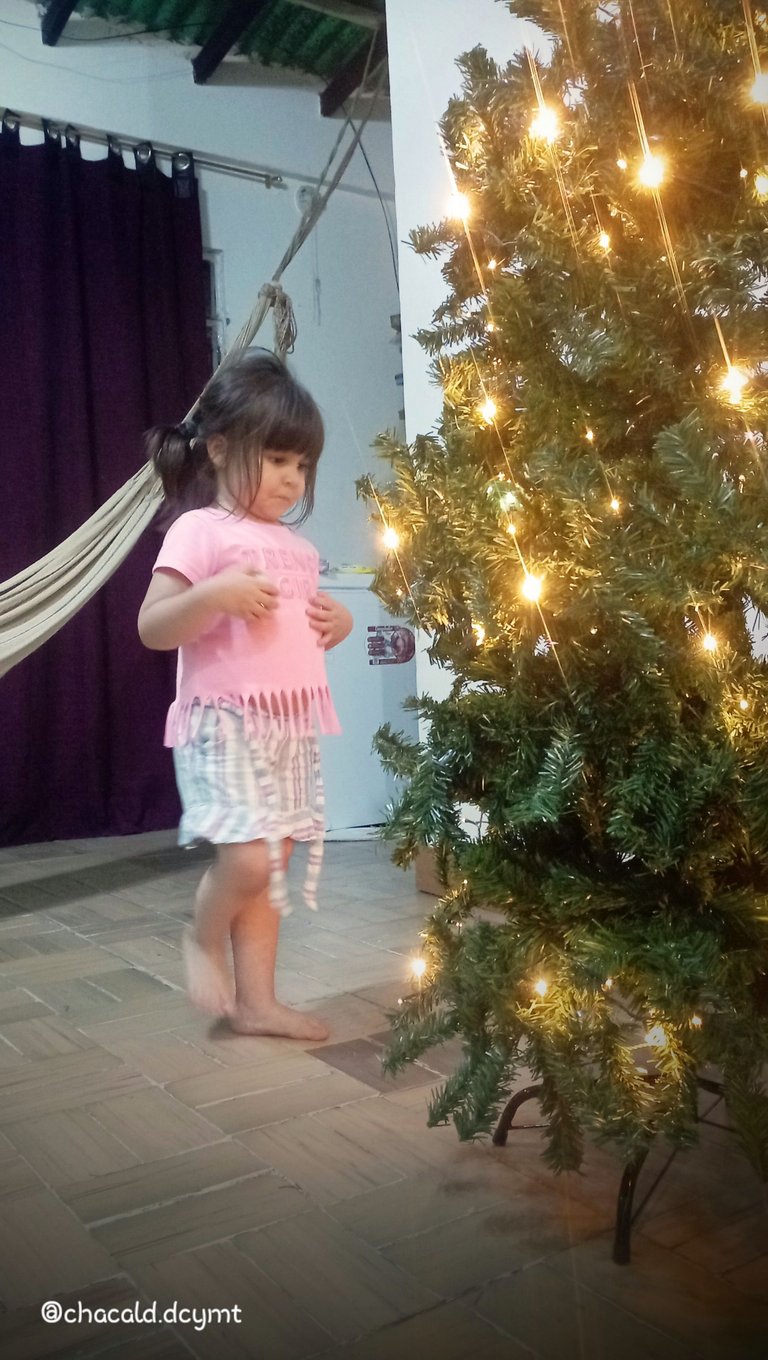
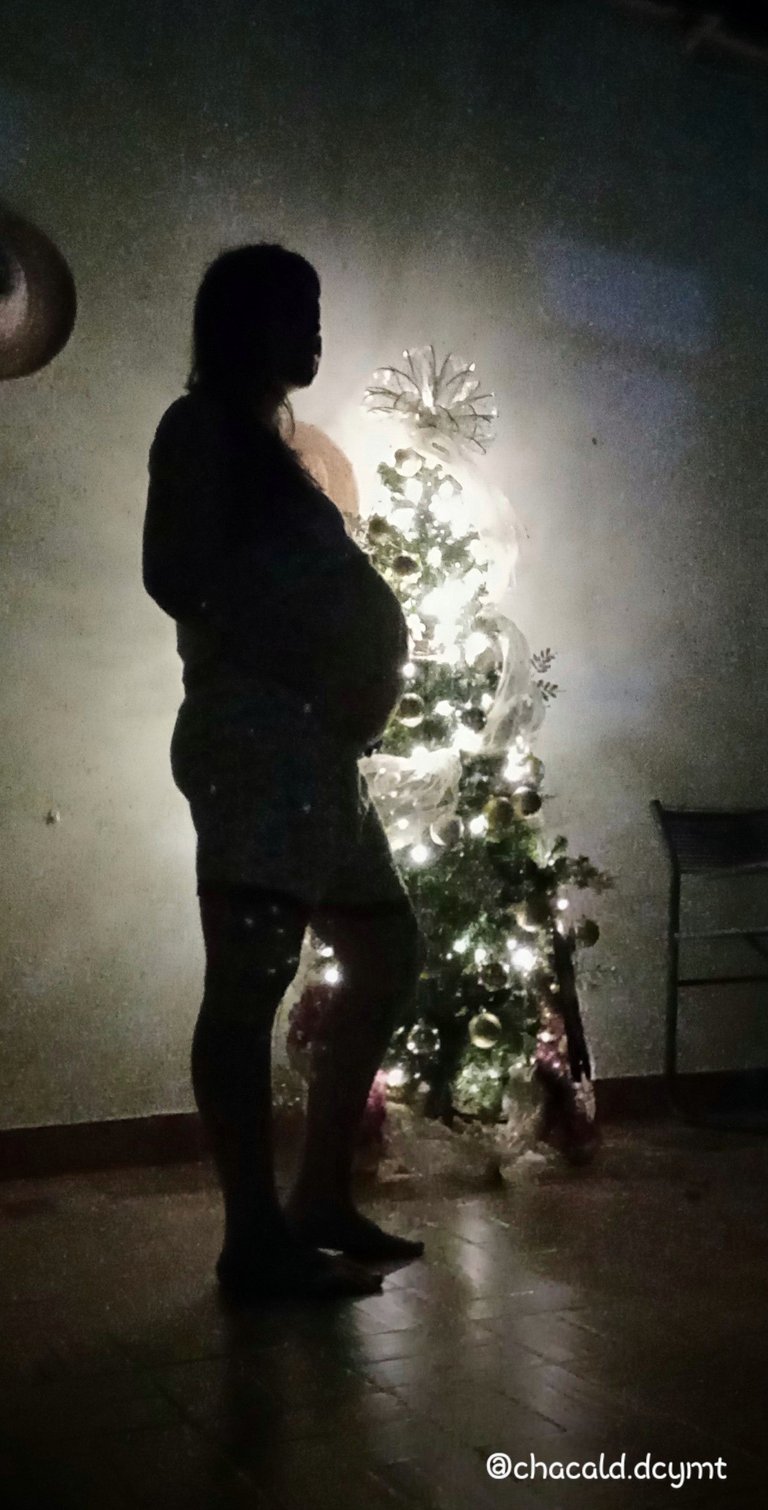
This is not only my special Christmas corner. This year we debuted our first Christmas tree with its golden ornaments. My little growing family had the wonderful experience of putting together our beautiful tree.
No solamente es este mi rincón especial de navidad. Este año estrenamos nuestro primer árbol de Navidad con sus adornos dorados. Mi pequeña familia que sigue creciendo vivió la experiencia maravillosa de armar nuestro bello arbolito.
 |  |
|---|
Since I was a little girl, Christmas decorations have been very important to me. In the years I had to spend in the hospital, which was 2 Christmases, my room was decorated by my own DIY decorations. This year I am thankful for having had the opportunity to enjoy Christmas decorations as a family. I hope to continue to pass on these beautiful customs to my children.
Desde niña los adornos navideños para mi han sido muy importantes. En los años que tuve que pasar ingresada en el hospital, que fueron 2 navidades, mi habitación fue decorada por mis propios adornos DIY. Este año agradezco por haber tenido la oportunidad de disfrutar de las decoraciones navideñas en familia. Espero seguir transmitido a mis hijos estas bonitas costumbres.
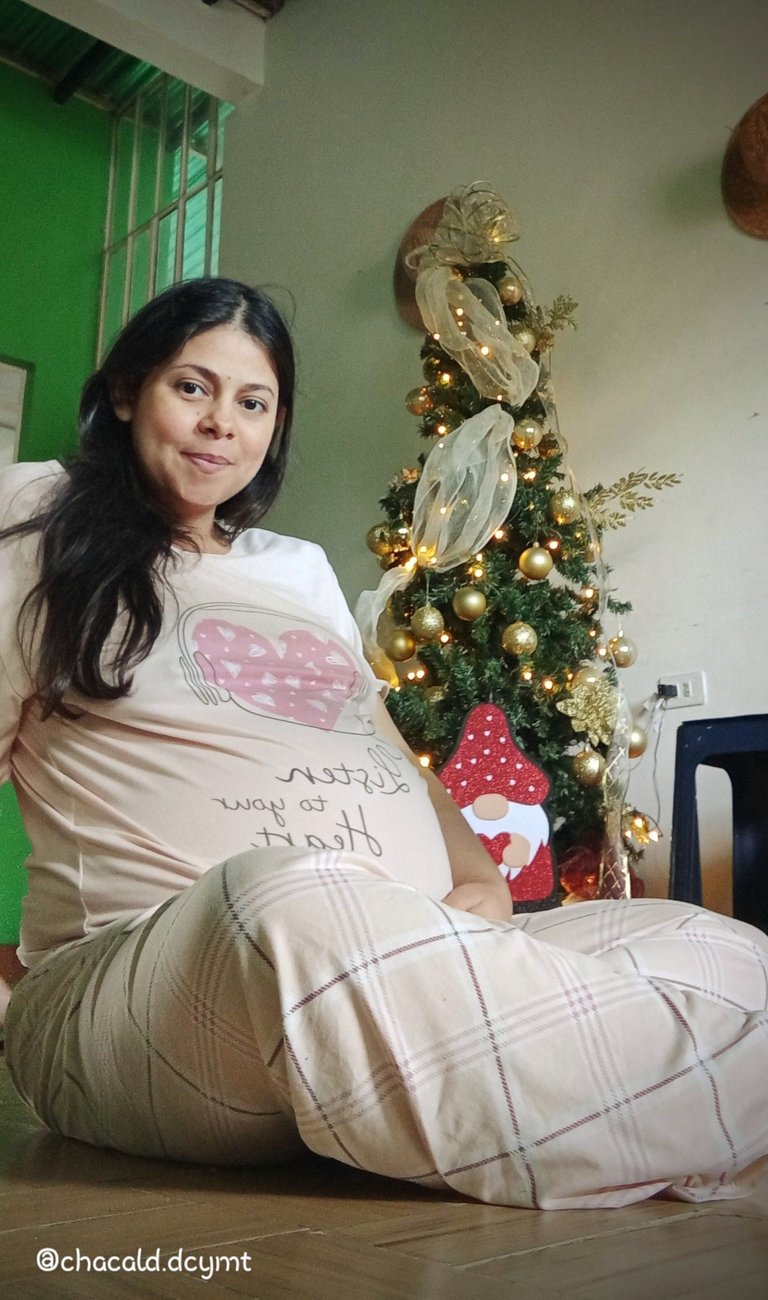
Thank you for joining me in decorating my home. I hope to see you next time. Bye!
Gracias por acompañarme a decorar mi casa. Espero nos veamos en una próxima oportunidad. Chao!


Original content by the author.
Resources: App: Canva / Giphy / Inshot
📷 Redmi 10 Smartphone
Translation done with Deepl.com
✿ All Rights Reserved || © @chacald.dcymt 2024✿
💌 Discord: chacald.dcymt#3549
X: @chacald1
Reddit: chacald
_
Contenido original del autor.
Recursos: App: Canva / Giphy / Inshot
📷 Redmi 10 Smartphone
Traducido con Deepl.com
✿ Todos los Derechos Reservados || © @chacald.dcymt 2024✿
💌 Discord: chacald.dcymt#3549
X: @chacald1
Reddit: chacald
Posted Using InLeo Alpha


